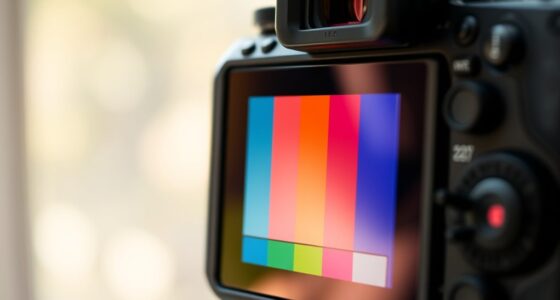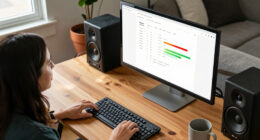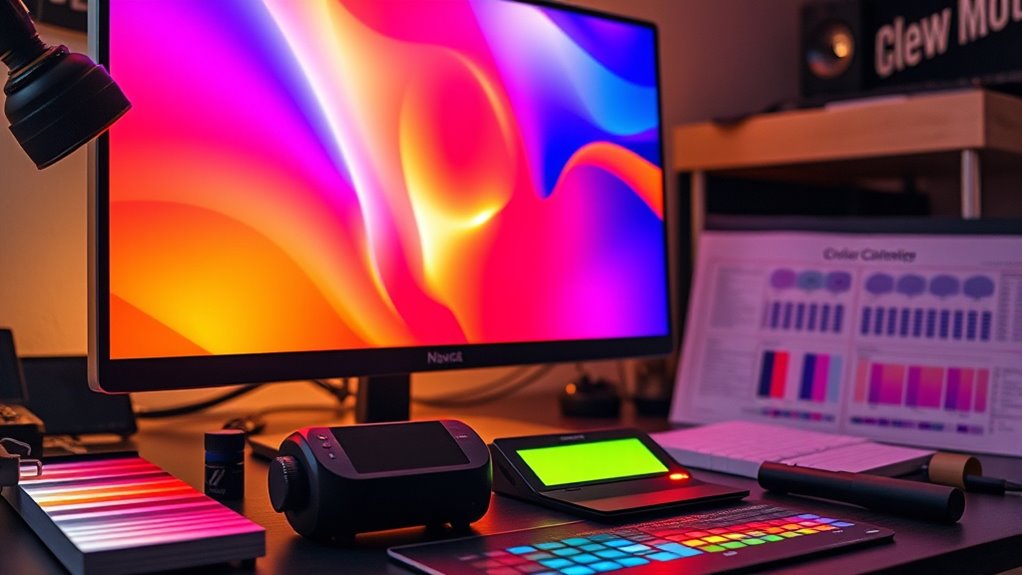
To achieve cinematic color with DIY calibration, start by using simple tools like gray cards or color charts to set your camera’s white balance and exposure accurately. Regularly calibrate your monitor to verify your edits show true colors. Use reference images and subtle adjustments to match your footage’s look to your desired cinematic style. Focus on maintaining natural skin tones and consistent contrast. Keep exploring these techniques to master impressive, professional results.

Get business pricing on your home office setup
- Business-only prices and quantity discounts
- Tax-exempt purchasing
- Multiple users, one account, clear invoices
Key Takeaways
- Use affordable calibration tools like gray cards and color charts to establish accurate white balance and exposure settings.
- Regularly calibrate your monitor and camera to maintain consistent color reproduction throughout filming and editing.
- Reference calibration images during color grading to ensure footage matches desired cinematic tones and maintains natural skin colors.
- Apply subtle adjustments to shadows, midtones, and highlights, utilizing software tools and LUTs for professional-looking results.
- Develop a routine of DIY calibration and careful grading to achieve a polished, cinematic color aesthetic without expensive equipment.
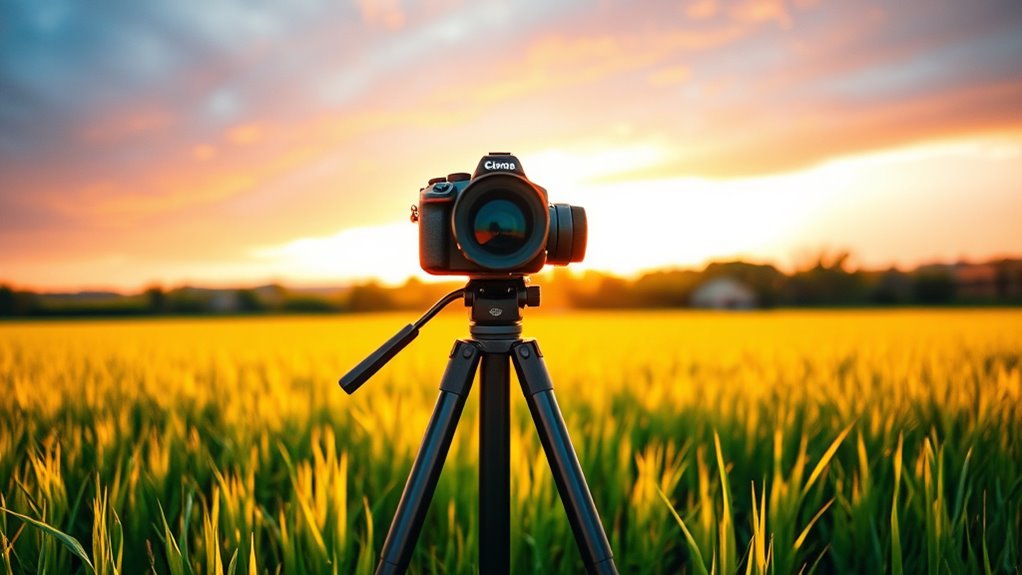
Achieving cinematic color in your videos doesn’t require expensive equipment or professional calibration tools. With a few affordable resources and some basic know-how, you can considerably improve your footage’s look through effective color grading and DIY calibration. The key is understanding that consistent, accurate color starts with proper calibration of your display and camera settings. Calibration tools, like color charts or gray cards, aren’t just for professionals—they’re accessible and simple to use, and they help you establish a reliable baseline for color correction.
Start by setting up your camera correctly. Use calibration tools such as a gray card to set your white balance and exposure. Shooting with a gray card in the scene allows you to neutralize color casts and ensure consistent tones across shots. Once you’ve recorded your footage, it’s time to move to color grading, which is where you craft the cinematic look. Color grading involves adjusting the colors, contrast, and luminance to evoke the mood you want. It’s not just about making your footage look good but also about telling your story visually.
You don’t need advanced software—a good beginner-friendly editor with color correction features will do. When grading, start with your calibration in mind. Use your reference images—created with calibration tools—to compare and match your footage’s colors. Adjust the shadows, midtones, and highlights to align with the desired cinematic palette. Subtle tweaks can make a huge difference, giving your video a polished, professional vibe. Focus on maintaining skin tones natural and consistent, as they’re the most sensitive to color shifts, and use creative LUTs or presets if you want a particular style.
Start with calibration, match colors, and maintain natural skin tones for a professional cinematic look.
Remember, calibration tools are your allies throughout this process. They help you create a common reference point, making your color grading more precise and consistent. Regularly calibrate your monitor, especially if you work on different screens, to guarantee your edits stay true across devices. Utilizing mailchimp features such as audience segmentation and automation can also streamline your workflow and ensure your content reaches the right viewers at the right time. With practice, you’ll develop an eye for color balance and contrast, which is essential for achieving that cinematic aesthetic.
In essence, mastering DIY calibration and color grading is about understanding the fundamentals and applying them systematically. It’s not about fancy gear but about making smart, informed decisions with what you have. As you experiment with calibration tools and grading techniques, you’ll unlock a professional look that elevates your videos and brings cinematic quality within your reach.
gray card for camera calibration
As an affiliate, we earn on qualifying purchases.
As an affiliate, we earn on qualifying purchases.
Frequently Asked Questions
Can DIY Calibration Replace Professional Color Grading?
DIY calibration can’t fully replace professional color grading, but it offers cost-effective benefits if you have the technical expertise. You can improve your footage’s color accuracy and achieve a cinematic look without spending a fortune. However, professionals bring advanced tools and nuanced skills that DIY methods can’t match. So, while DIY calibration is a great starting point, for top-tier results, professional color grading remains essential.
What Equipment Is Essential for Accurate DIY Calibration?
You need essential calibration tools like a colorimeter or spectrophotometer to achieve accurate DIY calibration. These tools measure your display’s color accuracy and help you create precise color profiles. Don’t forget a reference image or test pattern for consistency. With the right calibration tools, you can substantially improve color accuracy, ensuring your footage looks cinematic without relying on professional grading. Proper calibration makes all the difference for quality visuals.
How Long Does the Calibration Process Typically Take?
Imagine you’re in a vintage film studio, and calibration tools help you attain perfect color accuracy. The process usually takes about 30 minutes to an hour, depending on your experience and equipment. You’ll use calibration tools like a colorimeter or spectrophotometer, which guide you through fine-tuning your display. Patience is key; this guarantees your colors are true and consistent, creating that cinematic look you desire.
Is DIY Calibration Suitable for All Types of Cameras?
DIY calibration isn’t suitable for all types of cameras because of camera compatibility and calibration limitations. Some cameras, especially older or highly specialized models, may not support custom calibration or might require proprietary tools. Before attempting DIY calibration, check your camera’s compatibility and understand its calibration limitations. If your camera isn’t compatible or has strict calibration restrictions, professional calibration could be a better choice to guarantee accurate, cinematic color.
How Often Should I Recalibrate My Camera for Consistent Color?
You should recalibrate your camera whenever you notice color inconsistencies or after major changes like firmware updates or lens swaps. Relying on a set schedule, such as every few months, helps maintain color consistency and guarantees your footage stays cinema-quality. Ignoring calibration is like ignoring a leaky faucet—eventually, it’ll flood your project with mismatched tones. Stay proactive, and your colors will stay sharp and true.
color calibration tools for videography
As an affiliate, we earn on qualifying purchases.
As an affiliate, we earn on qualifying purchases.
Conclusion
Now that you’ve learned how to calibrate your display, you can confidently craft visuals that evoke emotion, tell stories, and capture attention. With DIY calibration, you take control, enhance accuracy, and access cinematic color right at home. Embrace the process, trust your eye, and refine your craft. Because when your visuals match your vision, you’re not just watching a film—you’re creating an experience, a masterpiece, a moment worth remembering.
professional color grading software
As an affiliate, we earn on qualifying purchases.
As an affiliate, we earn on qualifying purchases.
As an affiliate, we earn on qualifying purchases.
Fall Picks
fall essentials
As an affiliate, we earn on qualifying purchases.