
To calibrate your 4K projector’s color accuracy at home, start by optimizing your environment—dim or blackout windows and reduce ambient noise. Access your projector’s menu, reset to factory defaults, and then adjust basic settings like brightness, contrast, and color temperature. Use test patterns or calibration tools to fine-tune colors and verify with real content. Saving your profiles and maintaining consistent setup will help keep colors true—continue for detailed steps to master calibration.
Key Takeaways
- Access and reset projector settings to factory defaults before starting calibration.
- Use test patterns and calibration tools to adjust color temperature, saturation, and gamma for accurate colors.
- Optimize room lighting and acoustics to ensure consistent viewing conditions during calibration.
- Save and periodically update calibration profiles to maintain color accuracy over time.
- Verify color accuracy with real-world content and make small adjustments based on visual feedback.
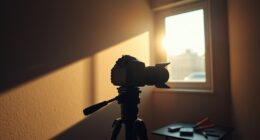
Prepare Your Viewing Environment and Equipment
Before you begin calibrating your 4K projector, it’s essential to set up a proper viewing environment and guarantee your equipment is ready. Start by controlling ambient lighting; dim or blackout curtains help minimize glare and reflections, ensuring you’ll see true colors and contrast. Keep the room’s lighting consistent and avoid bright lights during calibration for accurate results. Next, consider room acoustics—opt for a space with minimal echo and background noise, so you can focus on image quality without distractions. Use sound-absorbing materials if necessary. Ensure your projector is placed on a stable surface at the correct height and distance. Confirm all cables are secure, and your device is powered on and functioning properly. A well-prepared environment sets the foundation for precise calibration. Proper lighting conditions also play a crucial role in achieving accurate color reproduction during calibration.
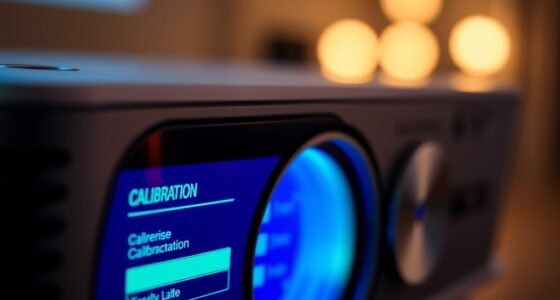
Access and Understand Your Projector’s Settings Menu
To effectively calibrate your 4K projector, you need to access its settings menu, which is typically found through the remote control or onboard buttons. Once there, you’ll find options to adjust key image parameters. Focus on understanding settings like color temperature, which influences the warmth or coolness of your image, and color gamut, which determines the range of colors displayed. Adjusting ambient conditions can also impact your calibration results, so consider optimizing your room lighting for better accuracy. – Use the menu to locate and tweak the color temperature for natural skin tones and overall balance. – Explore the color gamut setting to ensure vibrant, accurate colors. – Familiarize yourself with navigation options to quickly switch between adjustments and preview changes.
Getting comfortable with these options helps you make precise calibrations for the best picture quality.
Reset Your Projector to Factory Defaults

Resetting your projector to factory defaults can be a helpful step if you’ve made multiple adjustments and want to start fresh. This is especially useful if your current projection angle isn’t ideal or if ambient lighting conditions have changed, affecting image quality. Restoring settings clears any unintended tweaks that might skew color accuracy. To do this, access the projector’s menu and select the reset option—usually found in the setup or maintenance section. Keep in mind that after resetting, you’ll need to reconfigure basic picture settings and consider your projection angle to enhance image clarity. Also, reassess your ambient lighting setup, as it influences how your projector displays colors and contrast. Resetting ensures a consistent starting point before fine-tuning for perfect color accuracy. Additionally, understanding the importance of calibrating color settings can help you achieve the most accurate and vibrant image display.
Adjust Basic Picture Settings (Brightness, Contrast, Etc.)
Now that you’ve reset your projector, it’s time to adjust the basic picture settings. Fine-tuning the brightness and contrast helps you achieve clearer images, while adjusting color saturation makes colors look more natural. These simple tweaks can make a big difference in your viewing experience. For optimal results, consider the influence of ambient lighting and color accuracy to ensure your images are true to life.
Fine-tune Brightness and Contrast
Adjusting the brightness and contrast is a crucial first step in fine-tuning your 4K projector’s picture quality. Proper settings guarantee details are visible in dark scenes and highlights aren’t blown out. Start by adjusting brightness to reveal shadow details without making blacks appear gray. Then, tweak contrast to enhance the difference between light and dark areas. Keep an eye on the overall image, considering your projector’s color temperature for accurate hues. Use gamma correction to balance midtones, preventing images from looking too flat or overly harsh. Focus on:
- Setting the correct color temperature for natural tones
- Adjusting gamma correction for balanced contrast
- Fine-tuning brightness and contrast for ideal detail
- Understanding contrast ratio to better interpret the relationship between blacks and whites in your image
These adjustments help create a balanced, vibrant image tailored to your viewing environment.
Adjust Color Saturation
To achieve vibrant and accurate colors on your 4K projector, you need to fine-tune the color saturation setting. Adjusting color saturation influences how intense or muted the colors appear, directly affecting color vibrancy. Increase saturation slightly if your images look dull or washed out, but avoid overdoing it, which can cause colors to look unnatural or oversaturated. Conversely, reducing saturation can help when colors seem overly vivid or unrealistic. Use test patterns or calibration images to find the ideal balance, ensuring colors pop without losing realism. Properly calibrated color saturation enhances overall picture quality, making movies and images look more lifelike. Additionally, understanding color accuracy and how it relates to your projector’s settings can help produce more true-to-life images. Take your time making small adjustments, and always review the results on different content types to ensure consistency.
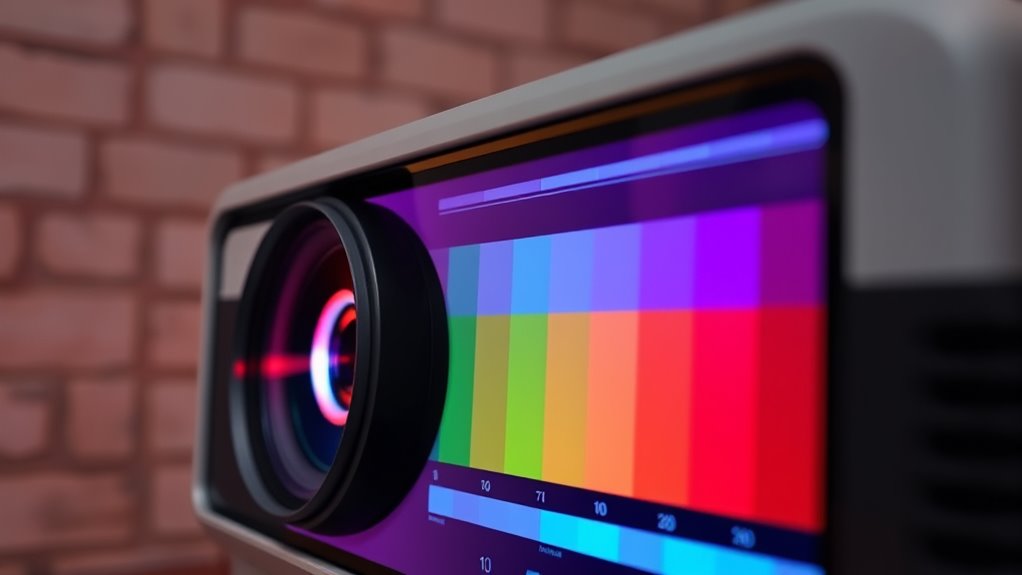
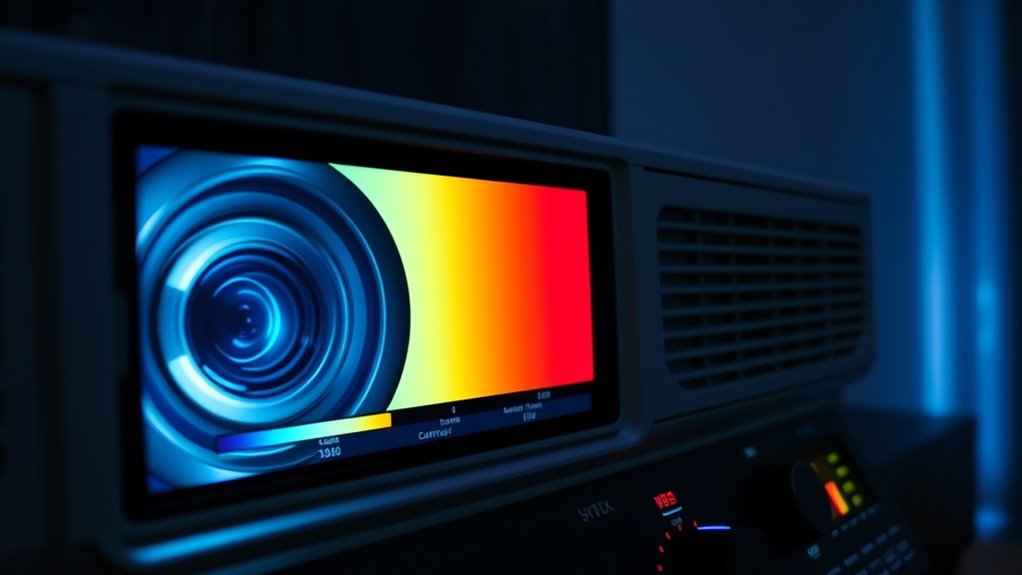
Use Test Patterns and Color Calibration Tools
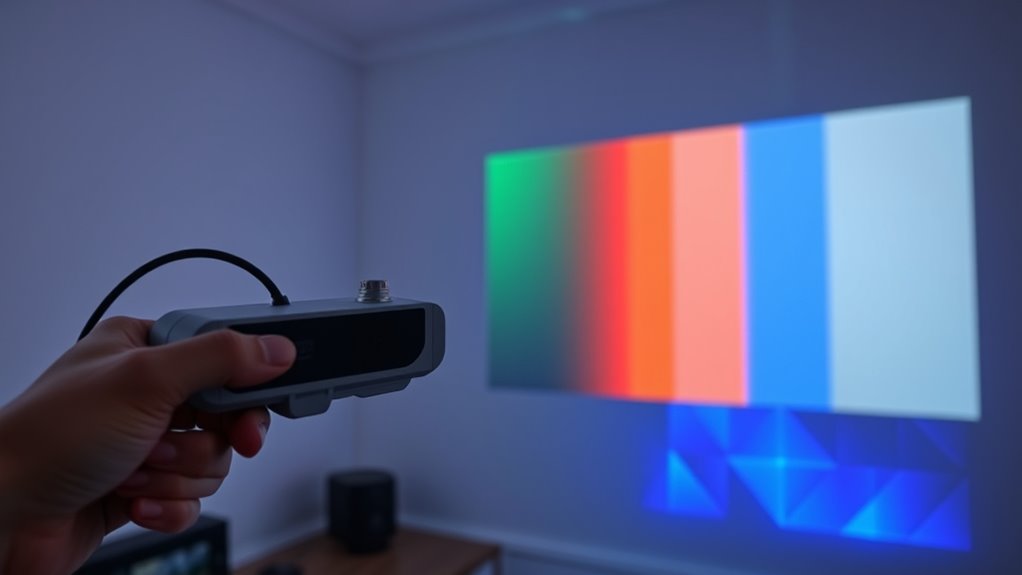
Using test patterns and calibration tools is vital for achieving ideal picture quality on your 4K projector. These tools help you identify color inaccuracies and fine-tune your display for optimal results. Start by displaying color test patterns, which reveal issues with color balance, contrast, and grayscale. Calibration tools, such as color meters and software, allow precise adjustments to hue, saturation, and brightness. To make the most of these tools, consider:
Test patterns and calibration tools are essential for perfecting your 4K projector’s picture quality.
- Using color test patterns to evaluate baseline color accuracy
- Employing calibration tools for detailed adjustments
- Repeating tests to verify improvements and maintain calibration
- Regular maintenance, such as filter replacement, ensures consistent performance and optimal image quality. These steps guarantee your projector reproduces colors accurately, providing a stunning viewing experience. Proper use of test patterns and calibration tools is a vital foundation for precise color calibration at home.
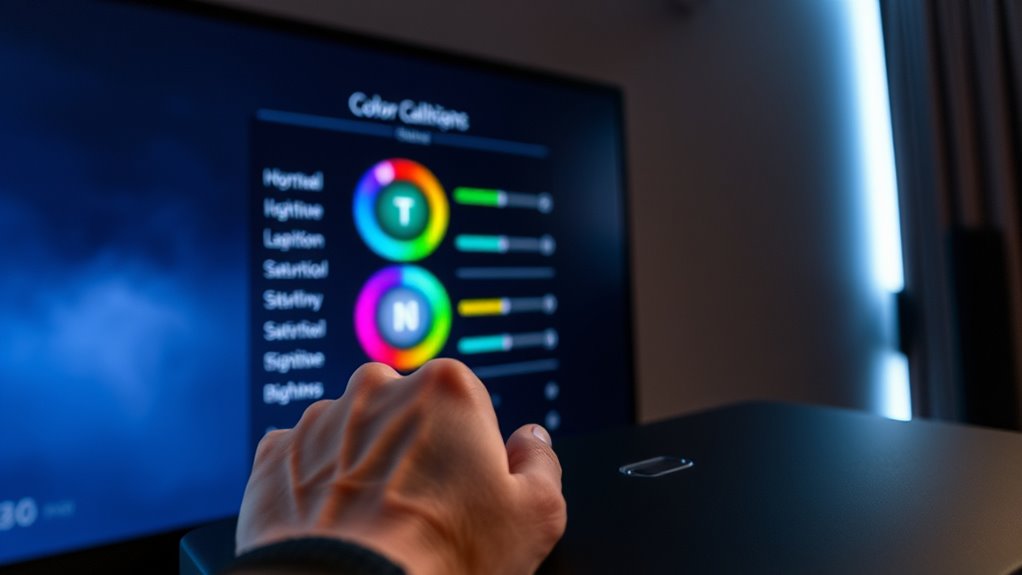
Fine-Tune Color Settings (Color Temperature, Tint, Etc.)
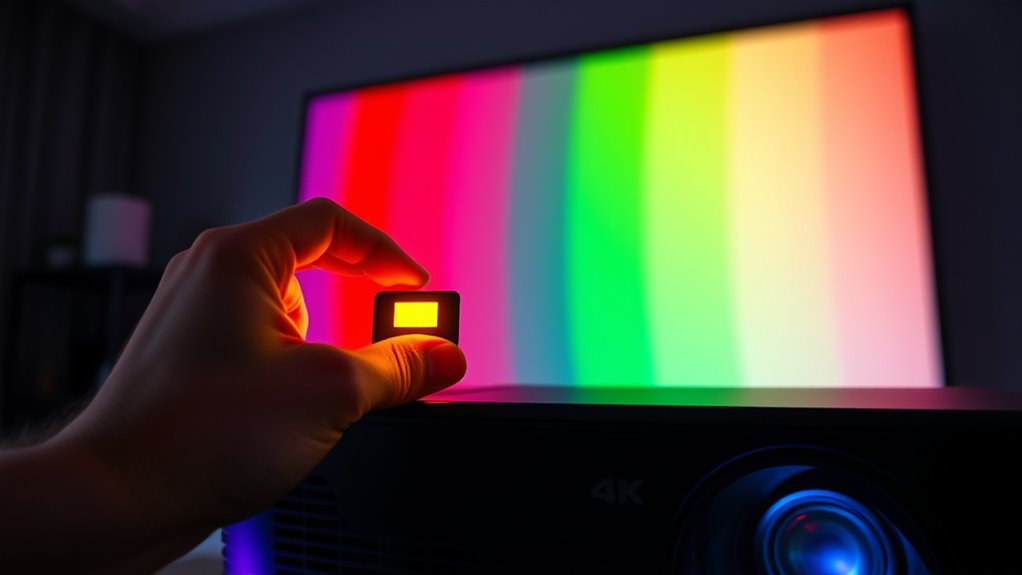
Fine-tuning your color settings, such as color temperature and tint, is essential for achieving accurate and natural-looking images on your 4K projector. Adjusting the color temperature helps you set the warmth or coolness of the picture, making whites appear more neutral. If whites look too blue or too yellow, tweak this setting until they look balanced. The tint control shifts the green-magenta balance in the image; fine-tuning it ensures skin tones and colors appear natural. Use your calibration tools or test patterns as a guide, making small adjustments and evaluating the results. Precise control over color temperature and tint helps eliminate color casts and enhances image realism, bringing your viewing experience closer to what the creator intended. Additionally, understanding color accuracy and how your display reproduces colors can further improve your calibration process.
Verify Calibration With Content and Adjust as Needed
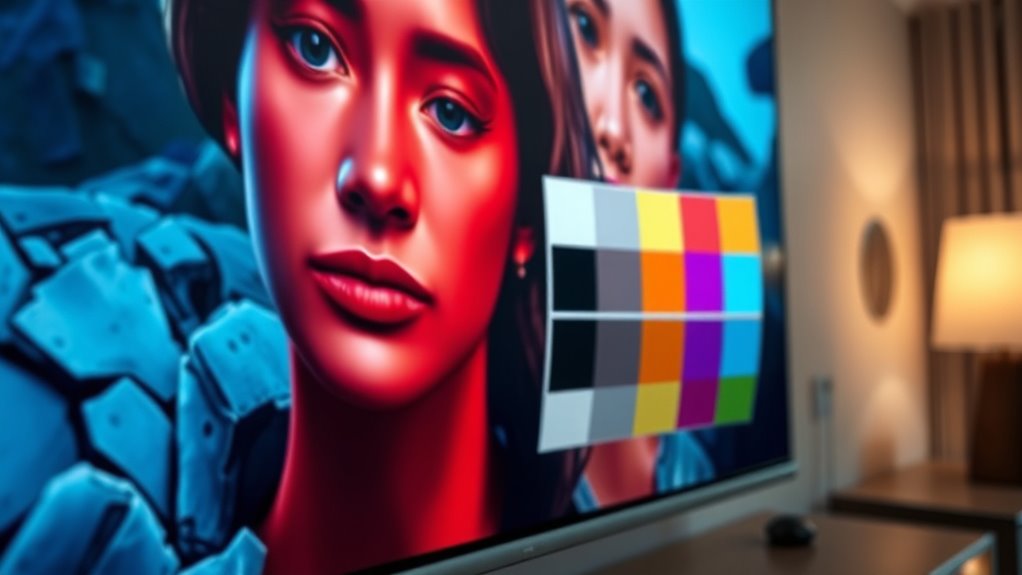
How can you guarantee your calibration settings look correct in real-world viewing? You need to perform content verification by watching familiar scenes or movies. This helps you see if the colors and brightness appear natural and consistent. If something seems off, calibration adjustment is necessary. To fine-tune your projector, consider these steps:
- Play a variety of content, including movies, sports, and nature scenes
- Observe for color shifts, dullness, or oversaturation
- Make small calibration adjustments based on what you see
- Remember that fathers and daughters often share a bond that can influence your viewing experience, reminding you to approach calibration with patience and care
This process ensures your calibration reflects actual viewing conditions. Remember, calibration isn’t a one-time task; ongoing content verification helps maintain ideal color accuracy over time. Adjust as needed to keep your 4K projector performing at its best.
Save Your Settings and Maintain Calibration
Once you’ve achieved the ideal calibration settings, saving them guarantees you won’t lose your adjustments and can easily restore them if needed. Use your projector’s menu to save custom color profiles, ensuring your preferred color grading remains intact. Regularly update and back up these profiles, especially after making significant tweaks or changes to your viewing environment. Maintaining calibration involves periodically revisiting your settings and reapplying your saved profiles to keep color accuracy consistent. By doing so, you prevent drift over time and guarantee the best picture quality. If your projector supports multiple profiles, switch between them for different content or lighting conditions. Saving and managing your color profiles helps sustain accurate color reproduction, giving you the best viewing experience every time you watch. Additionally, understanding color accuracy and how it can drift over time enables you to better maintain your calibration for optimal viewing.
Frequently Asked Questions
Can I Calibrate My Projector Without Professional Tools?
Yes, you can perform DIY calibration without professional tools. Start by using built-in menu options, adjusting brightness, contrast, and color temperature. Use test patterns available online or on calibration discs to guide your color adjustment techniques. Focus on balancing colors, ensuring skin tones look natural, and whites appear white. While not perfect, these simple steps help improve your projector’s color accuracy without needing specialized equipment.
How Often Should I Recalibrate My Projector’s Color Accuracy?
You should recalibrate your projector’s color accuracy every 6 to 12 months to maintain ideal color consistency. Regular calibration ensures your images stay true to their original tones and prevents color drift caused by environmental factors or bulb aging. If you notice any color discrepancies or image quality issues, it’s a good idea to recalibrate sooner. Consistent calibration helps you enjoy vibrant, accurate visuals over time.
Will Calibration Improve My Projector’s Color for All Content Types?
Sure, calibration magically perfects your projector’s color for every content type, right? Not quite. It enhances color consistency and guarantees your images look their best, but some content may still need manual tweaks for ideal results. Think of calibration as setting a baseline—then, for true content enhancement, you might need to adjust settings for specific scenes or genres. It’s a helpful step, but not a one-size-fits-all magic wand.
Is There a Risk of Damaging My Projector During Calibration?
Calibration risks are minimal if you follow proper projector safety guidelines. You won’t damage your projector by adjusting settings carefully, but avoid forcing controls or using unapproved tools. Always read the manufacturer’s instructions and use recommended calibration tools. If you’re cautious and attentive, you can safely calibrate your projector without risking damage, ensuring ideal color accuracy without compromising your device’s safety.
Can Calibration Settings Be Shared Between Different Projector Models?
Imagine passing a vibrant, perfectly calibrated color palette from one projector to another; unfortunately, calibration settings don’t easily transfer between different models. Because of model compatibility issues, calibration sharing isn’t practical across various projectors. Each device has unique color profiles, so you’ll need to fine-tune settings individually to achieve ideal accuracy, ensuring your images remain vivid and true to life.
Conclusion
Just like an artist refines their masterpiece, calibrating your projector guarantees every scene is vivid and true to life. With patience and a keen eye, you’ll bring your home theater to the level of Hollywood perfection. Remember, a little tweak here and there transforms an ordinary picture into a cinematic masterpiece. So, keep your settings sharp and your viewing experience legendary—your own personal spotlight awaits. Now, sit back and enjoy the show, perfectly calibrated just for you.