To calibrate audio delay with video test patterns, start by choosing patterns that clearly show lip movements and audio cues, like a speaking person or bouncing ball. Connect your devices properly and set up your display comfortably. Play the test pattern, then slightly adjust the audio delay so the lips match the sound seamlessly. Repeat the process until everything lines up perfectly. Continuing along, you’ll discover precise steps to fine-tune your synchronization.
Key Takeaways
- Select dynamic test patterns with clear lip movements and audio cues to accurately detect sync issues.
- Play the pattern and observe if lip movements match the audio; note any delay.
- Adjust the audio delay incrementally in your device or receiver settings, then recheck sync.
- Use timing tools or stopwatch to measure and fine-tune the delay until audio aligns precisely.
- Repeat testing and adjustments until lip movements and audio are perfectly synchronized.

DuvinDD 18 Pack pH Calibration Solution Powder 6.86/4.00/9.18, pH Buffer Calibration Solution Packets for Precisely Calibrate pH Meter, pH Tester Calibration Powder Packets
Suitable with most of pH meters, Ideal for Calibrating
As an affiliate, we earn on qualifying purchases.
As an affiliate, we earn on qualifying purchases.
Understanding the Importance of Audio-Visual Synchronization

When audio and visual elements are out of sync, it can markedly disrupt your viewing experience. You might notice lip sync issues where the sound doesn’t match the speaker’s mouth movements, making scenes feel unnatural. Audio latency, the delay between video and sound, is often the culprit. Even a slight delay can cause discomfort and reduce immersion. This mismatch distracts you from the content, whether you’re watching a movie, gaming, or attending a virtual meeting. Maintaining proper audio-visual synchronization ensures clarity and realism, keeping you engaged without frustration. Addressing these issues is essential for a seamless experience, especially when precise audio timing enhances the overall quality of your viewing. Correct calibration helps eliminate these distractions and improves your entertainment. Regular testing and adjustments can prevent issues caused by projector bulb wear that may affect image quality and synchronization.
AV sync test pattern for TV
As an affiliate, we earn on qualifying purchases.
As an affiliate, we earn on qualifying purchases.
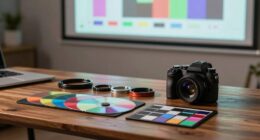
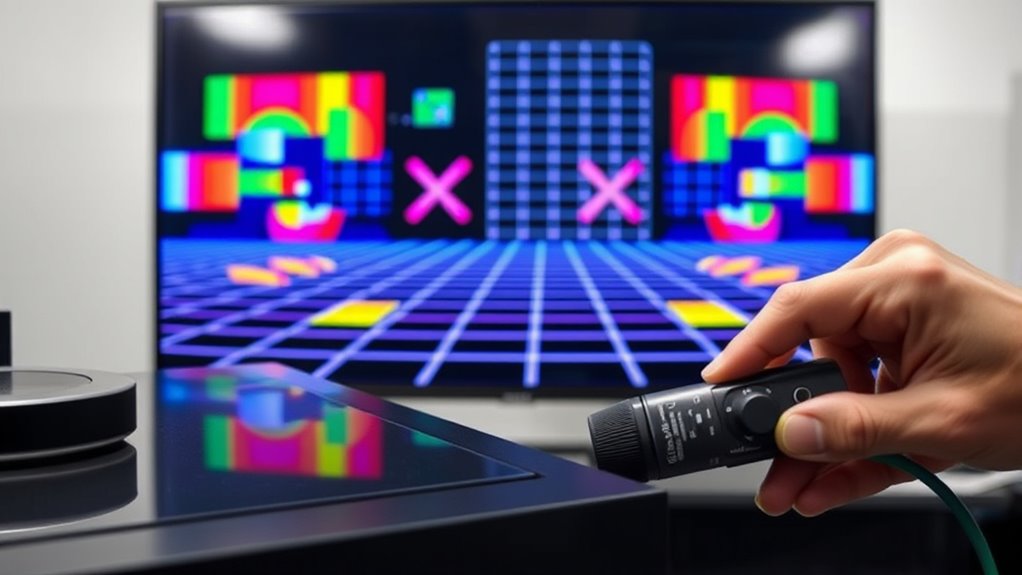
Selecting the Right Video Test Pattern for Calibration
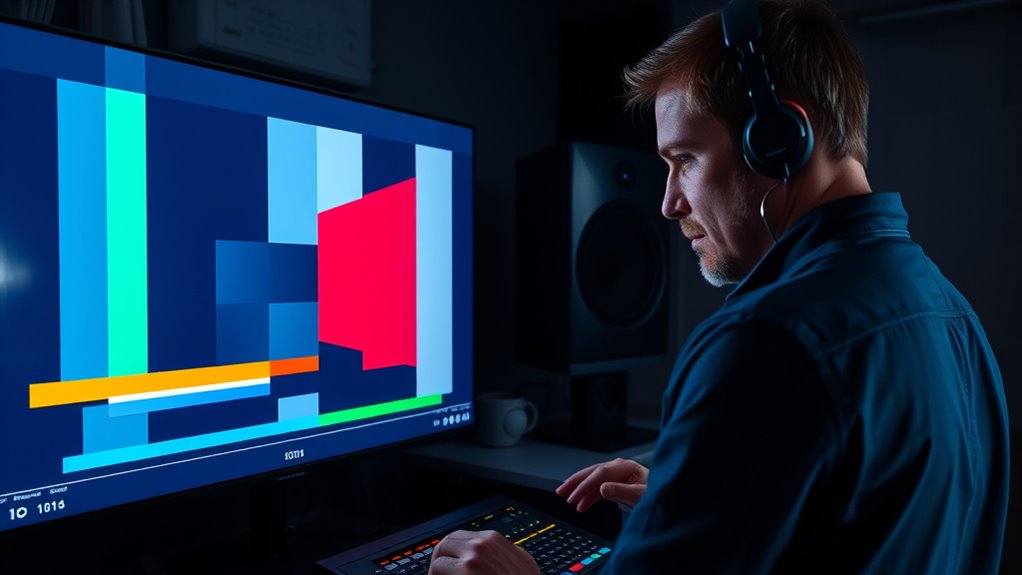
Choosing the right video test pattern is key to effectively calibrating your audio-visual setup. To address lip sync issues accurately, select a test pattern that clearly displays synchronized audio and video cues. Look for patterns with moving elements, like a bouncing ball or a person speaking, which make timing discrepancies obvious. The goal is to choose a test pattern that highlights lip movements and audio cues simultaneously, making it easier to identify sync problems. Effective test pattern selection helps you pinpoint delays and fine-tune your settings precisely. Avoid patterns that are too static or lack visual cues, as they won’t help you detect lip sync issues. Keep your choice simple, clear, and designed for synchronization testing to ensure accurate calibration. Additionally, understanding audio delay can help you make more precise adjustments during calibration.

Maxmartt 8pcs Adjust Frequency Screwdriver Set – Anti-static Kit for High Frequency Circuit Adjustment – Plastic Alignment Tool
【High-quality materials】This insulated screwdriver kit frequency screwdriver is adopted precision zirconia ceramics bits, good quality and durable. Strong…
As an affiliate, we earn on qualifying purchases.
As an affiliate, we earn on qualifying purchases.
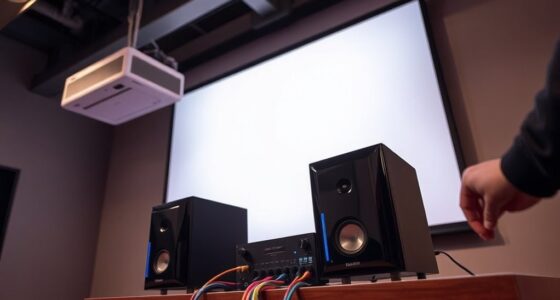
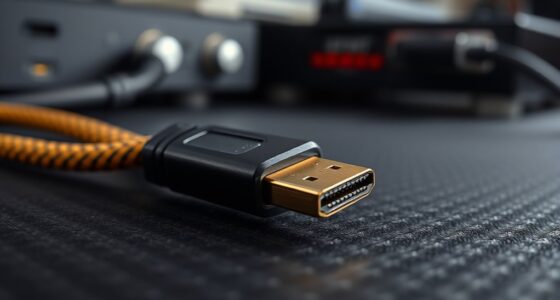
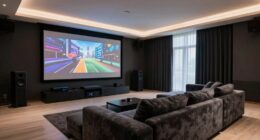
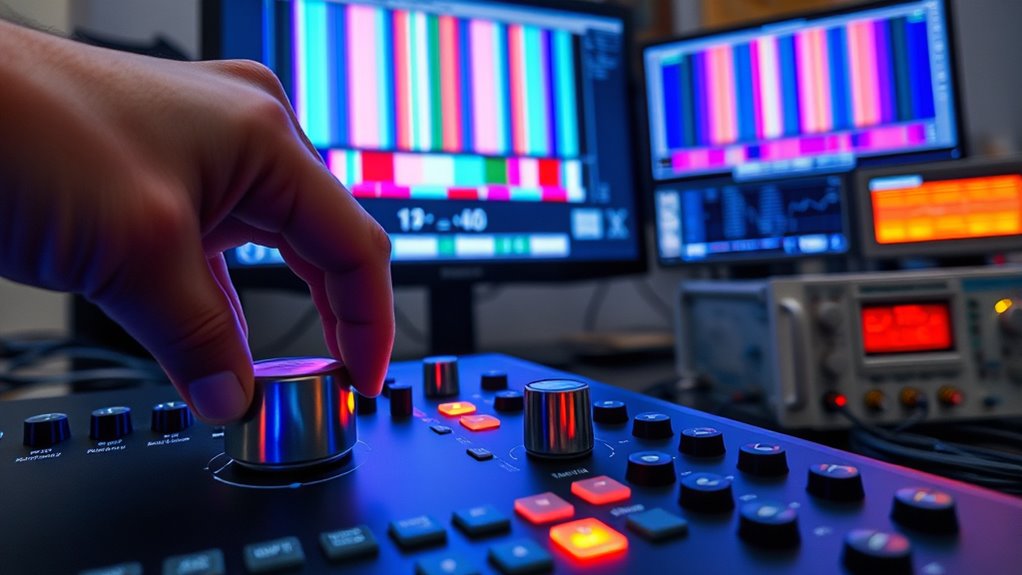
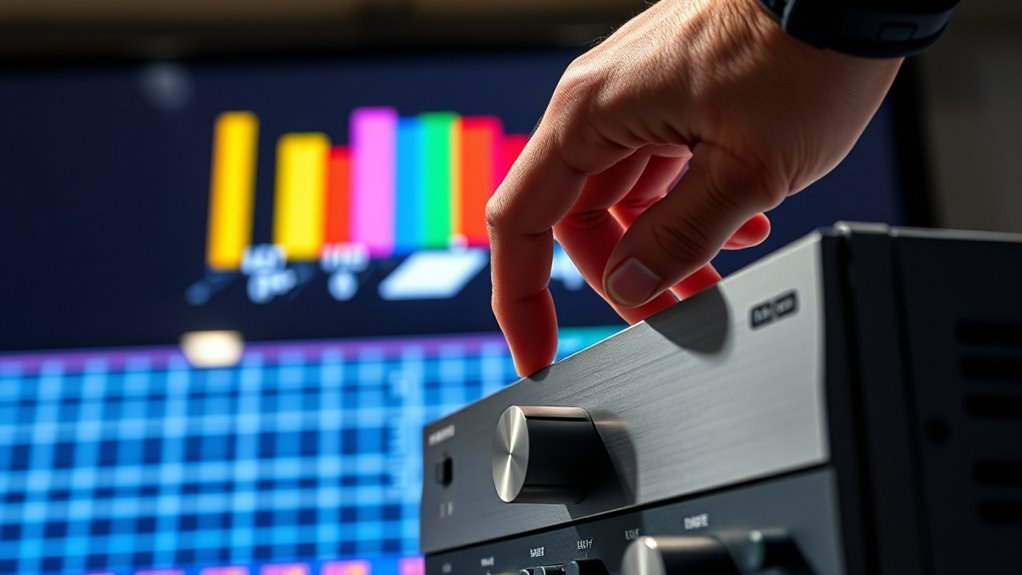
Setting Up Your Equipment for Accurate Testing
To guarantee accurate audio delay calibration, start by organizing and connecting your equipment properly. Ensure all devices—TV, audio receiver, and source—are powered on and connected with high-quality cables. Use calibration tools like test patterns and a reliable sound card to detect lip sync errors effectively. Position your test pattern display at a comfortable viewing height, avoiding reflections or glare that could distort visual cues. Confirm that your audio output is routed correctly through your calibration tools, and check that your audio delay settings are reset to default. Proper setup minimizes discrepancies between audio and video, making it easier to identify and correct lip sync errors later. A precise setup ensures your calibration results are accurate, saving you time and effort in the adjustment process. Additionally, understanding the audio-video synchronization process can help you troubleshoot issues more effectively.
video test pattern for lip sync
As an affiliate, we earn on qualifying purchases.
As an affiliate, we earn on qualifying purchases.
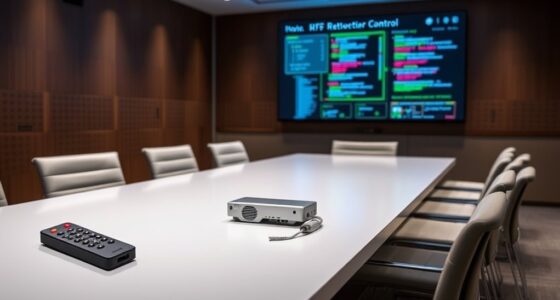
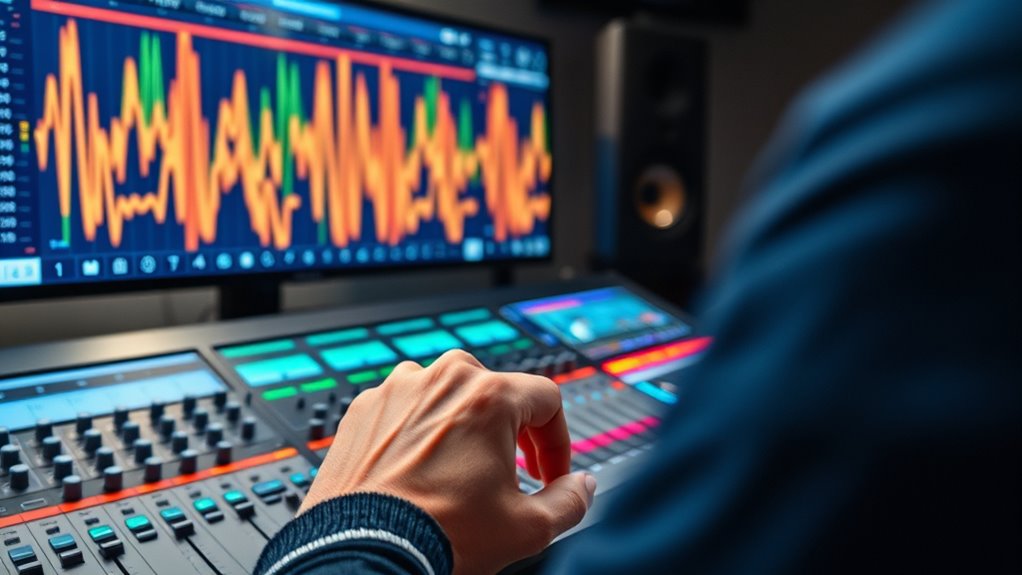
Step-by-Step Guide to Adjusting Audio Delay
Adjusting your audio delay involves a systematic process to synchronize sound with the visual display. First, play a video test pattern and observe if lip sync issues occur. Use calibration tools like audio delay settings on your receiver or TV to fine-tune the timing. Start with small adjustments, then test again until the lips match the audio perfectly. Keep track of your changes in the table below:
| Adjustment Step | Action |
|---|---|
| 1 | Play test pattern and observe lip sync |
| 2 | Slightly increase/decrease audio delay |
| 3 | Recheck lip sync after each adjustment |
| 4 | Confirm synchronization with test pattern |
Repeat until the audio and video are aligned seamlessly. Additionally, understanding content ownership rights can help ensure your media setup respects copyright and licensing agreements.
Verifying and Fine-Tuning Your Calibration Results
Once you’ve made your adjustments, it’s crucial to verify that your audio and video are perfectly synchronized. Play a video test pattern and focus on the lip sync. If the speaker’s lip movements don’t match the sound, your sound delay needs further fine-tuning. Use a stopwatch or audio delay settings to make small adjustments, then recheck the test pattern. It’s normal to need a few iterations to get it just right. Make certain that the audio doesn’t lag behind or lead the video, as poor lip sync can be distracting. Take your time with this process, and listen carefully. Properly calibrated sound delay improves your viewing experience, making sure both audio and video are in harmony. Additionally, calibration techniques can help optimize your setup for the best possible synchronization.
Frequently Asked Questions
How Often Should I Recalibrate My Audio Delay?
You should recalibrate your audio delay whenever you change your speaker placement or add new soundproofing techniques, as these can affect sound synchronization. Additionally, do it if you notice audio and video falling out of sync during use. Regular checks every few months help maintain ideal audio quality. Proper calibration ensures your viewing experience remains seamless, especially when upgrading equipment or adjusting your setup for better acoustics.
Can I Calibrate Audio Delay Without Specialized Equipment?
Imagine syncing a perfectly timed dance—without specialized equipment, you can still tune your audio delay settings. Using test pattern usage, you can manually adjust audio delay by comparing lip movements to sound. While it’s less precise than professional tools, this method helps you find a decent sync. Simply play a test pattern, listen carefully, and tweak until audio and video align smoothly, improving your viewing experience.
What Are Common Signs of Audio-Visual Sync Issues?
You notice lip sync problems or feel that audio lag detection is off when your audio and video aren’t aligned. Common signs include voices that sound out of sync with mouth movements, delayed audio after video starts, or a mismatch during fast-paced scenes. These issues often indicate a sync problem, and recognizing them helps you know when to adjust your audio delay settings for a better viewing experience.
Does Room Acoustics Affect Audio Delay Calibration?
Yes, room acoustics definitely affect audio delay calibration. Poor acoustics, especially with sound reflection and echo, can cause delays that make audio seem out of sync with video. When you calibrate, consider how room acoustics influence sound reflection, as they can skew your perception of timing. Improving room acoustics with acoustic panels or minimizing reflective surfaces helps achieve more accurate calibration and better audio-visual sync.
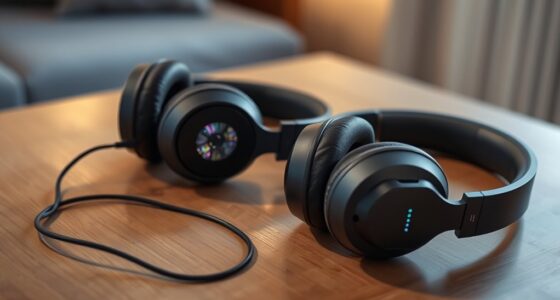
Is Calibration Necessary for All Types of Audio Equipment?
You might think calibration isn’t needed for all audio equipment, but it actually helps guarantee optimal performance. Different audio equipment compatibility varies, so calibration techniques can fine-tune delays for clearer sound. Even basic setups benefit from calibration. Ignoring it can cause lip-sync issues or audio lag. Whether you have a simple speaker system or advanced home theater, using calibration techniques guarantees your audio aligns perfectly with your video, enhancing your viewing experience.
Conclusion
Now that you’ve calibrated your audio delay, think of it as tuning an orchestra—each element harmonizing perfectly. With your equipment in sync, your viewing experience becomes a vivid symphony of sight and sound, free from discord. Remember, a small adjustment can turn chaos into clarity, transforming your home theater into a masterpiece. Keep fine-tuning and enjoy the seamless harmony where every beat and byte dance together beautifully. Your perfect audiovisual symphony awaits!