Pixel shifting enhances your images by moving the camera sensor slightly during capture, combining multiple shots to increase resolution, color accuracy, and detail. To succeed, you need a sturdy tripod, proper camera settings like manual focus and low ISO, and careful scene alignment. This technique is perfect for astrophotography, macro shots, or large prints. If you want to master these steps and tips, keep exploring the core concepts and practical details behind pixel shifting.
Key Takeaways
- Proper scene alignment and stable equipment are essential to prevent artifacts and ensure accurate pixel shifts.
- Use a sturdy tripod, manual focus, and sensor calibration to achieve consistent, high-quality results.
- Capture multiple images with precise pixel shifts, maintaining consistent exposure and focus settings.
- Post-process with advanced software for alignment, color correction, and seamless blending of shifted images.
- Pixel shifting enhances resolution, color accuracy, and detail, making it effective for professional photography and digital art.

Celestron – Heavy Duy Alt-Azimuth Tripod – Sturdy Extendable Aluminum Tripod – Use for Spotting Scope, Binocular, Camera, and Small Telescope – Slow Motion Handles for Smooth Small Adjustments
IDEAL SUPPORT FOR YOUR OPTICS: Use your spotting scope, binocular, camera, or small telescope for extended viewing sessions…
As an affiliate, we earn on qualifying purchases.
As an affiliate, we earn on qualifying purchases.
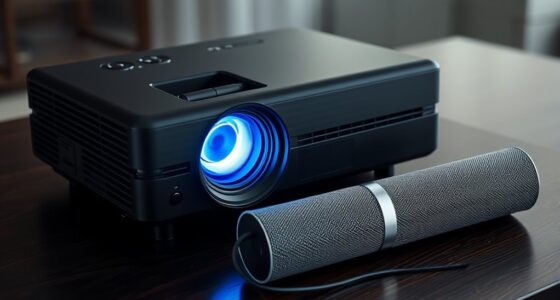
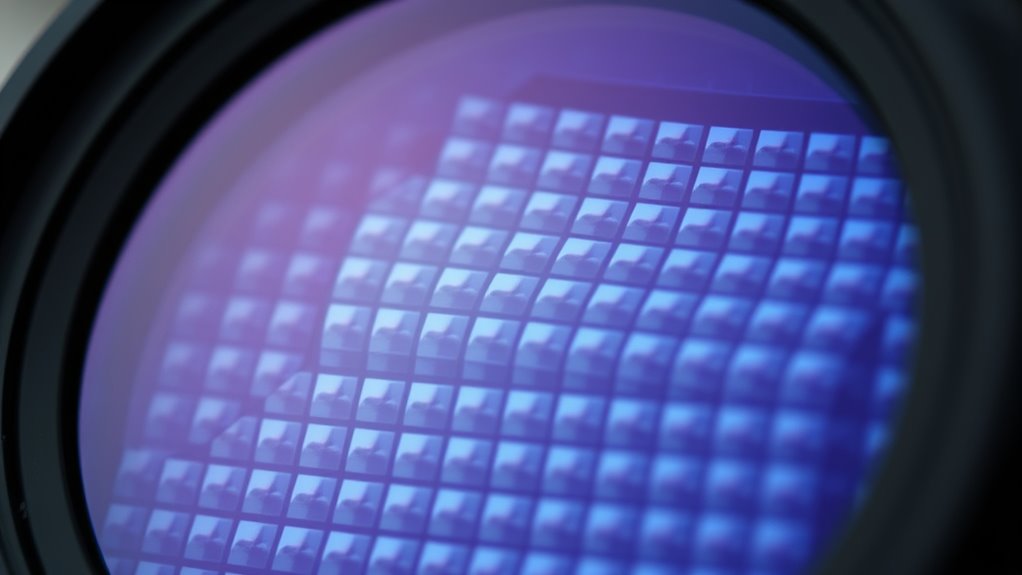
What Is Pixel Shifting and How Does It Work?
Have you ever wondered how some high-end projectors produce stunningly sharp images despite limited pixel counts? The secret lies in pixel shifting, a technique that enhances image quality by capturing multiple images with slight sensor movements. This process relies on precise sensor alignment, ensuring each shifted pixel aligns perfectly to create a higher resolution image. By combining these images, pixel shifting improves color accuracy and detail, making the picture look incredibly sharp. It essentially mimics a higher pixel count without physically increasing the projector’s resolution. This technology allows projectors to deliver richer colors and clearer images, even with hardware that might seem limited. Additionally, sensor calibration plays a crucial role in maintaining the accuracy of pixel shifts, ensuring optimal image quality. So, pixel shifting is a clever way to get the most out of your display, producing professional-quality visuals.

EF/EF-S 420-800mm F8.3 Telephoto Zoom Lens(MF) for Canon EOS Rebel T8i/T7i/T7/T6i/T5/T3i/T2i/XSi/SL3/SL2/T100/90D/80D/70D/50D/5D Mark IV/6D II/7D II/1D X III II-Manual Focus DSLR Cameras Lenses(Black)
[Easy-to-Use Warm Tips] – ⚠Fully manual(Advantages: precise focus control, creative freedom, high adaptability, stability and durability, and learning…
As an affiliate, we earn on qualifying purchases.
As an affiliate, we earn on qualifying purchases.
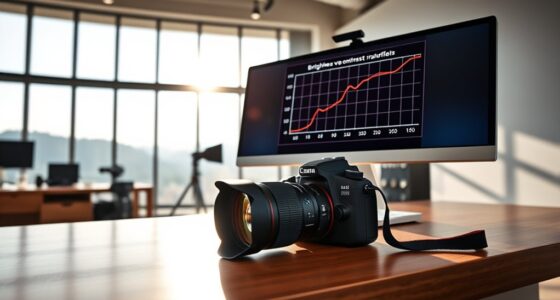
The Benefits of Using Pixel Shifting in Photography

Using pixel shifting in photography offers significant advantages by capturing images with enhanced detail and color accuracy. This technique effectively increases the sensor resolution, allowing you to produce high-quality images with finer details that are usually lost in standard shots. By shifting the sensor slightly between shots, pixel shifting combines multiple exposures into a single, more detailed image. This process also improves color accuracy, as it reduces color artifacts and provides richer, more precise hues. As a result, your photos will have sharper textures and more vibrant colors, making them ideal for large prints or detailed editing. Additionally, Hyundai Tuning techniques can be combined with advanced camera settings to further enhance image quality. Overall, pixel shifting helps you achieve professional-level results without needing expensive equipment, making it a valuable tool for serious photographers seeking maximum image quality.

DSLRKIT Lens Focus Calibration Tool Alignment Ruler Folding Card(Pack of 2)
This compact ruler allows you to determine if your lens is auto-focusing accurately as it should. It is…
As an affiliate, we earn on qualifying purchases.
As an affiliate, we earn on qualifying purchases.
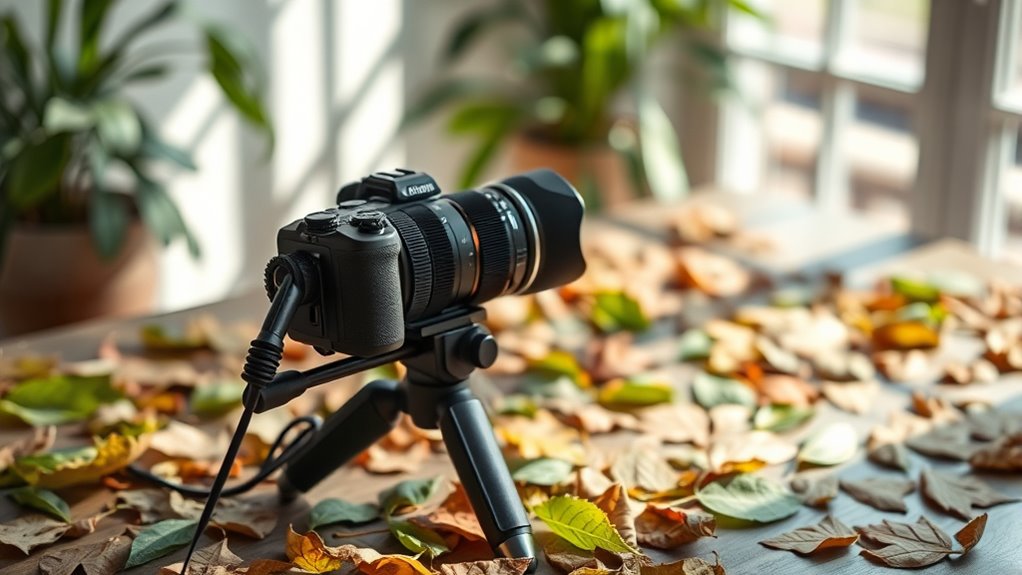
Essential Equipment and Settings for Pixel Shifting
To get the best results with pixel shifting, you need a sturdy tripod that prevents any movement during shots. Setting your camera to the right exposure, ISO, and focus mode is vital for alignment and clarity. Pay close attention to these equipment choices and settings to guarantee sharp, high-quality images. Additionally, understanding the importance of camera settings and how they influence image quality can further enhance your results.
Tripod Stability Tips
Ensuring tripod stability is vital for successful pixel shifting, as even minor movements can ruin image alignment and detail. Start with a sturdy tripod setup, choosing one that doesn’t wobble or shift easily. Lock all tripod legs securely and use a level to ensure the camera is perfectly horizontal. Activate vibration reduction (VR) or image stabilization (IS) on your lens or camera to minimize vibrations caused by handling or environmental factors. Avoid touching the camera or tripod during the shoot, and consider using a remote shutter release or timer to prevent movement when pressing the shutter button. Weigh down the tripod with weights if shooting in windy conditions. Additionally, understanding how automation technologies can help streamline your setup process can ensure more consistent stability and reduce setup time. These steps help maintain steady positioning, guaranteeing sharp, aligned images vital for effective pixel shifting.
Optimal Camera Settings
Choosing the right camera settings and equipment can make or break your pixel shifting results. Start by ensuring your camera’s sensor is properly calibrated to avoid alignment issues, which can cause image artifacts. Use manual focus or autofocus techniques that deliver consistent results—preferably single autofocus points to maintain sharpness across shots. Set your camera to the highest resolution and use a low ISO to minimize noise. Disable any image stabilization to prevent unintended shifts during capture. Adjust your shutter speed to avoid motion blur, especially in stable lighting conditions. With these ideal settings, your images will align more precisely during pixel shifting, resulting in sharper, more detailed composite images. Proper sensor calibration and focus consistency are key to successful pixel shifting.

MCGILLS Pixel Magic Software with Bonus Graphics CD, Set of 2
Ideal to digitally create scrapbook pages, cards, invitations and more
As an affiliate, we earn on qualifying purchases.
As an affiliate, we earn on qualifying purchases.
Step-By-Step Guide to Capturing Images With Pixel Shifting
Capturing images with pixel shifting involves a precise sequence of steps that maximize detail and color accuracy. First, verify your camera’s sensor calibration is perfect, as misalignment can affect results. Next, set your camera to manual mode, choose the highest resolution, and disable any in-camera noise reduction. Then, follow these steps:
- Take your initial shot, ensuring the camera is perfectly steady.
- Shift the sensor or image position according to your camera’s pixel shift mode—usually by one pixel in each direction.
- Capture each shifted image, maintaining consistent exposure and focus.
- Review the images to confirm proper alignment and color consistency.
- Understand that sensor calibration is crucial for achieving optimal pixel shifting results, as misalignment can compromise the final image quality.
This process helps achieve ideal sensor calibration and enhances color accuracy in your final composite.
Processing and Combining Pixel Shift Photos
Once you’ve captured all your pixel-shifted images, the next step is to process and combine them to create a high-resolution, accurate final image. Begin with sensor calibration to correct any misalignments or color inconsistencies across your shots. Use dedicated software that can align each image precisely, guaranteeing pixel-perfect registration. During blending, focus on seamless color blending to avoid harsh transitions, which enhances the overall image quality. Proper calibration guarantees color accuracy and sharpness, while effective blending merges the multiple exposures smoothly. Take your time to verify alignment and color consistency before finalizing the merge. Additionally, ensuring consistent contrast ratio across images helps maintain depth and clarity in the final result. The result will be a detailed, accurate image that leverages the full potential of pixel shifting, giving you stunning resolution and true-to-life colors.
Common Challenges and How to Overcome Them
Even with careful processing and blending, you may encounter common issues that can compromise your pixel-shifted images. Camera shake is a frequent problem, causing misalignment and blurry details. Software limitations can also hinder results, especially if your editing tools struggle with precise alignment or artifact removal. To overcome these challenges:
Camera shake and software limits can affect pixel-shifted images; use stability and advanced tools to improve results.
- Use a sturdy tripod to minimize camera shake during shooting.
- Enable image stabilization features on your camera or lens.
- Choose software with robust alignment algorithms designed for pixel-shift images.
- Manually fine-tune alignment and corrections when automatic processes fall short.
- Be aware of preppy dog names that might influence your choice of terms or concepts in image naming or branding.
Addressing these issues ensures your pixel-shifted photos stay sharp, accurate, and true to your vision.
Tips for Maximizing Image Quality With Pixel Shifting
To get the best results with pixel shifting, start by adjusting your camera settings for ideal exposure and focus. Make sure your scene is accurately aligned before capturing, as even small shifts can affect image quality. Paying attention to these details helps you maximize the benefits of pixel shifting and produce sharper, more detailed images. Additionally, understanding the importance of precise alignment can further enhance your results and prevent artifacts.
Proper Camera Settings
Achieving ideal results with pixel shifting requires careful adjustment of your camera settings. First, verify your sensor is properly calibrated to prevent color shifts or misalignments. Next, enable lens correction features to minimize distortion and vignetting that could affect image quality. Third, set your camera to a low ISO to reduce noise, which is essential for capturing fine details. Finally, manually focus and lock it in place to maintain consistent sharpness across shifts. These steps help optimize image quality by addressing sensor and lens issues upfront. Properly calibrated sensors and corrected lenses ensure your pixel-shifted images are sharp and true to life, giving you the best possible detail and color fidelity in your final composite. Additionally, understanding how AI-driven security systems can enhance your workflow may help protect your equipment during shoots.
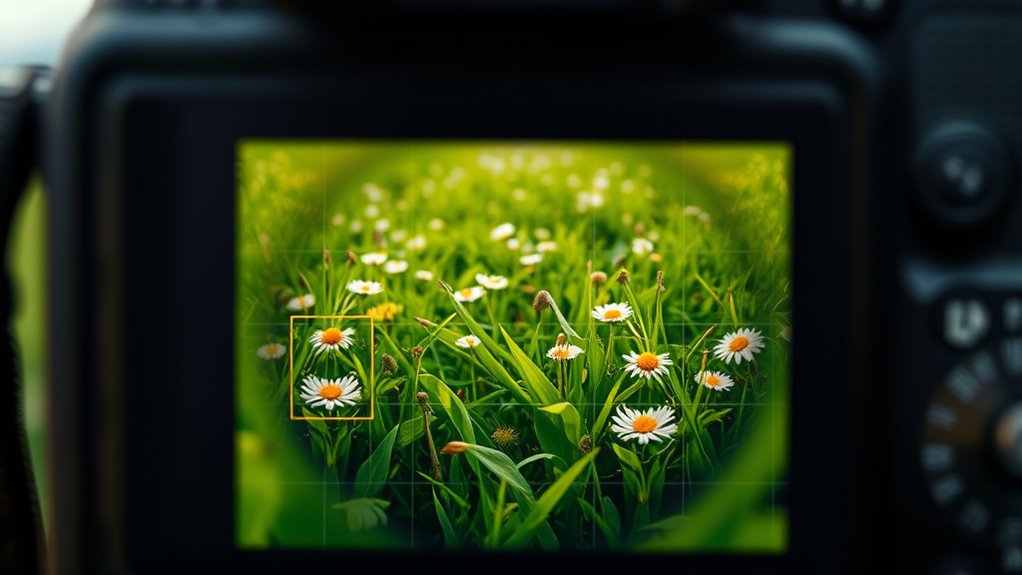
Accurate Scene Alignment
Once your camera settings are optimized, ensuring precise scene alignment becomes the key to maximizing image quality with pixel shifting. Accurate scene alignment prevents color inaccuracies and ghosting artifacts, which can degrade image clarity. To achieve this, verify your lens calibration regularly; misaligned lenses can cause shifts that compromise pixel accuracy. Use a sturdy tripod to keep the camera steady between shots, and enable any built-in alignment tools your camera offers. Pay close attention to focus and framing, making sure the scene remains consistent across all captures. Small adjustments in alignment can considerably improve color accuracy and overall detail. By meticulously aligning your scene, you ensure each pixel shift contributes to a sharper, more vibrant final image.
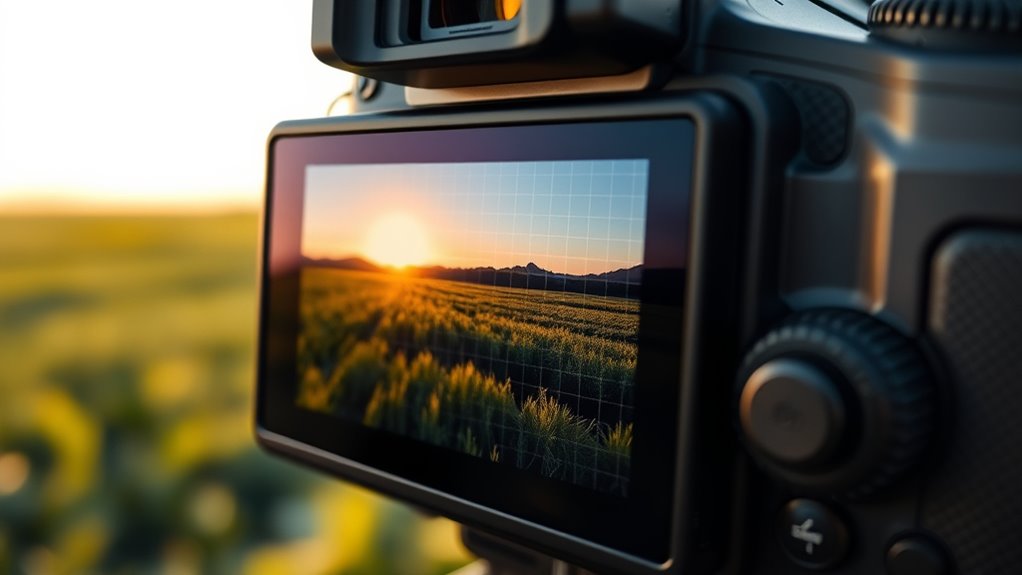
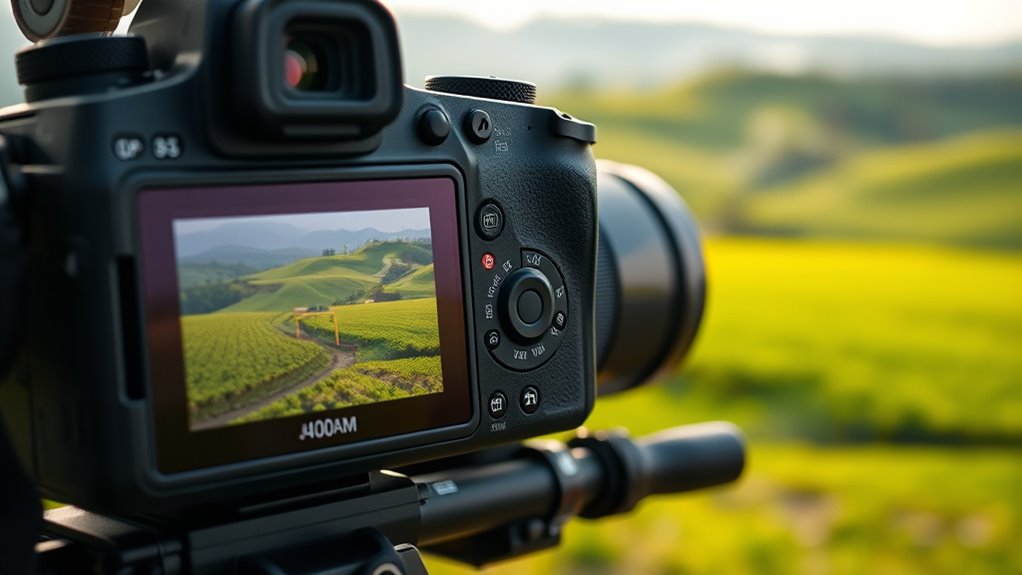
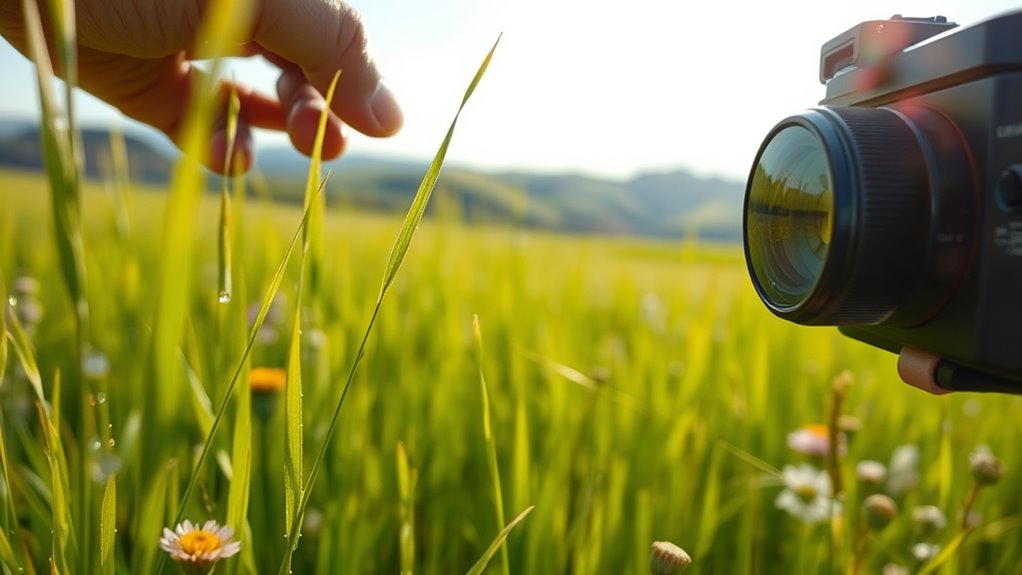
Real-World Examples and Creative Applications
Real-world examples of pixel shifting demonstrate how this technique can enhance both photography and digital art. In astrophotography techniques, pixel shifting reduces color artifacts and boosts detail, making stars and celestial objects pop. For creative landscape ideas, it can increase resolution and clarity, capturing intricate textures in mountains or forests. Consider these applications:
Pixel shifting enhances astrophotography and landscapes, revealing details and reducing artifacts for stunning digital art.
- Enhancing night sky shots by revealing faint stars and nebulae.
- Creating ultra-high-resolution digital landscapes for prints or art projects.
- Improving macro photography of textured surfaces like rocks or leaves.
- Developing unique digital art by combining multiple pixel-shifted images for surreal effects.
Additionally, understanding the history behind digital image processing can help you appreciate how pixel shifting has evolved as a technique.
These creative uses show the versatility of pixel shifting, helping you push the limits of your photography and digital art projects with precision and clarity.
Frequently Asked Questions
Can Pixel Shifting Be Used With Any Camera Model?
Pixel shifting isn’t compatible with all camera models. You need to check your camera’s sensor compatibility and whether its firmware supports pixel shifting features. Some newer cameras have built-in pixel shifting modes, while older models might require firmware updates or external accessories. Always verify your camera’s specifications and firmware version before attempting pixel shifting, as using unsupported equipment can lead to errors or subpar results.
How Does Lighting Affect Pixel Shifting Results?
Lighting conditions are like the foundation of a house—crucial for strong image quality. When lighting is poor or uneven, pixel shifting results can be less sharp or have artifacts. Bright, consistent light enhances the camera’s ability to capture detailed images, maximizing the benefits of pixel shifting. So, for ideal results, you want well-lit scenes, ensuring your image quality stays high and your pixel shifting efforts pay off.
Is Specialized Software Necessary for Processing Pixel Shift Images?
You don’t necessarily need specialized software for processing pixel shift images, but your software requirements depend on your camera compatibility and the complexity of your edits. Many modern photo editing programs can handle pixel shift data, but some advanced features might require dedicated software. Make sure your camera’s raw files are supported and that your software can interpret pixel shift metadata to achieve ideal results.
What Are Common Mistakes to Avoid During Pixel Shifting?
Think of pixel shifting as dancing on a tightrope—you need balance and precision. Avoid common mistakes like ignoring software compatibility or camera compatibility, which can cause your images to stumble. Don’t rush the process or forget to stabilize your camera, as shaky steps ruin the perfect shot. Always double-check your gear and software, ensuring they dance together smoothly. With patience and attention, you’ll capture stunning, high-quality images every time.
How Does Pixel Shifting Impact Shooting Speed and Workflow?
Pixel shifting can slow down your shooting speed because it requires precise sensor alignment and multiple captures, impacting your workflow. Image stabilization helps manage slight movements, but if misaligned, it can cause delays. You’ll need to plan for extra setup time and be patient during processing. While it improves image quality, balancing pixel shifting with your shooting pace guarantees you don’t compromise efficiency.
Conclusion
By mastering pixel shifting, you open the potential for stunning, ultra-high-resolution images. It’s not just a gimmick; it’s a proven way to capture incredible detail and color accuracy. When you understand the process and practice careful technique, you’ll find that pixel shifting becomes a powerful tool in your photography arsenal. So, experiment, troubleshoot, and refine—because the truth is, the best images come from pushing boundaries and embracing innovation.