
To improve your projector room’s acoustics without overdoing it, focus on simple, cost-effective steps. Add acoustic panels or foam to walls and behind the screen to absorb sound waves. Place rugs or carpets on the floor to reduce reflections. Seal gaps around doors and windows to block external noise. Adjust speaker placement at ear level and away from walls for clearer sound. Want to discover more ways to enhance your space easily? Keep exploring for effective tips.
Key Takeaways
- Add acoustic panels or foam behind the projector screen and on walls to absorb sound without major renovations.
- Use rugs or carpets on the floor to reduce sound reflections and echo.
- Position speakers at ear level and away from walls for clearer, more balanced audio.
- Seal gaps around doors and windows with weatherstripping to block external noise entry.
- Arrange soft furnishings and remove obstructions to improve sound dispersion and reduce reverberation.
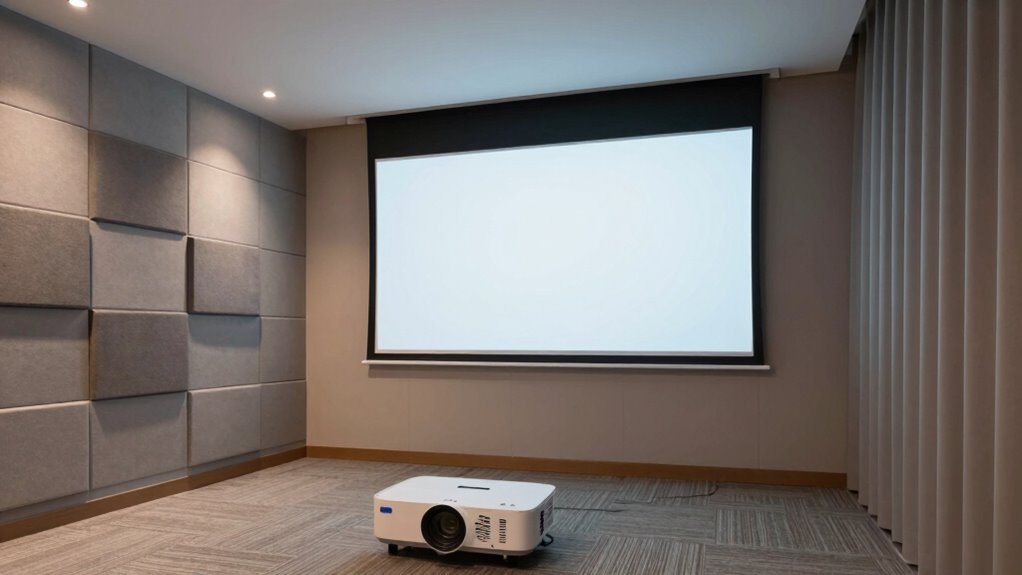
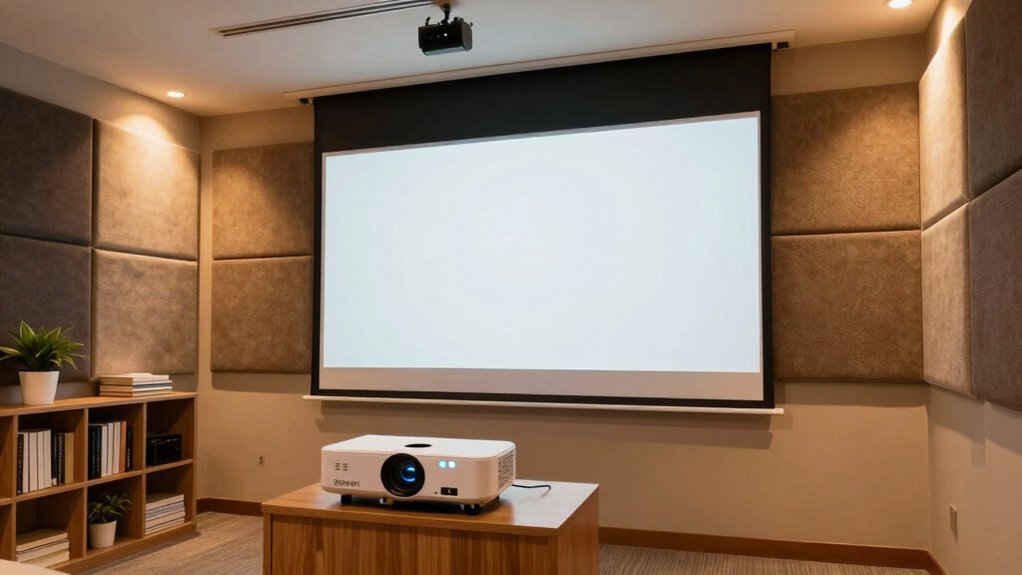
Have you ever noticed how echoey or muffled a projector room can sound, making it hard to hear presentations clearly? This issue often stems from poor acoustics, but you don’t need to overhaul the space entirely to improve it. Small adjustments, especially in soundproofing techniques and speaker placement, can make a significant difference. Soundproofing techniques help reduce unwanted noise and echo, creating a more controlled environment. Start by adding acoustic panels or foam to the walls, ceiling, and even behind the projector screen. These materials absorb sound waves, preventing them from bouncing around and creating that echoey effect. Rugs or carpets on the floor also help dampen sound reflections, especially in rooms with hard flooring. If you want to go a step further, consider sealing gaps around doors and windows with weatherstripping or acoustic seals. These small steps can prevent external noise from entering and internal sound from leaking out, making the room feel more contained and less reverberant.
Another essential aspect is speaker placement. Proper positioning of your audio equipment can drastically improve sound clarity. Place speakers at ear level when seated, aiming them directly at the audience for even sound distribution. Avoid placing speakers too close to walls or corners, as this can cause sound reflections and muddiness. Instead, position them slightly away from surfaces to allow sound waves to disperse naturally. If your projector room uses a sound system, experimenting with speaker angles and distances can help find the best setup. Using directional speakers can also focus sound toward the audience, reducing echoes and background noise. Additionally, consider the room’s layout; removing obstructions and ensuring the speakers aren’t blocked by furniture or equipment keeps the sound unobstructed. Incorporating knowledge of room acoustics can further optimize sound quality and minimize reverberation issues. Properly understanding and applying room acoustics principles can help you identify the best spots for sound treatment and improve overall audio clarity.
Implementing these strategies doesn’t mean you need to spend a fortune or permanently alter your space. Simple adjustments like adding soft furnishings, repositioning speakers, and sealing gaps can transform your projector room into a space with clearer, more intelligible sound. You’ll notice that presentations become more engaging and easier to follow, without the distracting echoes or muffled audio. By focusing on soundproofing techniques and smart speaker placement, you create an environment where audio quality supports your visual content, making every presentation more professional and enjoyable. The key is to start small, test different configurations, and gradually refine your setup until you achieve the perfect balance of sound clarity and comfort.

Focusound 52 Pack Acoustic Foam Panels 1" x 12" x 12" Sound Proof Foam Panles Soundproofing Noise Cancelling Wedge Panels for Home Office Recoding Studio with 300PCS Double-Side Adhesive
- Soundproofing Design: Triangular grooves for noise absorption
- Includes Adhesive Tape: 300pcs double-sided adhesive for easy installation
- Easy Shape Recovery: Soak in water to restore foam shape
As an affiliate, we earn on qualifying purchases.
As an affiliate, we earn on qualifying purchases.
Frequently Asked Questions
What Specific Materials Are Best for Acoustic Treatment?
You should choose materials like acoustic panels, foam, or mineral wool for effective acoustic absorption, as they are durable and specially designed to dampen sound. These materials are lightweight, easy to install, and withstand frequent use without degrading. Avoid overly dense or brittle options. Properly selected acoustic treatments will improve sound clarity and reduce echo, enhancing the projector room’s acoustics without overdoing it.
How Much Budget Should I Allocate for Acoustic Improvements?
You should allocate a budget that balances your needs, your space, and your goals. Budget planning requires careful consideration of acoustic investment, prioritizing essential treatments without overspending. Start small, focusing on cost-effective solutions like panels or bass traps, then expand if needed. Remember, a well-planned budget guarantees you improve room acoustics effectively, making your projector experience clearer and more immersive without breaking the bank.
Can DIY Acoustic Solutions Be as Effective as Professional Ones?
DIY acoustic solutions can be effective, but you might face challenges like inconsistent materials or poor installation that professional solutions typically avoid. While DIY efforts are budget-friendly and customizable, professionals bring expertise, proven techniques, and better results. If you’re willing to invest time and learn, DIY can improve acoustics, but for ideal quality and long-term durability, the professional advantages often outweigh DIY challenges.
How Do I Measure Room Acoustics Accurately?
Think of measuring room acoustics as tuning a musical instrument—you want precise notes, not noise. Use a sound level meter or smartphone app to gauge decibel levels and identify problem areas. Place soundproof curtains to control reflections, and bass traps to manage low-frequency resonances. By systematically capturing these data points, you’ll understand your room’s acoustic signature, guiding you to make effective improvements without overdoing it.
What Are Common Mistakes to Avoid When Treating a Projector Room?
When treating your projector room, avoid overdoing soundproofing techniques, which can make the space overly dampened. Incorrect acoustic panel placement can create dead zones or uneven sound. Be cautious not to block vents or windows when installing panels. Instead, balance sound absorption with natural acoustics, and place panels strategically to enhance clarity without sacrificing room liveliness. This approach guarantees effective acoustics without compromising comfort or sound quality.
soundproof foam panels for walls
As an affiliate, we earn on qualifying purchases.
As an affiliate, we earn on qualifying purchases.
Conclusion
Remember, a little effort goes a long way in improving your projector room’s acoustics. By adding some soft furnishings, strategic panels, and ensuring proper speaker placement, you’ll notice clearer sound without overdoing it. Keep in mind, “Rome wasn’t built in a day,” so take small steps and enjoy the process. With patience and a few tweaks, your space will become more comfortable and enjoyable for every viewing. Happy listening!
projector room soundproofing rugs
As an affiliate, we earn on qualifying purchases.
As an affiliate, we earn on qualifying purchases.
weatherstripping for doors and windows
As an affiliate, we earn on qualifying purchases.
As an affiliate, we earn on qualifying purchases.