
If your 4K projector looks blurry, check your resolution settings to make sure they match your source device, as mismatched resolutions can cause fuzziness. Make sure the projector is properly calibrated, with focus and keystone corrections fine-tuned for sharpness. Keep the lens clean and free from dust or fingerprints, and verify the projection distance and screen surface are ideal. For more tips to fix blurry images and improve clarity, keep going to find the solutions you need.
Key Takeaways
- Ensure the projector’s resolution matches the source device’s output for clear image display.
- Adjust aspect ratio settings to prevent stretching or distortion that cause blurriness.
- Verify that the projector is configured to output 4K resolution properly.
- Check for resolution compatibility between the projector and connected devices in settings.
- Periodically calibrate the projector to maintain optimal resolution and image sharpness.

Are you frustrated by blurry images when using your 4K projector? This common issue can stem from various factors, but often it’s linked to improper calibration settings or lens quality. Addressing these areas can dramatically improve your viewing experience and bring sharpness back to your images.
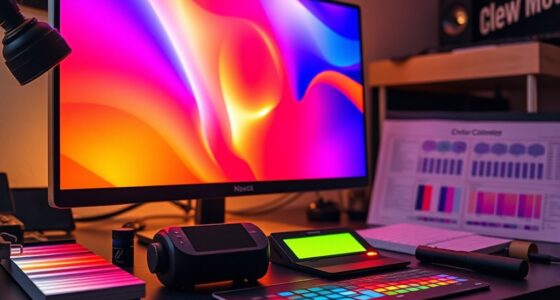
First, check your calibration settings. Incorrect settings are a frequent culprit behind blurry visuals. Many projectors have adjustable menus where you can fine-tune focus, keystone correction, and image size. Immerse yourself in your projector’s menu and ensure that all these settings are tailored for your room’s environment. Focus adjustments are especially critical; a slight misalignment can cause significant blurriness. Use a test pattern or a sharp image to make precise adjustments. Also, verify that your resolution settings match your source device’s output. If your projector is set to a lower resolution or if the aspect ratio isn’t correct, images can appear fuzzy or stretched. Proper calibration isn’t a one-time fix; revisit these settings periodically, especially if you notice any decline in image clarity. Additionally, proper calibration techniques can help you achieve the best possible picture quality.
Regularly calibrate focus and resolution for sharp, clear 4K projector images.
Next, evaluate the lens quality. Over time, dust, fingerprints, or scratches on the lens can compromise image sharpness. Clean the lens gently with a microfiber cloth designed for optics, ensuring no residue or smudges remain. If your projector’s lens is of lower quality or has physical damage, it might not produce crisp images regardless of calibration. In such cases, replacing the lens or consulting a professional for repairs could be necessary. Additionally, ensure the lens is properly installed and securely mounted, as a loose lens can introduce focus problems.
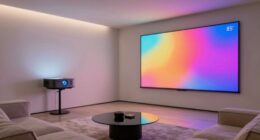
Another aspect to assess is the projection distance and screen size. If you’re projecting too close or too far from the screen, the image may lose focus or appear blurry. Follow your projector’s recommended throw distance and zoom settings to achieve ideal sharpness. Also, ensure your screen surface is clean and smooth. A textured or dirty screen can distort images, making them appear less clear.
Finally, check the environment for potential interference. Ambient light, reflective surfaces, or even incorrect mounting angles can reduce perceived sharpness. Control your room’s lighting and ensure your projector is mounted straight and at the correct height for the best image.
![[2000 ANSI Daylight Visible] Native 1080P Smart Video Projector 4K 8K Input, Android 14 Projecteur Portatif with HiFi Sound, Auto Focus & Keystone, WiFi Bluetooth Home Theater for iPhone/Netflix X7](https://m.media-amazon.com/images/I/512c29qx+sL._SL500_.jpg)
[2000 ANSI Daylight Visible] Native 1080P Smart Video Projector 4K 8K Input, Android 14 Projecteur Portatif with HiFi Sound, Auto Focus & Keystone, WiFi Bluetooth Home Theater for iPhone/Netflix X7
[2000 ANSI & DAYLIGHT VISIBLE] Ditch the dark rooms! With 2000 ANSI lumens, this smart projector delivers crystal-clear,…
As an affiliate, we earn on qualifying purchases.
As an affiliate, we earn on qualifying purchases.
Frequently Asked Questions
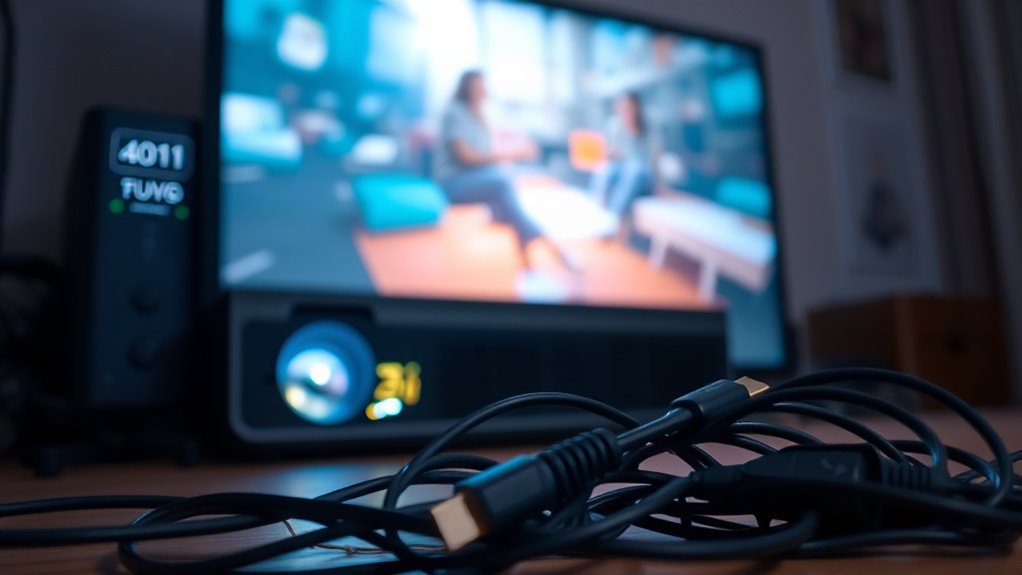
Can Incorrect HDMI Cables Cause 4K Blurry Images?
Yes, incorrect HDMI cables can cause blurry 4K images. Using cables that lack proper HDMI compatibility or cable quality can limit the bandwidth needed for 4K resolution, resulting in lower image clarity. Make certain to choose high-quality, certified HDMI cables rated for 4K to guarantee the best picture quality. Avoid cheap or outdated cables, as they might not support the necessary data transfer for sharp, detailed 4K visuals.
Does Projector Placement Affect Image Clarity?
A picture is worth a thousand words, so proper projector placement is key. Yes, it affects image clarity—poor placement can cause blurry or distorted images. Guarantee your projector is aligned correctly, with proper image alignment settings, and check that the lens is clean. Adjusting the distance and angle can sharpen the picture, making your viewing experience crisp and clear. Remember, a small change can make a big difference.
How Does Ambient Lighting Impact 4K Image Sharpness?
Ambient light can considerably reduce your 4K image sharpness by causing light interference that washes out the picture. In a bright viewing environment, excess ambient light reflects off surfaces and diminishes contrast, making images appear blurry or dull. To improve clarity, minimize ambient light with blackout curtains or dim the lights. Creating a darker viewing environment helps your projector deliver sharper, more vivid images, enhancing your overall viewing experience.
Can Outdated Firmware Cause Resolution Problems?
Ever wondered if outdated firmware could cause resolution problems? It definitely can! Firmware updates improve your projector’s resolution compatibility and fix bugs that may lead to blurry images. When your firmware is outdated, it might not support the latest 4K standards, resulting in a blurry or distorted picture. Regularly updating your projector’s firmware ensures peak resolution performance, keeping your viewing sharp and clear.
Is Screen Surface Quality Relevant to Image Clarity?
Yes, screen surface quality is pertinent to image clarity. If your projection surface has a rough texture or surface imperfections, it can scatter light and reduce sharpness. Smooth, flat screens ensure the projector’s image stays crisp and clear. Avoid textured or uneven surfaces, as they impair resolution and cause blurriness. To improve image quality, use a high-quality, flat projection screen with minimal surface imperfections.

Aispour Camera Lens Cleaning Kit, 10-in-1 Camera Cleaning Kit, Camera Lens Cleaner and Camera Accessories, Includes Lens Cleaning Kit/Lens Cleaner/Lens Cleaning Pen/Soft Brush
WHAT YOU CAN GET: 1 camera lens Cleaner 50ml + 1 air blower + 1 two in one…
As an affiliate, we earn on qualifying purchases.
As an affiliate, we earn on qualifying purchases.
Conclusion
If your 4K projector still looks blurry, don’t forget to check your resolution settings, cables, and lens focus. It’s like trying to read fine print with a magnifying glass—sometimes, a simple adjustment makes all the difference. Remember, even the most advanced tech benefits from a little TLC. So, take a deep breath, channel your inner Sherlock, and troubleshoot like a true detective—your perfect picture is just a few tweaks away!

LG CineBeam Q HU710PB 4K Smart Portable Projector with Auto Screen Adjustment, Auto Focus, RGB Laser, Up to 154% DCI-P3, 450,000:1 Contrast Ratio, Built-in Speakers, HDR10, HDMI, USB, HID
Auto Screen Adjustment – With Auto Screen Adjustment, the CineBeam Q automatically adjusts screen alignment to remove image…
As an affiliate, we earn on qualifying purchases.
As an affiliate, we earn on qualifying purchases.

Kaisi Professional Electronics Opening Pry Tool Repair Kit with Metal Spudger Non-Abrasive Nylon Spudgers and Anti-Static Tweezers for Cellphone iPhone Laptops Tablets and More, 20 Piece
Kaisi 20 pcs opening pry tools kit for smart phone,laptop,computer tablet,electronics, apple watch, iPad, iPod, Macbook, computer, LCD…
As an affiliate, we earn on qualifying purchases.
As an affiliate, we earn on qualifying purchases.