To fix color banding on your 4K projector, start by adjusting the projector’s color settings—boost color depth, choose accurate profiles like sRGB, and fine-tune contrast and gamma for smooth gradients. Calibrate your video source to match the projector’s capabilities, ensuring high-bit-depth content and proper resolution. Updating firmware and using high-quality HDMI cables also help. Improving your viewing environment with dim lighting can make a difference. Keep exploring further tips for a better picture as you go.
Key Takeaways
- Increase the projector’s color depth, enable dithering, and select accurate color profiles like sRGB or Adobe RGB.
- Use high-bit-depth content (10-bit or higher) and match source settings with the projector’s specifications.
- Update firmware and software regularly; consider hardware upgrades for better color processing.
- Adjust picture settings such as contrast, saturation, and gamma to improve gradient smoothness.
- Calibrate your viewing environment with proper ambient lighting and neutral-colored walls to enhance color fidelity.
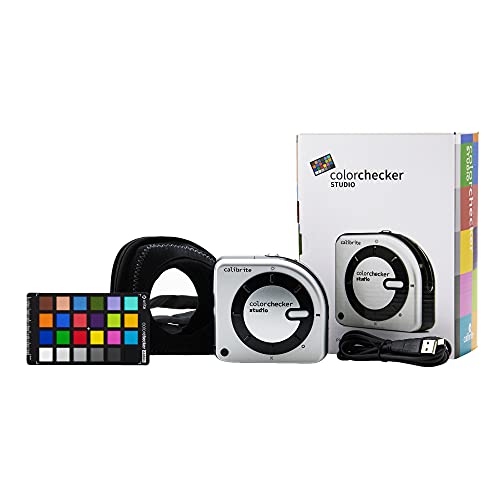
Calibrite ColorChecker Studio Spectrophotometer for Complete Color Management for Display, Projector, Printer and Scanner Profiling Software, w/ColorChecker Classic Mini for Custom Camera Profiling
SPECIFICATIONS: All in one spectrophotometer for camera to print color control, supports monitor display and projector profiling plus…
As an affiliate, we earn on qualifying purchases.
As an affiliate, we earn on qualifying purchases.
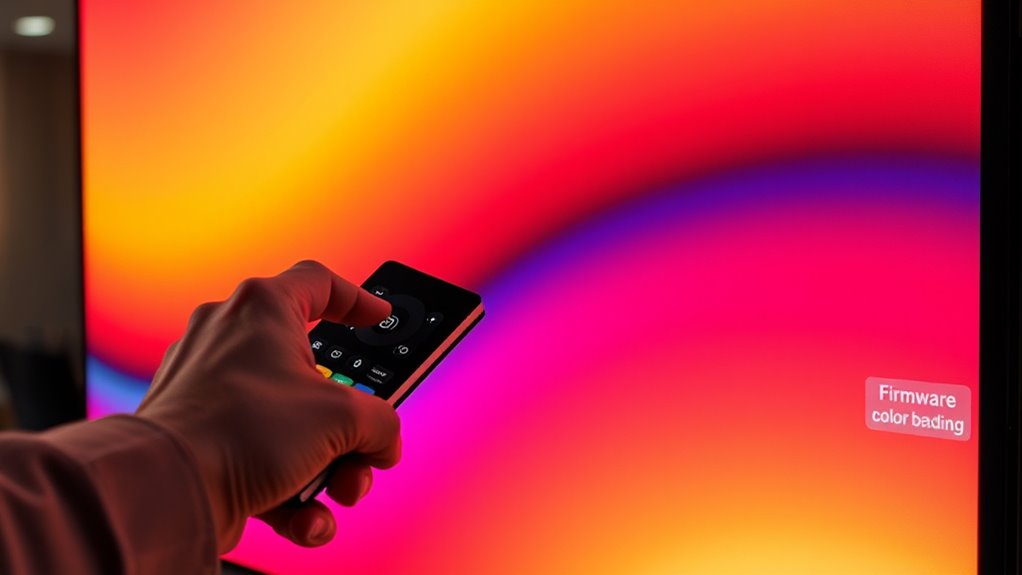
Adjust Your Projector’s Color Settings
To begin fixing color banding on your 4K projector, you should start by adjusting its color settings. First, check the color depth; increasing it allows for smoother gradient progressions and reduces banding. If your projector offers options for different color profiles, select one optimized for rich, accurate colors, such as sRGB or Adobe RGB. These profiles help guarantee the projector displays colors more evenly across the spectrum. Adjust the overall color saturation and contrast to improve gradient blending without oversaturating. Keep in mind that improper settings can worsen banding, so make incremental changes and preview the results. Fine-tuning these settings enhances the projector’s ability to display subtle color gradations, making your viewing experience more seamless and visually pleasing. Understanding the importance of color accuracy can further assist in achieving optimal picture quality.

Ubluker 10K 8K 4K HDMI Cable 48Gbps 6.6 FT, Certified Ultra High Speed HDMI® Cable 4K 240Hz 144Hz 120Hz 8K60Hz 0.01ms HDR10+ eARC HDCP2.3 Netflix Roku TV PC Monitor Projector PS5 Xbox
Certified HDMI Cable: The package has an official HDMI certification label. HDMI Officially Certified Fully compliant with the…
As an affiliate, we earn on qualifying purchases.
As an affiliate, we earn on qualifying purchases.
Calibrate the Video Source for Optimal Output
Calibrating your video source is essential for achieving the best possible image quality and reducing color banding. To do this, ensure your source device, like a Blu-ray player or streaming box, is set to the correct resolution and color space, such as HDMI 2.0 or HDMI 2.1. Use calibration tools or test patterns to check for color accuracy, making adjustments as needed. Stable signal transmission is crucial; avoid long or poorly shielded cables that can introduce flicker or artifacts. Confirm that your source’s output settings match your projector’s capabilities, preventing unnecessary compression or color clipping. Proper calibration of your video source creates a consistent, accurate signal, which minimizes color banding and enhances overall picture quality on your 4K projector. Additionally, selecting projectors with high contrast ratio can significantly improve the depth and richness of colors, reducing the likelihood of banding.

Yaber T1 Pro2 Mini Projector with WiFi and Bluetooth, Dolby Audio & Turbo Sonic Bass, Auto Focus & Keystone, Native 1080 FHD with HDR10, Portable Projector for Outdoor Indoor Use
【Built in Netflix app & More】 Watch all your favourites on the big screen. This device comes now…
As an affiliate, we earn on qualifying purchases.
As an affiliate, we earn on qualifying purchases.
Update Firmware and Software for Improved Performance
Keeping your projector’s firmware and software up to date is essential for ideal performance and image quality. Firmware updates often include bug fixes, stability improvements, and new features that can reduce color banding and enhance overall image clarity. Regularly check the manufacturer’s website or app for software enhancements designed to improve color processing and display accuracy. Installing these updates ensures your projector benefits from the latest technology, helping to minimize issues like banding. Avoid ignoring firmware updates, as outdated software can limit your projector’s capabilities and lead to subpar image output. By staying current, you optimize your device’s performance, ensuring smoother gradations and richer colors, which directly contribute to a more seamless viewing experience free of distracting color banding. Additionally, security vulnerabilities in outdated firmware can expose your device to potential threats, making updates crucial for both performance and safety.

GME PG-28 Portable Video Test Pattern Generator for TV and NTSC Monitor, Designed and Engineered in The USA
【TEST, CALIBRATE, SERVICE, TROUBLESHOOT TV AND NTSC MONITOR】 Handheld video test pattern generator that generates a wide variety…
As an affiliate, we earn on qualifying purchases.
As an affiliate, we earn on qualifying purchases.
Use Higher Bit-Depth Content to Reduce Banding

Using higher bit-depth content can substantially reduce color banding on your 4K projector. When you select content with increased bit depth settings, you improve color gradation, resulting in smoother *progressions*. This minimizes visible steps between shades, making images appear more natural. To understand this better, consider the table below:
| Bit Depth | Color Gradation | Effect on Banding |
|---|---|---|
| 8-bit | Limited | More noticeable banding |
| 10-bit | Improved | Reduced banding |
| 12-bit | Very smooth | Almost no banding |
| 16-bit | Near perfection | Virtually no banding |
Choosing higher bit-depth content *guarantees* your projector displays more refined color transitions, drastically reducing banding artifacts and enhancing overall image quality. Additionally, understanding the importance of content quality can help you achieve optimal visual results.
Enable or Modify HDMI Settings for Better Signal Quality
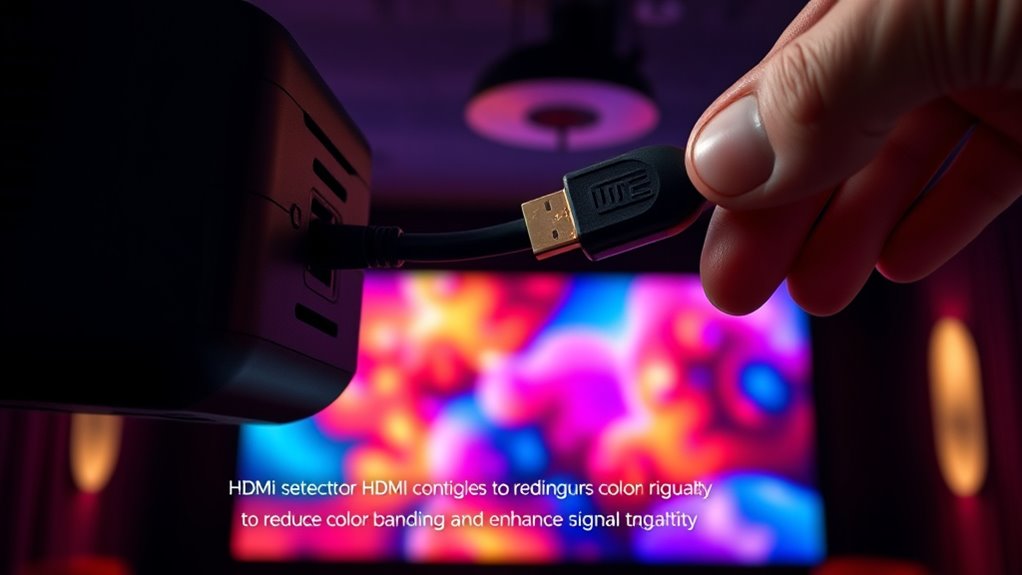
To improve your projector’s signal quality, start by adjusting the HDMI Deep Color setting, which can help reduce banding. If issues persist, try switching to a different HDMI port, as some may offer better bandwidth or compatibility. These simple tweaks can make a noticeable difference in achieving smoother, more vibrant images. Additionally, reviewing your projector’s legacy or current features can ensure you are utilizing all available settings to enhance picture quality.
Adjust HDMI Deep Color
Adjusting HDMI Deep Color settings can considerably improve your 4K projector’s image quality by ensuring a higher bandwidth signal. HDMI DeepColor increases the color depth, allowing more detailed and vibrant images with smoother gradients. To optimize this, access your projector’s menu and locate the HDMI settings. Enable HDMI DeepColor or set it to the highest available level, which supports 10-bit or 12-bit color depth. This adjustment helps reduce color banding and enhances overall picture richness. Keep in mind that not all devices support HDMI DeepColor, so if you experience issues, try disabling it. Ensuring this setting is correctly configured is a simple but effective step toward fixing color banding and achieving a more seamless, lifelike image on your 4K projector. Additionally, understanding the color depth capabilities of your device can help you make more informed adjustments for optimal picture quality.
Switch HDMI Ports
Switching HDMI ports can substantially impact your projector’s signal quality, especially if you notice color banding or flickering. Different HDMI ports may offer varying levels of compatibility and port stability, affecting the overall picture. Try connecting your HDMI cable to a different port on your projector or source device to see if the issue improves. Some ports are optimized for higher bandwidth or better compatibility with 4K signals, reducing signal degradation. Additionally, make sure your HDMI cable and ports support the latest HDMI standards, such as HDMI 2.0 or higher, which are essential for 4K performance. Switching ports is a simple step that can help eliminate signal inconsistencies, leading to a smoother, more vibrant image free from color banding. Regularly checking your home entertainment setup and ensuring your equipment is properly configured can also improve signal quality.
Improve Your Viewing Environment and Screen Quality
Enhancing your viewing environment can considerably reduce color banding on your 4K projector. Start by minimizing ambient lighting, as harsh lights can wash out colors and highlight banding. Use blackout curtains or dimmable lights to create a darker, more controlled space. Proper screen positioning is also essential; place your projector and screen at ideal angles to avoid reflections and glare, which can worsen banding visibility. Keep the screen at eye level and ensure it’s centered to improve picture uniformity. Additionally, avoid placing objects or lights too close to the screen. These adjustments help your projector deliver more accurate colors and smooth gradients, making color banding less noticeable and enhancing your overall viewing experience. Incorporating specific screen types, such as matte or specialized coatings, can further improve image quality and reduce banding artifacts.
Consider Hardware Upgrades or Professional Calibration

Sometimes, upgrading your projector’s display components can make a noticeable difference in color banding. You might also consider professional calibration to fine-tune your settings for ideal image quality. Both options can considerably improve your viewing experience, especially if simple adjustments haven’t solved the problem.
Upgrade Display Components
Upgrading your display components can markedly reduce color banding on your 4K projector, especially if your current hardware is outdated or not calibrated properly. Modern projectors with higher bit depth and better color processing capabilities provide smoother gradients and more accurate color reproduction. Consider investing in a display with advanced color grading features and improved contrast ratios. Ensuring your hardware supports proper display calibration is essential for achieving ideal image quality. Upgraded components can handle higher color precision, minimizing banding artifacts. If you’re serious about image fidelity, professional calibration tools can fine-tune your projector’s settings, but the right hardware foundation makes a crucial difference. Additionally, AI in Education advancements have led to the development of more sophisticated calibration algorithms that can optimize your display settings automatically. This approach not only improves overall picture quality but also creates a more seamless visual experience, reducing the visibility of color banding.
Seek Professional Calibration
To effectively reduce color banding, seeking professional calibration is often the most reliable approach, especially if hardware upgrades alone haven’t resolved the issue. A professional calibration ensures your projector’s settings are precisely tuned for ideal color performance and smooth gradients. Expert calibrators use specialized tools to analyze your display’s color output, addressing issues like banding with targeted adjustments. They can fine-tune color profiles, gamma settings, and contrast to enhance color enhancement. While hardware upgrades can help, professional calibration maximizes your existing equipment’s capabilities. Investing in calibration ensures your projector displays a broader, more accurate color spectrum, minimizing banding effects. Color accuracy is a critical aspect of visual quality that professional calibration can significantly improve. Ultimately, professional calibration provides a tailored solution that greatly improves image quality and delivers a more seamless viewing experience.
Frequently Asked Questions
Can Ambient Lighting Affect Color Banding Visibility on My Projector?
Yes, ambient light can influence how you perceive color banding on your projector. When there’s too much ambient light, your eyes struggle to distinguish subtle color differences, making banding less noticeable. Conversely, in darker environments, color variations become clearer, highlighting banding issues. To minimize this, control ambient lighting by dimming or reducing it, and ensure your viewing environment has consistent, subdued lighting to improve overall color perception.
Does Screen Size Impact the Appearance of Color Banding?
Yes, screen size impacts how color banding appears. Larger screens can make banding more noticeable because they showcase more detail, especially at lower screen resolutions. Your viewing distance also matters; sitting closer can reveal more subtle gradations, making the banding stand out. To minimize this, make certain your projector has a high resolution, like 4K, and sit at an appropriate distance to reduce the visibility of color banding.
Are There Specific Video Formats Less Prone to Color Banding?
You’ll find that videos with higher color depth, like 10-bit or higher, are less prone to color banding because they display more subtle color gradations. Formats with less aggressive video compression, such as ProRes or DNxHR, also help minimize banding by preserving color information. Avoid heavily compressed formats like H.264 or H.265 at low bitrates, as they tend to introduce compression artifacts and exacerbate color banding on your 4K projector.
How Does Projector Lens Quality Influence Color Accuracy?
Your projector lens quality can make or break color accuracy, so don’t overlook it. High-quality lenses with precise calibration ensure vibrant, true-to-life colors, while lens material influences light transmission and contrast. Poor lenses are like a bad paintbrush—distorting your picture’s true hues. Investing in a well-made lens, keeping it calibrated, and choosing quality materials help maintain color fidelity and minimize banding issues, so your image stays sharp and vibrant.
Can External Filters or Screen Coatings Reduce Color Banding?
External filters like a color filter or specialized screen coating can help reduce color banding by improving light diffusion and color consistency. You should try applying a high-quality color filter in front of your projector or upgrading to a screen with a coating designed for better color gradation. These options enhance color blending, minimize banding, and deliver smoother, more accurate images. Just guarantee the filters and coatings are compatible with your projector for ideal results.
Conclusion
By tweaking your settings, updating your gear, and optimizing your environment, you can tame those pesky color bands. Think of it like tuning a fine instrument—each adjustment brings harmony back to your picture. With patience and a few simple steps, your 4K projector will shine brighter than ever, transforming your space into a cinematic masterpiece. Don’t let banding steal the show—take control and enjoy flawless, vibrant visuals every time.