To quickly achieve a cleaner projector cable setup in 15 minutes, start by evaluating your necessary cables and routing them along walls or furniture using cable clips or adhesive mounts. Bundle and secure cords with cable sleeves or flex tubing, and label each for easy identification. Hide excess cables using cable raceways or behind furniture to keep everything neat. With these simple steps, your setup will look professional, and you’ll discover more tips to streamline your installation further.
Key Takeaways
- Plan and route cables along walls or furniture using cable clips for a tidy, direct connection.
- Bundle cables with sleeves or flex tubing, then label for quick identification.
- Conceal excess wiring with cable raceways or behind furniture for a clean look.
- Use quick-release cable ties and clips to secure cables efficiently during setup.
- Regularly review and update cable organization to maintain a professional, hassle-free setup.

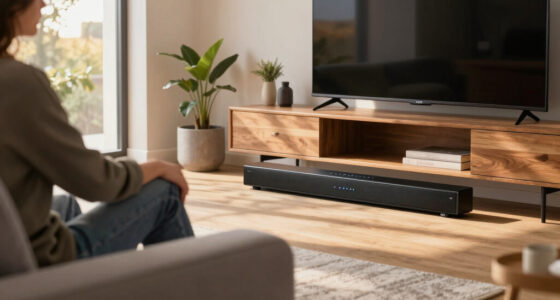
Setting up your projector with a clean, organized cable arrangement doesn’t have to take hours. The key is focusing on effective cable management, which not only enhances the appearance but also improves setup enhancement. When your cables are tangled or cluttered, it becomes a hassle to troubleshoot or make adjustments later. Taking a few minutes to plan and implement simple cable management strategies can save you time and frustration, leading to a smoother setup process.
Start by evaluating the cables needed for your projector and devices. Identify the shortest, most direct route from your power source and media device to the projector. This helps prevent excess cable slack that can clutter your space. Once you know the best paths, use cable clips or adhesive mounts to secure cables along walls, desks, or furniture edges. This keeps everything neatly aligned and prevents accidental disconnections or tripping hazards. You’ll find that a tidy cable route not only looks better but also simplifies setup during future use.
Determine the shortest, most direct cable routes to prevent clutter and streamline your setup process.
Invest in cable sleeves or flex tubing to bundle cords together. This not only creates a sleek, streamlined appearance but also protects cables from wear and tear. If you’re working with multiple devices, label each cable with small tags or color-coded tape. This small step makes it easier to identify the right cable quickly when setting up or making adjustments, reducing setup time considerably. Remember, the less time you spend untangling or searching for the right cord, the more efficient your entire setup becomes.
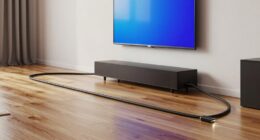
Another tip for setup improvement is to keep your cables accessible but out of sight. Use cable raceways or cable boxes to conceal excess wiring behind furniture or along walls. This creates a clean look and prevents cables from becoming an obstacle during your presentation or viewing session. When everything is organized and accessible, you can make quick adjustments without wrestling with tangled cords or crawling behind equipment. Incorporating dog names into your cable management plan can also help you stay motivated to keep your setup tidy and organized.
Finally, regularly review and tidy your cable management system. As you add or remove devices, update your cable routes and labels accordingly. Maintaining a clean cable setup over time ensures that your projector remains easy to set up, even on short notice. With these simple steps, you can achieve a cleaner, more professional-looking cable setup in just 15 minutes, maximizing setup efficiency and minimizing hassle.
Cable Clips Nail in Cable Clips 100 Pcs 8mm Flat Ethernet Cable Wall Clips Cable Tacks Coax Cable Clip Speaker Wire Clips Cable Nails for Cords Cat5/Cat5e/Cat6/Cat7 RJ45 Cord Clips
PREMIUM MATERIAL: Our Cat6 Ethernet nail in cable clips cord organizer are made of premium stabilized plastic and…
As an affiliate, we earn on qualifying purchases.
As an affiliate, we earn on qualifying purchases.
Frequently Asked Questions
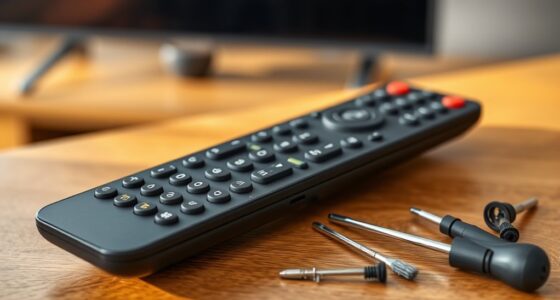
What Tools Are Necessary for a Quick Cable Cleanup?
To achieve a quick cable cleanup, you’ll need some basic cable management tools essentials. Grab cable clips or ties to secure and route cables neatly, a cable organizer or sleeve for bundling, and a scissors or wire cutter for trimming excess length. These tool essentials help you eliminate clutter, prevent tangling, and create a clean setup. With these, you can efficiently manage cables and enhance your projector’s appearance and safety.
How Can I Hide Cables Behind the Projector?
You can hide cables behind the projector by using cable clips to secure them along the wall or ceiling, keeping everything neat and organized. For a more seamless look, install concealed conduits to run cables directly behind the wall or ceiling. This approach not only hides the cables effectively but also protects them from damage, ensuring a clean, professional setup that enhances your viewing experience.
What Safety Precautions Should I Take During Setup?
Think of your setup as building a fortress; safety is your shield. You should prioritize electrical safety by unplugging devices before work and avoiding overloading outlets. Always use proper cable labeling to prevent confusion and accidental disconnections. Keep cables organized and away from walkways to prevent tripping. Wear insulated gloves if handling live wires, and double-check connections. Following these precautions guarantees your setup remains safe and secure, protecting both you and your equipment.
How Do I Prevent Cable Damage Over Time?
To prevent cable damage over time, you should regularly check for cable strain and avoid pulling or bending cables sharply. Use cable protectors or clips to secure them and prevent unnecessary tension. Verify connector integrity by gently disconnecting cables and avoiding force. Keeping cables organized and off the ground also reduces wear and tear, extending their lifespan and maintaining peak performance for your projector setup.
Can These Quick Fixes Work for All Projector Models?
Did you know that over 60% of cable-related issues come from improper setup? Quick fixes can often work across various projector models, but it depends on the cable material and connector types. You’ll find that using flexible, durable cables with universal connectors helps guarantee compatibility. Just keep in mind, some projectors might need specific cable types, so always check your device’s requirements for the best results.

BEST CONNECTIONS 3/4" x 100 ft Split Wire Loom Flex-Guard Convoluted Tubing with Installation Tool – Protective Cable Sleeves for Automotive Home Electrical Wires Chemical Resistant Conduit Black
SPECIFICATION – Color: Black | Material: High-Quality Polyethylene.
As an affiliate, we earn on qualifying purchases.
As an affiliate, we earn on qualifying purchases.
Conclusion
Now, as you switch off your projector and glance at your tidy setup, it feels like a small victory. Just fifteen minutes ago, cluttered cables seemed unavoidable, but now, everything’s neat and ready for your next movie night. It’s funny how a quick fix can make your space feel more organized—and more inviting—without much effort. So next time, remember: a little time spent now can save you headaches later, making your home theater truly shine.

YesBes 116in Cord Hider Kit, Cord Covers for Wires on Wall, Paintable Cable Raceway, Cord Hider for Wall Mount tv, tv Cable Hider Wall kit, Wire Covers for Cords, W0.96in X H0.57in, White
Kit Content: Each cable raceway comes with dimensions of 0.57 inch inner height, 0.96 inch inner width, ensuring…
As an affiliate, we earn on qualifying purchases.
As an affiliate, we earn on qualifying purchases.

Trilancer Cable Cord Labels Large Size, for Organizing Wires and Identification, Multicolored Handwriting Cable Tags, Reusable with Multiple Uses – 35 PCS
✅【Get Organized】- Sick of unplugging the wrong cord? So were we. Avoid the frustration with the cable cord…
As an affiliate, we earn on qualifying purchases.
As an affiliate, we earn on qualifying purchases.