To seamlessly combine multiple projectors with edge blending screens, you’ll need to carefully calibrate each projector’s settings and use specialized software to create smooth overlaps. Adjusting brightness, contrast, and geometric alignment helps eliminate visible seams and guarantees images merge seamlessly. Using edge blending masks in the setup allows for smooth progressions across overlaps. Proper surface selection and regular calibration are key to maintaining a flawless display—if you continue, you’ll discover detailed techniques to perfect your setup.
Key Takeaways
- Edge blending masks create smooth transitions between overlapping projector images for seamless visuals.
- Proper calibration of projector alignment and brightness ensures cohesive image blending.
- Selecting a flat, uniform projection surface minimizes distortions and simplifies blending.
- Software tools automate calibration and blending adjustments, improving accuracy and efficiency.
- Regular maintenance and recalibration are essential to maintain seamless edge blending over time.
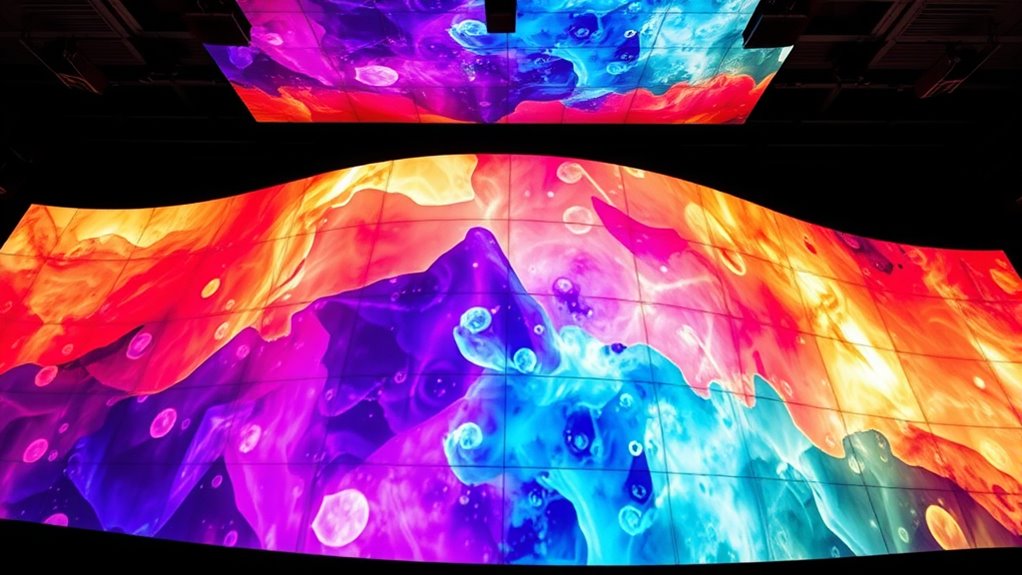
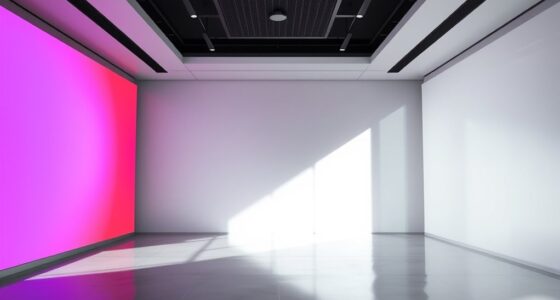
Edge blending screens is a technique used to seamlessly combine multiple projectors to create a single, unified display. When you’re setting up a large-scale projection, you need to guarantee that the images from each projector align perfectly, which is where calibration techniques come into play. Calibration involves adjusting each projector’s settings—such as brightness, contrast, and geometric alignment—to match precisely with its neighboring projectors. This process minimizes visible seams and ensures a smooth transition across the entire display. The choice of projection surface greatly influences your calibration efforts. A flat, uniform surface is ideal because it helps maintain consistent image quality and makes calibration more straightforward. If the surface is uneven or textured, you’ll find it more challenging to achieve a seamless blend, as distortions and shadows can interfere with the process.
A flat, uniform projection surface simplifies calibration and ensures seamless edge blending.
To start, you’ll want to carefully select your projection surface, prioritizing materials that reflect light evenly and are free of irregularities. Once you have your surface, calibration techniques such as using test patterns and specialized software will be essential. These tools allow you to fine-tune the overlap zones where images from different projectors meet. You’ll often employ edge blending masks—software-generated masks that fade the edges of each projected image—to create a smooth transition. Adjusting these masks, along with the projector’s physical positioning and settings, is vital for achieving a seamless blend. Regular maintenance and recalibration are also important, especially as environmental conditions or equipment settings change over time.
The calibration process is iterative. You might project a test pattern, observe the results, and then tweak the projector’s alignment or mask settings accordingly. Many modern projection systems include automatic calibration features that can speed up this process by analyzing the projected image and adjusting parameters in real time. Remember, consistent calibration is essential, especially if you plan to use the setup over an extended period or if environmental factors like ambient light change. Regular recalibration guarantees your edge blending remains flawless.
Ultimately, successful edge blending depends on understanding your projection surface and mastering calibration techniques. Taking the time to properly align your projectors and optimize your surface results in a stunning, unified display that captivates your audience. Whether for large events, immersive installations, or digital signage, a well-calibrated edge blending system transforms multiple projections into one cohesive visual experience. Additionally, understanding the importance of projector calibration ensures that your setup maintains high-quality visuals over time, especially when using multiple projectors in complex configurations.

Epson PowerLite L570U 3LCD Projector – 16:10 – Ceiling Mountable – White
Experience true-to-life colors thanks to the 3LCD, 3-chip technology
As an affiliate, we earn on qualifying purchases.
As an affiliate, we earn on qualifying purchases.
Frequently Asked Questions
How Do I Calibrate Edge Blending for Different Projector Models?
You calibrate edge blending for different projector models by adjusting projector calibration settings and blending techniques. Start by aligning projectors precisely, then use software tools to fine-tune overlap areas. Focus on matching brightness, color, and focus across edges. Each model may need specific tweaks, so test and refine the blending until the transition is seamless. Consistent calibration guarantees smooth, professional-looking multi-projector displays.
What Are the Best Materials for DIY Edge Blending Screens?
You need to think outside the box when choosing DIY screen materials; the right reflective surface options are key. Opt for materials like white matte paint, rear-projection screen fabric, or a high-quality vinyl, as they offer good reflectivity and smoothness. These materials guarantee even light distribution, which is vital for seamless edge blending. Don’t cut corners—your project’s success depends on selecting the best reflective surface options for a professional look.
How Does Ambient Light Affect Edge Blending Quality?
Ambient light can considerably impact your edge blending quality by washing out the images and reducing contrast. To counter this, you should focus on glare reduction techniques, such as using matte screens or controlling light sources around your setup. Minimizing ambient light ensures your projectors’ blended images stay sharp and vibrant, resulting in a seamless, high-quality display. Proper lighting control is essential for achieving the best edge blending results in any environment.
Can Edge Blending Be Used With Non-Standard Screen Sizes?
Yes, you can use edge blending with non-standard screens and custom aspect ratios. You’ll need to adjust the overlapping zones and calibration settings to match your specific screen size and shape. Custom software or manual adjustments help guarantee seamless blending. Keep in mind, the more unique your screen’s dimensions, the more fine-tuning it requires for perfect alignment and a smooth, unified image.
What Maintenance Is Required to Keep Edge Blending Screens Optimal?
To keep your edge blending screens ideal, you need regular maintenance like screen cleaning to prevent dust buildup and guarantee clear images. Also, check projector alignment periodically, just like in the case of a conference center where misaligned projectors caused visible seams. Proper maintenance involves cleaning the screens gently and recalibrating the projectors to maintain seamless blending, ensuring your visuals stay sharp and professional over time.
ADAS Calibration Dynamic ACC Positioning Tool for Eyeball Unit, Angso-auto Angle Leveling Tool Accessory for Auto
The ANGSO-AUTO leveling tool is designed to be powered by 2* AAA 1.5 V batteries (Please note that…
As an affiliate, we earn on qualifying purchases.
As an affiliate, we earn on qualifying purchases.
Conclusion
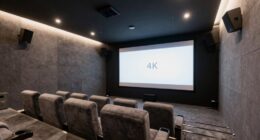
Now that you know how edge blending screens work, aren’t you excited to create stunning, seamless visuals with multiple projectors? Whether for a home theater or a large event, mastering this technique elevates your display to the next level. Why settle for less when you can achieve a flawless, immersive experience? Immerse yourself in edge blending and transform your space into a mesmerizing visual wonder—your audience will thank you for it!
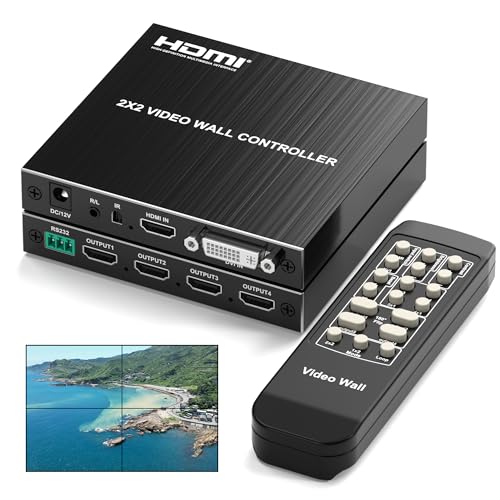
2×2 HDMI Video Wall Controller, Ultra HD 4K DVI TV Wall Processor, 1 in 4 Out, 180° Rotating, Edge Blending, RS232 & IR Remote Control for Projector Computer Monitor Gaming
Stunning 2X2 Video Wall: Video wall controller effortlessly combines four screens into one giant, seamless display by taking…
As an affiliate, we earn on qualifying purchases.
As an affiliate, we earn on qualifying purchases.
![[4K Support/2000 ANSI/AI Visual Calibration] Native 1080P UHD Projector with Android 14 OS, X7 Smart Projector with Hi-Res Audio, Auto Focus&Keystone,WiFi 6&Bluetooth 5.4, 200" Screen for Home Outdoor](https://m.media-amazon.com/images/I/41GFJhBIdgL._SL500_.jpg)
[4K Support/2000 ANSI/AI Visual Calibration] Native 1080P UHD Projector with Android 14 OS, X7 Smart Projector with Hi-Res Audio, Auto Focus&Keystone,WiFi 6&Bluetooth 5.4, 200" Screen for Home Outdoor
① 2000 ANSI Lumens UHD Projector (5-element optical lens with rare-earth glass). With an 18000:1 contrast ratio and…
As an affiliate, we earn on qualifying purchases.
As an affiliate, we earn on qualifying purchases.