To avoid common mistakes in projector brightness, start by properly calibrating your colors before adjusting brightness. Consider your room’s lighting—bright rooms need higher settings, while dark environments benefit from lower brightness to prevent eye strain. Don’t just set brightness to maximum or minimum; find a balance that matches your space. Over- or under-brightening can distort images and cause discomfort. Keep these tips in mind, and you’ll learn how to optimize your projector for the best visuals.
Key Takeaways
- Always calibrate color balance before adjusting brightness for natural, vibrant images.
- Adjust brightness based on ambient lighting to prevent dullness or eye strain.
- Avoid setting brightness too high in dark rooms and too low in bright environments.
- Regularly check room lighting conditions and modify brightness accordingly for optimal clarity.
- Balance placement and environmental factors to reduce the need for excessive brightness adjustments.
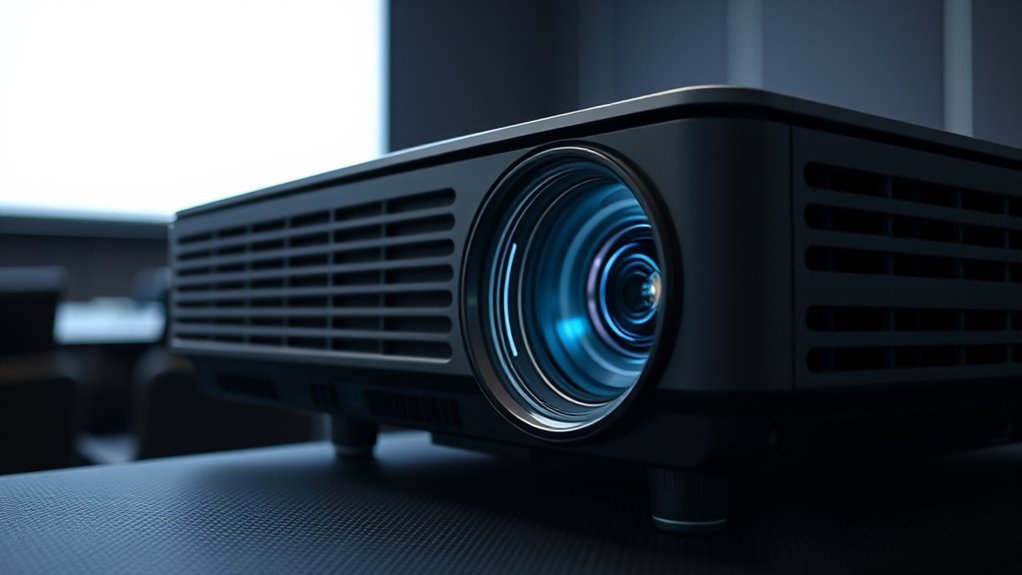
Adjusting your projector’s brightness settings might seem simple, but making mistakes can lead to poor image quality or eye strain. One common mistake is neglecting proper color calibration. If your projector’s colors aren’t calibrated correctly, even the perfect brightness setting can produce dull, washed-out, or overly saturated images. When you focus solely on brightness without considering color accuracy, your presentation or movie won’t look as intended. Take the time to adjust the color settings first, ensuring that reds, greens, and blues are balanced. This way, when you tweak the brightness, you’ll achieve a more natural and vibrant picture, reducing the need for constant readjustments later. Additionally, understanding how ambient light impacts your viewing experience can help you set your projector’s brightness more effectively. Another critical mistake is ignoring ambient light adjustment. Ambient light considerably impacts how your projected image appears. If your room is too bright and you don’t compensate by increasing brightness, the picture will look washed out or faint, forcing you to turn up the projector’s brightness excessively. Conversely, in a dark room, high brightness settings can cause eye strain and make the image appear harsh. To avoid this, assess your room’s lighting conditions and adjust the projector’s brightness accordingly. Dimming the lights or closing blinds during a presentation can allow you to lower the brightness, resulting in a more comfortable viewing experience and better image clarity.
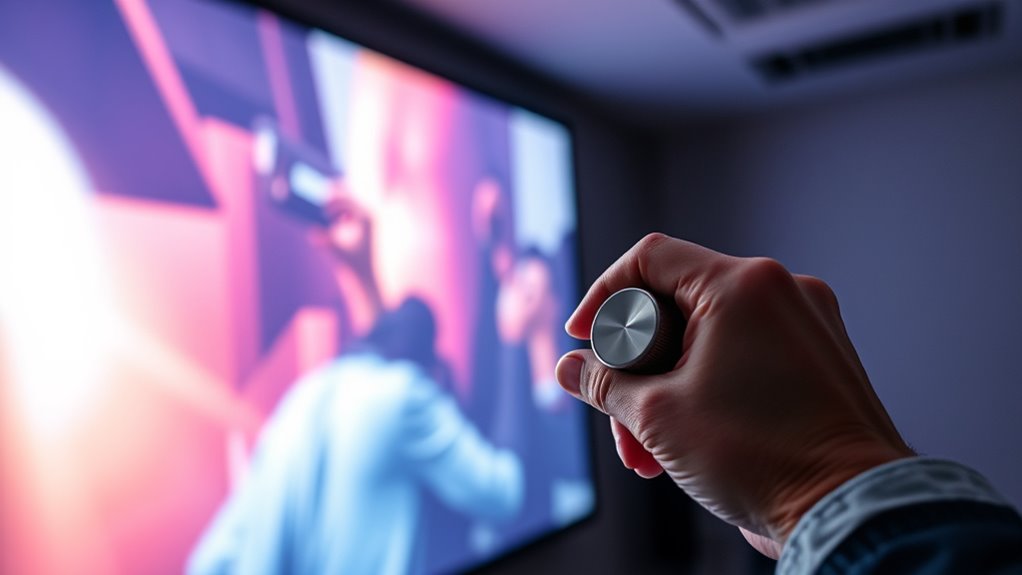
Many overlook the importance of balancing ambient light adjustment with your projector’s settings. A good rule of thumb is to set your projector’s brightness after optimizing the room’s lighting conditions. This approach prevents over-brightening or under-brightening your image and helps maintain a consistent, professional appearance. Additionally, consider the placement of your projector; if it’s placed in a brightly lit environment, increasing brightness is necessary, but avoid setting it at maximum unless absolutely needed. Similarly, in darker settings, lowering the brightness can improve contrast and reduce eye fatigue.

datacolor SpyderPro Monitor Calibration Tool: Ensures Accurate Color When Viewing and Editing Photos & Videos
ACHIEVE TRUE COLOR – Ensures your monitor displays colors accurately, critical for photography, design, and video editing, with…
As an affiliate, we earn on qualifying purchases.
As an affiliate, we earn on qualifying purchases.
Frequently Asked Questions
How Often Should I Calibrate My Projector’s Brightness?
You should calibrate your projector’s brightness every 3 to 6 months or whenever you notice a change in image quality. Regular projection calibration ensures ideal brightness adjustment techniques, maintaining clear images and preventing eye strain. Use proper tools and follow manufacturer guidelines for accurate brightness adjustment. Frequent calibration keeps your projector performing well, especially in changing lighting conditions or after software updates, ensuring your viewing experience remains sharp and vibrant.
Can Incorrect Brightness Settings Damage My Projector?
Incorrect brightness settings typically won’t damage your projector directly, but they can harm your projector lifespan and reduce image quality. If you set the brightness too high, it strains the lamp, causing it to wear out faster. Conversely, too low brightness can lead to poor image clarity. Adjust your settings carefully to balance brightness and preserve your projector’s longevity while maintaining ideal image quality.
What’s the Best Brightness Level for Different Room Lighting Conditions?
You should set your projector’s brightness based on your room’s lighting. For dark rooms, keep brightness lower to enhance contrast and color accuracy. In bright rooms, increase brightness to prevent washed-out images. Proper screen calibration helps optimize brightness for clarity and accurate colors. Adjust gradually, and always test your settings in actual viewing conditions to guarantee the best balance between brightness, color accuracy, and overall image quality.
How Do Ambient Light Changes Affect Projector Brightness Adjustments?
Ambient light changes can substantially impact your projector’s brightness, making it harder to see the image clearly. You should enable ambient light adaptation or automatic brightness adjustment if your projector offers these features. These settings automatically tweak brightness levels in response to changing room conditions, ensuring the best visibility without manual adjustments. By doing so, you maintain a clear picture regardless of ambient light fluctuations, enhancing your viewing experience effortlessly.
Are There Specific Brightness Settings for 4K Versus Standard Projectors?
For 4K projectors, you should focus on precise brightness calibration to match their higher resolution, often requiring higher lumens output compared to standard projectors. While both types benefit from adjusting brightness settings, 4K models typically need around 2,500 to 4,000 lumens for ideal image quality in various lighting conditions. Always compare projector lumens and fine-tune your brightness to guarantee a clear, vibrant picture without overexposure or loss of detail.

L LOHAS LED Night Light Projector, Night Lights Plug into Wall, Dusk to Dawn Sensor, 180°Rotating Nightlight for Kids, 0-150LM Dimmable Soft White Ambient Lighting for Bathroom, Decor, Gifts, 2 Pack
UP&DOWN LED Projection–Minimalist projection design complements any décor. The night light brightness button can be adjusted from 0-150LM…
As an affiliate, we earn on qualifying purchases.
As an affiliate, we earn on qualifying purchases.
Conclusion
By steering clear of these common projector brightness mistakes, you’ll enhance your viewing experience like a pro. Adjusting settings properly is like tuning an instrument — when done right, everything harmonizes perfectly. Don’t let poor brightness choices dim your entertainment or presentations. Take your time, follow these tips, and enjoy crisp, vibrant images every time. Remember, the right settings make all the difference—it’s your secret weapon for a stunning visual experience.

2-in-1 Galaxy Projector Night Light, USB Star Projector with Adjustable Brightness, Mini Galaxy Light Projector for Bedroom Ceiling Wall Room Decor
2-in-1 Galaxy Projector Night Light: Combines a galaxy projector and soft night light in one compact design, creating…
As an affiliate, we earn on qualifying purchases.
As an affiliate, we earn on qualifying purchases.

120inch Projector Screen with Stand: Portable Projector Screen Outdoor Indoor Front/Rear16:9 4K HD with Carry Bag Sandbag- Movie Screen for Backyard Moive Night, Camping, Theater
Unshakably Stable Base and Support: This projection screen features a sturdy base and support—extended and reinforced—effectively addressing instability…
As an affiliate, we earn on qualifying purchases.
As an affiliate, we earn on qualifying purchases.