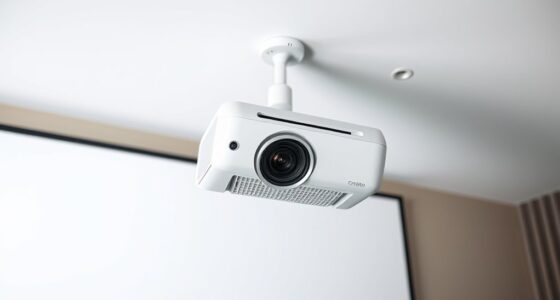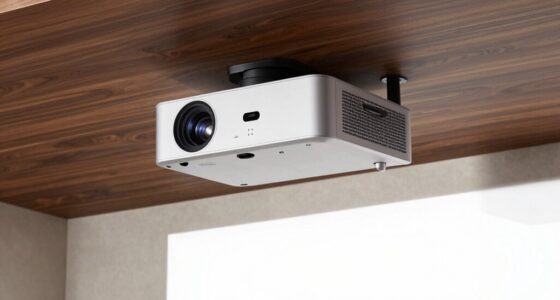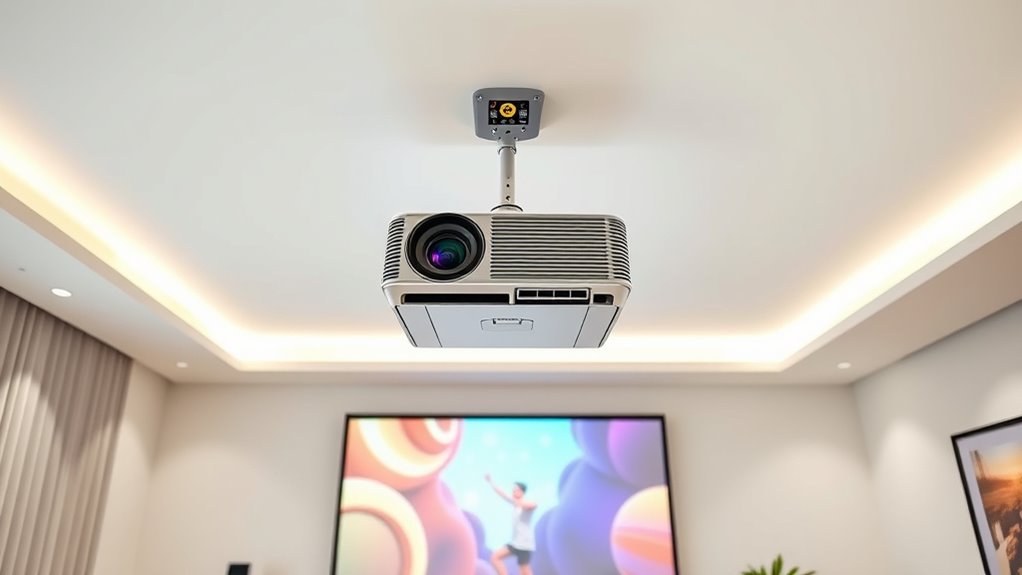
To properly ceiling mount a projector, start by selecting a sturdy, compatible mount that supports your projector’s size and weight. Position it directly in front or slightly offset from the screen, ensuring the lens is centered and at the right height to minimize keystone correction. Use a level to secure the mount perfectly horizontal. Fine-tune the angle and focus with test patterns, and plan cable routes for a clean look. Keep these tips in mind to guarantee a professional, sharp image—more details follow.
Key Takeaways
- Choose a mount that supports your projector’s weight and is compatible with ceiling type.
- Position the projector directly in front of or slightly offset from the screen, considering throw ratio and height.
- Use a level during installation to ensure the mount is perfectly horizontal and aligned.
- Adjust the projector’s angle and lens shift to minimize keystone distortion and focus issues.
- Hide cables with conduits or covers for a clean, professional look and secure all connections after setup.
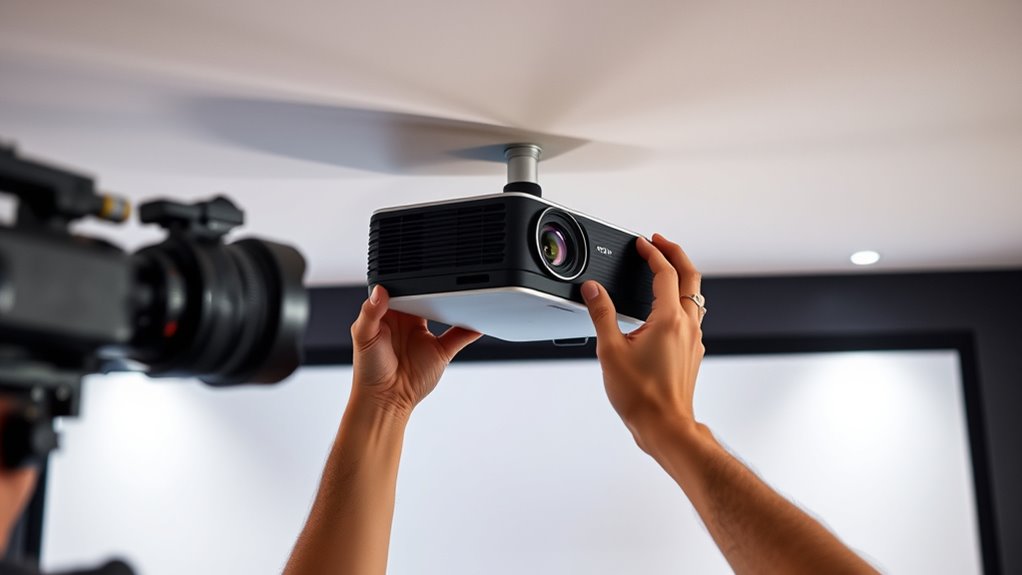
Mounting a projector on the ceiling is an effective way to save space and create a clean, professional viewing area. When it comes to projector placement, you want to ensure the image is perfectly aligned with your screen or wall to avoid keystone effects or distorted visuals. The key lies in understanding optimal positioning and considering mounting considerations that will make setup straightforward and reliable.
Start by choosing the right spot on the ceiling—ideally, directly in front of your screen or slightly offset if necessary. The goal is to position the projector so that the lens is centered with the display area, reducing the need for extensive adjustments later. Measure the distance from the ceiling to your screen to determine the appropriate mounting height. Keep in mind that some projectors have a fixed throw ratio, meaning they require specific distances to produce a clear, focused image. Check your projector’s specifications to get an accurate idea of the ideal placement, which will influence both the height and lateral position.
Position the projector centered with your screen, considering throw ratio and measuring from ceiling to ensure proper height and alignment.
Mounting considerations also include the type of mount you select. Fixed mounts offer a sturdy, permanent installation, perfect if you want a clean look and don’t plan on adjusting the projector often. Adjustable mounts, on the other hand, give you the flexibility to fine-tune the angle and lens shift, which is especially helpful if your ceiling isn’t perfectly level or if you plan to change your setup later. Make sure the mount you choose can support the weight and size of your projector. Installation should be secure—use appropriate anchors if mounting into drywall, or locate ceiling joists for maximum stability.
Once you’ve determined your projector’s placement, double-check the alignment. Use a level to ensure the mount is perfectly horizontal, and temporarily position the projector (or use a test pattern) to verify the image aligns with the screen at the desired height and width. Adjust the mount as needed, keeping the projector’s lens at a height that minimizes keystone correction—this will give you a cleaner, more professional image. Remember, precise projector placement reduces the need for digital adjustments, which can degrade image quality. Additionally, considering projector specifications such as throw ratio and lens shift can greatly facilitate achieving optimal alignment.
Finally, cable management plays a crucial role in maintaining a tidy, professional look. Use conduits or cable covers to hide power cords and HDMI cables, ensuring they don’t distract from the clean aesthetic or cause accidental disconnections. With careful planning around projector placement and mounting considerations, you’ll enjoy a seamless, high-quality viewing experience that looks as good as it performs.

Tonalee Projector Mount Wall or Ceiling Projection Mount Bracket with Adjustable Height and Extendable Arms Mounts for Home and Office Projector
- Compatible with most projectors: Supports various projector types
- Adjustable height and extendable arms: Customizable projection angles
- Multiple installation options: Ceiling or wall mounting
As an affiliate, we earn on qualifying purchases.
As an affiliate, we earn on qualifying purchases.
Frequently Asked Questions
How Do I Choose the Right Projector Mount for My Ceiling?
You choose the right projector mount by considering your ceiling’s mounting height and the weight capacity. Measure how high you want the projector to hang, guaranteeing the mount can reach that height comfortably. Check the mount’s weight capacity to support your projector securely. Look for adjustable mounts to fine-tune alignment after installation. This way, you guarantee stability and ideal projection quality without risking damage or improper setup.
Can I Install a Projector Mount on a Textured or Uneven Ceiling?
Think of your ceiling as a canvas—uneven or textured surfaces might seem like a hurdle, but they’re actually opportunities for creativity. You can install a projector mount on a textured or uneven ceiling by using appropriate anchors and mounting hardware designed for your ceiling material. Secure the mount firmly to guarantee stability, and consider using spacer brackets to level the projector, transforming a tricky surface into a solid foundation for your home theater.
What Safety Precautions Are Necessary During Ceiling Mounting?
You should prioritize electrical safety by turning off power during installation and checking for hidden wiring. Guarantee the ceiling’s structural integrity can support the mount and projector weight; if unsure, consult a professional. Use proper tools and secure anchors to prevent accidents. Avoid rushing, and double-check all connections and mounts. Taking these precautions helps prevent electrical hazards and structural failures, keeping your installation safe and secure.
How Do I Access and Adjust the Projector After Mounting?
Imagine opening a hidden world of control—you simply grab your remote and press the buttons to access your projector. Once mounted, you use your remote for quick access or connect adjustment tools to fine-tune settings. You can easily tilt, zoom, or focus the projector, ensuring perfect image alignment. This seamless access means you don’t have to climb up or dismount; you’re in command, making adjustments effortless and precise.
What Are the Common Issues Caused by Incorrect Projector Alignment?
Incorrect projector alignment often causes issues like image distortion and keystone effect, making your picture look skewed or stretched. When the projector isn’t properly aligned with the screen, you might notice trapezoidal images or blurred edges. These problems can distract viewers and reduce image clarity. To avoid this, double-check your placement and use the projector’s keystone correction feature to fix any distortion for a sharper, more uniform picture.
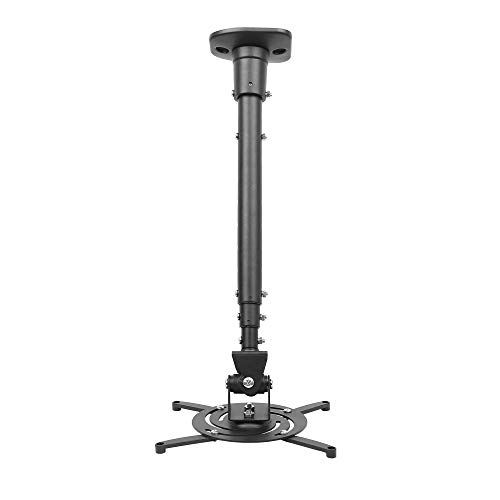
DYNAVISTA Full Motion Universal Ceiling Projector Mount Bracket with Adjustable Height and Extendable Arms Rotating Swivel Mount for Home and Office Projector (Black)
- Universal Compatibility: Supports most projector brands
- Durable Material: Made from heavy-duty steel
- Maximum Load Capacity: Supports up to 30 lbs
As an affiliate, we earn on qualifying purchases.
As an affiliate, we earn on qualifying purchases.
Conclusion
Now that you’ve mastered the art of ceiling mounting your projector, it’s like setting a silent sentinel in your room, ready to reveal cinematic worlds at your command. With careful alignment and tips, you’ve crafted a perfect vantage point—your own gateway to immersive entertainment. Remember, a well-mounted projector isn’t just equipment; it’s the lighthouse guiding your viewing adventures, ensuring every image is sharp and every moment crystal clear. Your home theater awaits—let it shine!

Universal TV Mounting Hardware Screw Kit Set with Box
- Organized Storage Box: Keeps screws and accessories neatly stored
- Pre-Labeled Components: Easy identification of screws, washers, spacers
- Universal Compatibility: Fits most TVs up to 80 inches
As an affiliate, we earn on qualifying purchases.
As an affiliate, we earn on qualifying purchases.

Alex Tech 10ft – 1/2 inch Cord Protector Wire Loom Tubing Cable Sleeve Split Sleeving For USB Cable Power Cord Audio Video Cable – Protect Cat From Chewing – Black
- Size and Length: 1/2 inch diameter, 10 feet long
- Color: Black
- Split Design: Easy to load wires, self-closing
As an affiliate, we earn on qualifying purchases.
As an affiliate, we earn on qualifying purchases.