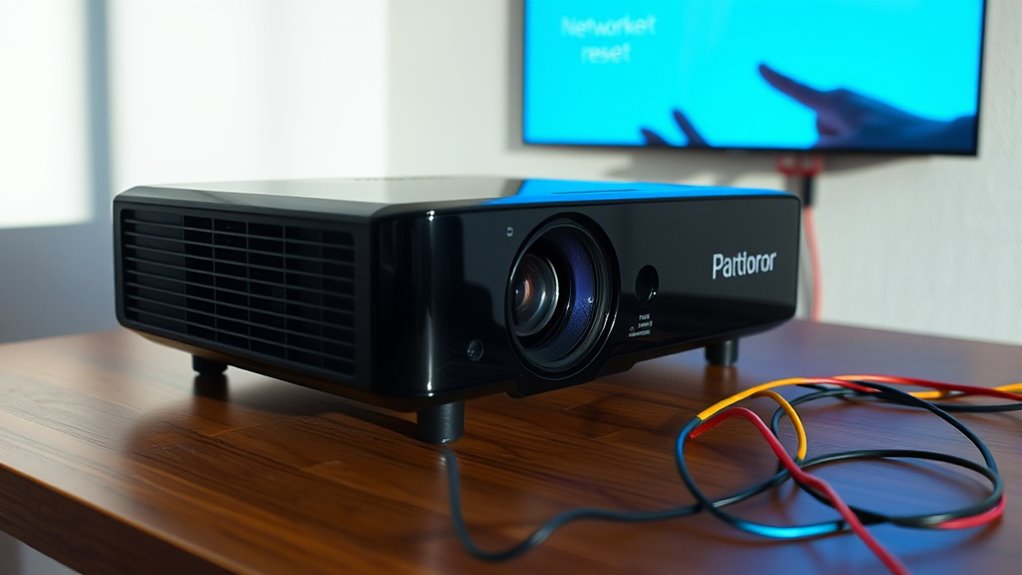
To reset your projector’s network settings, turn it on and access the menu using the remote or control panel. Navigate to the network or setup options, then find the reset or restore defaults menu. Confirm the reset, which will erase saved Wi-Fi passwords and security details. Afterward, restart your projector to apply the changes. For tips on reconfiguring your network or updating firmware, keep exploring the essential steps ahead.
Key Takeaways
- Access the projector’s main menu via remote or control panel, then navigate to display or network settings.
- Locate the “Reset” or “Restore Defaults” option within network or advanced settings.
- Confirm the reset to erase saved Wi-Fi passwords and security configurations, restoring default network settings.
- Power cycle the projector after resetting to refresh network connections and apply changes.
- Reconnect to Wi-Fi by selecting the network and entering the new password if necessary.
projector network reset remote control
As an affiliate, we earn on qualifying purchases.
As an affiliate, we earn on qualifying purchases.
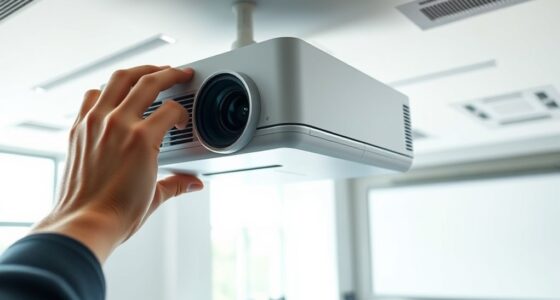
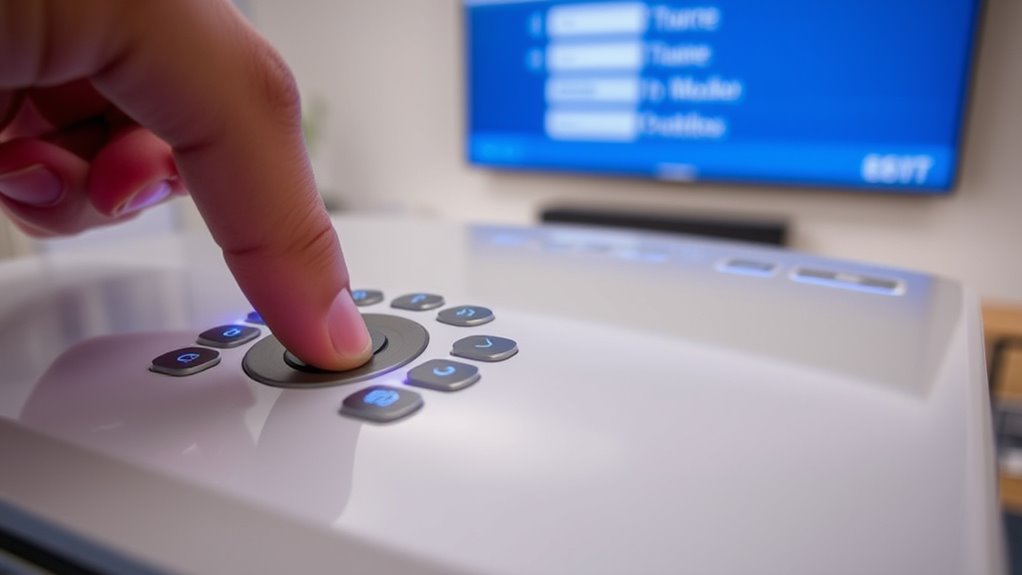
Accessing the Projector’s Menu
To access the projector’s menu, turn on your projector and locate the control panel or remote control. Using the remote, press the menu button to open the settings interface. This allows you to perform projector calibration and adjust various settings. Familiarize yourself with remote control functions, such as steering through options with arrow keys and selecting items with the enter button. Some projectors may have a dedicated menu button on the control panel itself. Once in the menu, look for display or network settings to manage your device effectively. Understanding these basic controls helps streamline the process when you need to reset or adjust network configurations later. Keep your remote handy for quick access and smooth navigation through the projector’s options. Additionally, knowing how to navigate the menu system can help you troubleshoot and optimize your projector’s performance more efficiently.
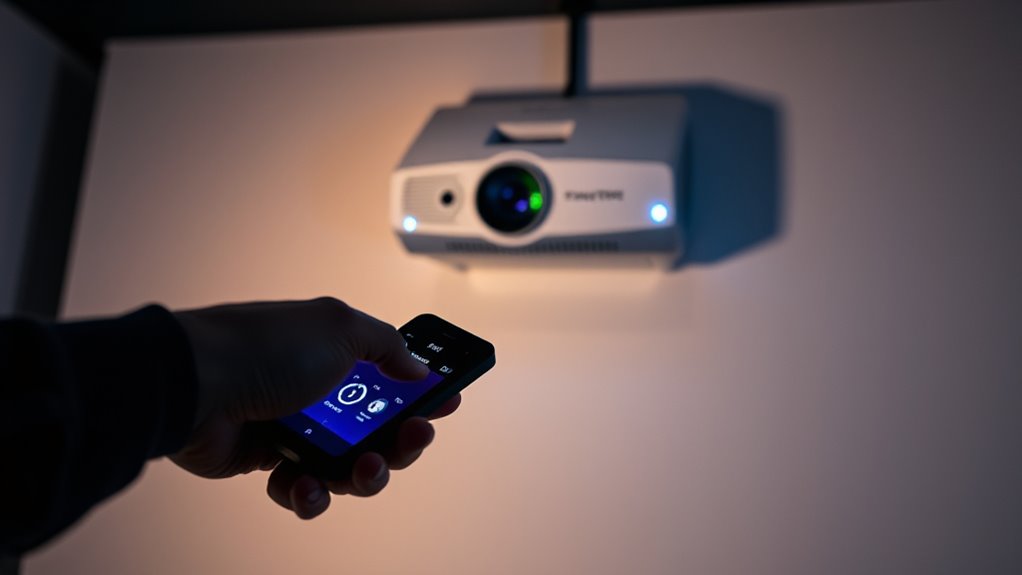
Wi-Fi setup for projector
As an affiliate, we earn on qualifying purchases.
As an affiliate, we earn on qualifying purchases.
Navigating to Network Settings
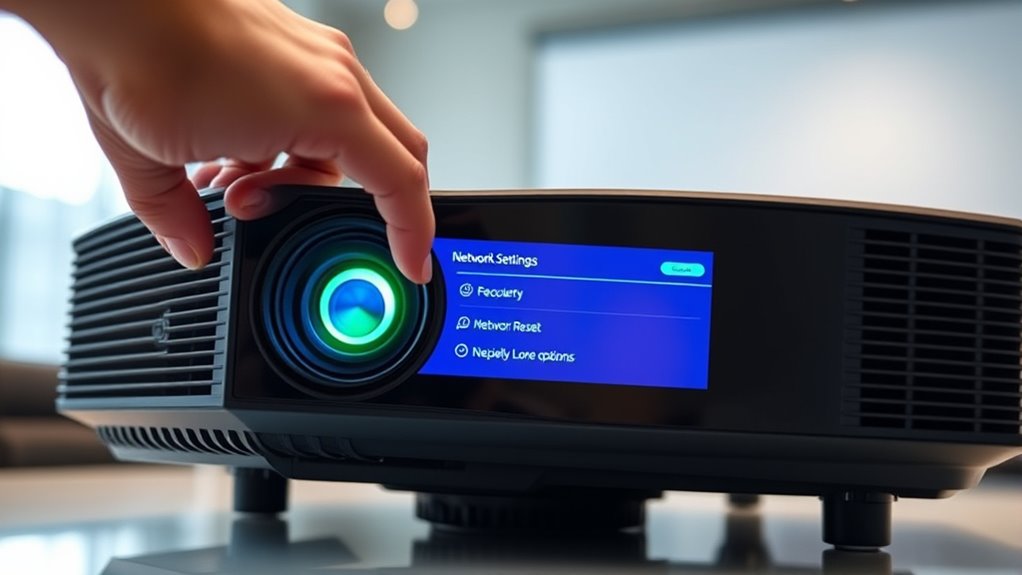
Are you unsure how to find the network settings on your projector? First, access the main menu using your remote control. Navigate to the “Settings” or “Setup” option. Then, select “Network” to enter the network menu. Here’s a quick guide:
| Step | Action |
|---|---|
| 1 | Use arrow buttons to highlight “Network” |
| 2 | Press “OK” or “Enter” |
| 3 | Choose “Network Settings” or similar |
| 4 | Adjust Wi-Fi, Ethernet, or projector calibration options |
If you’re setting up remote control for network access, verify it’s paired correctly. This is essential for seamless projector calibration and network adjustments, making setup faster and simpler. To ensure your settings are correctly configured, consult the network configuration guidelines specific to your projector model.

Nanlite Forza 60C Kit with FM Mount Projection Attachment (19&36)
TWO CREATIVE TOOLS – This kit combines the full-spectrum Forza 60C RGBLAC LED Spotlight and the PJ-FMM Projection…
As an affiliate, we earn on qualifying purchases.
As an affiliate, we earn on qualifying purchases.
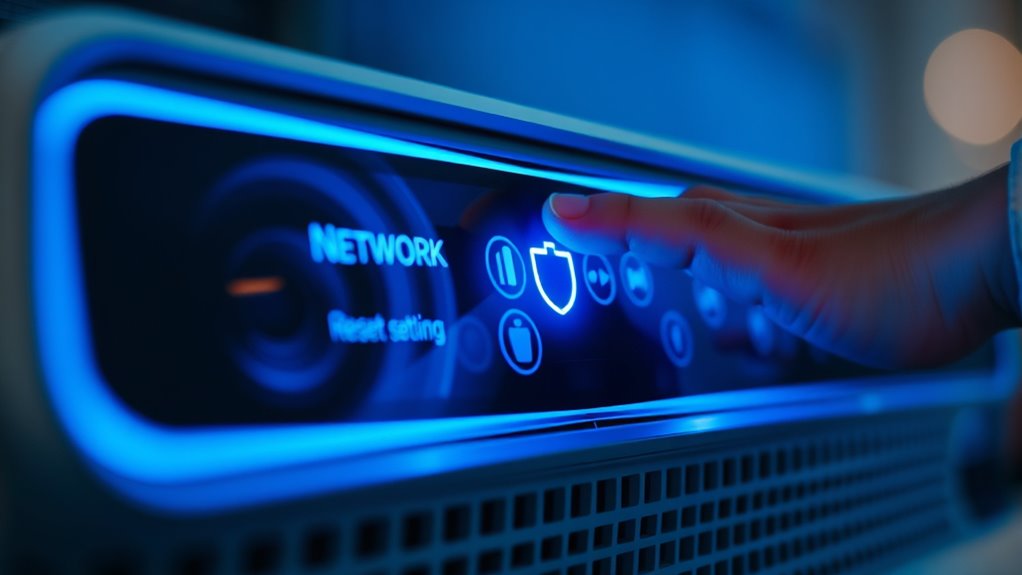
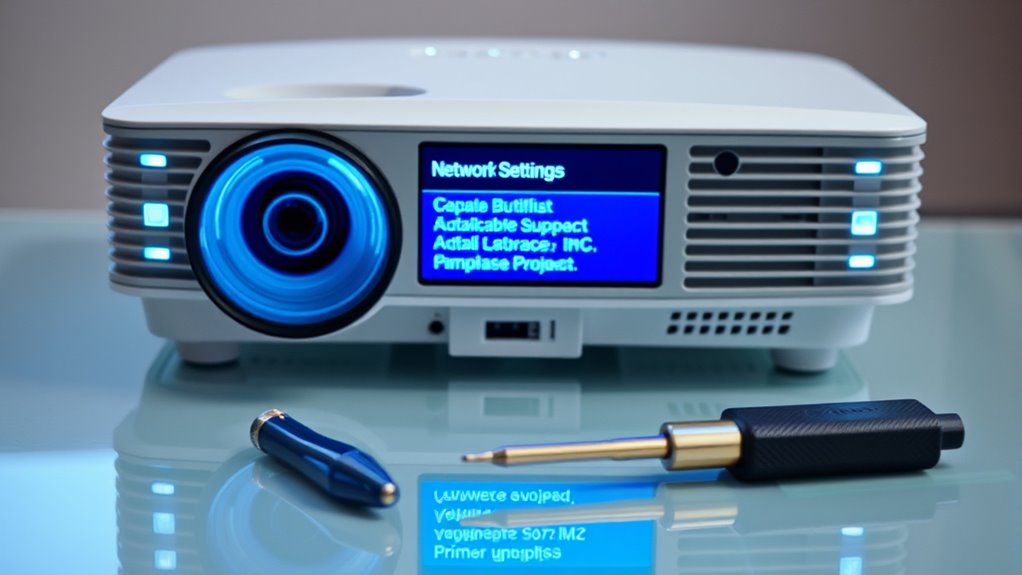
Locating the Reset Network Option

Having navigated to your projector’s network settings, locating the reset option is often straightforward. Look for a menu labeled “Reset” or “Restore Defaults.” It’s usually found within the network or advanced settings section. When you find this option, check if there’s a sub-menu for resetting network configurations specifically. Be aware that some projectors separate resetting network encryption and wireless security settings, so verify you’re selecting the correct reset option. Resetting these settings clears saved Wi-Fi passwords and security protocols, enabling a fresh start. If your projector displays options related to network encryption or wireless security, confirm you’re resetting the entire network setup. This ensures any security protocols or encryption keys are erased, allowing you to configure new settings after the reset.
projector network troubleshooting tools
As an affiliate, we earn on qualifying purchases.
As an affiliate, we earn on qualifying purchases.
Confirming the Reset Process
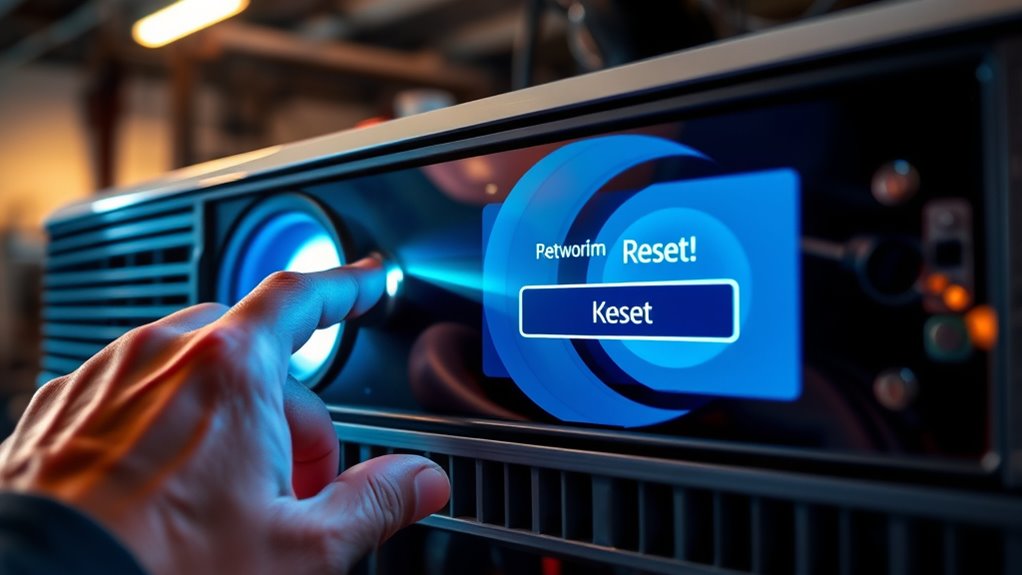
After selecting the reset option, it’s important to verify that the process has completed correctly. First, check your projector’s network settings to see if they’ve reverted to default or cleared out previous configurations. Proper cable management helps guarantee no loose or damaged connections interfere with the reset. Once confirmed, power cycling your projector can help finalize the reset—turn it off, unplug it for about a minute, then plug it back in and power it on. This step ensures all internal settings are refreshed. If your network settings still haven’t reset, revisit the reset process, making sure you followed each step carefully. Confirming the reset prevents lingering issues and prepares your projector for a fresh network setup. Additionally, understanding network configuration can assist in troubleshooting any persistent connectivity issues.
Restarting Your Projector
Restarting your projector is a simple but vital step to guarantee all recent settings, including network resets, take effect properly. When you power it off and on again, it allows the projector to refresh its system, ensuring adjustments like projector brightness are correctly applied. If you’ve recently replaced the lamp, restarting helps the device recognize the new component and enhance brightness levels accordingly. Additionally, a restart can resolve minor glitches that may affect display quality or performance. Make sure to turn off your projector completely, wait a few seconds, then turn it back on. This process ensures that all updates, including network configurations, are properly initialized. Proper restart procedures can also optimize image quality, ensuring your home cinema setup delivers the best viewing experience. Restarting is a quick but crucial step to maintain ideal projector performance and clarity.
Reconnecting to Wi-Fi Networks
When your projector loses its Wi-Fi connection, troubleshooting can help identify the issue quickly. You’ll need to follow clear reconnecting steps to restore your network access. Let’s review these steps and common troubleshooting tips to get your projector online again. For ongoing support, consider reviewing network troubleshooting guides to better understand how to maintain a stable connection.
Wi-Fi Connection Troubleshooting
If your projector is having trouble reconnecting to your Wi-Fi network, troubleshooting the connection can often resolve the issue quickly. Start by checking for wireless interference from other electronic devices, which can disrupt the signal. Move your projector closer to the router if possible. Also, verify your Wi-Fi password is correct and hasn’t changed, as incorrect password security is a common cause of connection issues. Restart your router and projector to refresh their network settings. Confirm that your network isn’t overloaded with too many devices, which can slow down or disconnect your projector. If the problem persists, double-check your network settings to ensure your projector is still configured to connect to the right network. Addressing these issues usually restores a stable Wi-Fi connection. Additionally, consult your projector’s wireless compatibility to ensure it supports your current network configuration.
Reconnecting Steps Overview
Reconnecting your projector to a Wi-Fi network involves a straightforward sequence of steps that can quickly resolve most connectivity issues. First, confirm your network security settings haven’t changed, as updated passwords or security protocols can block access. Next, verify that your projector’s firmware is current, since manufacturers often release updates to improve Wi-Fi compatibility and security. Start by accessing the network menu on your projector, then select your Wi-Fi network from the available options. Enter the correct password carefully, keeping in mind any recent security changes. If connection problems persist, check for firmware updates through the projector’s settings or manufacturer’s website. Regularly updating your device’s firmware can enhance performance and prevent connectivity issues. Following these steps systematically ensures a smooth reconnection process and secure network security.
Troubleshooting Connectivity Issues

Connectivity issues often stem from incorrect network settings or interference, making it essential to verify your projector’s network configuration. Start by checking your network security settings—ensure your Wi-Fi password is correct and that your network isn’t blocking device access. Interference from other wireless devices can also disrupt connectivity, so consider relocating your projector or router. Poor display calibration can sometimes cause connectivity confusion, especially if the projector’s display isn’t syncing properly with the source device. Restart both your projector and router to refresh connections. Confirm that your network is stable and that your projector is within range. If problems persist, resetting network settings can help eliminate misconfigurations, but always double-check security protocols afterward to ensure your connection remains protected. Additionally, reviewing compatible accessories can improve overall network performance and stability.
Adjusting Network Settings Post-Reset
After resetting your projector’s network settings, it’s important to review and reconfigure your network preferences to guarantee a stable connection. Start by reconnecting to your Wi-Fi or wired network, ensuring your network security settings are updated to protect against unauthorized access. Proper cable management helps avoid accidental disconnections and keeps your setup clean. You should also verify that your IP address and DNS settings are correctly configured to prevent connectivity issues. Additionally, consider adjusting your firewall settings to allow necessary communication between devices. Keeping these settings optimized enhances security and performance, ensuring smooth operation. Remember, a well-managed network setup minimizes disruptions and helps maintain a reliable connection post-reset. Stay vigilant about security and cable organization to streamline your projector’s network performance. Incorporating knowledge about network configuration best practices can further enhance your setup’s stability and security.
Updating Firmware for Better Compatibility
Updating your projector’s firmware is essential for ensuring compatibility with the latest devices and features. Firmware updates improve performance, fix bugs, and enhance overall functionality. When you update, you’re optimizing your projector’s network performance, making it easier to connect and communicate with new equipment. To start, visit the manufacturer’s website or access the projector’s menu system to check for available firmware updates. Download the latest version and follow the instructions carefully to install it. This process not only keeps your device current but also streamlines network optimization, reducing lag and connection issues. Regular firmware updates help your projector stay compatible with new tech, ensuring smooth operation and the best possible user experience. Keep your projector up-to-date for reliable, efficient performance every time.
Tips for Maintaining Network Stability
Maintaining network stability is essential for ensuring your projector functions smoothly without interruptions. Proper cable management prevents loose or tangled wires that can disrupt connections. Regularly check your power supply to avoid outages or fluctuations that could cause network issues. Keep your network equipment in a well-ventilated area to prevent overheating, which may affect performance. Additionally, update your firmware to fix bugs and improve compatibility.
Ensuring network stability prevents interruptions and maintains smooth projector performance through proper cable management and regular updates.
- Organize cables neatly to reduce interference and accidental disconnections
- Use surge protectors to safeguard your power supply and prevent outages
- Regularly reboot your network devices for peak performance
- Keep firmware updated for security and stability improvements
Frequently Asked Questions
Can I Reset Network Settings Without Losing Other Custom Configurations?
Yes, you can reset your projector’s network settings without losing other custom configurations. Most projectors allow you to reset only the network configuration, which restores device connectivity settings to default while keeping your personalized settings intact. Check your projector’s menu options or user manual for specific instructions. This way, you resolve network issues without affecting your other customizations, ensuring a smoother device connectivity experience.
Will Resetting Network Settings Erase Saved Wi-Fi Passwords?
Did you know that over 80% of users forget their Wi-Fi passwords after resetting network settings? Resetting your projector’s network settings will erase saved Wi-Fi passwords, requiring you to re-enter them. It also clears network configurations, so make certain you have your passwords handy before proceeding. This step helps resolve connectivity issues but means you’ll need to reconfigure network settings afterward.
How Long Does the Network Reset Process Typically Take?
The network reset process usually takes about 1 to 5 minutes, depending on your projector model and network complexity. During this time, it clears all network settings to troubleshoot network delays or connectivity issues. You should stay nearby and avoid turning off the projector. Once completed, you’ll need to re-enter Wi-Fi credentials, but your saved passwords won’t be erased if you only reset network settings.
Is It Necessary to Update Firmware Before Resetting Network Settings?
Think of updating firmware before a network reset like tuning a guitar before a concert—you guarantee everything sounds perfect. It’s not always necessary, but it’s recommended to prevent issues. A firmware update can fix bugs and improve performance, making the network reset smoother. If your projector’s firmware is outdated, updating it first helps avoid connectivity problems later, ensuring your device’s network settings reset cleanly and efficiently.
Will Resetting Network Settings Improve Projector Performance or Connectivity?
Resetting your projector’s network settings can improve network stability and resolve connectivity issues. If you’re experiencing frequent disconnects or slow responses, this reset clears outdated configurations and resets the network to its default. As a result, your projector might reconnect more reliably and perform better during presentations. Just remember to re-enter any necessary Wi-Fi credentials afterward to restore your network’s functionality.
Conclusion
Resetting your projector’s network settings can seem intimidating, but it’s often the key to resolving stubborn connectivity issues. Think of it like hitting a reset button on your device’s brain—sometimes, a fresh start is all it takes. Remember, maintaining your network and updating firmware regularly can prevent future problems. Trust in the process; it’s like giving your projector a new lease on life, ensuring seamless connections and better performance every time.