To fix HDMI no signal errors, start by inspecting and replacing damaged cables, making sure they’re high-quality. Verify you’re on the correct input source on your TV or monitor. Test the port with different devices to rule out hardware issues. Adjust display settings like resolution if needed. Update firmware and drivers to ensure compatibility. Power cycle your devices and try different HDMI ports or cables. Continuing through these steps will reveal more solutions for reliable connectivity.
Key Takeaways
- Verify all HDMI cables and connectors are undamaged and securely connected to prevent signal loss.
- Confirm the TV or monitor is set to the correct HDMI input source.
- Power cycle both the display and connected devices to reset temporary glitches.
- Update device firmware and HDMI drivers to ensure compatibility and fix known issues.
- Test with different HDMI cables, ports, and devices to identify and isolate potential hardware faults.
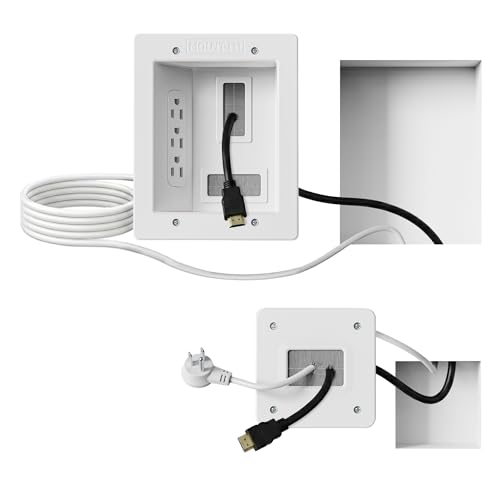
Mount-It! in-Wall TV Cable Concealer Kit with Recessed Power – Triple Outlet, 9ft Cord, and Hand Saw – Easy, Safe Cable Management for Organized TV and Home Theater Setups
Organized home theater setup – Eliminate messy wires and give your entertainment area a clean, modern look. This...
As an affiliate, we earn on qualifying purchases.
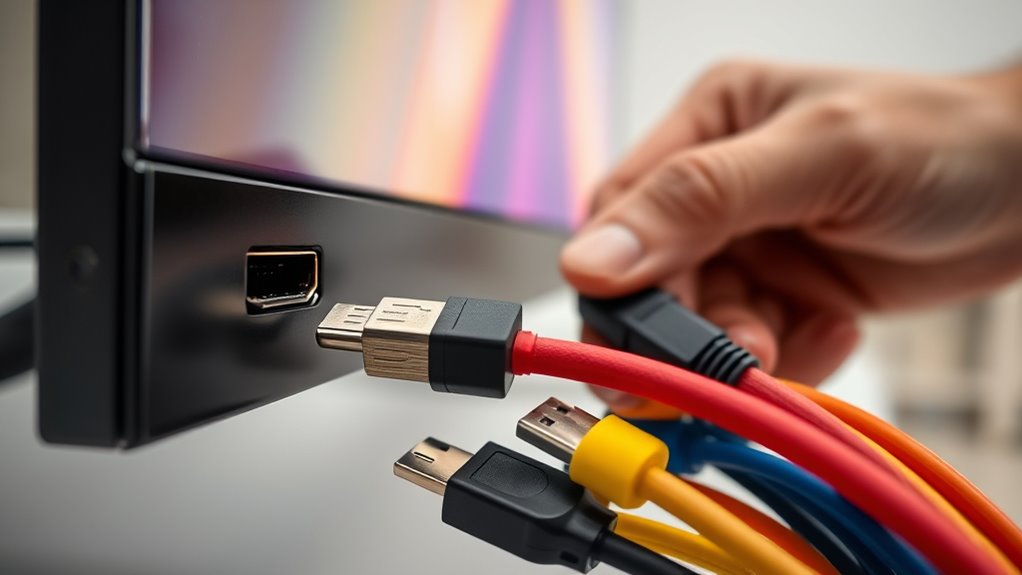
Checking and Replacing HDMI Cables
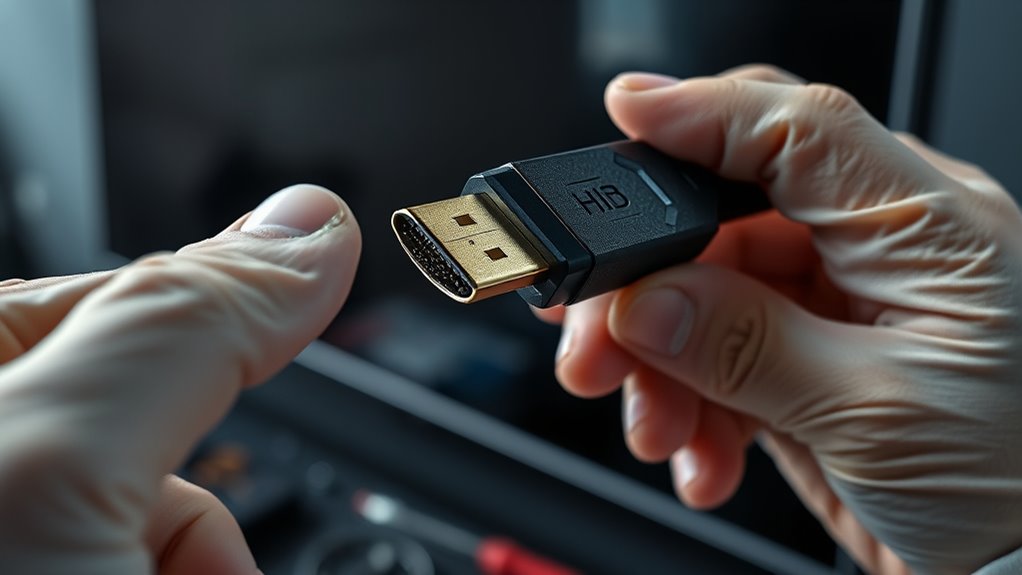
Before troubleshooting HDMI signal issues, verifying the cables connecting your devices is vital. Start by inspecting the HDMI cable itself. Check for visible damage, such as frayed or bent connectors. Good cable shielding is necessary to prevent interference, so ensure your cable has proper shielding to maintain signal integrity. Look closely at the connectors for signs of corrosion or dirt, as corrosion can disrupt the connection and cause no signal errors. If the cable appears damaged or corroded, replace it with a high-quality HDMI cable that offers robust shielding and durable connectors. Using a reliable cable minimizes signal loss and interference, guaranteeing a stable connection. Remember, a high-quality HDMI cable can often resolve issues before you need to troubleshoot further.

Conext Link RCA Stereo 2 Channel Ground Loop Isolator Signal Noise Filter Suppressor Reducer Alternator for Car Audio Stereo(13600)
Eliminates Humming and Buzzing Between Audio Source and Amplifier Due to Ground Loop Issues
As an affiliate, we earn on qualifying purchases.
Ensuring Correct Input Source Selection
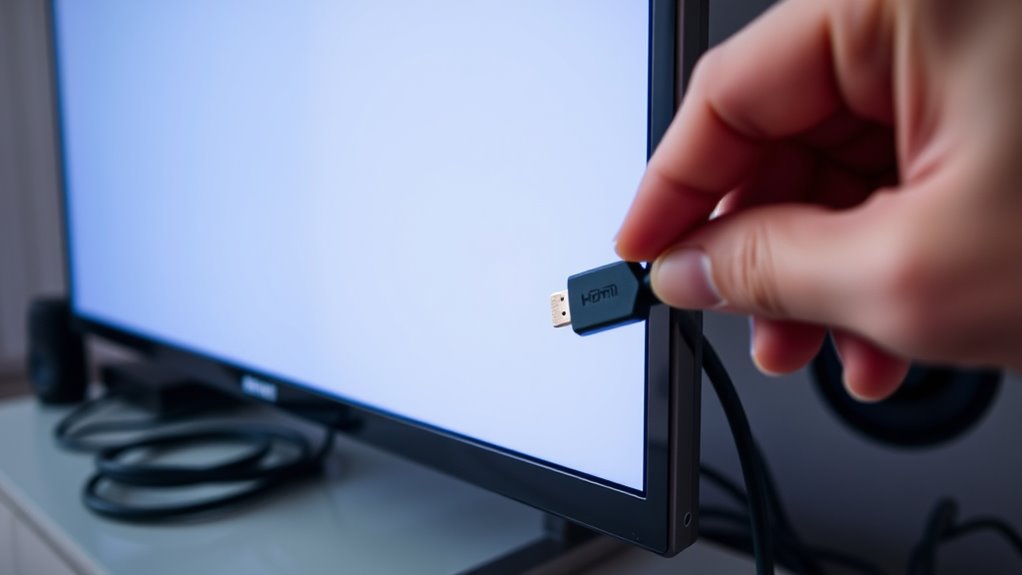
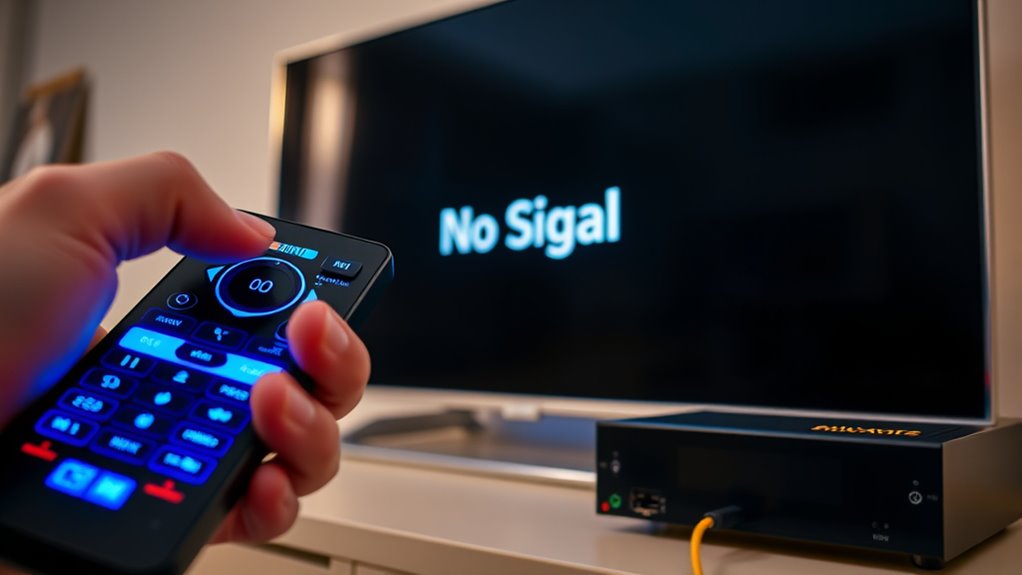
Ensuring that your TV or monitor is set to the correct input source is essential for resolving no signal errors. Use your remote control to select the appropriate input, whether HDMI 1, HDMI 2, or another port. Double-check that the input source matches the port where your device is connected. Sometimes, the TV may default to an incorrect input, so manually switching can fix the issue. Confirm you’re not accidentally on a different input, such as AV or component. If you have multiple HDMI devices, verify that you’ve selected the right one. Remember, even a small misselection can cause a no signal message. Proper input source selection guarantees your device communicates correctly with your TV or monitor, preventing unnecessary troubleshooting. Additionally, understanding industry transformations can help you stay updated on new features that improve connectivity and input management.

Pyle Compact Mini Hum Eliminator Box - 2 Channel Passive Ground Loop Isolator, Noise Filter,AC Buzz Destroyer, Hum Killer w/ 1/4" TRS Phone,XLR Input/Output, Uses 1:1 Isolation Transformer
REMOVES AC NOISE: The Pyle Hum Eliminator removes 60Hz AC hum caused by ground loops that act like...
As an affiliate, we earn on qualifying purchases.
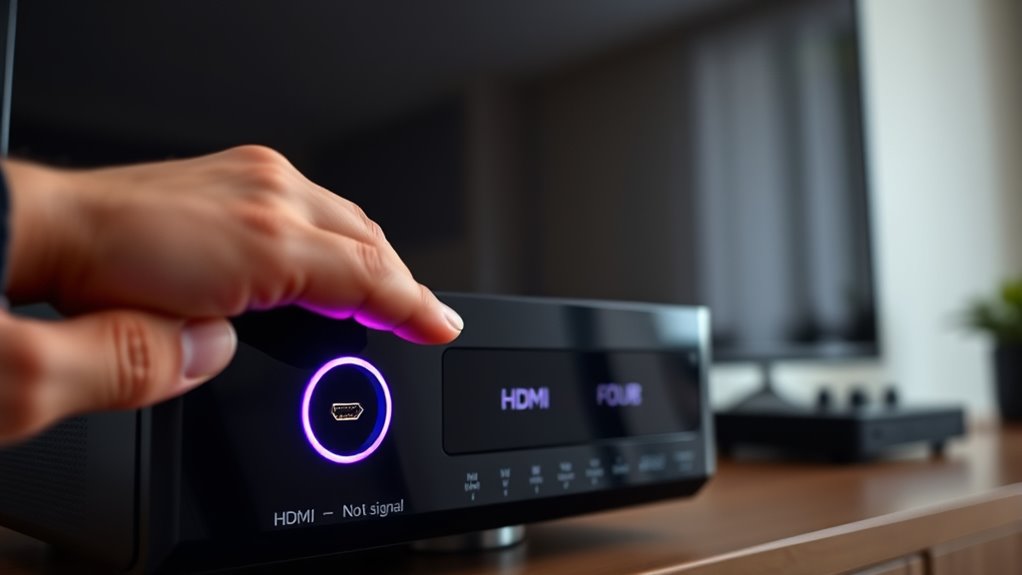
Verifying HDMI Port Functionality
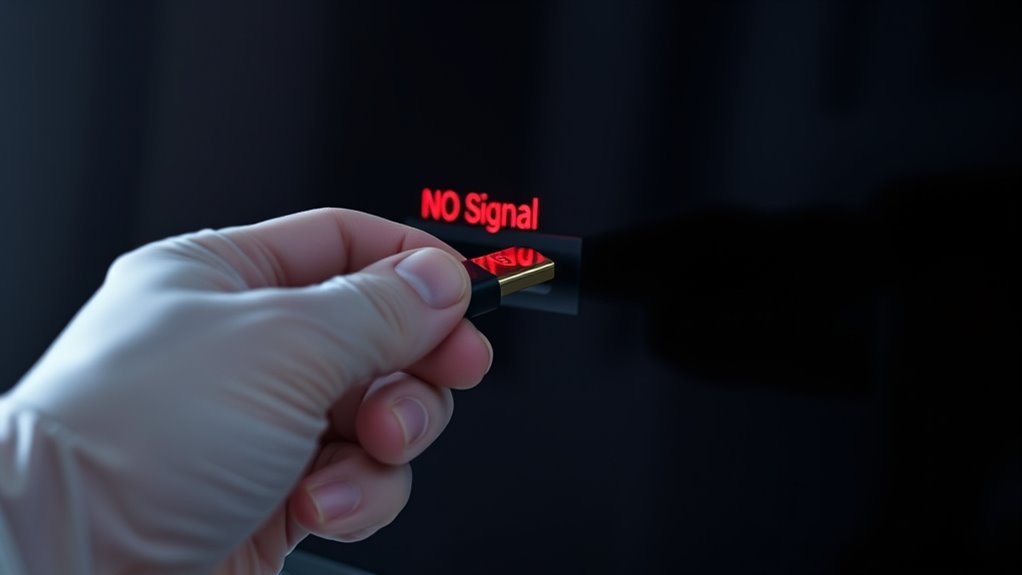
Start by checking that all HDMI cables are securely connected and free of damage. Try testing the port with a different device to see if the issue persists. Also, inspect the port for any physical damage that could be preventing a proper connection. Additionally, ensure that the HDMI port is functioning correctly by verifying its reliability and features, as some ports may be more prone to signal issues due to manufacturing defects or wear over time.
Check Physical Connection
To confirm whether the HDMI port is functioning properly, you should first inspect the physical connection. Make certain that the cable is securely plugged into both the source device and the display. Check for any visible damage or bent pins that could affect connection stability. Use a high-quality cable, as cable quality markedly impacts signal transmission and reduces errors. Make sure the connection isn’t loose or strained, which can cause intermittent signals. Sometimes, simply unplugging and reconnecting the cable firmly can resolve issues. Confirm that the cable is connected to the correct HDMI port and not a different one. Properly seated connections help maintain stability and prevent no signal errors. Additionally, verifying the HDMI port functionality can ensure the port itself is not faulty.
Test With Different Devices
If you’re still experiencing no signal errors after checking the physical connection, testing the HDMI port with different devices can help determine whether the issue lies with the port itself. Sometimes, device compatibility issues or signal interference from nearby electronics can cause connection problems. Connect a different device, such as a laptop or a gaming console, to the same HDMI port. If the new device displays a signal, the original device may be incompatible or faulty. If the problem persists across multiple devices, the port might be malfunctioning. This test isolates whether the issue stems from device compatibility or interference. By systematically swapping devices, you can better identify if the HDMI port is functioning correctly or needs further inspection. Additionally, regional resources can offer support if hardware issues persist.
Inspect HDMI Port Damage
Inspecting the HDMI port for damage is a crucial step in diagnosing signal issues. Look closely at the port for signs of physical deformation, such as bent or broken pins, which can disrupt connections. Check for port corrosion, which appears as green or white buildup around the contacts and can interfere with signal transmission. Verify there’s no debris or dirt inside the port that could block the connection. Examine the port’s outer casing for cracks or dents that suggest physical damage. If you notice any of these issues, the port may need cleaning or replacement. Addressing physical deformation or corrosion early can save you time and prevent further damage to your device’s HDMI input. Regular inspection helps maintain peak signal quality. Additionally, understanding the durable materials used in high-quality HDMI ports can help you identify signs of wear and tear over time.
Legrand – OnQ in-Wall Cable Management Kit for Power & Low Voltage Cords – Hides TV or Display Cables Retrofit Behind The Wall – UL Listed TV Cord Hider w/DIY Install & Included Hardware – HT2102WHV1
Power & Low Voltage Storage: Hide all your TV or display cables behind the wall with this retrofit...
As an affiliate, we earn on qualifying purchases.
Adjusting Display and Device Settings
Sometimes, adjusting your display and device settings can resolve no signal errors on HDMI inputs. Start by checking your display’s calibration adjustments to verify it’s set to the correct input mode. Incorrect resolution or refresh rate settings can prevent the signal from displaying properly. Also, review your device’s color management settings; improper color profiles or oversaturated settings may interfere with the signal. Resetting these parameters to their default values can often fix the issue. Make sure your device’s output settings match the supported specifications of your display. Additionally, disable any advanced picture modes that might conflict with the HDMI signal. These small tweaks can help establish a stable connection, eliminating the no signal error without the need for hardware repairs. Being aware of display calibration and ensuring your system’s compatibility can further improve connection stability.
Updating Firmware and Drivers
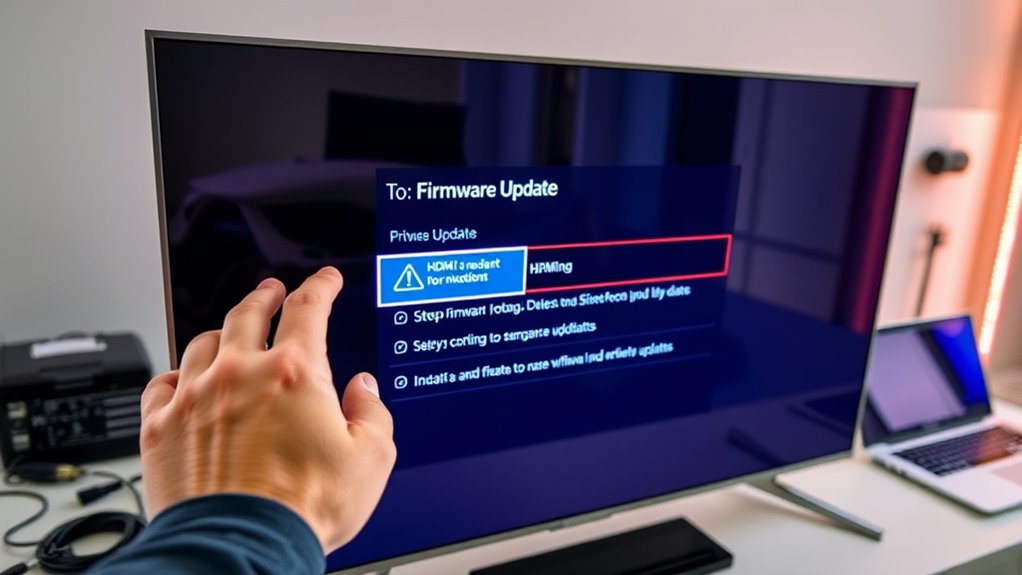
To fix HDMI signal issues, you should check for the latest firmware and driver updates for your devices. Make sure to download only compatible files to avoid potential problems. After installing the updates properly, test your setup to see if the no signal error is resolved. Regularly updating firmware and drivers ensures your devices stay up-to-date with the latest improvements, which can prevent connectivity issues.
Check for Latest Updates
Updating your device’s firmware and drivers is one of the most effective ways to resolve HDMI no signal errors. Manufacturers often release updates to fix software bugs and improve compatibility, especially with the user interface. Staying current ensures your device communicates smoothly with your HDMI source. To check for updates, visit the manufacturer’s website or use built-in update tools. Regular updates can prevent issues caused by outdated software that might misinterpret signals or cause no signal errors. Keeping firmware and drivers up to date reduces troubleshooting time and improves overall stability. Remember, an outdated system can lead to compatibility problems and unresolved bugs. Staying current is your best defense against persistent HDMI signal issues. Additionally, software compatibility plays a crucial role in maintaining proper communication between devices.
Download Compatible Files
Downloading the correct firmware and drivers is essential for resolving HDMI no signal errors. Outdated or incompatible files can cause issues with image resolution and audio settings, leading to no signal display. Visit the manufacturer’s website to find the latest updates tailored for your device. Ensure that the firmware matches your model to avoid compatibility problems. When updating drivers, pay attention to the specifications related to HDMI input, as these can influence image clarity and audio quality. After downloading, follow the instructions carefully to install the updates properly. Keeping your firmware and drivers current helps maintain peak performance, making sure your HDMI connection handles the correct image resolution and audio settings without interruptions. This step is vital before testing your device’s signal again. Additionally, understanding your device’s personality traits can help troubleshoot connectivity issues more effectively.
Install Properly and Test
Before testing your HDMI connection again, make sure you carefully install the firmware and drivers you’ve downloaded. Proper mounting and cable organization are essential during installation to prevent signal issues. Verify your device is powered off before updating to avoid errors. Follow the instructions precisely, and verify that the firmware and drivers are compatible with your equipment. After installation, restart your device to apply updates. Check that your HDMI cable is securely connected, free of damage, and properly routed to avoid interference. Keep cables organized to prevent tangling or accidental disconnections. Confirm that your hardware settings are correct and updated. Finally, test your setup with a different HDMI port or cable if issues persist. Proper installation and testing help ensure your HDMI inputs work flawlessly.
Power Cycling Your Devices
Sometimes, simply turning your devices off and on again can resolve HDMI no signal errors. Use the remote power button to fully power down your TV and connected devices. This process performs a device reset, clearing temporary glitches that might cause connection issues. After turning everything off, wait about 30 seconds before turning them back on. This allows the internal circuits to reset properly. When you power the devices back up, ensure they’re in the correct input mode. Power cycling can often fix minor software hiccups or signal handshaking problems that disrupt the HDMI connection. Remember, a complete power cycle is different from just switching off the device; it’s a thorough reset that often restores proper signal flow. Give this simple step a try before exploring more complex troubleshooting options.
Testing With Different Devices or Displays
If you’re still experiencing no signal errors on your HDMI input, testing with different devices or displays can help identify whether the issue lies with a specific component. Swap out your current device or display with another known working one to rule out hardware faults. Make certain each device is properly calibrated for maximum signal transmission. Check for potential signal interference from nearby electronics, which can disrupt the HDMI connection. This process can reveal if the problem is isolated or widespread. By testing different combinations, you can pinpoint whether the issue originates from the source device, the display, or the cable. This step is vital for isolating the root cause before exploring more advanced solutions.
- Use different HDMI cables to rule out cable faults
- Try connecting to a different port on your display or receiver
- Test with a device known to work correctly
- Adjust device calibration settings if available
- Keep cables away from signal interference sources
Resolving Hardware Compatibility Issues
Even after testing with different devices and cables, hardware compatibility issues can still cause no signal errors on your HDMI input. HDMI standards vary between devices, and not all equipment supports the same features or resolutions. To resolve this, check the device compatibility and confirm both devices follow the same HDMI version or are compatible with each other. Some older devices may not support newer HDMI standards, leading to signal issues. Updating your device firmware or drivers can also improve compatibility. If problems persist, consider using an HDMI splitter or converter designed to bridge compatibility gaps. Ensuring both your source device and display adhere to compatible HDMI standards minimizes signal errors and guarantees smoother connections. Always verify device specifications and compatibility before purchasing new equipment.
Frequently Asked Questions
Can HDMI Signal Issues Be Caused by Electromagnetic Interference?
Yes, electromagnetic interference can cause HDMI signal issues. When external devices or electrical sources emit interference, it disrupts the signal transmission. Ensuring your HDMI cables have proper cable shielding helps prevent this problem by blocking electromagnetic interference. You should keep HDMI cables away from power lines, wireless devices, and other electronics that generate interference to maintain a clear signal and avoid no signal errors.
How Do I Determine if My HDMI Port Is Physically Damaged?
You can determine if your HDMI port is physically damaged by performing a visual inspection. Look for bent, broken, or missing pins inside the port, and check for any signs of burn marks, corrosion, or debris. Gently wiggle the cable to see if it feels loose or if the connection is unstable. Port damage often results in poor connections or no signal, indicating you might need a repair or replacement.
Are There Specific HDMI Versions More Prone to Signal Problems?
Some HDMI versions, like earlier ones such as HDMI 1.4, tend to have more signal problems due to limited bandwidth and compatibility issues. Newer versions like HDMI 2.0 and 2.1 generally offer better signal stability thanks to improved bandwidth support and backward compatibility. To minimize issues, verify your devices support the same HDMI version and check for proper HDMI compatibility and version support, especially when connecting older equipment to newer displays.
What Role Does Resolution Mismatch Play in HDMI No Signal Errors?
Resolution mismatch can cause HDMI no signal errors because your device and display need compatible resolution settings. If your display’s resolution isn’t supported by your source device, it won’t display anything. To fix this, check your display settings and verify resolution compatibility between your devices. Adjust the resolution on your source device to match your display’s supported settings, which helps establish a stable connection and prevents signal errors.
Can External Devices Like Splitters Affect HDMI Signal Integrity?
Did you know that 65% of HDMI signal issues are linked to external devices like splitters? An HDMI splitter can affect signal integrity by causing signal degradation, which weakens the HDMI signal and leads to no signal errors. When you use a splitter, guarantee it’s high-quality and compatible with your devices. Otherwise, it can introduce latency or reduce picture quality, making it harder for your devices to establish a stable connection.
Conclusion
By following these steps, you’ll navigate the signal maze and bring clarity back to your display. Think of it as tuning an instrument—you just need to find the right note. With patience and a few troubleshooting tricks, you’ll turn that no signal error into a thing of the past. Remember, persistence is the key that unlocks a seamless connection, transforming a static silence into a symphony of visuals.