
Common projector mistakes installers see include improper alignment, unstable mounts, and poor image correction. You might face keystone distortion or skewed images if angles aren’t measured carefully. Using shaky mounts can cause shifting and flickering, while neglecting proper support risks safety issues. To get the best results, double-check your placement, secure mounts firmly, and use built-in correction tools when needed. Keep these tips in mind—you’ll find more helpful advice ahead.
Key Takeaways
- Ensure the projector is positioned perpendicular to the screen to prevent keystone distortion and reduce correction needs.
- Use high-quality mounts securely anchored into structural supports to maintain stability and prevent image shifting.
- Avoid improper projection angles by measuring and adjusting the projector’s placement for optimal alignment.
- Select projectors with high contrast ratios to achieve clearer, more vivid images in various lighting conditions.
- Double-check that the projector is level and properly aligned during installation for consistent, undistorted images.
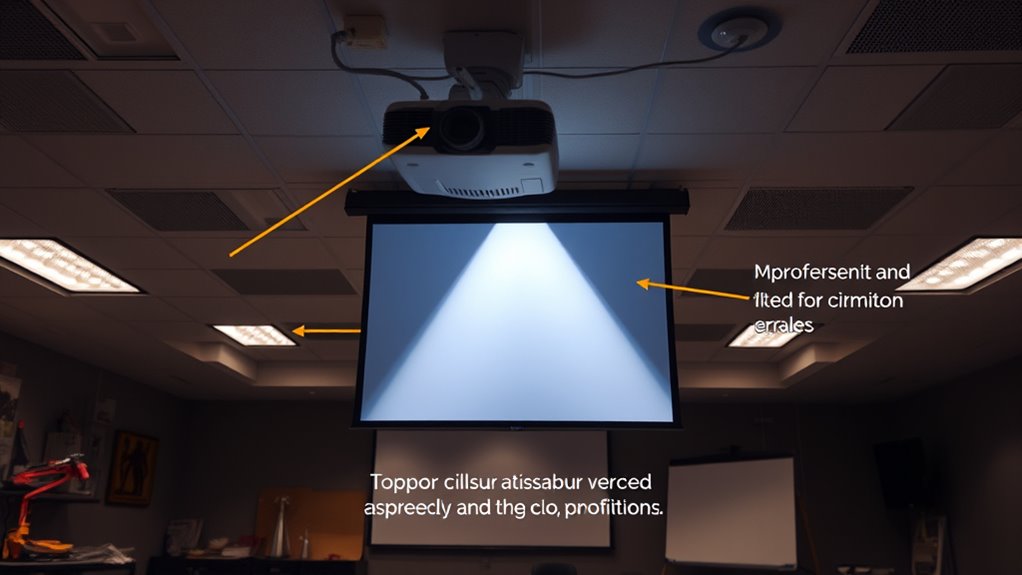
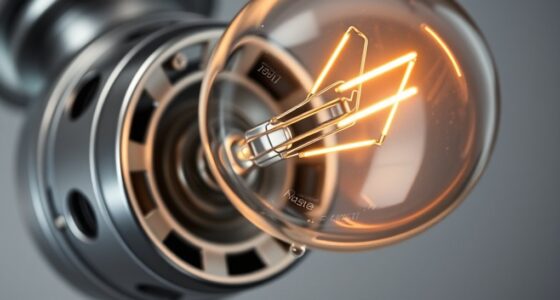
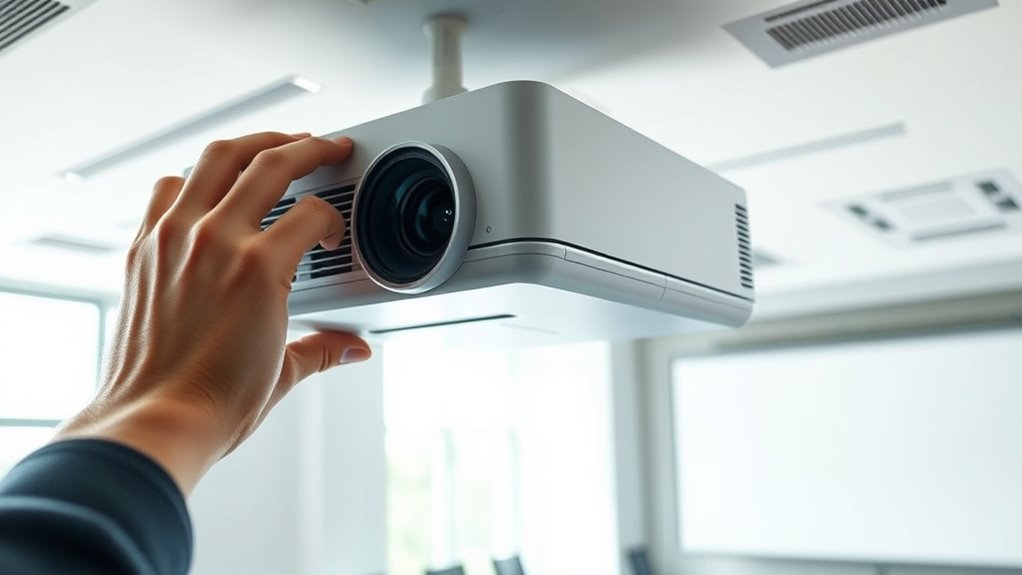
Installing a projector might seem straightforward, but many common mistakes can compromise your setup and viewing experience. One of the most critical aspects to get right is the projection angle. If you don’t consider this carefully, your image could be distorted, skewed, or unevenly sized, making it hard to enjoy movies or presentations. The projection angle refers to the tilt and positioning of the projector relative to your screen or wall. When set improperly, it can cause keystone distortion, where the image appears trapezoidal rather than rectangular. To avoid this, measure the distance from the projector to the screen and adjust the placement so that the lens is aligned with the center of the display area. Many projectors have adjustable mounts or keystone correction features—use these tools to fine-tune the image and minimize distortion. Remember, the ideal projection angle is one where the projector is directly facing the screen at a perpendicular angle, reducing the need for excessive correction later. Additionally, choosing a projector with a high contrast ratio can help improve image quality, especially in darker viewing environments.
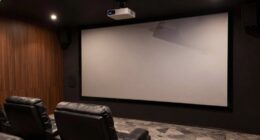
Equally important is mounting stability. If you don’t secure your projector firmly, even slight shifts or vibrations can cause the image to flicker or shift, ruining your viewing experience. An unstable mount can lead to misalignment over time, which means you’ll have to recalibrate or reposition the projector frequently. Make sure the mounting surface is sturdy and capable of supporting the weight of your projector. Use high-quality brackets or mounts designed specifically for your projector model, and tighten all screws securely. Avoid temporary or makeshift solutions like attaching the projector with duct tape or lightweight fixtures. Proper mounting not only ensures a steady image but also makes future adjustments easier and safer. When mounting, double-check that the projector is level and aligned with the screen, as even a slight tilt can cause image distortion or keystone effects. If your setup involves ceiling mounting, ensure the mount is anchored into a robust ceiling joist or support structure, not just drywall. This provides the stability needed to keep your projector perfectly aligned over extended periods.

Datacolor LightColor Meter - Bluetooth-Enabled Light & Color Temperature Meter for Photo, Video, and Cinema - Continuous Real-Time Data Streaming - Portable, Compact, Drop-Resistant
COMPREHENSIVE LIGHT AND COLOR MEASUREMENT: The multi-functional LightColor Meter accurately measures any lighting, including ambient light and flash...
As an affiliate, we earn on qualifying purchases.
Frequently Asked Questions
How Do I Choose the Best Projector Mount for My Setup?
To choose the best projector mount, consider your mounting options like ceiling or wall mounts, ensuring they fit your space. Check the weight considerations to match the mount’s capacity with your projector’s weight. Think about adjustability features like tilt and swivel for ideal positioning. Measure your setup carefully, and opt for a sturdy, compatible mount that offers easy installation and reliable support, ensuring your projector stays secure and aligned.
What Are Signs of a Poorly Aligned Projector Image?
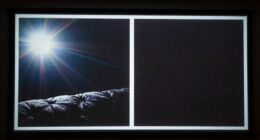
You’ll notice a poorly aligned projector image when it’s not perfectly rectangular or seems stretched or skewed—that’s a clear sign of alignment issues. Don’t ignore image distortion or uneven borders; they’re like a neon sign pointing to trouble. Sharp corners should be square, not rounded or cut off. If your image looks off-center or warped, it’s time to adjust the projector’s position or lens for a crisp, properly aligned display.
How Can I Prevent Overheating During Extended Use?
To prevent overheating during extended use, guarantee proper ventilation maintenance around your projector. Keep vents clear of dust and obstructions, and regularly clean the cooling system to maintain ideal airflow. Use an external cooling fan if necessary, especially in hot environments. Monitoring temperature and turning off the projector periodically also helps, so it doesn’t overheat. Proper ventilation and a well-maintained cooling system are key to extending your projector’s lifespan and performance.
What Safety Precautions Should I Follow During Installation?
During installation, prioritize safety by managing cables properly to prevent tripping hazards and guarantee secure connections. Always disconnect power before working on the projector, and avoid overloading circuits to prevent electrical hazards. Use appropriate tools and wear protective gear. Keep cables organized and away from heat sources to maintain power safety and prevent overheating. By following these precautions, you reduce risks and guarantee a safe, efficient installation.
How Often Should I Calibrate My Projector for Optimal Image Quality?
You should calibrate your projector at least once every six months to maintain ideal image quality. Regular calibration ensures color accuracy, sharpness, and proper brightness levels, preventing image degradation over time. If you notice a decline in image clarity or color consistency, it’s a good idea to calibrate sooner. Consistent calibration helps keep your projector performing at its best, providing clear, vibrant visuals for your audience.
DGK Color Tools DKC-Pro 5" x 7" Set of 2 White Balance and Color Calibration Charts with 12% and 18% Gray - Pro Quality - Includes Frame Stand and User Guide
Professional version of our popular DKK Card with n-Chrome coated color targets
As an affiliate, we earn on qualifying purchases.
Conclusion
Think of your projector setup like tuning a fine instrument—you need everything perfectly aligned for the best sound and image. I once saw an installer miss a simple keystone correction, resulting in a skewed picture that frustrated the client. It’s like trying to paint straight lines on a crooked wall; the flaws stand out. Avoid common mistakes, double-check your work, and your installation will hit the high notes every time, delivering a flawless viewing experience.
datacolor Spyder - Monitor Calibrator for Graphic Designers, Photographers, and Content Creators, Shows You True Colors, Works on OLED Monitors & LED Screens, Easy-to-Use Color Calibration Tool
Color “Surprises” Are a Thing of the Past: Datacolor’s exclusive DevicePreview TM Beta feature simulates what your photos...
As an affiliate, we earn on qualifying purchases.

Calibrite Display 123 Monitor Calibration Colorimeter for Photo Editing and Color Accurate Viewing, Easy 1 2 3 Software Workflow, USB C Connection, and Before and After Check, Supports 2 Displays
SPECIFICATIONS: Monitor calibration colorimeter with Easy 1 2 3 software workflow, USB C connection, compact body approx. 34mm...
As an affiliate, we earn on qualifying purchases.