
To stop guessing, start by measuring your room’s dimensions and noting furniture and seating placement. Determine the ideal projector position based on throw distance to match your screen size, and guarantee the projector is mounted level with minimal distortion. Adjust the height and angle carefully, and choose a suitable, matte surface for clear images. Proper cable management and ambient light control boost quality. Keep fine-tuning your setup, and you’ll soon master perfect projector placement—just continue exploring for detailed tips.
Key Takeaways
- Measure room dimensions and available space to determine optimal projector distance and placement.
- Choose wall or ceiling mounting options that minimize distortion and shadows while fitting room constraints.
- Position the projector at eye level or slightly above for sharp, clear images with minimal keystone correction.
- Use adjustable mounts and lens shift features to fine-tune alignment and prevent image distortion.
- Control ambient light with blackout curtains and dimmable lighting for better image brightness and contrast.

BAISHUN Projector Stand, Wall and Mini Ceiling Mount with 1/4-Inch Thread, 360-degree Rotation, Adjustable Tilt & Swivel, Foldable, Easy Setup Compatible with Most Projectors for Home, Office
Stable & Durable: Heavy-duty metal construction supports up to 4.4 lbs (2 kg), with zero wobble or tilt…
As an affiliate, we earn on qualifying purchases.
As an affiliate, we earn on qualifying purchases.
Assessing Your Room Dimensions and Layout
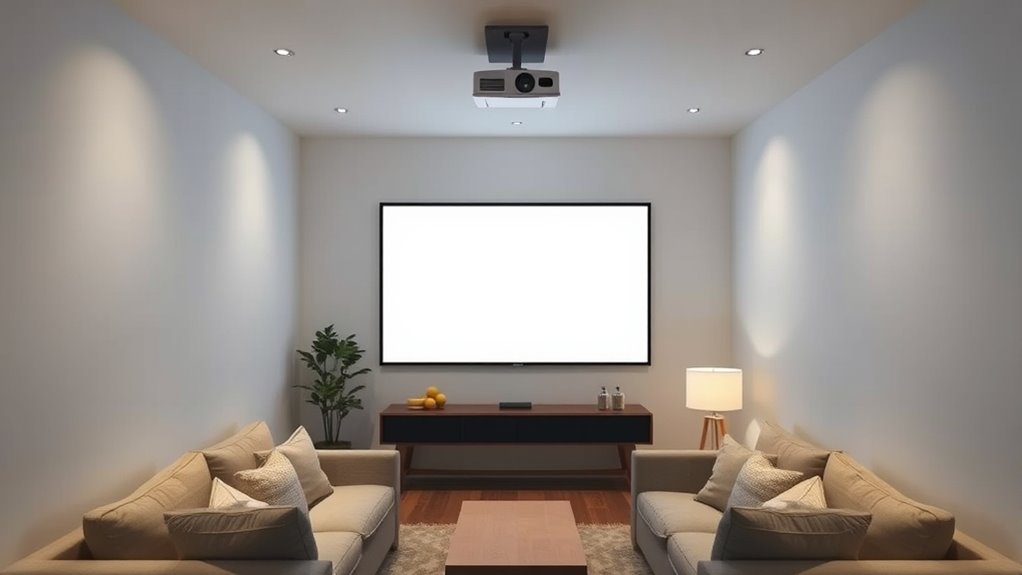
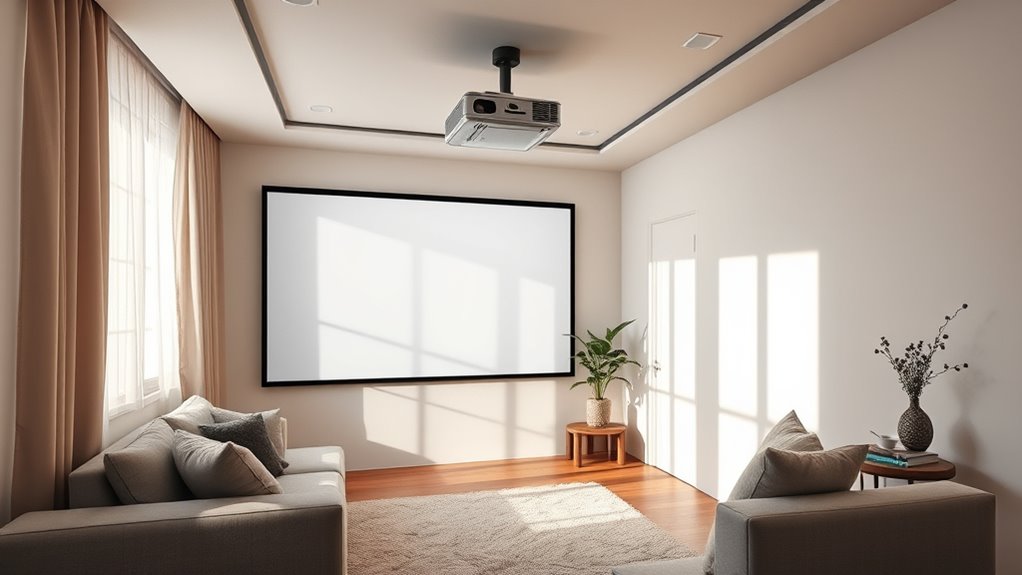
Before choosing a projector placement, you need to understand your room’s dimensions and layout. Measure the length, width, and height accurately to determine the available space. Consider your furniture arrangement, guaranteeing enough distance between the projector and the screen for a clear image. Take note of where your seating will be positioned to avoid obstructions. Wall color plays an essential role; light-colored or white walls reflect more light, making images brighter, while darker walls absorb light and can dull the picture. Evaluating these elements helps you identify the best spot for your projector, avoiding areas where furniture or wall color could interfere with image quality. Proper assessment of your room’s layout ensures you optimize space and create an ideal viewing environment. Additionally, understanding the Bedroom layout can help in planning a dedicated home theater space, especially in small rooms.

DYNAVISTA Full Motion Universal Ceiling Projector Mount Bracket with Adjustable Height and Extendable Arms Rotating Swivel Mount for Home and Office Projector (Black)
Universally Compatible: This projector ceiling mount supports most projector brands with distance between the mounting holes on back…
As an affiliate, we earn on qualifying purchases.
As an affiliate, we earn on qualifying purchases.
Choosing the Optimal Projector Placement Spot
When selecting the best spot for your projector, consider wall mount options that save space and provide stability. Pay attention to the ideal distance and angle to guarantee a clear, sharp image without distortion. Proper positioning makes a big difference in the overall viewing experience. Additionally, understanding cookie categories can help you customize your browsing experience for related setup tutorials and product recommendations.
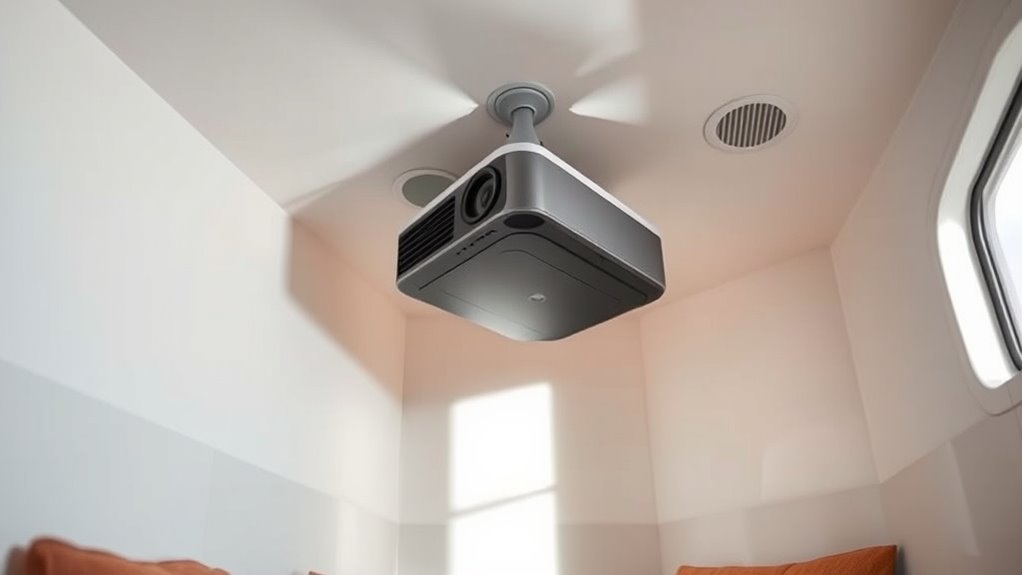
Wall Mount Options
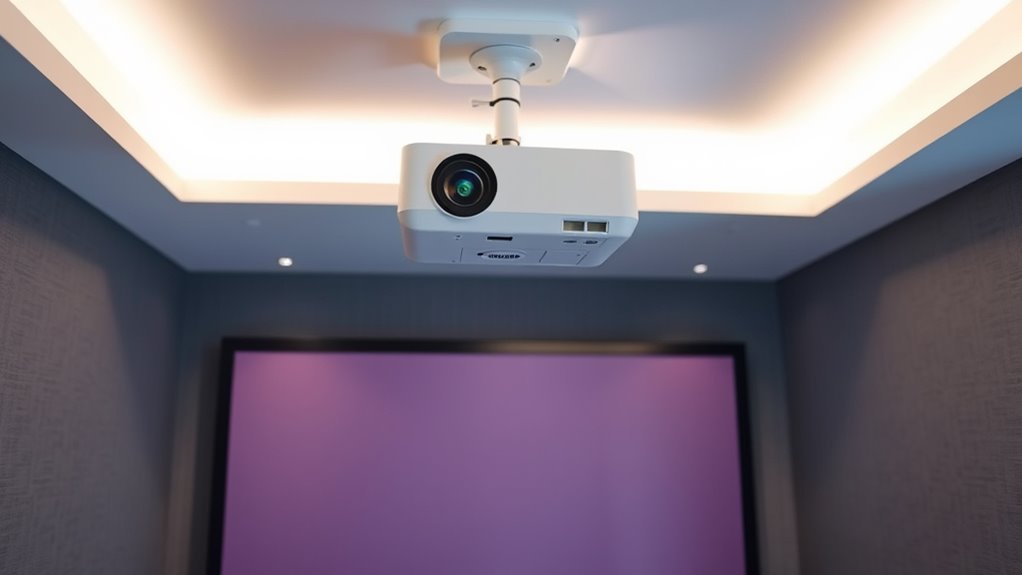
Selecting the right wall mount is crucial for ideal projector placement in small rooms, as it directly affects image quality and accessibility. You have two main options: a wall bracket or a ceiling mount. A wall bracket is suitable if you want to keep the projector low and accessible, especially near a side wall. It’s easy to install and offers flexibility in positioning. On the other hand, a ceiling mount provides a clean, unobstructed look and keeps the projector out of the way. Ceiling mounts often allow for adjustable angles, ensuring maximum image alignment. When choosing, consider your room’s size, ceiling height, and how you plan to access the projector. Both options, when installed correctly, help maximize space and ensure a steady, precise projection. Proper projector placement is essential for optimal image quality and can prevent issues like distortion or shadowing.
Distance & Angle Tips
Choosing the right distance and angle for your projector guarantees a sharp, well-aligned image in a small room. To achieve this, consider your mounting options carefully; wall mounts are flexible, but ceiling installation often offers more stability and consistent positioning. Confirm your projector is placed at the ideal distance from the screen—too close, and the image becomes distorted; too far, and it loses clarity. Adjust the angle so the projector’s lens is perpendicular to the screen, avoiding keystone distortion. If ceiling mounting, use adjustable mounts to fine-tune the projector’s position. Remember, small room layouts may require you to experiment with distances and angles to find the perfect balance between image quality and space constraints. Proper placement minimizes the need for image correction and enhances your viewing experience. Additionally, understanding the placement guidelines can help optimize your setup for the best possible image clarity.

TMY 1080P Full HD Portable Mini Projector, Upgraded Bluetooth Movie Projector with Screen, Compatible with TV Stick Smartphone/HDMI/USB, Indoor & Outdoor Use
【Portable Projector Screen Included】The V08 mini projector includes a projection screen that is tailored to meet our customer's…
As an affiliate, we earn on qualifying purchases.
As an affiliate, we earn on qualifying purchases.
Understanding Throw Distance and Image Size

Understanding throw distance and image size is essential for placing your projector correctly in a small room. Your throw distance determines how far the projector needs to be from the screen to produce the desired image size. Adjustments like lens shift can help fine-tune the image position without moving the projector, while keystone correction corrects distorted images caused by angled placement. Keep in mind that a shorter throw lens is ideal for small spaces, allowing you to project larger images from a close distance. Use the table below to visualize how different throw distances relate to image size:
| Throw Distance | Image Size |
|---|---|
| 3-4 feet | 60-80 inches |
| 4-6 feet | 80-100 inches |
| 6-8 feet | 100-120 inches |
| 8+ feet | 120+ inches |
This helps you plan your setup precisely. Additionally, understanding the throw distance in relation to your room’s dimensions ensures optimal viewing experience.
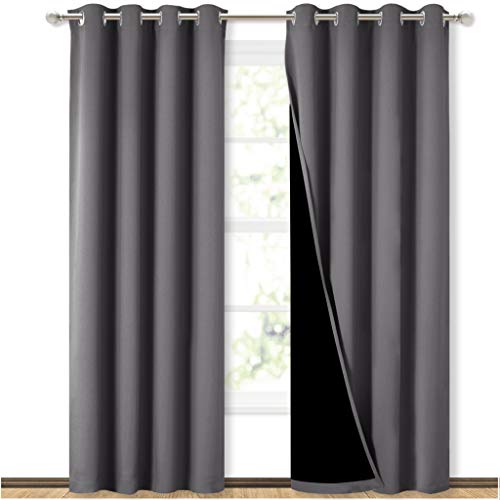
NICETOWN Grey Full Shade Curtain Panels, Pair of Energy Smart & Noise Blocking Out Blackout Drapes for Dining Room Window, Thermal Insulated Guest Room Lined Window Dressing(Gray, 52 x 84 inch)
Ready Made: 2 panels per package. Each Classic Lined Curtain measures 52" wide x 84" long (Total width…
As an affiliate, we earn on qualifying purchases.
As an affiliate, we earn on qualifying purchases.
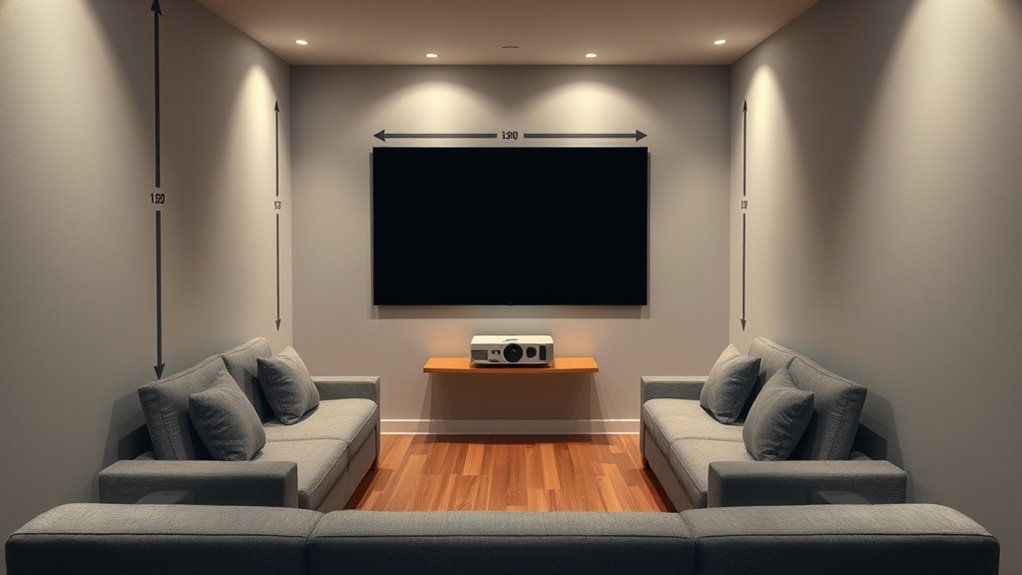
Calculating the Best Screen Size for Small Spaces

When determining the ideal screen size for a small room, you need to take into account both the available space and the viewing distance. Larger screens can be impressive, but if your room is tight, they may cause discomfort or compromise image quality. Measure your space carefully and choose a screen size that fits comfortably without overwhelming the room. Remember, proper screen calibration is essential for superior picture clarity and color accuracy. Adjusting your projector settings ensures the image is sharp and correctly scaled for your chosen size. Additionally, sound optimization plays a role; a screen that’s too large may distort audio or impede speaker placement. Striking a balance between size, clarity, and sound will provide a more immersive and enjoyable viewing experience in your small space. Considering the contrast ratio of your projector can also help enhance image depth and detail, making your small room feel more cinematic.
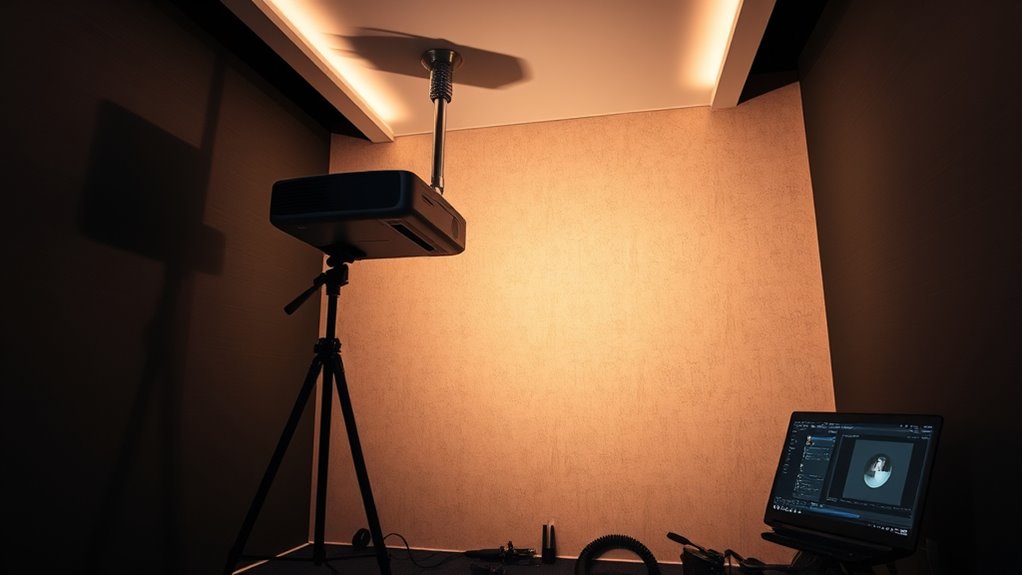
Adjusting Projector Height and Angle for Clarity
To get a clear image, you need to set the projector at the right height. Adjusting the projection angle helps eliminate distortion and keystone effect. Once you find the ideal height and angle, your picture will be sharp and aligned perfectly. Proper projector setup can also enhance focus and overall viewing experience.
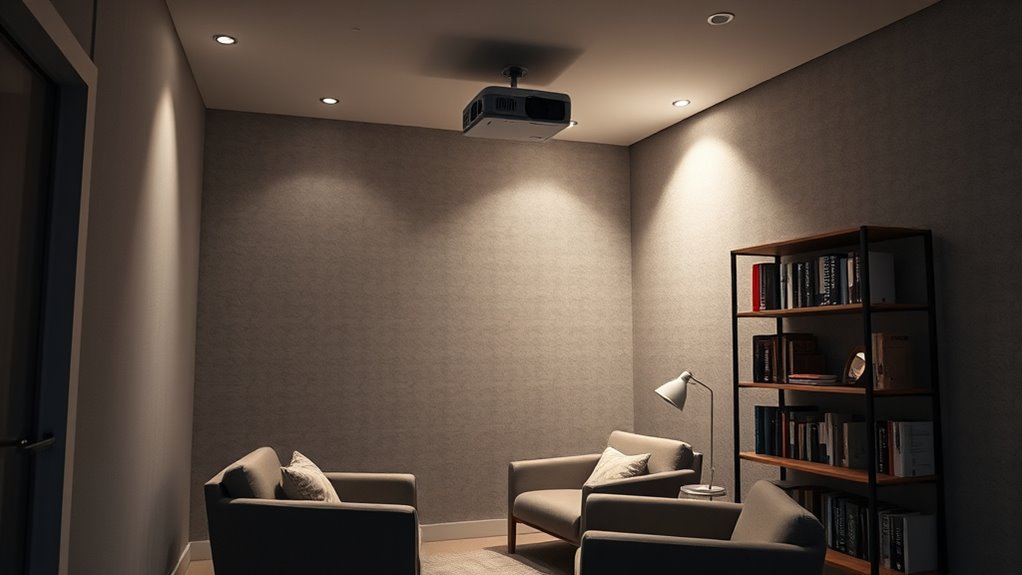
Optimal Height Positioning
Positioning your projector at the right height and angle is essential for clear, sharp images in small rooms. Proper placement ensures your picture isn’t distorted or blurry. When ceiling mounting your projector, aim to keep it level with the center of your screen for maximum clarity. Using wall brackets can help you achieve precise height adjustments, reducing the need for frequent repositioning. Consider these tips:
- Mount the projector at eye level or slightly above the screen center
- Use adjustable wall brackets for flexibility
- Avoid placing the projector too low or too high
- Ensure the lens is perpendicular to the screen
- Check that the projector’s height minimizes shadows and glare
Getting the height right improves image quality and viewing comfort, making your small room setup more effective and enjoyable. Proper projector placement can also help you make the most of your space and enhance your overall viewing experience.
Adjusting Projection Angle
Adjusting the projection angle is crucial to guarantee your images remain sharp and undistorted. To do this effectively, use lens shift if your projector offers it—this helps move the image vertically or horizontally without changing the device’s position. If lens shift isn’t available, keystone correction is your go-to tool; it digitally adjusts the image to fix trapezoidal distortion caused by uneven angles. Confirm the projector is aligned properly with the screen, avoiding extreme angles that can compromise clarity. Fine-tuning the height and tilt ensures a crisp picture with minimal distortion. Remember, small adjustments can make a big difference in image quality, so take your time to optimize the angle for the clearest, most professional-looking projection. Additionally, understanding projector calibration can further enhance image clarity and color accuracy in your setup.
Managing Ambient Light for Better Image Quality
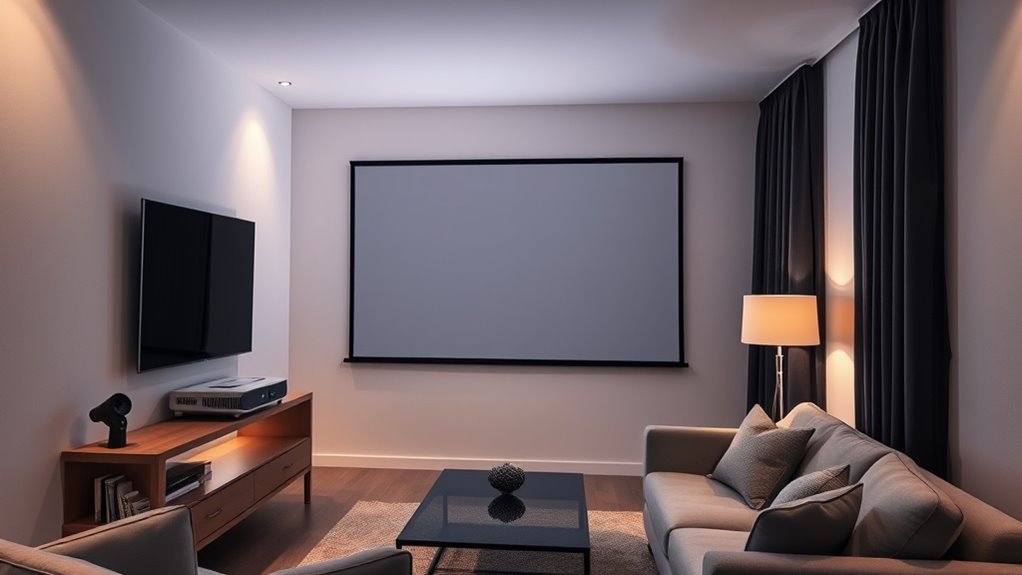
Ambient light can considerably impact your projected image, making it appear washed out or difficult to see clearly. To improve image quality, managing ambient lighting is essential. Effective light control minimizes glare and enhances contrast, ensuring your visuals stand out. You can:
- Use blackout curtains or shades to block outside light
- Add dimmable lighting to control room brightness
- Employ wall paint in darker shades to reduce reflection
- Position your projector away from windows and light sources
- Incorporate screen materials with higher gain for better contrast
- Considering AI-powered light management solutions can optimize room lighting dynamically based on ambient conditions.
Selecting the Right Projection Surface
Choosing the right projection surface is vital for clear images in small rooms. You should consider surface material, as some reflect light better than others, and guarantee the surface is flat to avoid distortion. Color also matters—white or light-colored screens typically provide the best picture quality.
Surface Material Choices
Selecting the right projection surface is essential for achieving a clear and vibrant image in small rooms. Your choice of surface material impacts both surface texture and surface color, influencing how the projector’s image appears. Smooth, matte surfaces reduce glare and prevent hot spots, ensuring even light distribution. Take into account materials with a fine surface texture to minimize distortion and enhance image sharpness. The surface color should be neutral or light to reflect the projection effectively without distorting colors. Here are some options to consider:
- Matte white paint or wall coverings
- Specialized projection screens
- Light-colored fabric or wallpaper
- Paint with reflective properties
- Vinyl surfaces designed for projection
Choosing the right surface material enhances brightness, contrast, and overall picture quality in limited spaces.
Flatness and Color
Have you considered how the flatness and color of your projection surface can impact your viewing experience? Surface flatness guarantees your image remains sharp and uniform, preventing distortions or blurry edges. An uneven surface causes light to scatter, reducing clarity and diminishing contrast. Color accuracy is equally essential; a neutral, light-colored surface offers true color reproduction, making images appear vibrant and natural. Avoid glossy or highly reflective surfaces, which can create glare and wash out details. Instead, choose a matte finish that minimizes reflections and enhances contrast. By paying attention to surface flatness and color, you’ll improve image sharpness, color fidelity, and overall picture quality—crucial for enjoying your projector’s full potential in a small room.
Securing Proper Cables and Power Sources
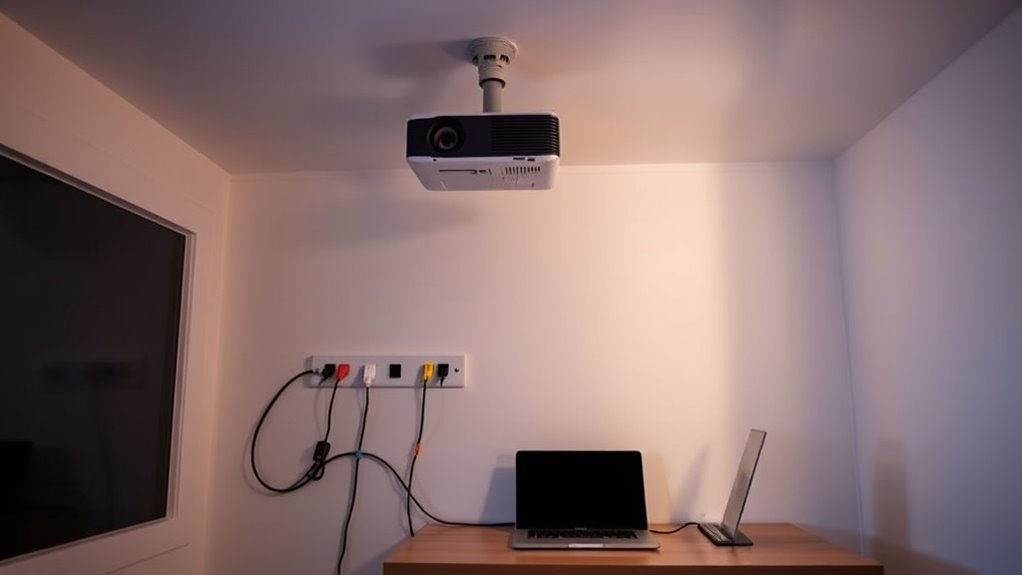
Are you ensuring your projector has reliable power and secure connections? Proper cable management and accessible power outlets are key to a safe, neat setup. Without secure cables, you risk disconnections or damage. Consider using cable clips or sleeves to keep cords organized and out of the way. Verify that your power outlets are close enough to prevent stretching or tripping hazards. Use surge protectors to safeguard your equipment from power surges. Make sure cables are rated for your projector’s power requirements. Regularly check connections for looseness or wear. Planning ahead minimizes clutter and prevents accidental disconnections.
- Use cable clips to secure cords along walls or furniture
- Invest in a surge protector for added safety
- Position power outlets near your projector setup
- Label cables for easy identification
- Keep cords tidy and out of foot traffic
Testing and Fine-Tuning the Setup
Before finalizing your projector setup, it’s essential to test and fine-tune everything to guarantee peak picture quality and functionality. Start by adjusting the projector’s focus and alignment to ensure a sharp image. Pay attention to speaker calibration—test sound clarity and balance, making sure audio complements your visual experience. Using soundproofing techniques, minimize room noise and echoes that could distract from viewing. Check for color accuracy, contrast, and brightness levels, tweaking settings as needed. Also, verify that the image size and keystone correction are ideal for your space. Don’t forget to test all connections and remote controls. Fine-tuning these aspects ensures your small room setup functions smoothly and delivers the immersive experience you want.
Tips for Maintaining Your Projector and Ensuring Longevity
To keep your projector functioning ideally for years to come, regular maintenance is essential. Proper projector maintenance helps extend its lifespan and ensures optimal performance. Here are some tips:
Regular maintenance extends your projector’s lifespan and keeps it performing at its best.
- Clean air filters regularly to prevent overheating.
- Keep the vents clear of dust and debris.
- Use a soft, dry cloth to clean the lens without scratching.
- Replace bulbs as recommended to avoid sudden failures.
- Store the projector in a cool, dry place when not in use.
Frequently Asked Questions
How Can I Prevent Projector Overheating in Small Enclosed Spaces?
To prevent your projector from overheating in small enclosed spaces, guarantee proper ventilation by using strategic ventilation strategies like open windows or fans. Additionally, consider cooling accessories such as external fans or cooling pads to help dissipate heat effectively. Keep the projector away from direct sunlight and avoid stacking items around it. Regularly clean air vents and filters to maintain ideal airflow and prevent overheating, ensuring your projector runs smoothly and safely.
What Are the Best Sound Options for Small Room Setups?
Think of your small room as a concert hall where sound fills every corner. To achieve the best audio, choose soundproofing options like acoustic panels or rugs to dampen echoes. For speaker placement, position speakers at ear level and equidistant from your seating area to create a balanced soundscape. Proper placement and soundproofing turn your space into an immersive experience, free from unwanted noise interference.
How Do I Hide Cables for a Cleaner Look?
To hide cables for a cleaner look, focus on effective cable management and aesthetic concealment. Use cable raceways or cord covers that match your wall color to hide wires neatly along walls or behind furniture. Conceal cables behind baseboards or under carpets, and opt for wireless devices when possible. You can also hide power strips behind furniture or inside specialized enclosures, ensuring your setup stays tidy and visually appealing.
Can Portable Projectors Work Well in Small Rooms?
Portable projectors can work well in small rooms, especially if you choose a compact model designed for limited spaces. They offer flexibility and easy setup, making them ideal for small room suitability. However, guarantee the projector’s brightness and throw ratio match your room size to get a clear, sharp image. With the right placement, a portable projector can deliver an excellent viewing experience without clutter or complex wiring.
What Safety Precautions Should I Take With Projector Installation?
You should prioritize mounting safety by securely installing your projector on a stable surface or ceiling mount, ensuring it won’t fall. Check electrical wiring carefully to avoid exposed cords or overloads, which pose fire hazards. Use proper cable management to prevent tripping hazards and protect cords from damage. Always follow manufacturer instructions, and consider consulting a professional for secure mounting and safe electrical connections, especially in small rooms where space is limited.
Conclusion
By carefully considering each step, you’ll create a seamless viewing experience in your small space. With a little gentle guidance and attention to detail, your projector setup can become a subtle highlight rather than a hidden challenge. When you approach the process patiently, the right placement naturally falls into place, allowing your entertainment corner to feel more inviting and effortlessly functional. Embrace the journey, and enjoy the cozy cinematic moments ahead.