
In small rooms, understanding key projector terms like throw distance, keystone correction, and mounting options helps you position your device for the best image quality. Throw distance is how far the projector is from the screen, affecting size and clarity. Keystone correction adjusts distorted images caused by angle. Mounting options include ceiling or tabletop setups. Knowing these terms guarantees you optimize placement, minimize shadows, and reduce glare. Keep exploring to master your projector setup effortlessly.
Key Takeaways
- Proper projector placement balances image size, clarity, and minimizes glare, crucial in small rooms with limited space.
- Mounting options include ceiling or tabletop, chosen based on stability, space, and room layout considerations.
- Keystone correction adjusts trapezoidal distortion caused by angled projection; minimal correction preserves image quality.
- Ambient light impacts image contrast; controlling room lighting and screen positioning enhances visibility in small spaces.
- Cable management and port accessibility optimize setup, reduce clutter, and improve overall projector usability in tight rooms.
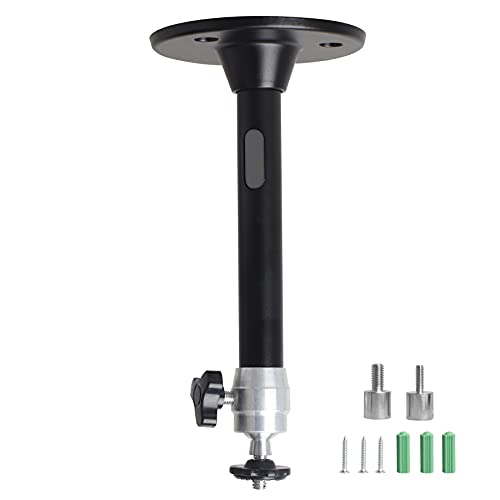
YiePhiot Mini Ceiling Wall Projector Mount Stand Compatible with QKK, DR.J, DBPOWER, Anker, VANKYO, AAXA, Jinhoo, PVO, TMY, AuKing and Most Other Mini Projector (175mm, Black)
Universal Mount: The Universal Projector Mount is compatible with most mini projectors, including CLOKOWE, HAPPRUN, ELEPHAS, NICPOW and…
As an affiliate, we earn on qualifying purchases.
As an affiliate, we earn on qualifying purchases.
What Is Throw Distance and How Does It Affect My Setup
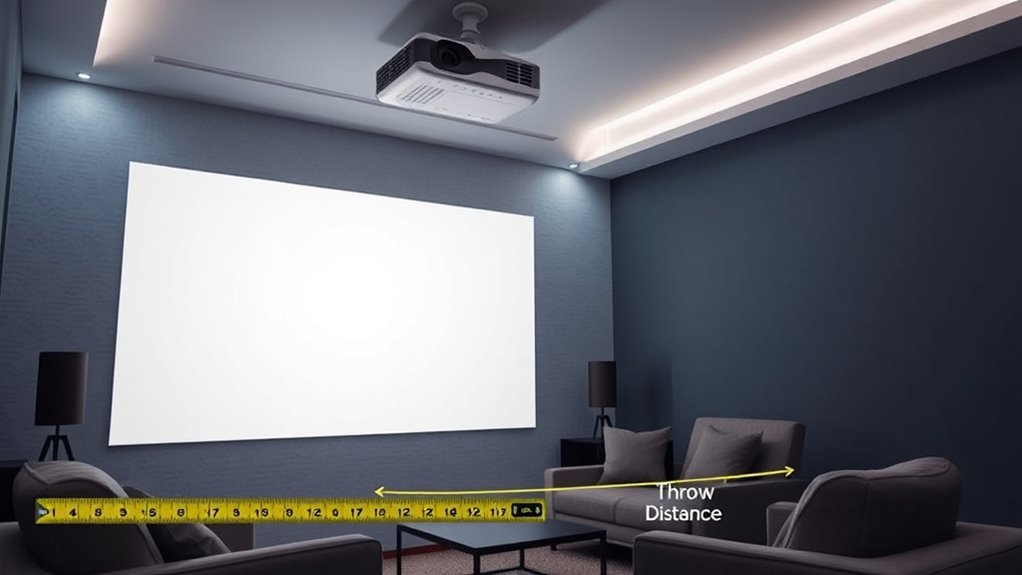
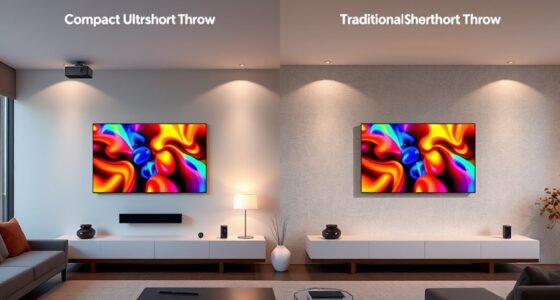
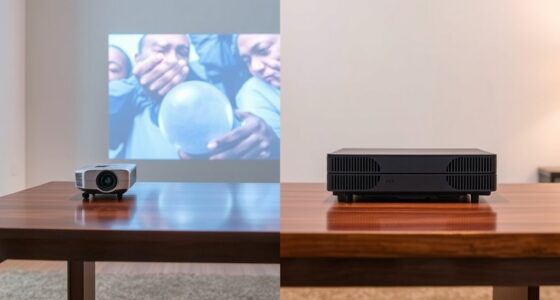
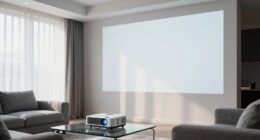
Throw distance is the measurement between your projector and the screen, and it directly impacts the size and clarity of the image you see. Proper projector placement is essential, especially in small rooms where space is limited. Ambient lighting can also affect image quality, making it important to choose a throw distance that minimizes glare and washout. If your projector is too close, the image may be small or distorted; too far, and it could be overly large or blurry. Adjusting the throw distance helps you achieve the perfect balance between image size and clarity. Keep in mind that different projectors have specific throw ratios, so understanding this measurement helps you position your projector effectively, even in small or cluttered spaces. Understanding throw ratios is key to optimizing your setup and ensuring a clear, properly sized image.

60 Inch Projector Screen, OKEDUO 4K 16:9 HD Portable Projection Movie Screen, Anti-Crease Indoor Outdoor, Simple Install, Easy Carrying Projection Screen for Camping, RVing, Outdoor Theater Nights
[Portable Design]: 60-inch foldable outdoor projector screen with a black backing, straight edges, foldable, washable, and wrinkle-free -…
As an affiliate, we earn on qualifying purchases.
As an affiliate, we earn on qualifying purchases.
Understanding Projector Mounting Types: Ceiling vs. Tabletop
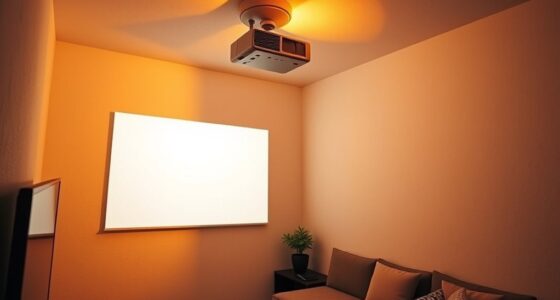
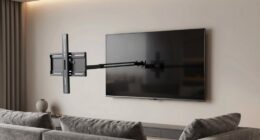
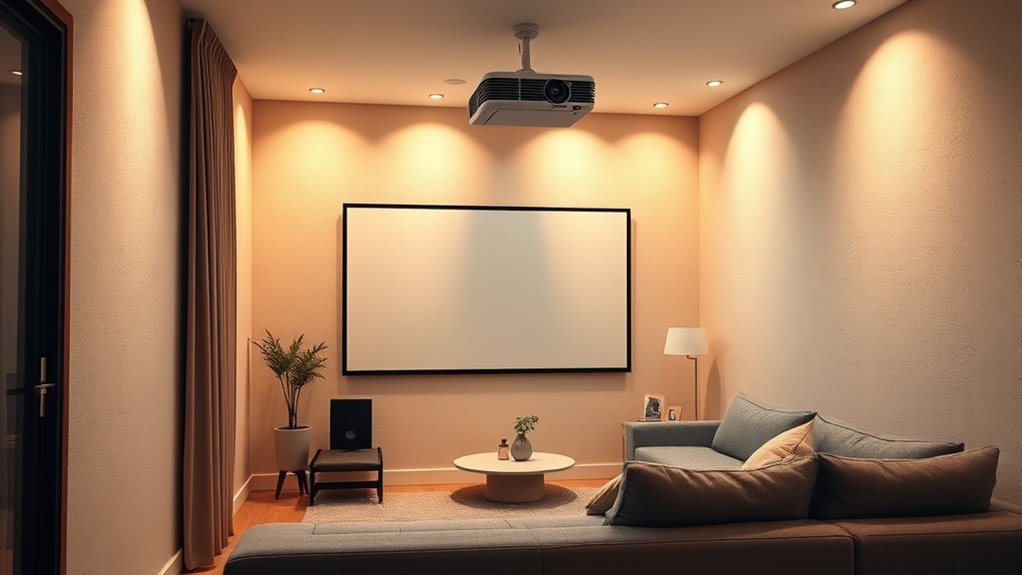
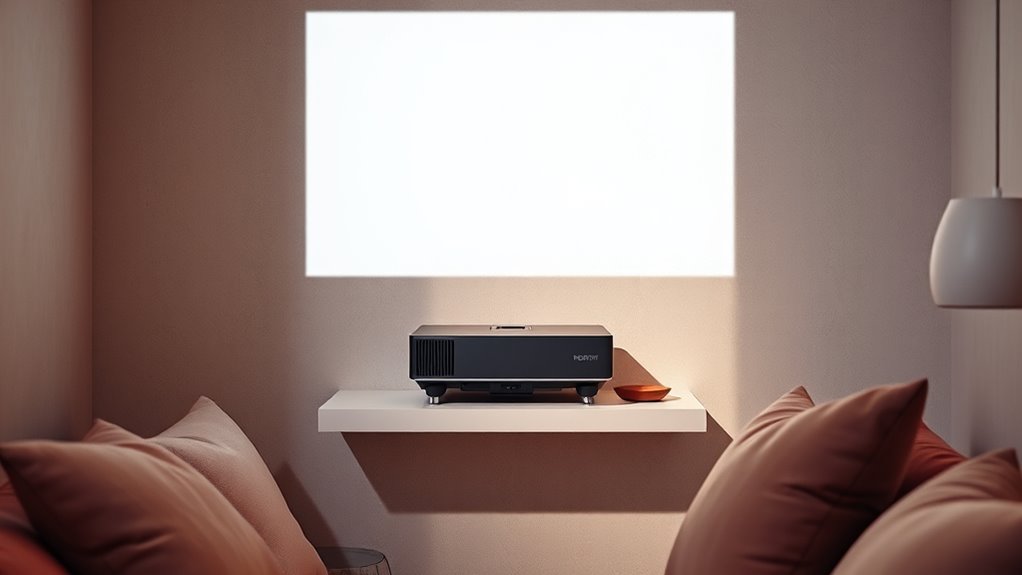
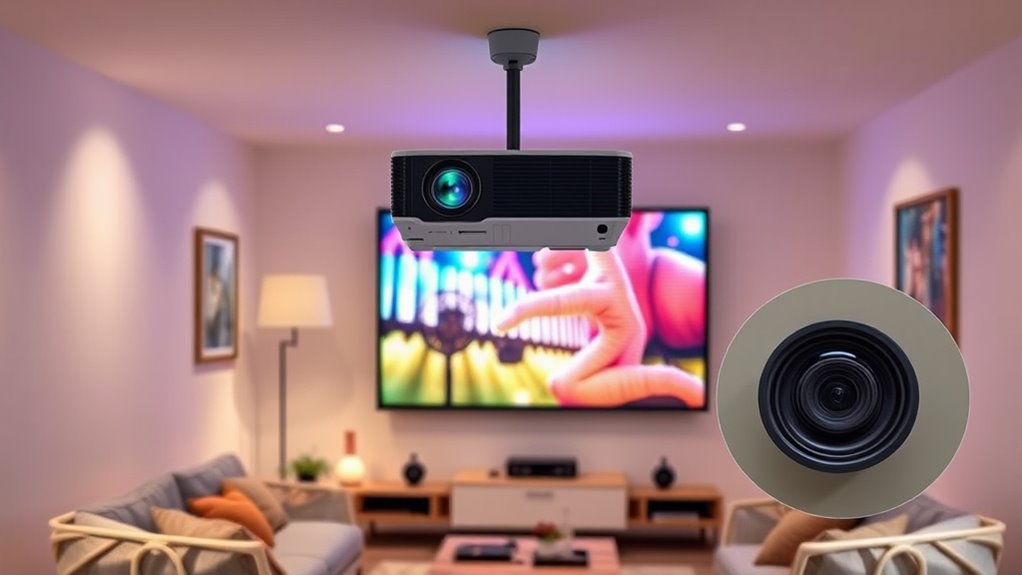
Choosing the right mounting method is essential for ideal projector placement, especially in small rooms where space is limited. Ceiling mounts are a popular choice because they save surface space and provide stable support, using mounting hardware options designed for various projector lens types. This setup allows for flexible positioning and minimizes clutter. Tabletop mounts are simpler to install and adjust, making them suitable if you want quick setup or a temporary solution. However, they can occupy valuable space and may be less stable. When selecting between ceiling and tabletop mounts, consider your projector’s size, weight, and lens type, as well as your room’s layout. Proper mounting hardware options ensure secure installation and perfect image quality regardless of your choice. Additionally, understanding projector placement techniques can help optimize your viewing experience.
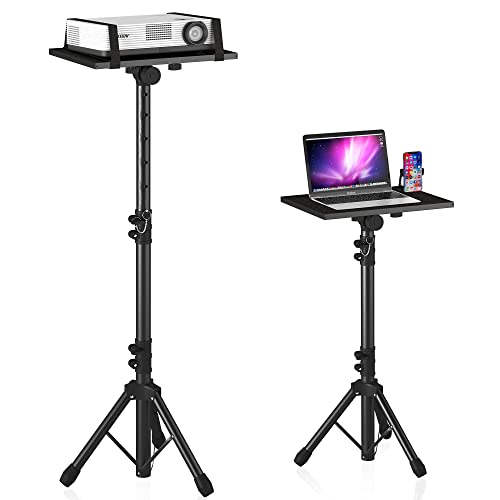
Projector Stand Tripod Adjustable, Laptop Height from 23.5 to 46.5 inches with Gooseneck Phone Holder, Floor for Office, Home, Stage, Studio, DJ Racks Holder Mount, 23.5inch-46.5inch
【𝑼𝒑𝒈𝒓𝒂𝒅𝒆𝒅 𝑷𝒓𝒐𝒕𝒆𝒄𝒕𝒊𝒐𝒏 𝑫𝒆𝒗𝒊𝒄𝒆】: Projector Stands add a safety latch, which avoids the danger of falling. Laptop tripod is…
As an affiliate, we earn on qualifying purchases.
As an affiliate, we earn on qualifying purchases.
How to Measure and Choose the Right Placement Spot

To guarantee a clear and sharp image, you need to accurately measure and select the best placement spot for your projector. First, identify a suitable projection surface that is flat, smooth, and free of obstructions. Second, consider the distance from the projector to the surface, ensuring it matches your projector’s throw ratio for proper image size. Third, evaluate ambient lighting to minimize glare and washout; darker rooms improve contrast. Fourth, measure ceiling height or table space to ensure stability and optimal angle. Use a tape measure to determine distances and test placement options before mounting or positioning. Adjust as needed to achieve the ideal balance between projection size, clarity, and ambient lighting conditions for the best viewing experience. Additionally, understanding your home theatre projector’s specifications can help you optimize placement for the best image quality.

【Officially-Licensed APP & Native 1080P】Thinnest 1.81" Smart Mini Projector with WiFi and Bluetooth, Auto Focus & Keystone Portable Outdoor Projector, VOPLLS 4K Support Home Movie Projector
【Compatibe with Netflix, No Extra Devices Needed】This isn’t just a projector—it’s your "Hollywood Digital Pass." Instantly access a…
As an affiliate, we earn on qualifying purchases.
As an affiliate, we earn on qualifying purchases.
What Is Keystone Correction and When Should I Use It
Keystone correction helps fix image distortion caused by angled projector placement, ensuring a rectangular picture. You should use it when your projector isn’t perfectly aligned with the screen, especially in small rooms. Both manual and auto correction options are available, so choose based on your setup and convenience.
Correcting Image Distortion
When a projector is not perfectly aligned with your screen, the resulting image can appear distorted, with trapezoidal shapes instead of rectangles. This is called image warping, and it can be corrected using keystone correction. However, keystone correction isn’t always ideal; it can reduce image quality if overused. To minimize distortion, consider utilizing lens shift, which adjusts the lens position without affecting image quality. Additionally, exploring the best alarm clocks for your daily routine can help you wake up on time and start your day smoothly. Here are some key points to help you correct image distortion:
- Use lens shift if your projector has this feature for precise alignment.
- Apply keystone correction sparingly to avoid excessive image degradation.
- Mount the projector as level and centered as possible.
- Consider repositioning the projector for minimal correction needs.
When to Adjust Keystone
If your projected image appears trapezoidal instead of rectangular, adjusting keystone correction can quickly remedy the shape. This feature is especially useful with portable projectors, which are often set up in tight or awkward spaces. In small rooms, especially with rear projection setups, keystone correction helps align the image when the projector can’t be perfectly centered or level. Use keystone correction when the projector is placed at an angle or off-center, causing distortion. Avoid relying on it for major image adjustments, as it can reduce picture quality. Instead, use it as a quick fix to straighten a skewed image. For small rooms with limited space, keystone correction ensures a square, clear picture without needing precise placement. Understanding how projector placement affects image quality can help you achieve the best viewing experience.
Manual vs. Auto Correction
Manual and auto correction are two ways to fix distorted images caused by projector placement. Manual correction allows you to precisely adjust the keystone correction yourself, ideal when you want exact control or when auto adjustment isn’t accurate enough. Auto correction uses the projector’s sensors to automatically fix image distortion, making setup faster and easier. However, auto adjustment may not always produce perfect results, especially with unconventional setups. Consider these points:
- Use manual correction for complex or off-angle placements.
- Rely on auto adjustment for quick, simple setups.
- Manual correction offers greater precision and fine-tuning.
- Auto correction is convenient but may struggle with irregular surfaces or extreme angles.
- Proper planning of projector placement can minimize the need for extensive correction.
Choosing between them depends on your room’s layout and your desired image quality.
The Importance of Screen Size and Aspect Ratio
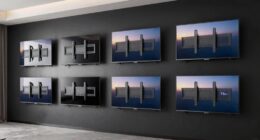
Choosing the right screen size and aspect ratio is vital for creating a comfortable and immersive viewing experience in small rooms. Your screen dimensions determine how large the image will appear, so selecting a size that fits your space without overwhelming it is important. An appropriate aspect ratio ensures the picture remains proportionate, preventing distortion or black bars on the sides. For small rooms, a screen that balances size and clarity helps you avoid eye strain and maintains image sharpness. Too large, and the image may be difficult to view comfortably; too small, and you miss out on immersion. Pay attention to your projector’s throw distance and room layout to find the best match for your screen dimensions and aspect ratio, maximizing your viewing enjoyment. Additionally, understanding tiny house designs can help optimize your space to accommodate your entertainment setup efficiently.
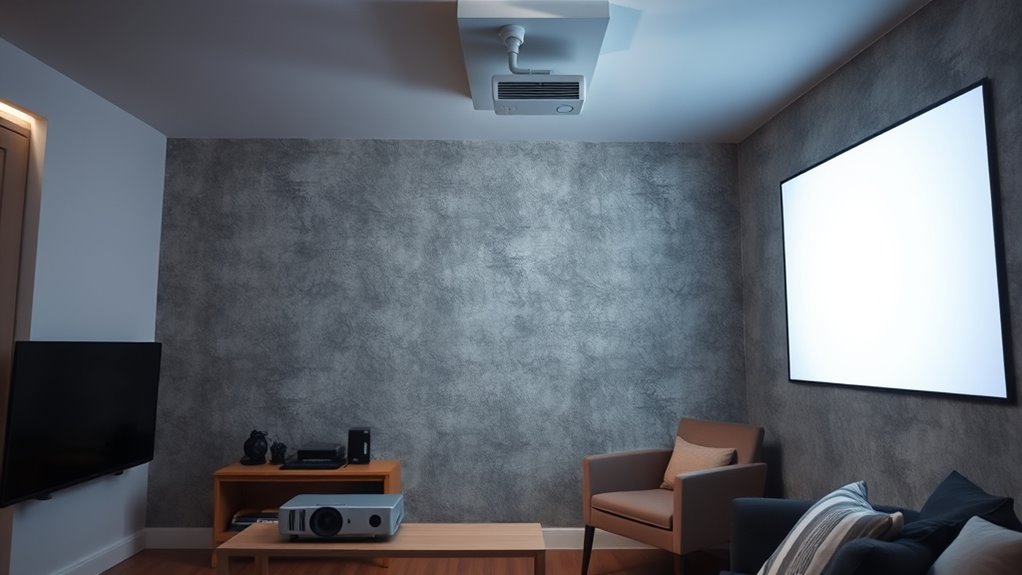
Tips for Minimizing Shadows and Glare in Small Rooms
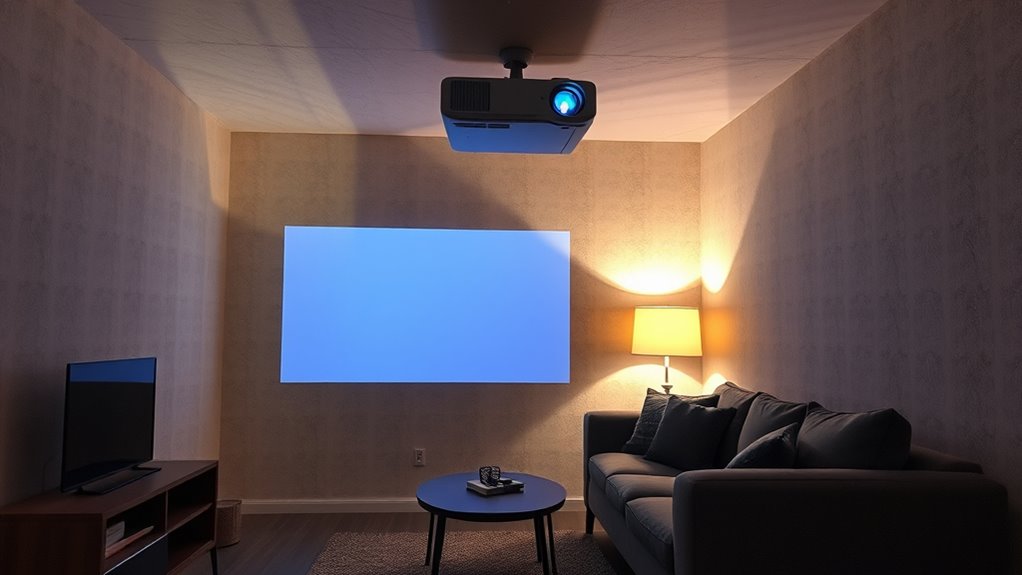
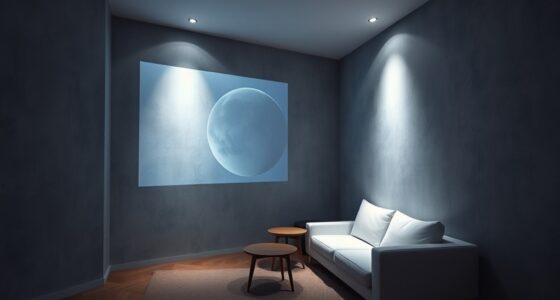
Are shadows and glare disrupting your small room viewing experience? To minimize these issues, focus on strategic screen placement and controlling ambient lighting. First, position your screen so that windows and light sources are not directly behind or beside it. Second, use blackout curtains or blinds to block sunlight during viewing. Third, adjust ambient lighting by avoiding bright lights near the screen, which causes glare. Fourth, consider mounting lights overhead or behind your seating area to reduce reflections. Proper screen placement ensures your projector’s image remains clear and shadows are minimized. Managing ambient lighting helps prevent unwanted glare, enhancing picture quality. Additionally, choosing appropriate projector placement can significantly reduce shadows and improve overall viewing comfort. Combining thoughtful screen positioning with controlled lighting creates a more comfortable, glare-free environment for your small room projector setup.
How to Calculate and Adjust Brightness for Small Spaces
Wondering how to guarantee your projector’s brightness is just right for your small room? First, consider your projection angle; a steeper angle can make the image appear brighter but may cause distortion if too extreme. Measure your room’s ambient light—more ambient light means you need a projector with higher lumens to maintain clarity. Adjust your projector’s brightness setting accordingly, aiming for enough lumens to combat ambient light without washing out the image. Use a light meter if needed to gauge the environment’s light levels accurately. Also, dimming lights or closing curtains can enhance image brightness without changing settings. By balancing projection angle and ambient light, you’ll ensure your small space displays a sharp, vibrant picture every time. Additionally, optimizing your remote work environment can help you create a comfortable space that enhances your viewing experience.
Cable Management and Connectivity Tips for Compact Setups

Managing cables in a small room can keep your setup neat and prevent tripping hazards. Consider hiding cables effectively or using wireless options to reduce clutter. Additionally, optimizing connection ports ensures easy access and reliable signal quality. Using an eye patch in your setup can also help reduce eye strain during long screen sessions.
Conceal Cables Effectively
In small rooms, cluttered cables can quickly detract from a clean, streamlined look. To improve cable concealment and wire hiding, consider these tips:
- Use cable raceways or conduit to route cables along walls or ceilings, keeping them out of sight.
- Attach cables behind furniture or along baseboards to minimize visible wire clutter.
- Opt for shorter cables to reduce slack and avoid tangled wires.
- Hide cables inside furniture or custom enclosures designed for wire management.
Use Wireless Alternatives
Switching to wireless options can substantially reduce cable clutter in small rooms, creating a cleaner and more streamlined setup. Wireless streaming allows you to send content directly from your devices to the projector without tangled cords. With Bluetooth connectivity, you can easily connect speakers, keyboards, or other peripherals, eliminating the need for multiple cables. This approach simplifies your setup and makes it easier to move or adjust your projector as needed. Plus, many modern projectors support seamless wireless streaming from smartphones, tablets, or laptops, offering flexibility and convenience. By embracing wireless alternatives, you cut down on clutter, improve aesthetics, and achieve a more organized space. Just confirm your devices support the necessary wireless protocols for smooth, reliable connections.
Optimize Connection Ports
Have you considered how optimizing your connection ports can make your small room setup more efficient? Proper management of connection port types and port placement strategies ensures a cleaner, more accessible setup. To improve your connection setup, consider these tips:
- Choose the right connection port types (HDMI, VGA, USB) for your devices to avoid unnecessary adapters.
- Position ports on the side or back of your projector for easy access and minimal cable clutter.
- Use port extenders or adapters to keep cables organized and prevent strain on ports.
- Label your cables and ports to streamline connection changes and troubleshooting.
Common Troubleshooting Terms and Their Meanings

Are you unsure what certain troubleshooting terms mean when adjusting your projector in a small room? Understanding key terms can help you fix issues quickly. For example, “projection surface” refers to the surface where your image is displayed. A smooth, matte surface provides better picture quality, while uneven or glossy surfaces can cause distortion. “Ambient light” describes the surrounding light in your room, which affects the brightness and contrast of your projection. Too much ambient light washes out the image, making it hard to see. If your picture is dim or washed out, you might need to control ambient light or reposition your projector. Knowing these terms helps you identify problems and make effective adjustments for ideal viewing.
Frequently Asked Questions
How Does Room Lighting Impact Projector Image Quality?
Room lighting substantially impacts your projector’s image quality. Bright ambient lighting can wash out the image, reducing screen contrast and making details hard to see. To improve clarity, dim or control ambient light sources, especially during presentations or movie viewing. Using blackout curtains or adjusting the projector’s brightness and contrast settings helps maintain sharp visuals. Keep lighting minimal for the best image quality and ideal viewing experience.
What Are the Best Projector Placement Tips for Small Offices?
Imagine your small office as a cozy theater; positioning your projector correctly enhances your experience. Place the projector at a height that aligns with your screen size, avoiding obstructions and reflections. Keep it close enough to maintain brightness, but not so close that it causes shadows. Adjust the projector’s tilt for a clear image, and verify it’s on a stable surface. This setup maximizes brightness and makes your content sharp and immersive.
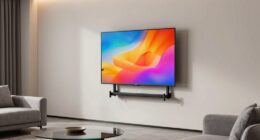
Can I Mount a Projector on a Wall Instead of Ceiling?
Yes, you can mount a projector on a wall instead of ceiling installation. Wall mounting offers flexibility and saves space, but make certain the wall is sturdy and the mount is secure. Position the projector at the right height and angle for clear images. While ceiling installation is common for stability, wall mounting is a practical alternative if ceiling mounting isn’t feasible or preferred in your small room.
How Do Ambient Reflections Affect Projection in Small Rooms?
Think of ambient reflections as sneaky mirrors that scatter light across your screen. They bounce ambient light at reflection angles, causing glare and reducing contrast. In small rooms, this clutter of reflections can turn your crisp image into a blurry watercolor. To fight this, control ambient light by dimming lights or using blackout curtains, and position your projector to minimize reflection angles, ensuring your picture stays sharp and vibrant.
What Safety Precautions Are Needed for Projector Installation?
When installing your projector, prioritize electrical safety by ensuring all cables are properly managed to prevent tripping hazards and short circuits. Use cable management tools like clips or conduits to keep cords organized and avoid damage. Always turn off power before connecting or adjusting cables, and verify that your electrical outlets are properly grounded. These precautions help protect you and your equipment during installation and everyday use.
Conclusion
With a little planning, your small room can transform into a cozy home theater. Picture your projector casting vibrant images onto the wall, shadows dancing softly as you settle into your favorite chair. By understanding key terms like throw distance and keystone correction, you’ll create a crisp, immersive display without clutter or glare. So, take these tips, set your equipment carefully, and enjoy a compelling viewing experience right in your own compact space.