To get a perfectly rectangular image, start by positioning your projector so the lens is at or near the screen’s center height and directly facing it. Use physical adjustments and lens shift to align the projector properly, minimizing the need for keystone correction. Keep the projector straight and level to avoid distortion, and use test patterns to fine-tune the setup. For detailed tips on maintaining ideal alignment, explore each step carefully to guarantee the best picture quality.
Key Takeaways
- Position the projector so the lens is near the center of the screen height and directly facing it.
- Use lens shift to adjust the image vertically or horizontally before applying digital keystone correction.
- Keep the projector at a proper distance and angle to minimize the need for digital adjustments.
- Apply keystone correction sparingly, only after physical adjustments, to avoid image degradation.
- Use test patterns or grid images to identify distortions and fine-tune physical and digital corrections.
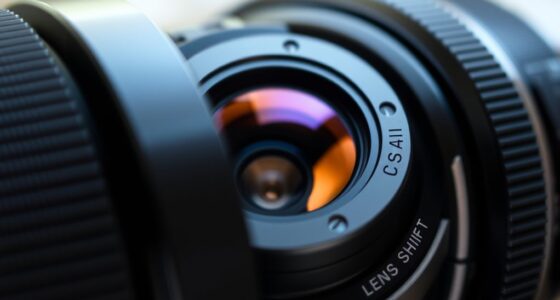
Proper projector alignment is essential for achieving a sharp, clear image and ensuring your viewing experience is as intended. When your projector isn’t properly aligned, you’ll notice distorted images, with keystone effects that make the picture look trapezoidal rather than rectangular. To fix this, start by understanding the basic tools at your disposal: keystone correction and lens shift. Keystone correction allows you to digitally adjust the image to make it rectangular, but relying solely on it can compromise image quality. It’s best used as a quick fix, not a substitute for proper physical alignment. Lens shift, on the other hand, is a physical adjustment feature that lets you move the lens vertically or horizontally without moving the projector itself. This feature is preferable since it maintains image clarity and avoids digital distortion.
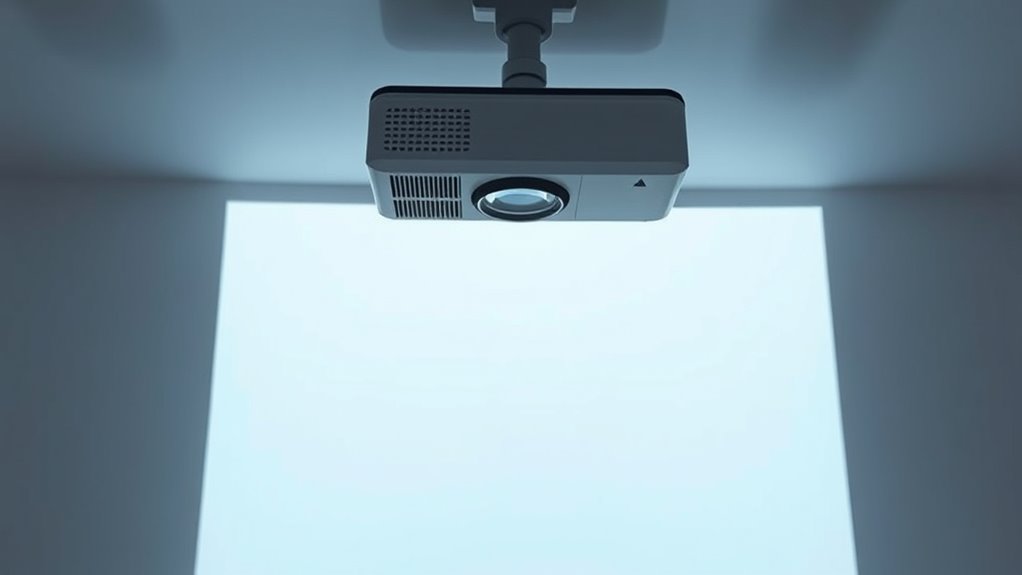
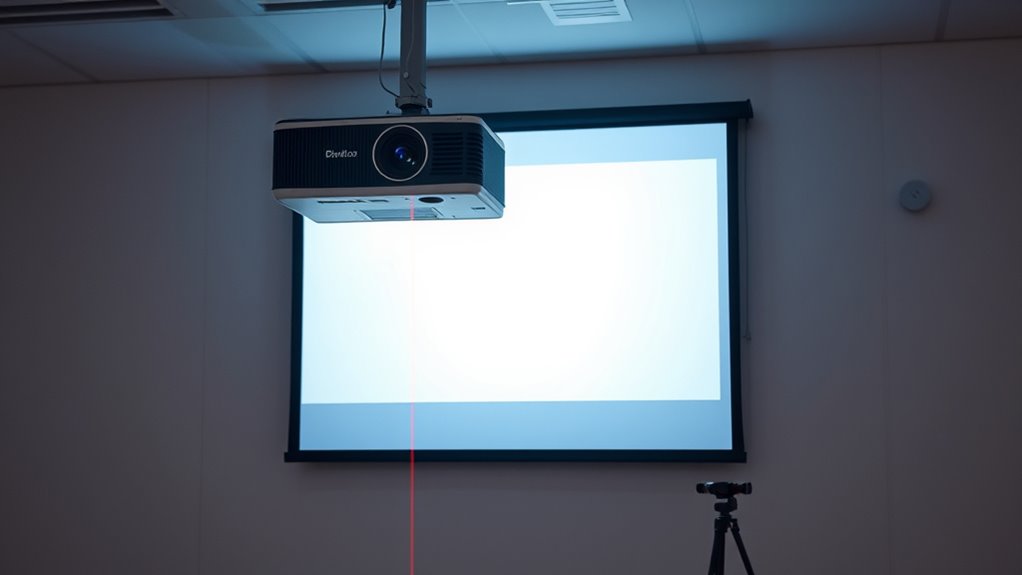
Before making any adjustments, ensure your projector is positioned correctly. Ideally, you want the projector’s lens to be at or near the same height as the center of your screen. If the projector is too high or low, you’ll likely need to use lens shift to compensate before fine-tuning with keystone correction. Positioning the projector directly in front of the screen, with minimal angle, helps prevent distortion and simplifies alignment. Once set, turn on the projector and project a test pattern or grid. This pattern will help you visually identify distortions or keystone effects that need correction.
If the image appears trapezoidal, start by adjusting the physical position of the projector. If moving the projector isn’t feasible, then use lens shift to reposition the image vertically or horizontally. Unlike keystone correction, lens shift doesn’t stretch or compress the image, so it preserves clarity. Only after these physical adjustments should you resort to keystone correction to fix residual distortion. Keep in mind that excessive keystone correction might introduce pixelation or slight blurriness, so use it sparingly. Additionally, understanding how projection technology affects image adjustments can help optimize your setup for the best picture quality.

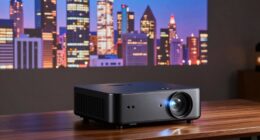
XGIMI HORIZON 20 Pro 4K RGB Triple Laser Home Projector, 4100 ISO Lumens, Google TV with Licensed Netflix, Optical Zoom & Lens Shift, IMAX Enhanced, Dolby Vision, 20,000:1 Contrast, 300" Display
RGB Triple Laser Brilliance: Dive into color-rich, lifelike visuals with the X-Master RGB triple laser engine. 4100 ISO…
As an affiliate, we earn on qualifying purchases.
As an affiliate, we earn on qualifying purchases.
Frequently Asked Questions
How Often Should I Realign My Projector?
You should realign your projector whenever you notice a distorted or non-rectangular image, which can happen due to changes in projection distance or adjusting the screen size. Typically, it’s a good idea to verify alignment monthly or after moving the projector. Regular checks ensure the image stays sharp and correctly proportioned, especially if you frequently change the projection setup or rearrange your space.
Can I Use a Smartphone App for Alignment?
Yes, you can use smartphone apps for projection calibration. Many smartphone apps are designed specifically for alignment and keystone correction, making it easier for you to achieve a perfectly rectangular image. Simply download a reputable app, follow the calibration instructions, and use your phone to adjust your projector’s settings. This method offers a convenient, cost-effective way to improve image quality without professional tools.
What’s the Best Way to Adjust Keystone Distortion?
Did you know that improper keystone correction can cause up to 30% image warping? To adjust keystone distortion effectively, start by using the projector’s lens shift feature to reposition the image without warping. Then, fine-tune the keystone settings, but avoid over-correcting, which can distort the image further. This approach preserves image quality while ensuring a rectangular, properly aligned projection.
How Do Ambient Light Conditions Affect Alignment?
Ambient light affects your projector alignment by reducing contrast and causing glare, which makes it harder to see if your image is perfectly aligned. To improve clarity, control ambient light by dimming or shutting curtains, and use glare reduction techniques like anti-glare screens or positioning the projector away from bright windows. This helps make sure your image remains sharp and properly aligned, even in well-lit environments.
Is Professional Calibration Necessary for Perfect Setup?
You might think professional calibration isn’t necessary, but it can make a big difference. While manual focus and lens shift help you fine-tune your setup, a pro ensures your projector is perfectly aligned for the best image quality. Experts use advanced tools to spot subtle issues you might miss, making your viewing experience sharper and more consistent. So, for a flawless setup, professional calibration is definitely worth contemplating.
projector test pattern
As an affiliate, we earn on qualifying purchases.
As an affiliate, we earn on qualifying purchases.
Conclusion
By mastering projector alignment, you’ll naturally notice how a perfectly rectangular image transforms your viewing experience. Sometimes, the simplest adjustments reveal their importance only when you see the difference firsthand. It’s almost poetic how a small tilt or shift can bring everything into perfect focus, reminding us that precision often lies in the details. With patience and a keen eye, you’ll find that achieving flawless projection becomes less of a task and more of a satisfying art.

Rapink Speed Keystone Jack Tool for 90 Degree RJ45 Keystone, Ethernet Keystone Punch Down Tool for Time-saver and Effort-saver, Cat 6 Punch Down Tool Finger-hurt-free (Only for Rapink Keystone)
【Only for Rapink Keystone】: Keystone tool is compatible only with Rapink CAT6 90 degree speed termination keystone jacks…
As an affiliate, we earn on qualifying purchases.
As an affiliate, we earn on qualifying purchases.

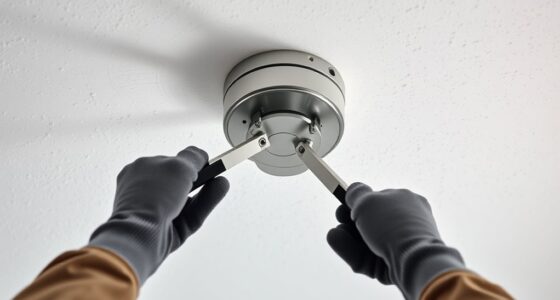
2-Be-Best Upgraded Projector Mount,14-24 in Extendable Length Projector Ceiling Mount Projectors Wall Mount Adjustable 360° Rotatable Compatible with TMY, HAPPRUN, Yaber, Aurzen and Other Projectors
1. EXTENDABLE LENGTH – The Projector mount pole has an extending length from 14-24 in / 37-62 cm….
As an affiliate, we earn on qualifying purchases.
As an affiliate, we earn on qualifying purchases.