
To get the best results with your portable mini projector on the go, adjust its placement so it’s centered and at the right distance from your screen or wall. Use a stable surface or tripod to keep it steady and avoid blurry images. Experiment with the throw ratio to find the perfect size and brightness for your environment. Proper placement makes a big difference, and there’s more tips to help you maximize your mobile projection setup.
Key Takeaways
- Use a stable, portable surface or tripod to maintain consistent positioning and prevent image distortion.
- Experiment with throw distance to find the optimal size and brightness for various environments.
- Position the projector near a power source or use a portable battery pack for uninterrupted projection.
- Align the projector centrally with the screen or wall, utilizing keystone correction to prevent distortion.
- Choose reflective surfaces or dim ambient lighting for better visibility in outdoor or bright settings.
Portable mini projectors are revolutionizing how you share content on the go. Whether you’re giving a quick presentation, watching movies outdoors, or sharing family memories, these compact devices make it easy to project your favorite content anywhere. But to get the best experience, placement is key. You need to take into account screen brightness and audio quality to guarantee your visuals are clear and sound is crisp, especially in less-than-ideal environments.
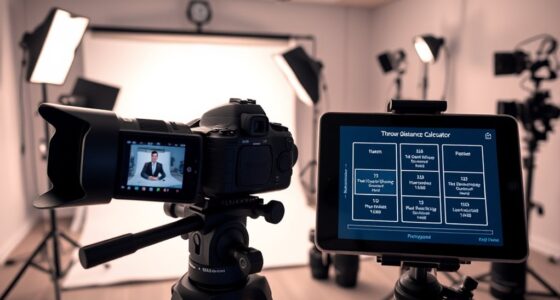
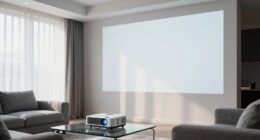
First, think about where you position your projector relative to your screen or wall. The distance impacts both image size and clarity. Many mini projectors have a throw ratio that determines how far back you need to place them for a specific image size. Place the projector too close, and the image might be blurry or distorted; too far, and it could be too small or dim. Experiment with different distances until you find a spot where the screen brightness remains high enough for comfortable viewing, even in ambient light. Keep in mind that ambient lighting can considerably affect how bright the projected image appears. If you’re outdoors or in a brightly lit room, aim for a surface or wall that can reflect the projector’s brightness effectively or consider dimming the environment if possible.
Position your projector at the optimal distance for clarity and brightness in any environment.
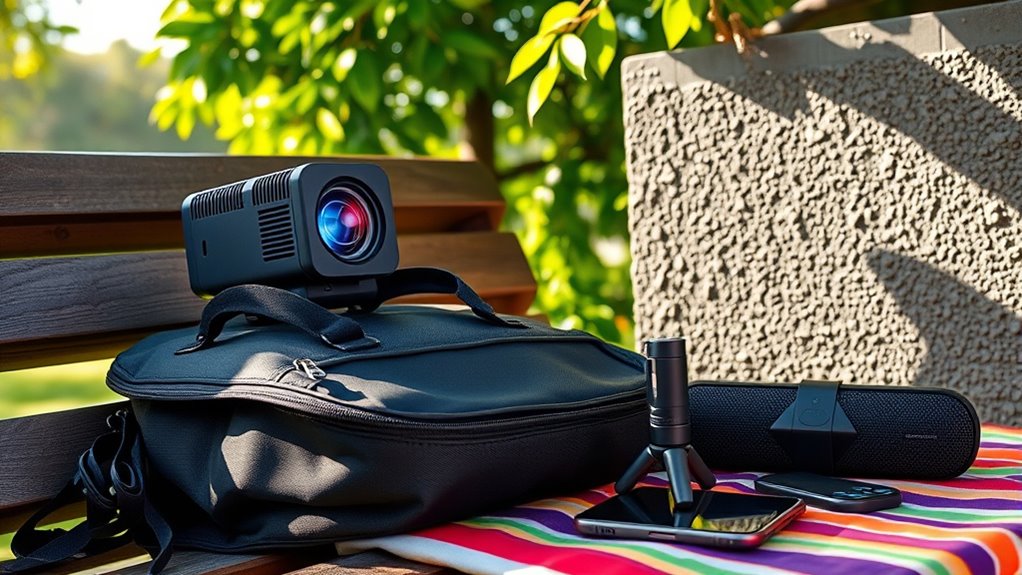
Audio quality is equally important, especially since many mini projectors have built-in speakers that are not as powerful as external setups. For better sound, position the projector near an outlet so you can connect external speakers or a portable Bluetooth speaker for richer audio. If you’re using the built-in speakers, ensure the projector is placed in an open area, not tucked into a corner or behind objects, which can muffle sound. Elevating the projector slightly can also improve audio dispersion, making it easier for everyone to hear clearly.
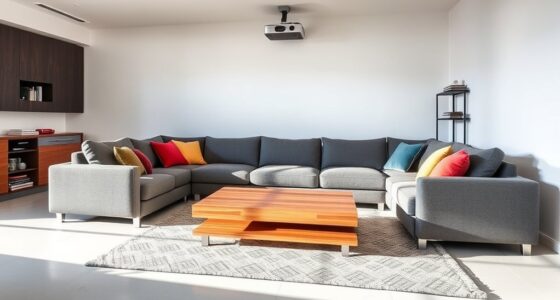
Another trick involves aligning your projector with your viewing surface. Keep the device squarely centered with the screen or wall to avoid keystone distortion, which can make the image look skewed or trapezoidal. Many mini projectors have keystone correction features—use these to fine-tune the image shape without moving the entire setup. This adjustment guarantees your content remains sharp and proportioned, maximizing screen brightness and clarity.
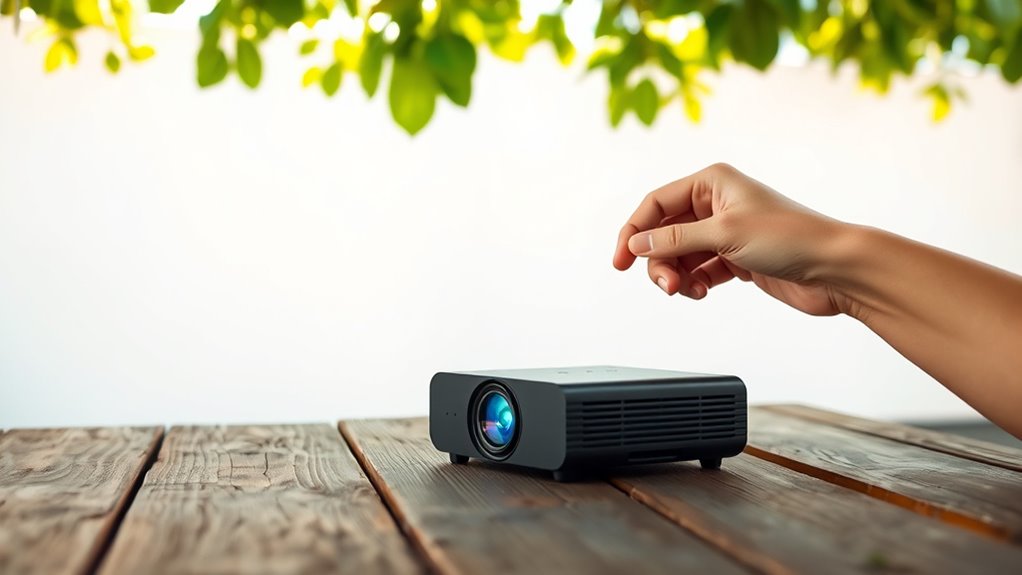
Additionally, selecting a high-lumen projector can significantly improve visibility in brighter environments, ensuring your images stay vivid and clear. Finally, think about the environment’s overall setup. A stable surface is essential to prevent jitter or misalignment. Use a tripod or a sturdy flat surface to keep your projector steady. This stability helps maintain consistent screen brightness and keeps the image in focus, making your on-the-go projection seamless. By paying attention to placement tricks like these, you’ll enjoy sharper images, richer audio, and a more satisfying viewing experience wherever you go.

Projector Floor Stand, Portable Tripod Mount – Folding Stand for Projector, Camera, Webcam (18" to 40") – Supports Up to 3lbs (1.5kgs)
👉Portable tripod projector stand: It can be folded into a portable size and weighs only 1.1 lbs. It…
As an affiliate, we earn on qualifying purchases.
As an affiliate, we earn on qualifying purchases.
Frequently Asked Questions
How Long Is the Battery Life of Portable Mini Projectors?
Your portable mini projector typically offers a battery duration of 1.5 to 3 hours, depending on the model and usage. To maximize power conservation, dim the screen brightness and avoid continuous use of high-power features. Keep an eye on the battery indicator, and carry a portable charger for extended viewing sessions. This way, you guarantee your projector stays powered longer, making your on-the-go presentations or movie nights seamless.
Can Portable Projectors Connect Wirelessly to Smartphones?
Yes, portable projectors can connect wirelessly to smartphones, making your multimedia moments more manageable and mobile. With seamless wireless connectivity, you simply sync your smartphone with the projector, enhancing ease and efficiency. Most models boast smartphone compatibility, allowing you to stream, share, and showcase without cumbersome cables. This wireless wonder simplifies sharing slides, streaming shows, or showing off photos, transforming your portable projector into a powerful, practical partner for presentations and entertainment.
What Is the Maximum Projection Size for These Devices?
You can expect portable mini projectors to project up to around 100 inches, but the actual projection size depends on their brightness levels. Higher brightness levels help maintain a clear, vibrant image at larger sizes, especially in well-lit environments. Keep in mind, as projection size increases, image sharpness might decrease if brightness isn’t sufficient. To get the best experience, match your projector’s brightness with your desired projection size.
Are Mini Projectors Suitable for Outdoor Use in Sunlight?
Mini projectors aren’t ideal for outdoor use in sunlight because sunlight glare and outdoor brightness can wash out the image. You’ll struggle to see the projection clearly, especially during daytime. For better results, use them in shaded areas or during dusk when ambient light is lower. Keep in mind, their small size makes them less powerful in bright environments, so they’re best suited for indoor or low-light settings.
How Do I Prevent Overheating During Extended Use?
To prevent overheating during extended use, you should use effective cooling methods like placing your mini projector in a well-ventilated area and avoiding direct sunlight. Ventilation tips include ensuring air vents aren’t blocked and using cooling pads if available. Keep the projector on a hard, flat surface to promote airflow, and take breaks to cool it down. These steps help maintain ideal performance and prevent overheating.

Mini Projector, Projector with Wifi and Bluetooth Built-in Battery 4K Portable Projector for Outdoor Bedroom, Smart Projectors 1080P Compatible with iphone/TV Stick/HDMI/Laptop
【3H Outdoor Battery Projector】This outdoor projector features a built-in rechargeable battery, providing 60 minutes of use in performance…
As an affiliate, we earn on qualifying purchases.
As an affiliate, we earn on qualifying purchases.
Conclusion
Now that you know these placement tricks, you can set up your portable mini projector anywhere, anytime. Whether you’re in a cozy room or a sunny backyard, mastering positioning, adjusting angles, and choosing the right surface makes all the difference. Use these tips to enhance your viewing experience, to enjoy movies, presentations, or gaming on the go. Embrace flexibility, optimize your setup, and turn any space into your personal theater. Your perfect projection awaits—just place, adjust, and enjoy!

Aurzen EAZZE D1 Smart Projector with WiFi and Bluetooth, Officially-Licensed APP, Auto Focus/Keystone, DoIby Audio 16W Speakers, Native 1080P, HDR10, 4K Support, Portable Mini Outdoor Movie Projector
Built-in Smart TV Operating System with Officially Certified Streaming Apps: The Aurzen EAZZE D1 smart projector comes with…
As an affiliate, we earn on qualifying purchases.
As an affiliate, we earn on qualifying purchases.

PANSEBA 1080P Mini Projector with Screen, Portable Home Theater Movie Projector with Two-Way Bluetooth, HDMI/USB Input for Smartphone/TV Stick, Ideal for Indoor & Outdoor Use
【Upgraded Two-way Bluetooth 5.2 & HIFI Speaker】Built-in powerful speakers, this portable bluetooth projector provides HIFI sound effect while…
As an affiliate, we earn on qualifying purchases.
As an affiliate, we earn on qualifying purchases.