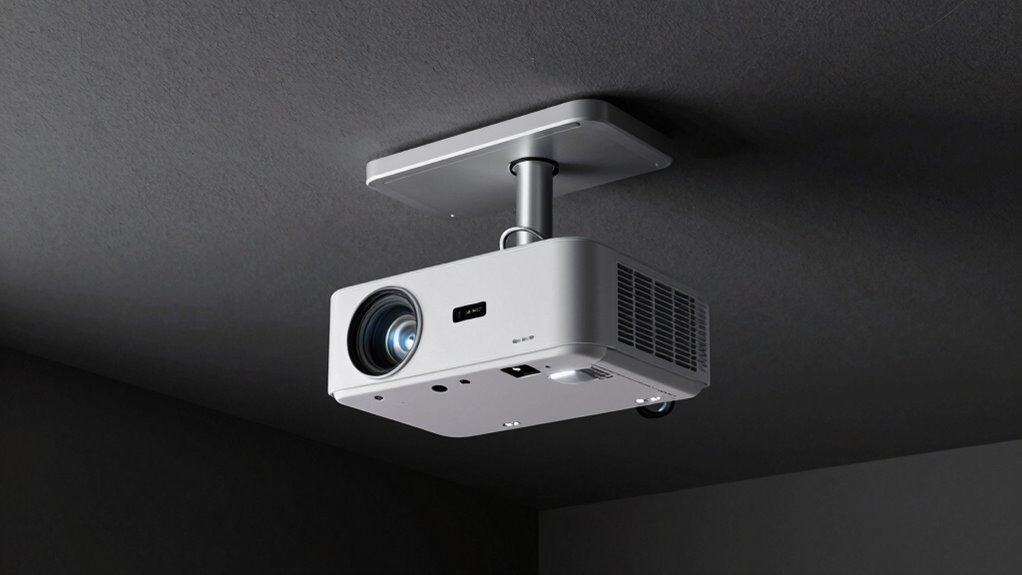
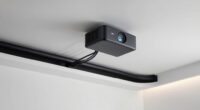
To future-proof your projector mounting position, choose an adjustable mount that allows height, tilt, and rotation modifications. Make certain the mount is installed on a strong, compatible wall or ceiling, with enough space above for future upgrades. Position the projector to avoid obstructions and easy access for maintenance. Planning for room changes and potential equipment adds will help keep your setup flexible. Keep these tips in mind to create a durable, adaptable installation—more useful insights follow.
Key Takeaways
- Choose an adjustable mount to easily modify height, tilt, and rotation as room needs evolve.
- Position the projector where future room modifications won’t obstruct or require reinstallation.
- Ensure the ceiling or wall can support upgrades without structural changes or reinforcement.
- Plan for sufficient clearance and accessible controls to facilitate maintenance and adjustments over time.
- Consider potential furniture rearrangements and tech additions to prevent future obstructions or limitations.
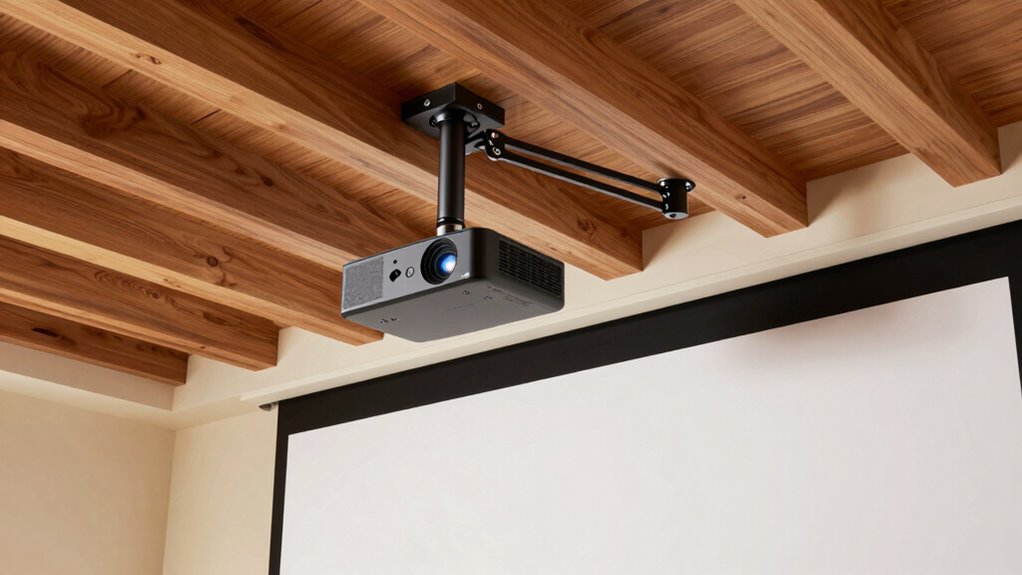
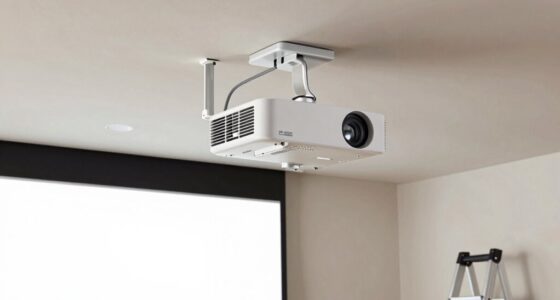
Planning for the future can save you from costly adjustments later, especially when it comes to mounting your projector. When determining the best location, you need to consider ceiling clearance—how much space you have above your projector—and wall compatibility, ensuring the mount fits securely and aligns with your room’s layout. Measuring ceiling height accurately before installation helps you avoid issues later on, such as obstructed views or difficulty accessing controls. You want to leave enough room for future upgrades or adjustments, so don’t underestimate the height needed for proper projection angles or potential added equipment.
Wall compatibility plays a vital role in your planning. Not all walls are equally suitable for mounting a projector, especially if they’re uneven, cracked, or made from materials that don’t support heavy loads. Before choosing a spot, check the wall’s strength and surface quality. If your wall is made of drywall, consider whether you need additional anchors or reinforcement to support the mount securely over time. If you’re considering a wall-mounted solution, make sure the wall can handle the weight of your projector and mount without sagging or damage. Additionally, think about the distance from the wall to your screen or viewing area, as this impacts the projection size and clarity—so plan your mount height accordingly.
Looking ahead, think about your room’s potential changes. Will you be rearranging furniture, adding new tech, or upgrading your projector? Selecting a mount that’s adjustable is key. An adjustable mount offers flexibility for height, tilt, and rotation, so you can adapt to new setups without replacing the entire system. It also helps account for future ceiling modifications or wall repairs, which might affect your initial installation. When installing, confirm that the mount won’t interfere with existing fixtures like lighting, vents, or ceiling beams, as these can limit your options or necessitate costly modifications later.
Finally, consider accessibility and maintenance. Installing your projector where you can easily reach for adjustments or cleaning extends its lifespan and keeps your setup in top shape. By carefully evaluating ceiling clearance, wall compatibility, and future room changes, you set yourself up for a seamless upgrade path. A well-planned mount isn’t just about today’s needs; it’s about creating a versatile, durable foundation that adapts effortlessly to whatever you envision for your entertainment space tomorrow.
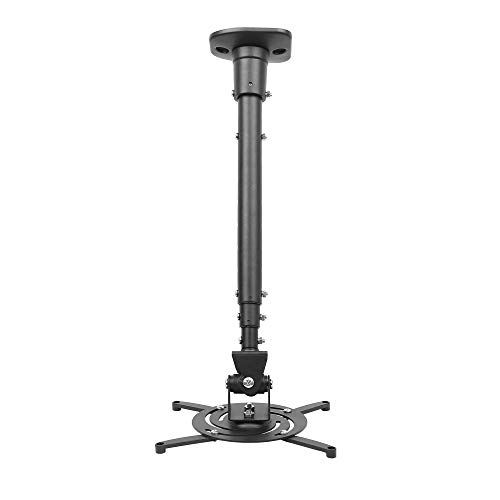
DYNAVISTA Full Motion Universal Ceiling Projector Mount Bracket with Adjustable Height and Extendable Arms Rotating Swivel Mount for Home and Office Projector (Black)
Universally Compatible: This projector ceiling mount supports most projector brands with distance between the mounting holes on back…
As an affiliate, we earn on qualifying purchases.
As an affiliate, we earn on qualifying purchases.
Frequently Asked Questions
What Tools Are Needed for Adjusting the Mounting Position?
You’ll need basic mounting tools like a drill, screwdriver, and level to adjust the mounting position effectively. These tools help you fine-tune the projector’s placement using adjustment techniques such as loosening and tightening mounting bolts or shifting the mount slightly. Make certain to have an adjustable wrench or pliers on hand for any tightening adjustments. Proper tools guarantee your adjustments are precise, making your projector’s position future-proof and easy to modify when needed.
How Often Should I Reassess My Projector Mount’s Stability?
You should reassess your projector mount’s stability at least every six months, especially if you frequently adjust the mounting height or notice any wobbling. Regular checks guarantee the mount’s weight capacity isn’t compromised and that it remains secure amid environmental changes. By proactively inspecting, tightening, and testing, you prevent potential pitfalls, preserving the projector’s position and prolonging its lifespan, making your setup safer and more reliable over time.
Can Future Technology Upgrades Affect My Current Mount Setup?
Future technology upgrades can impact your current mount setup if they introduce larger or heavier projectors, making mount compatibility essential. To future-proof, consider flexible mounting options and plan your upgrades carefully, ensuring your mount can handle potential changes. Regularly review your upgrade plans so that your mounting system remains compatible and secure, reducing the need for costly replacements and ensuring your setup stays functional and adaptable over time.
What Safety Precautions Should I Take During Installation?
When installing your projector mount, you should prioritize safety by guaranteeing proper mounting height and vibration dampening. Secure the mount to sturdy surfaces, avoiding weak points, and double-check all connections. Use vibration dampening materials to reduce movement, which protects your equipment and maintains image quality. Always follow manufacturer instructions, wear safety gear, and consider consulting a professional if you’re unsure. These precautions help guarantee a safe, stable setup.
How Do I Hide or Manage Cables Effectively?
To hide or manage cables effectively, focus on cable concealment and wire management techniques. Use cable covers or raceways to run wires along walls or ceilings, keeping them out of sight and organized. Velcro straps or cable clips help bundle cables neatly, preventing tangles. Consider installing in-wall conduits for a clean look, especially for long runs. Regularly check and adjust wire placement to maintain a tidy, safe setup.

WALI Universal Projector Screen Ceiling Mount, Wall Hanging Mount L-Brackets, 6 inch Adjustable Extension with Hook Kit, Projector Screen Placement Hold up to 66 lbs (PSM001-W), White
Application: Fits most manual or spectrum projector screen on the market. Support maximum loading weight up to 66lbs…
As an affiliate, we earn on qualifying purchases.
As an affiliate, we earn on qualifying purchases.
Conclusion
By planning ahead and choosing a flexible mounting position, you guarantee your projector stays relevant as your needs evolve. While some might worry about initial costs or complexity, investing in a future-proof setup saves you time and money long-term. Remember, a well-considered mount adapts to different environments and technology upgrades, making it a smart choice. Don’t let uncertainty hold you back—future-proof your setup now for seamless entertainment and presentations down the line.
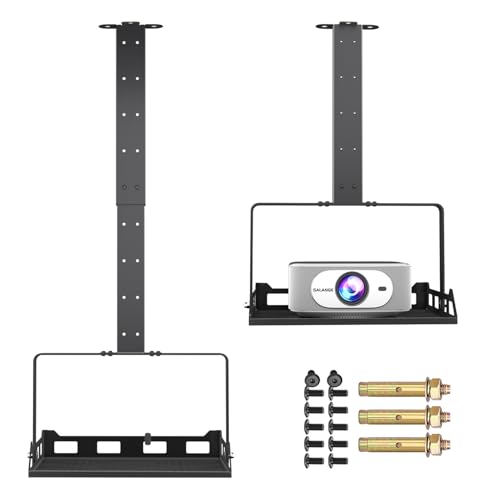
Salange 3-in-1 Projector Mount, Adjustable Height Ceiling/Wall Mount with Tray, Heavy-Duty Stand w Cable Management, Holds Up to 22 lbs, Ideal for Home Theater and Office (Black)
360° Rotatable Tray & 0-90° Tilt for Perfect Projection – This universal projector mount features a 360° rotatable…
As an affiliate, we earn on qualifying purchases.
As an affiliate, we earn on qualifying purchases.

VIVO Steel Reinforcement Bracket Mount Plate for Thin, Glass, and Other Fragile Table Top Surfaces, Compatible with Most Monitor Stand C-Clamp Installations, Anti-Slip No Scratch, Black, STAND-AC01R
VIVO Reinforcement Brackets: We create affordable solutions designed with creativity and quality to transform your unique workspace. This…
As an affiliate, we earn on qualifying purchases.
As an affiliate, we earn on qualifying purchases.