To install a ceiling mount, start by gathering your tools—drill, stud finder, level, and anchors. Choose a spot directly beneath a ceiling joist or support and mark it carefully, double-checking measurements for accuracy. Use a drill with the correct bit to make straight holes, applying steady pressure. Secure the mount with appropriate screws, ensuring it’s level and stable. Following these steps guarantees a safe, secure setup—continue to learn more about perfecting your installation process.
Key Takeaways
- Use a stud finder to locate ceiling joists and mark the precise support spot before drilling.
- Prepare tools, measure carefully, and double-check measurements to ensure accurate mount placement.
- Drill straight into the joist with appropriate bits, pre-drilling pilot holes to prevent splitting.
- Follow safety protocols: wear goggles, secure ladders, and ensure area is clear of wires and obstructions.
- Attach the mount securely, checking for levelness and stability before hanging fixtures or equipment.
Installing a ceiling mount can transform your space by saving floor area and providing a sleek, modern look. To do this effectively, you’ll need to understand proper drill techniques and prioritize safety precautions. Before beginning, gather all necessary tools, including a drill, stud finder, level, measuring tape, and appropriate anchors or screws. Carefully select the location for your mount, ensuring it’s directly beneath a ceiling joist or an appropriate support structure. Using a stud finder, identify the joists to avoid drilling into electrical wiring or pipes, which could cause hazards or damage. Mark the spot where you’ll install the mount, double-checking the measurements for accuracy.
Gather tools, select support, and mark carefully for safe, secure ceiling mount installation.
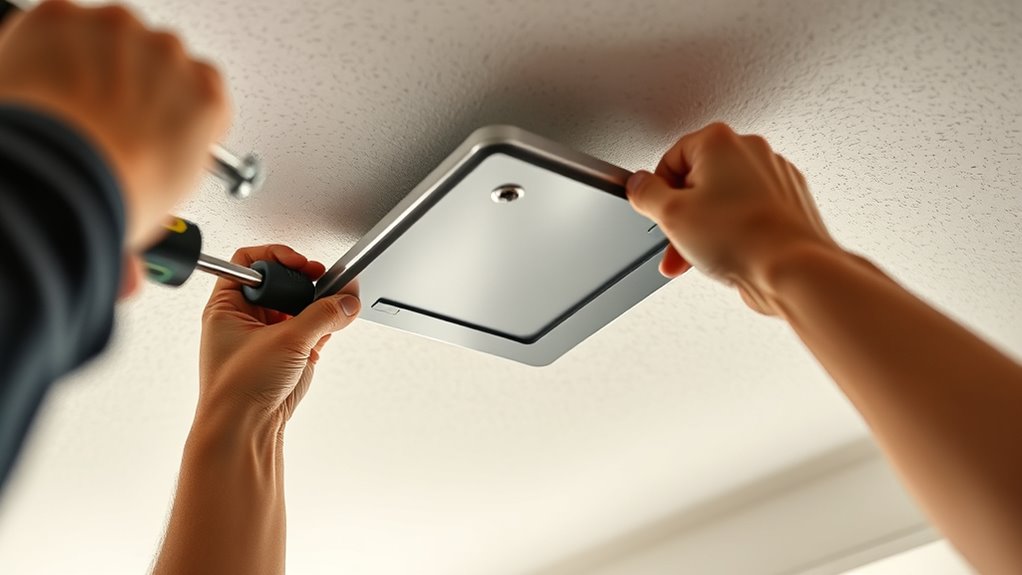
When you’re ready to drill, start with the correct drill techniques. Use a drill bit that matches the size of your anchors or screws, and drill straight into the joist for secure mounting. Apply steady, even pressure—avoid forcing the drill, which can lead to slipping or damaging the ceiling surface. Keep the drill perpendicular to the ceiling to ensure precise holes and avoid angled damage. If drilling into drywall and attaching to a joist, pre-drill small pilot holes to prevent splitting the wood. For concrete or brick ceilings, use a masonry bit and ensure you have the right drill setting. Always wear safety goggles and a dust mask to protect your eyes and lungs from debris, and work in a well-ventilated area.
Safety precautions are paramount throughout the process. Before drilling, double-check that the area is free of obstructions and electrical wires. Turn off power to nearby outlets if necessary, especially when working close to electrical fixtures. Secure your ladder or scaffolding to prevent slips, and avoid overreaching—position yourself comfortably to maintain control. During drilling, keep your hands steady and avoid applying excessive force, which can cause the drill bit to slip or break. After completing each hole, inspect the interior of the ceiling if possible, to ensure there are no hidden hazards. Understanding the importance of proper drill techniques can significantly improve your safety and the quality of your installation.
Once the holes are drilled, insert anchors if needed, then attach the mount using the appropriate screws. Make sure everything is level, tightening the hardware gradually and evenly. Double-check the stability of the mount before hanging any equipment or fixtures. Proper drill techniques combined with strict safety precautions not only ensure a secure installation but also protect you from potential accidents. Take your time, follow these steps carefully, and you’ll enjoy a sleek, safe ceiling mount that enhances your space with confidence.
ceiling mount drill bit
As an affiliate, we earn on qualifying purchases.
As an affiliate, we earn on qualifying purchases.
Frequently Asked Questions
What Tools Are Essential for Ceiling Mount Installation?
You’ll need a few essential tools like a drill with the right drill bits to make precise holes in your ceiling. A screwdriver is also vital for tightening screws securely. These tools help you efficiently install the mount without damaging your ceiling or hardware. Make sure your drill bits are suitable for your ceiling material, and keep screwdrivers handy for assembly and adjustments during the process.
Can I Install a Ceiling Mount on Any Ceiling Type?
You can’t put a square peg in a round hole, and that’s true for ceiling mounts too. Not all ceiling materials are suitable—drywall, concrete, or wood each have different weight capacities. Always check your ceiling’s material and weight limits before installation. If the ceiling isn’t strong enough, the mount might fail, risking damage or injury. So, assess your ceiling’s type and capacity first to guarantee a secure, safe setup.
How Do I Ensure the Mount Is Securely Anchored?
To make certain your mount is securely anchored, start by choosing the right mounting brackets for your ceiling type. Then, use sturdy wall anchors or toggle bolts that match the weight of your installation. Drill into the ceiling carefully, inserting the anchors firmly. Tighten all screws securely, checking for stability. This process guarantees your ceiling mount stays firmly in place, supporting your device safely and reliably.
What Safety Precautions Should I Follow During Installation?
You should take safety precautions seriously to avoid falling into trouble. Always wear safety gear like goggles and gloves, and use a sturdy ladder to prevent falls. Keep the work area clear to avoid tripping hazards. Turn off electrical power to avert shocks, and double-check all connections for electrical safety. By staying vigilant and cautious, you’ll ensure a safe installation, preventing accidents and keeping your project on solid ground.
How Long Does a Typical Ceiling Mount Installation Take?
Typically, a ceiling mount installation takes about 1 to 3 hours, depending on the installation timeline and complexity factors. If your ceiling is easy to access and the mount is straightforward, it’ll be faster. However, if you face challenges like uneven surfaces or a heavy fixture, it could take longer. Preparing your tools and following the step-by-step guide helps streamline the process and reduces overall installation time.
stud finder for ceiling
As an affiliate, we earn on qualifying purchases.
As an affiliate, we earn on qualifying purchases.
Conclusion
Now that you’ve navigated the sky-high journey of installing your ceiling mount, you’re like a skilled captain steering your vessel through calm waters. With each step, you’ve built a sturdy foundation, transforming your space into a sleek, elevated haven. Remember, patience is your anchor, and precision is your compass. Soon, your device will hang proudly, like a shining star in your personal constellation—ready to light up your world with just a touch.
ceiling mount anchors and screws
As an affiliate, we earn on qualifying purchases.
As an affiliate, we earn on qualifying purchases.
level for ceiling installation
As an affiliate, we earn on qualifying purchases.
As an affiliate, we earn on qualifying purchases.