
To quickly upgrade your screen setup in 15 minutes, start by organizing your cables with clips or sleeves to reduce clutter and improve airflow. Next, calibrate your display using free tools like DisplayCal to enhance color accuracy and vibrancy. Adjust your resolution to the monitor’s native settings and enable blue light filters for eye comfort. These simple tweaks will boost image quality and make your workspace more comfortable—if you keep exploring, you’ll find even more tips to optimize your display.
Key Takeaways
- Organize cables with clips or sleeves to improve airflow and reduce clutter quickly.
- Calibrate your display using free tools like DisplayCal for accurate, vibrant colors in minutes.
- Adjust the monitor resolution to its native setting for sharper, clearer images instantly.
- Enable blue light filters or night mode to reduce eye strain and enhance viewing comfort.
- Enable anti-aliasing and fine-tune brightness for a more polished, professional display setup.
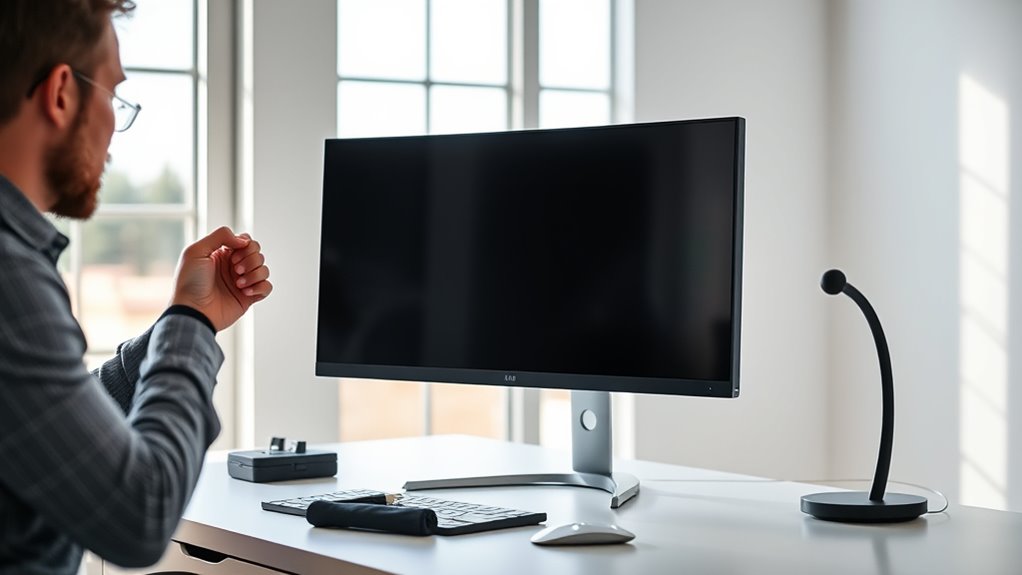
If you want to see sharper images and reduce eye strain, upgrading your screen setup doesn’t have to take hours. Small tweaks can make a significant difference in your visual experience, and you can accomplish many of them in just 15 minutes. First, focus on cable management. Cluttered cables can cause distraction and hinder airflow, which may lead to overheating or device instability. Use cable clips or sleeves to organize cords neatly behind your desk. Not only does this create a cleaner workspace, but it also reduces accidental disconnections. When cables are tidy, you can easily identify and replace faulty or outdated connections, guaranteeing your display remains essential. Proper cable management also prevents strain caused by tangled or stretched cables tugging at ports, which can affect image quality over time.
Organize cables with clips or sleeves to improve airflow, reduce distractions, and prevent damage over time.
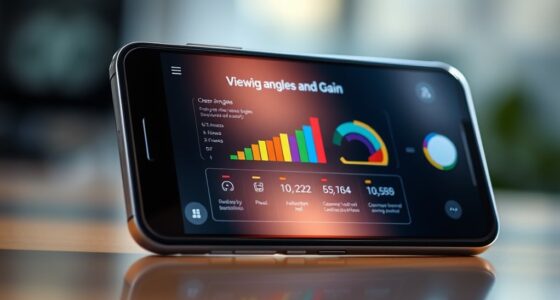
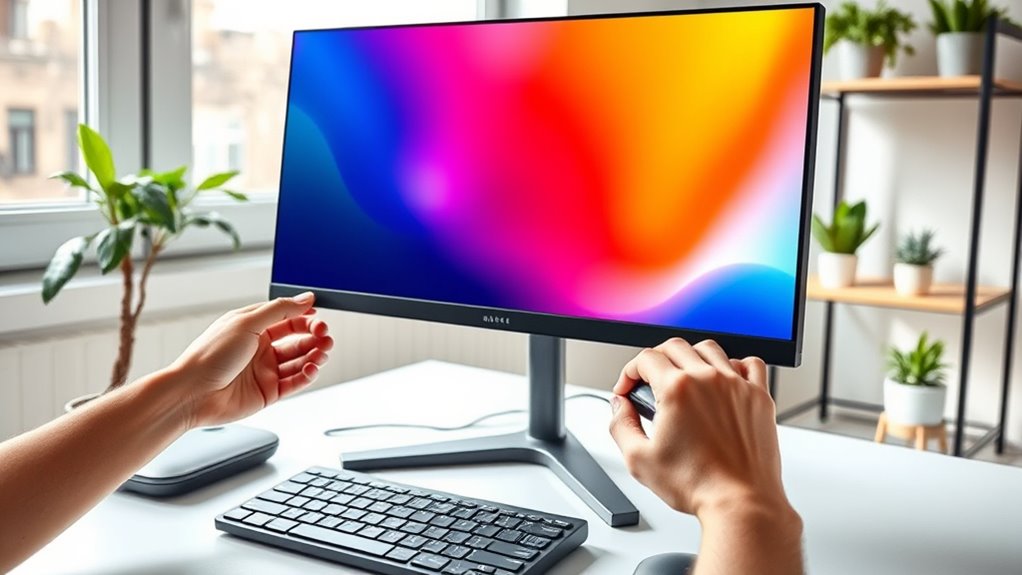
Next, turn your attention to color calibration. Many screens come pre-set with factory defaults that may not accurately represent colors, leading to dull or overly saturated images. Calibrating your monitor ensures that the colors are true to life, making details sharper and more vibrant. You can use built-in calibration tools or free software like DisplayCal to fine-tune your display settings. Adjust the brightness, contrast, and color temperature until the image feels natural and balanced. This step is especially vital if you work with photo editing, design, or any visual content where color accuracy impacts your work quality. Proper calibration also helps reduce eye strain by setting brightness levels appropriate for your environment, preventing your eyes from constantly adjusting between a bright screen and dim surroundings.
Additionally, guarantee your display settings are optimized for your environment. Set your resolution to the native resolution of your monitor for the sharpest images. Enable features like anti-aliasing if available, which smooths jagged edges on text and graphics. You might also consider enabling night mode or blue light filters to lessen eye fatigue during long hours of work or screen time.
In just a few minutes, you can reconfigure your workspace for better image quality and comfort. Managing cables keeps your setup neat and functional, while color calibration ensures your display shows the most accurate and vibrant images possible. These simple steps don’t require complex tools or hours of effort but can dramatically improve your viewing experience. With a little attention to detail, you’ll notice sharper images, richer colors, and less eye strain—making your screen time more productive and enjoyable.
cable management clips for desk
As an affiliate, we earn on qualifying purchases.
As an affiliate, we earn on qualifying purchases.
Frequently Asked Questions
Can I Improve My Screen’s Image Quality Without New Hardware?
Yes, you can improve your screen’s image quality without new hardware. Start by adjusting your display’s color calibration to achieve more accurate and vibrant colors. Additionally, tweak resolution scaling settings to optimize sharpness and clarity. These simple adjustments don’t require new equipment and can considerably enhance your viewing experience, making images look better and more detailed with just a few quick steps.
What Are the Best Settings for Different Types of Displays?
Think of your display as a canvas—each setting paints a clearer picture. For the best results, start with color calibration to bring your colors to life and adjust resolution scaling to sharpen details. For LCDs, tweak contrast and brightness to reduce eye strain, while OLEDs benefit from fine-tuning color profiles. Experiment with these settings, and you’ll transform your screen into a vibrant window into your digital world.
How Do Ambient Lighting Conditions Affect Screen Image Quality?
Ambient light substantially impacts your screen image quality, making it harder to see details or causing eye strain. Bright ambient light can wash out colors, while low light may make your display appear dim. To improve visibility, reduce glare by adjusting your room’s lighting or using anti-glare screens. Proper ambient light conditions help you enjoy sharper images and prevent eye fatigue, ensuring a more comfortable viewing experience.
Is It Necessary to Calibrate My Monitor Regularly?
You should calibrate your monitor regularly to maintain display consistency. Think of it like tuning a musical instrument—without frequent calibration, colors can drift, and images may look off. By doing so, you guarantee your monitor’s color accuracy and brightness stay ideal, helping you see true colors and consistent images every time. Regular calibration is quick and keeps your display performing at its best, especially if you work with color-sensitive tasks.
Can Software Adjustments Fully Compensate for Poor Display Hardware?
Software adjustments can improve your display, but they can’t fully compensate for poor hardware. Color calibration helps optimize your monitor’s performance, although hardware upgrades like a better screen or graphics card deliver a significant boost in image quality. For the best results, combine regular software adjustments with hardware upgrades. This way, you ensure accurate colors and sharp visuals, giving you a noticeably better viewing experience without compromising quality.
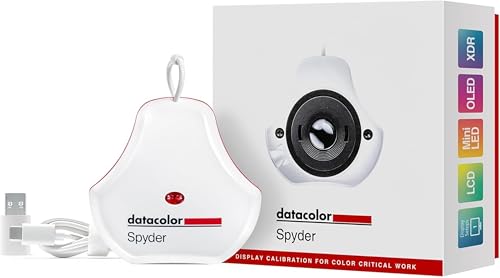
datacolor Spyder – Monitor Calibrator for Graphic Designers, Photographers, and Content Creators, Shows You True Colors, Works on OLED Monitors & LED Screens, Easy-to-Use Color Calibration Tool
Color “Surprises” Are a Thing of the Past: Datacolor’s exclusive DevicePreview TM Beta feature simulates what your photos…
As an affiliate, we earn on qualifying purchases.
As an affiliate, we earn on qualifying purchases.
Conclusion
By making these quick tweaks, you’ve turned your screen into a window with a clearer view. Think of your setup as a garden—it only takes a little effort to prune and nurture for a thriving, vibrant display. In just 15 minutes, you’ve elevated your visual experience, transforming an ordinary space into a sharp, inviting haven. Keep tending to it, and your workspace will bloom with clarity and comfort every day.
blue light filter for monitor
As an affiliate, we earn on qualifying purchases.
As an affiliate, we earn on qualifying purchases.
monitor resolution adjustment
As an affiliate, we earn on qualifying purchases.
As an affiliate, we earn on qualifying purchases.