
To quickly improve your projector room in 15 minutes, start by adjusting your lighting—use warm, dimmable bulbs and position lights away from the screen to reduce glare. Tidy up cables with clips or ties to eliminate clutter, and reposition your projector for better alignment. Keep the screen dust-free for clearer images. These simple tweaks can substantially enhance your space—stay with us for even more quick, impactful tips.
Key Takeaways
- Adjust lighting with dimmable, warm bulbs away from the screen to reduce glare and create a cozy ambiance.
- Organize loose cables using clips or ties, securing them along walls for safety and a cleaner look.
- Reposition the projector or screen slightly for better alignment and clearer image quality.
- Wipe dust and smudges off the screen and surfaces to instantly improve picture clarity.
- Rearrange seating for better viewing angles and add small storage for remotes and accessories.

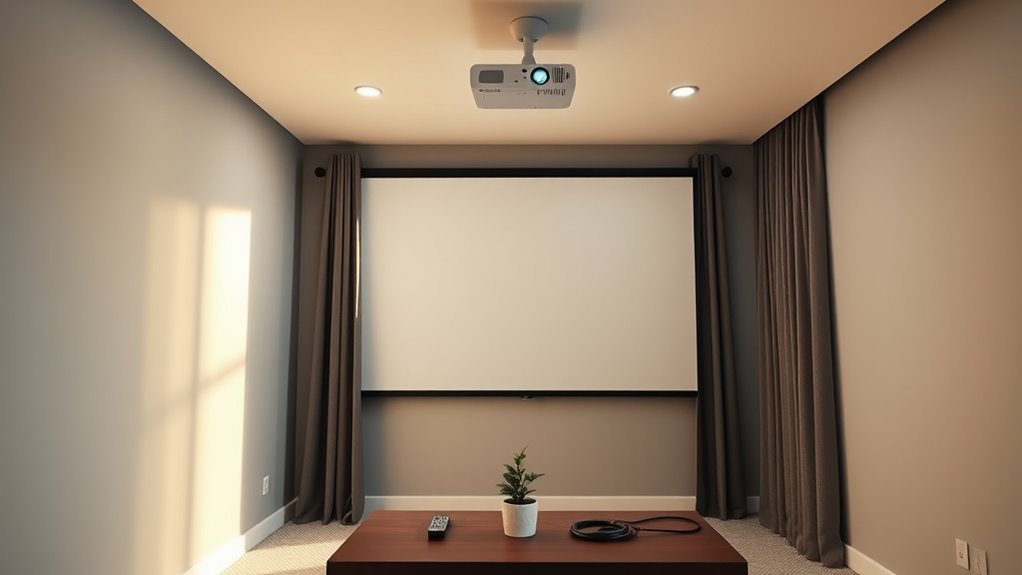
If your projector room feels cluttered or dull, you can make noticeable improvements in just 15 minutes. Small changes can dramatically enhance the space’s functionality and atmosphere. Start by addressing lighting adjustments. Bright, uneven lighting can cast glare on your screen and make it hard to see details clearly. Switch out harsh bulbs for softer, warm-toned options, or add adjustable lamps that you can dim or brighten based on your needs. Installing dimmable overhead lights or wall sconces allows you to fine-tune the ambiance quickly. If possible, position lighting sources away from the screen to prevent glare and reflections, which can distract you during presentations or movie nights.
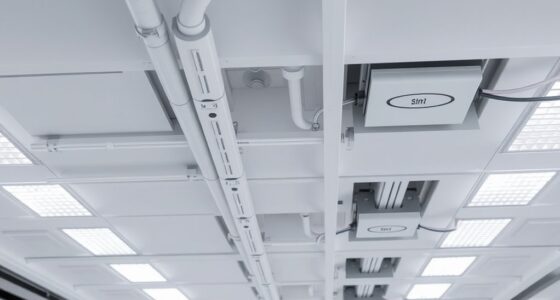
Next, focus on cable management. Messy, tangled cables not only create a cluttered appearance but also pose safety hazards. Take a few minutes to gather loose wires and organize them using cable clips, sleeves, or ties. Secure cables along walls or behind furniture to keep the floor clear and prevent tripping. Labeling cables with tags or color-coded wraps helps you identify and troubleshoot connections faster later. Proper cable management also improves airflow around electronic devices, reducing overheating risks and extending their lifespan. With a tidy setup, you’ll notice a more streamlined look and find it easier to access your equipment when needed.
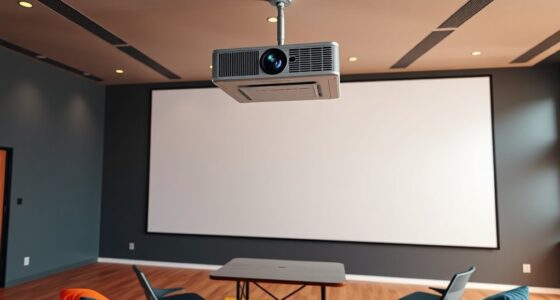
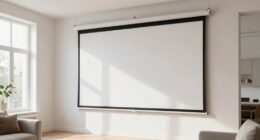
While you’re at it, consider repositioning your projector and screen if they’re not ideally aligned. A slight adjustment of the projector’s angle or height can greatly improve image clarity and reduce the need for constant adjustments during use. Ensuring your screen is free of dust and smudges is another quick step that enhances picture quality instantly. Keep cleaning supplies handy to wipe down surfaces regularly, maintaining a pristine environment. Improving the color accuracy of your projector can also significantly elevate your viewing experience, especially for home cinema enthusiasts who value vivid, true-to-life images.
Lastly, examine your seating arrangement. If your chairs or sofas are cluttered or inconveniently placed, rearrange them for better viewing angles and ease of access. Adding a small shelf or storage bin nearby can help keep remote controls, cables, and other accessories organized and within reach. Even these small tweaks can make your projector room feel more inviting and functional.
In just 15 minutes, you can transform a dull, cluttered space into an efficient, comfortable environment. By making simple lighting adjustments, organizing cables, and fine-tuning your setup, you’ll enjoy a cleaner, more enjoyable viewing experience without spending hours or money on major overhauls. These quick wins reinforce that sometimes, the smallest changes deliver the greatest impact.

Consciot A19 LED Light Bulbs Dimmable,60W Equivalent,3000K Warm White,9W 800 Lumens,E26 Standard Base,UL Listed,Lighting for Bedroom Living Room Home Office,5 Packs
【Dimmable & Versatile】Smoothly adjust brightness with TRIAC dimmer compatibility. Tailor your lighting from soft to bright, ideal for…
As an affiliate, we earn on qualifying purchases.
As an affiliate, we earn on qualifying purchases.
Frequently Asked Questions
What Budget Is Typically Needed for Quick Projector Room Upgrades?
You can typically upgrade your projector room on a budget of $50 to $200 by focusing on cost-effective solutions. Consider simple improvements like better lighting, adjustable blinds, or soundproofing materials. Budget considerations mean avoiding expensive equipment upgrades unless necessary. With strategic spending, you’ll enhance your projector room’s functionality and comfort quickly and affordably, making the space more effective without breaking the bank.
Can These Improvements Be Reversed or Changed Easily Later?
Yes, these improvements can be reversed or changed easily later. Opt for reversible modifications like removable wall panels or adjustable lighting, which allow you to make future-proof adjustments without damaging your space. By choosing versatile solutions, you guarantee that your projector room remains adaptable, so you can upgrade or reconfigure it as your needs evolve. This flexibility helps you stay current with technology and design trends without hassle.
Are There Specific Projector Models That Benefit Most From These Tips?
Certain projector models benefit more from these tips, especially those with flexible projector compatibility and adjustable lens shift. When optimizing your setup, focus on ideal projector placement for your specific model, ensuring it fits well within the space and can be easily adjusted. If you choose a projector with versatile features, you’ll find it easier to implement and later modify these improvements to suit changing needs or new equipment.
How Often Should I Revisit and Update the Projector Room Setup?
You should revisit and update your projector room setup at least every six months. Regularly assess room lighting to prevent glare and guarantee ideal image quality. Keep an eye on equipment maintenance, checking for dust, bulb life, and connections. By staying proactive every six months, you’ll maintain a sharp, clear display and a comfortable environment, making it easier for everyone to enjoy presentations and reduce technical issues.
Do These Quick Wins Work Equally Well in Small and Large Rooms?
Yes, these quick wins work in both small and large rooms, but you need to take into account room size and technology compatibility. In smaller spaces, focus on optimizing lighting and screen placement to prevent glare. For larger rooms, invest in higher-lumen projectors and ensure the equipment matches the room’s technical needs. Adjusting these quick fixes based on your room size ensures better image quality and an improved viewing experience.
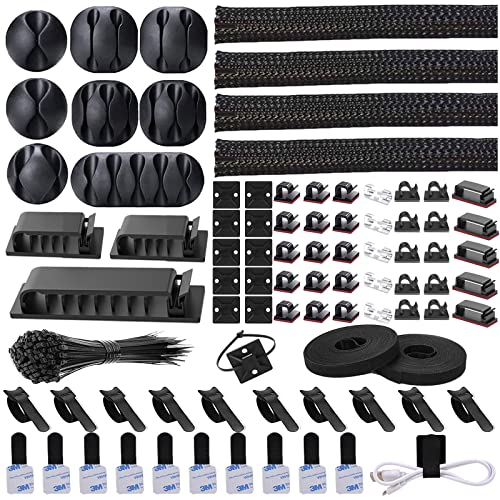
N NOROCME 192 PCS Cable Management Kit 4 Wire Organizer Sleeve,11 Cable Holder,35Cord Clips 10+2 Roll Cable Organizer Straps and 100 Fastening Cable Ties for Computer TV Under Desk, black,clear
Cable Management Kit: 4pcs Cable Sleeves( 20 in L x 0.4 in w), 20pcs reusable wire ties,35Cable Clips…
As an affiliate, we earn on qualifying purchases.
As an affiliate, we earn on qualifying purchases.
Conclusion
In just 15 minutes, you can transform your projector room into a more efficient space, like turning on a light switch. Small tweaks—tidying cables, adjusting lighting, or organizing your remote—can make a big difference. Remember, a well-organized room isn’t just neat; it’s like a well-oiled machine, ready to perform at a moment’s notice. So, take these quick wins seriously, and enjoy a smoother, more enjoyable projection experience every time.

Screen Cleaner Spray (16oz – 473ml) – Best Large Cleaning Kit for LCD LED OLED TV, Smartphone, iPad, Laptop, Touchscreen, Computer Monitor, Electronic Devices, Microfiber Cloth Wipes and 2 Nozzles
SCREEN CLEANER SPRAY and cloth are designed for the high-end devices and works flawlessly for all electronic screens,…
As an affiliate, we earn on qualifying purchases.
As an affiliate, we earn on qualifying purchases.

DYNAVISTA Full Motion Universal Ceiling Projector Mount Bracket with Adjustable Height and Extendable Arms Rotating Swivel Mount for Home and Office Projector (Black)
Universally Compatible: This projector ceiling mount supports most projector brands with distance between the mounting holes on back…
As an affiliate, we earn on qualifying purchases.
As an affiliate, we earn on qualifying purchases.