
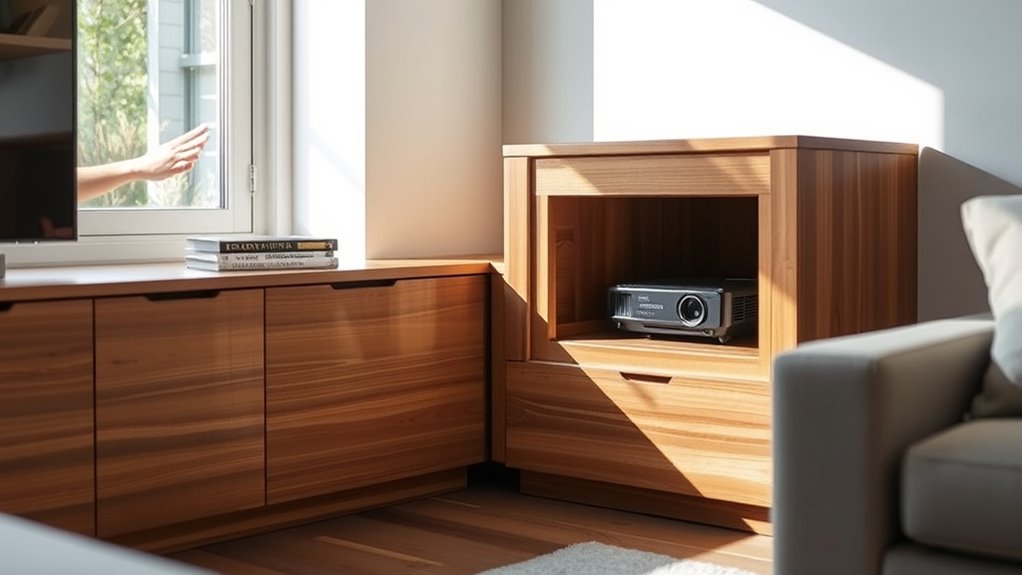
To create a hidden projector mount compartment, first select a location near a power source that blends with your decor. Carefully measure the space, then build a sturdy frame using materials like plywood or metal, ensuring proper ventilation and easy access. Install a concealed access panel for maintenance, mount the projector securely inside, and route cables through discreet channels. Finish by camouflaging the setup with paint or decor to achieve a seamless look—continue exploring for detailed steps and tips.
Key Takeaways
- Select a discreet location near power sources, ensuring proper ventilation and minimal obstructions for seamless projector concealment.
- Build a custom compartment using durable materials, integrating an access panel with matching decor for easy maintenance.
- Incorporate cable management solutions like hollow arms, grommets, or sleeves to hide wiring within the compartment.
- Mount the projector securely with adjustable brackets, ensuring alignment and remote access while maintaining concealment.
- Finish the compartment with paint or textures matching the wall or ceiling, and test for optimal image quality and safety.
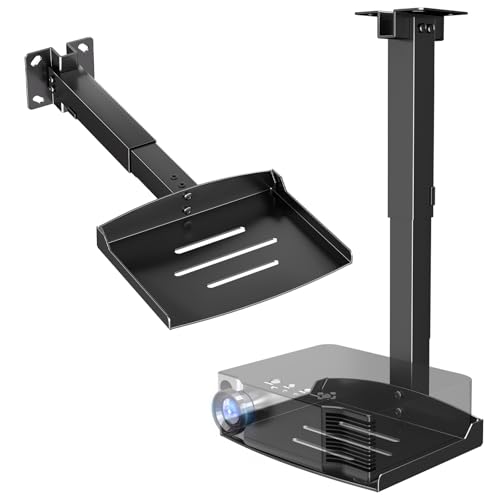
PUTORSEN Adjustable Projector Ceiling Mount, Universal Shelf
- Universal Compatibility: Fits most projectors, cameras, and devices
- Sturdy Metal Tray: Supports up to 22 lbs
- Adjustable Height: Extends from 14.17" to 21.65"
As an affiliate, we earn on qualifying purchases.
As an affiliate, we earn on qualifying purchases.
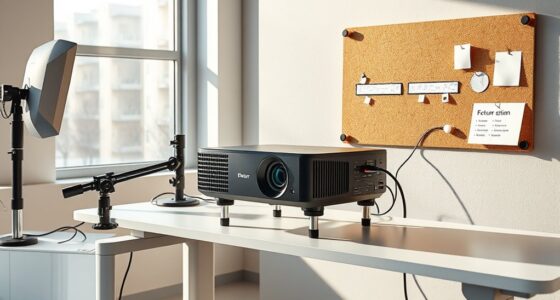
Planning Your Hidden Projector Compartment
Before you begin building your hidden projector compartment, it is essential to plan carefully. Start by considering lighting considerations, guaranteeing the space allows for ideal projector visibility without glare or shadows. Think about how the compartment will blend aesthetically with your existing decor—aim for aesthetic blending so it doesn’t stand out awkwardly. Choose materials and finishes that complement your room’s style, creating a seamless look. Measure the area precisely, accounting for ventilation and easy access for maintenance. Decide if you want the compartment to be completely hidden or subtly integrated. Proper planning helps you avoid future frustrations and guarantees your projector remains discreet yet functional. Focus on these details now to create a sleek, effective hidden projector setup that enhances your space. Additionally, understanding sound healing science can inform how you incorporate acoustics or soundproofing to optimize audio quality within your hidden setup.

DRIVUU 311Pcs Cable Management Organizer Kit 4 Cable Sleeve Split
- Complete Cable Management Kit: Includes sleeves, ties, clips, and mounts
- Various Cable Clips: 6 types, 65 pieces, strong and non-toxic
- Premium PET Sleeves: Sturdy, flexible, self-wrapping design
As an affiliate, we earn on qualifying purchases.
As an affiliate, we earn on qualifying purchases.
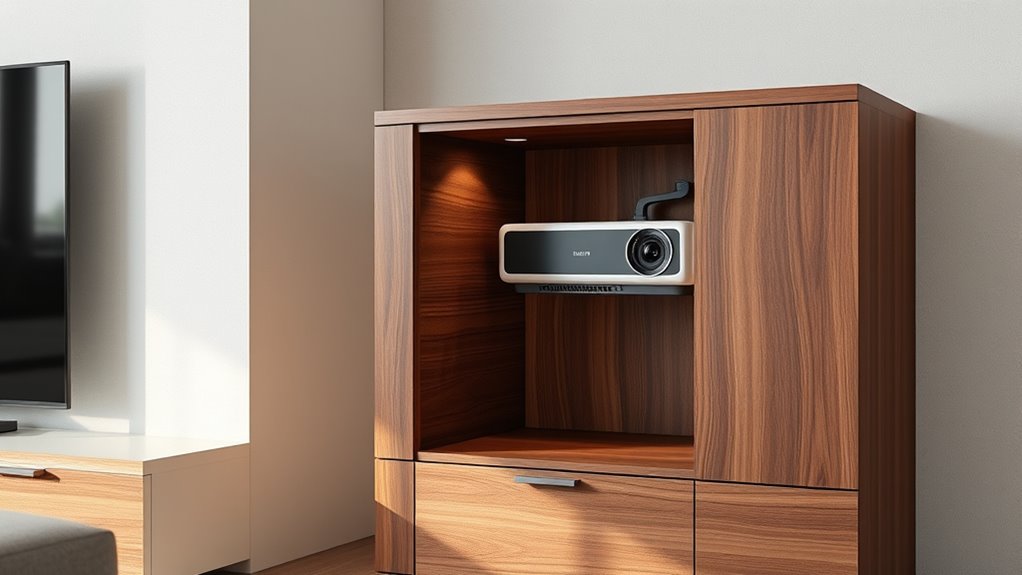
Selecting the Right Location and Dimensions
Choosing the right location and dimensions for your hidden projector compartment is essential to guarantee peak performance and seamless integration. You want a spot that supports decorative concealment while maintaining easy access. Consider these factors:
Selecting the ideal spot and size for your hidden projector ensures seamless performance and discreet integration.
- Proximity to power outlets and cables for minimal visible wiring
- Size of the projector to ensure proper fit without sacrificing aesthetics
- Line of sight for ideal projection to avoid obstructions and preserve aesthetic integration
- The materials used in the compartment should complement your room’s decor and ensure durability wall organization systems to keep everything tidy and visually appealing.
Select a location that blends with your room’s decor, making the compartment virtually invisible. Proper dimensions ensure the projector functions smoothly without protruding or disrupting the room’s visual harmony. Prioritize concealment and accessibility to maintain a sleek, functional setup that looks intentional and unobtrusive.

Access Panel for Drywall – 8×8 inch – Wall Hole Cover – Access Door – Plumbing Access Panel for Drywall – Heavy Durable Plastic White
- Versatile Indoor and Outdoor Use: Access to plumbing, electrical, and networks
- Impact-Resistant and UV Stabilized: Resists fading, corrosion, and damage
- Paintable and Wallpaper Friendly: Customizable surface for aesthetics
As an affiliate, we earn on qualifying purchases.
As an affiliate, we earn on qualifying purchases.
Gathering Necessary Tools and Materials
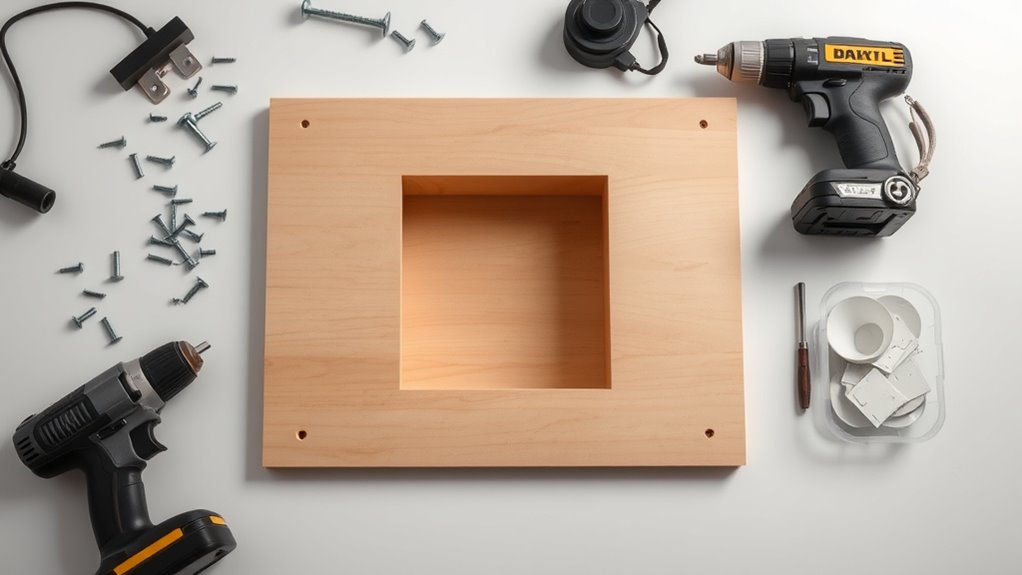
To create a hidden projector mount compartment, you need to gather all the necessary tools and materials to guarantee a smooth and efficient process. Start with basic tools like a saw, drill, screwdriver, measuring tape, and level. You’ll also need screws, brackets, and wood panels or drywall, depending on your wall type. Incorporate decorative accents such as trim or molding to seamlessly blend the compartment into your room’s decor. Consider lighting options like LED strips or small spotlights to enhance the hidden feature and improve functionality. Make sure to have a pencil for marking, a utility knife, and safety gear like gloves and goggles. Additionally, understanding projector placement and how to optimize your setup can help ensure your projector is both discreet and perfectly positioned. With these tools and materials, you’ll be well-equipped to build a discreet, appealing space for your projector.

Aurzen Ceiling Projector Mount, Adjustable Rotation, Tilt & Length
- Compatibility Note: Not compatible with Aurzen D1 MAX
- Wide Compatibility: Works with various projector brands
- Mounting Requirements: Centered 1/4-inch threaded projectors only
As an affiliate, we earn on qualifying purchases.
As an affiliate, we earn on qualifying purchases.
Building a Sturdy Frame for the Compartment
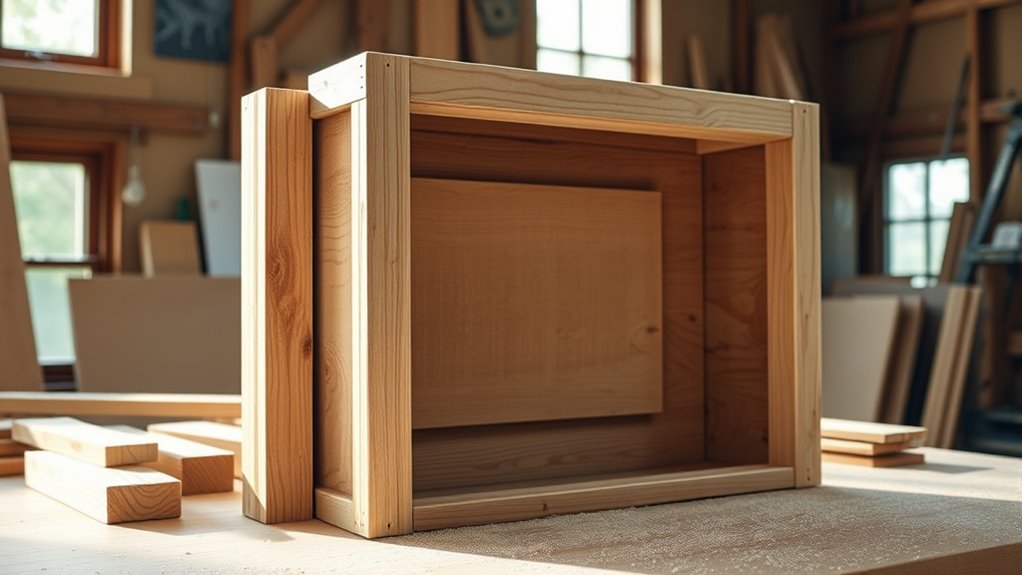
Building a sturdy frame is essential to guarantee your hidden projector compartment is secure and durable. Focus on choosing the right material selection, such as plywood or metal, to assure strength and longevity. Reinforcing the structure is key, so consider adding corner brackets or additional supports. When constructing the frame:
- Use high-quality fasteners for stability
- Incorporate cross braces for added structural reinforcement
- Opt for thick, durable materials to withstand wear and weight
These steps help prevent sagging or damage over time. Proper material selection and reinforcement techniques ensure the frame can support the weight of the projector and withstand regular use. Additionally, understanding the Mazda Tuning principles can guide you in selecting lightweight yet strong materials to optimize both durability and vehicle integration. Keep your design simple yet robust, prioritizing stability and durability at every stage.
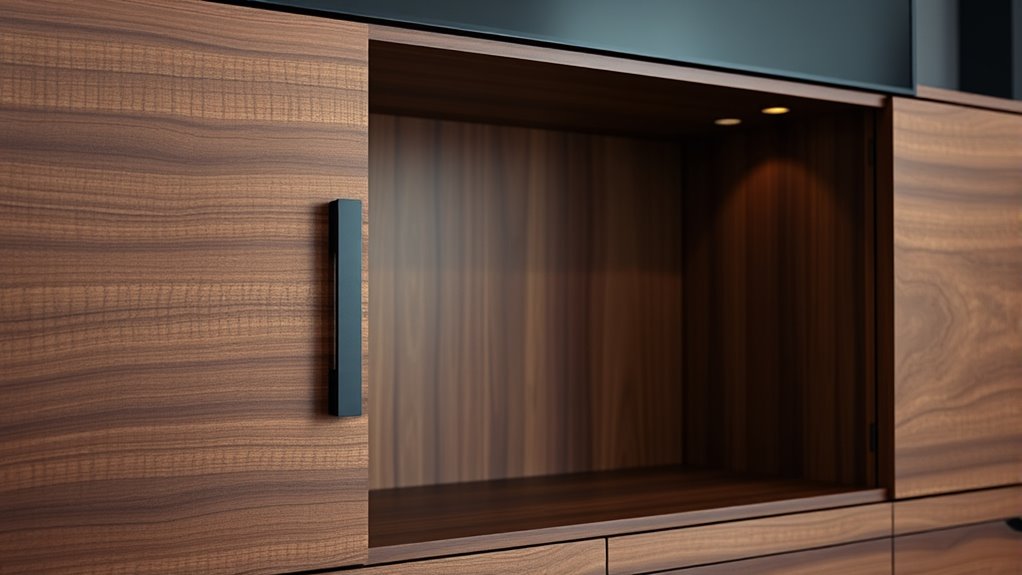
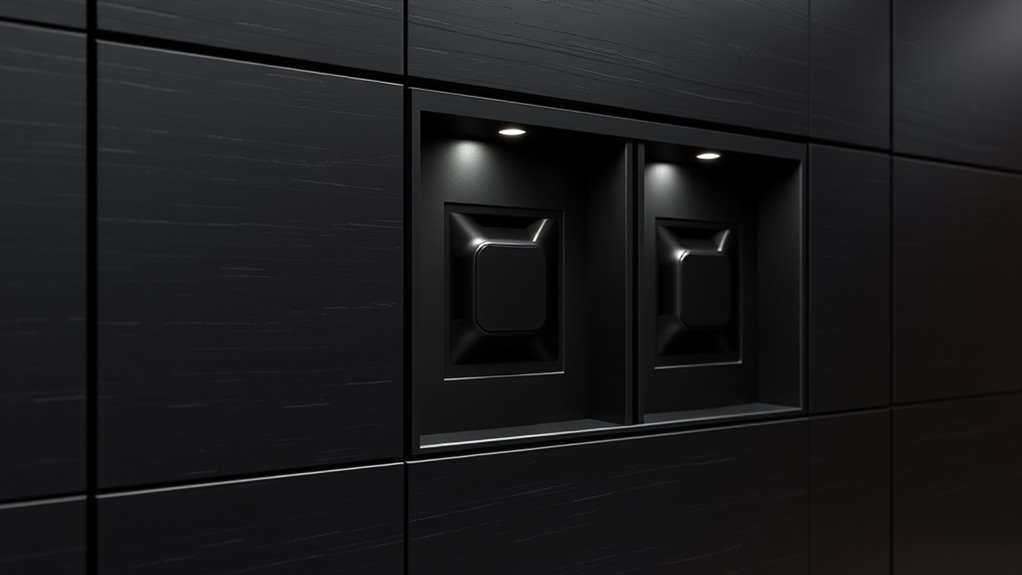
Installing a Concealed Access Panel
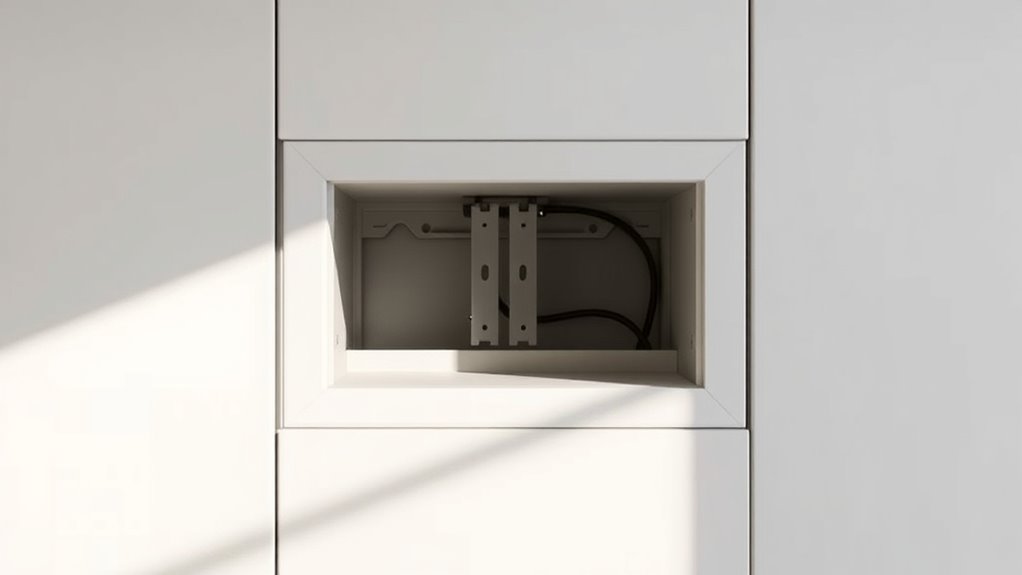
Installing a concealed access panel is a crucial step to guarantee easy maintenance and a seamless appearance for your hidden projector compartment. Choose a decorative panel that blends with your wall or decor to maintain aesthetics. The access door should be sturdy yet easy to open when needed. For smooth operation, ensure the hinges and latch are properly aligned. Use a template to cut the opening accurately, and reinforce the frame if necessary. Consider the following options for your access door:
| Material | Style | Finish |
|---|---|---|
| MDF | Flush | Painted |
| Aluminum | Recessed | Brushed |
| Wood Veneer | Bi-fold | Stained |
| Steel | Pivot | Powder-coated |
| Plastic | Sliding | Matte |
This setup ensures both functionality and aesthetic appeal in your hidden projector space. Additionally, referencing retail hours can help you plan your shopping for supplies at local stores.
Ensuring Proper Ventilation and Cooling
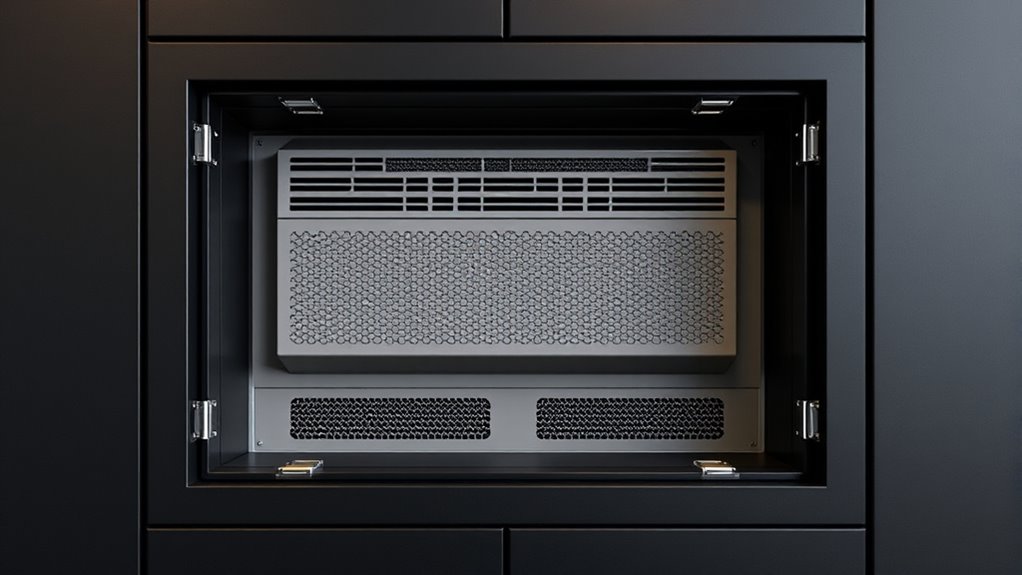
Proper ventilation and cooling are essential to prevent your projector from overheating and guarantee ideal performance. Good airflow management ensures that heat dissipation occurs efficiently, reducing the risk of damage. To achieve this, consider adding vents or small fans within your hidden compartment. These steps help maintain consistent airflow, preventing hot spots that can impair your projector’s function. Incorporating airflow management techniques can further optimize the cooling process.
- Install adjustable vents to control airflow direction
- Use quiet, energy-efficient fans for continuous cooling
- Keep internal surfaces smooth to minimize dust buildup and improve heat dissipation
Focusing on airflow management in your enclosure ensures your projector stays cool, operates smoothly, and prolongs its lifespan. Proper ventilation isn’t just about placement—it’s about actively managing heat for peak performance.
Mounting the Projector Securely Within the Enclosure

To make certain your projector stays stable and functions correctly, you need to mount it securely inside the enclosure. Proper mounting ensures accurate projector lens alignment, preventing distorted images. Use adjustable brackets to fine-tune the projector’s position for ideal alignment and easy remote control accessibility. Secure the mounting hardware tightly to minimize vibrations. Consider the following setup:
| Step | Action |
|---|---|
| 1 | Choose a sturdy, adjustable mount |
| 2 | Position the projector at the correct height and angle |
| 3 | Confirm lens alignment before final tightening |
| 4 | Ensure remote control signals are unobstructed |
This approach guarantees a steady setup, clear projection, and convenient remote access.
Integrating Power and Connectivity Cables
When integrating power and connectivity cables, you want to keep everything neat and hidden. Concealed cable routing guarantees wires stay out of sight, while proper power source integration keeps your setup reliable. Careful placement of connectivity ports makes access easy without compromising the compartment’s clean look. Ensuring electrical safety and proper load handling is essential to prevent issues and maintain system durability safety and load‑planning.
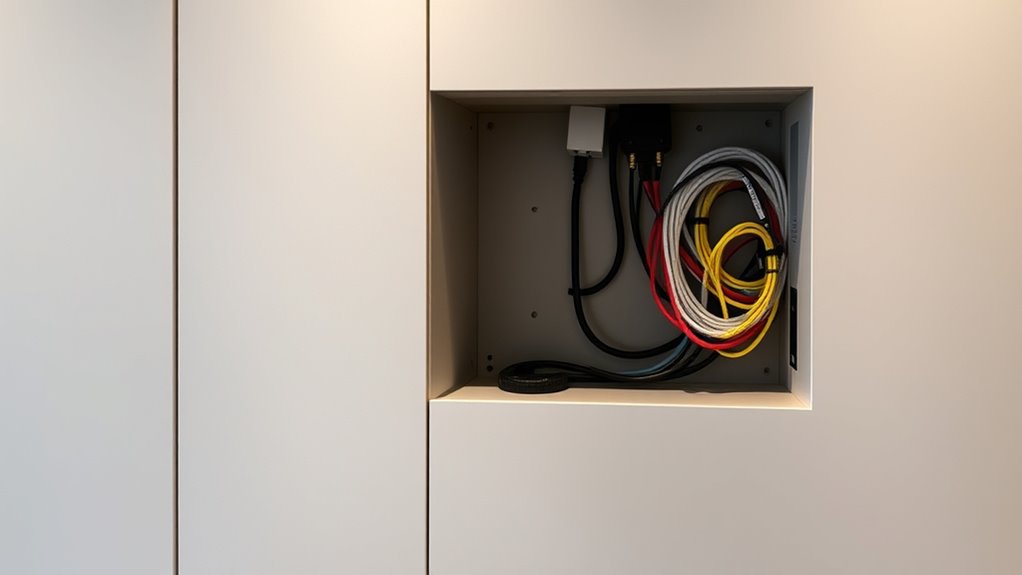
Concealed Cable Routing
Integrating power and connectivity cables seamlessly into your hidden projector mount prevents clutter and maintains a sleek appearance. Concealed cable routing enhances aesthetic concealment and minimizes visual distractions. To achieve this, consider running cables through dedicated channels or hollow mounting arms, keeping them hidden from view. Use grommets or cable sleeves to protect wires and reduce noise transfer, aiding in acoustic insulation. Additionally, plan your routing path carefully to avoid pinching or bending cables sharply. This ensures durability and reduces signal interference. Here are some tips:
- Hide cables within the mount’s internal channels
- Use grommets for smooth cable passage
- Keep cables away from moving parts for noise reduction
- Efficient cable management can further improve the overall appearance and functionality of your setup.
Power Source Integration
Ensuring a reliable power connection is essential for maintaining your hidden projector mount’s sleek appearance and functionality. Start by carefully choosing your battery placement to provide backup power without cluttering the compartment. Position batteries where they’re easily accessible yet out of sight to keep the design clean. To conceal the power cable, route it through the same concealed pathways used for other cables, ensuring it’s hidden from view and protected from damage. Use cable management clips or sleeves inside the compartment to keep the cable secure and prevent tangling. Opt for a power cable that’s long enough to reach the outlet comfortably but can be tucked away neatly. Properly integrated power sources guarantee your projector stays powered without compromising your hidden mount’s seamless look.
Connectivity Port Placement
To keep your hidden projector mount both functional and sleek, thoughtful placement of connectivity ports is key. You want easy access without cluttering the space or compromising aesthetics. Position ports for HDMI, USB, and audio at the mount’s side or bottom to simplify cable management. Consider adding a dedicated port for wireless connectivity, enabling seamless streaming and device pairing. This setup minimizes visible cables and keeps the remote control’s signals unobstructed. Keep in mind, a well-placed port allows quick setup and adjustments without removing the projector or disrupting the mount. Use a discreet cover or panel for any extra ports to maintain a clean look. Proper placement ensures you enjoy smooth operation, whether connecting wired devices or utilizing wireless connectivity features. Additionally, understanding the linguistic variations of technical terms can help in selecting the right accessories and instructions for your setup.
Finishing Touches: Painting and Camouflage
Once you’ve completed the construction of your hidden projector mount compartments, the next step is to give them a finish that blends seamlessly with their surroundings. Start by selecting paint that matches the wall or ceiling color precisely, ensuring effective color matching. Apply thin, even coats to achieve a smooth surface without drips or brush marks. To enhance camouflage, focus on texture blending—use sponges or roller techniques that mimic the existing wall or ceiling texture. This helps the compartments become virtually invisible when finished. Take your time to assess your work from different angles and lighting conditions, making adjustments as needed. The goal is to create a seamless appearance so that your hidden projector system remains discreet and integrated into your space.
Testing and Adjusting Your Hidden Projector System

Once your projector is installed, you need to test and adjust it for peak performance. Focus on calibration techniques to guarantee the image aligns perfectly and troubleshoot any common issues that arise. This step is key to creating a seamless, hidden system that looks and functions just as you want. Remember to consider the bedroom environment, as factors like lighting and space can affect calibration results and overall performance.
Calibration Techniques Needed
Calibrating your hidden projector system is essential to guarantee sharp images and seamless integration with your environment. Proper calibration ensures that the projected image aligns perfectly with your screen or surface. Start with lens calibration to fine-tune focus and keystone correction, preventing distortion. Then, perform image alignment to match the projected image with your desired display area, adjusting for any skew or offset. To achieve ideal results, consider these techniques:
- Use test patterns to identify distortion and alignment issues
- Adjust lens settings incrementally for clarity and focus
- Verify image positioning across different angles and distances
Troubleshooting Common Issues
When testing your hidden projector system, it’s important to identify and address common issues promptly to guarantee peak performance. Lighting adjustments are often needed to optimize image clarity and prevent glare. If the projector’s image isn’t aligned correctly, it may cause distortion or uneven focus. Material durability is vital; ensure the compartment’s materials withstand heat and wear over time without warping or cracking. Here’s a quick overview:
| Issue | Solution |
|---|---|
| Poor lighting adjustments | Fine-tune projector brightness and contrast |
| Warping of compartment materials | Use heat-resistant, durable materials |
| Image distortion | Re-align projector or lens |
| Loose mounting components | Tighten and secure all hardware |
Regular testing and adjustments keep your hidden projector system functioning smoothly.
Frequently Asked Questions
How Can I Prevent Overheating in a Concealed Projector Compartment?
To prevent overheating in a concealed projector compartment, you should implement effective ventilation strategies like adding small vents or exhaust fans to improve airflow. Additionally, use thermal insulation to help regulate temperature and prevent heat buildup. Keep the space clear of clutter, and avoid blocking ventilation openings. Regularly check the area for dust or obstructions, ensuring the projector stays cool and functions properly without overheating.
What Safety Precautions Should I Take During Installation?
You should wear protective gear and turn off power before handling electrical wiring during installation. Make certain all wiring is properly insulated and secured to prevent shorts or fire hazards. Follow fire safety guidelines by installing smoke detectors nearby and avoiding overloading circuits. Use certified materials and double-check connections. Always read manufacturer instructions carefully, and if unsure, consult a professional to ensure safety during the setup process.
Can I Access the Projector Without Damaging the Concealment?
Yes, you can access the projector without damaging the concealment if you design it with easy-to-open panels or discreet latches. Prioritize smooth projector accessibility to guarantee maintenance or adjustments are simple. Use durable, high-quality materials for the concealment to maintain its durability over time. Regularly check the latch mechanism and hinges to prevent wear, ensuring the concealment remains functional and discreet without compromising the project’s overall durability.
How Do I Ensure the Compartment Blends Seamlessly With My Decor?
Did you know that 78% of homeowners prefer seamless decor integration? To guarantee your compartment blends seamlessly, choose materials and colors that match your existing decor for aesthetic concealment. Use precise measurements and custom finishes to make the compartment appear as part of your wall or ceiling. Incorporate decorative trim or paint techniques to hide edges, ensuring your projector remains accessible without disrupting the room’s overall look.
What Maintenance Is Required for the Hidden Projector System?
You should regularly dust and clean the projector and compartment to prevent dust buildup, which can affect performance. Make certain proper ventilation tips are followed to prevent overheating, such as keeping vents unobstructed and maintaining airflow. Check the system periodically for any signs of wear or damage. By doing so, you’ll maintain aesthetic integration, keeping the projector hidden yet accessible, and ensure it operates smoothly over time.
Conclusion
Now that your hidden projector compartment is complete, you enjoy a sleek, clutter-free space that seamlessly blends into your room. The secret, however, isn’t just in the clean look—it’s in the satisfaction of knowing your high-tech setup remains discreet. While the projector’s presence is concealed, the immersive viewing experience it delivers is bold and unmistakable. Enjoy the perfect balance of stealth and spectacle, where innovation meets simplicity in your custom-designed space.