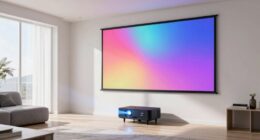

To build a DIY projector shelf, start by planning your design carefully, choosing wall materials that can support the weight and allow secure mounting. Gather your tools, including a saw, drill, level, and screws, then measure and mark where the shelf and projector will go. Cut and assemble your shelf before mounting it on sturdy anchors. Finally, add finishing touches like lighting or paint. Keep exploring, and you’ll discover all the tips to create a safe, stylish setup.
Key Takeaways
- Measure and select wall material suitable for secure mounting and proper ventilation for the projector shelf.
- Gather necessary tools, hardware, and materials, ensuring compatibility and safety for your wall type.
- Design and cut the shelf with precise measurements, including channels for wiring and aesthetic finishing touches.
- Install sturdy brackets and anchors aligned with wall material, ensuring a level, safe, and stable mount.
- Finalize setup by adjusting projector alignment, testing image clarity, and securing all components for safety and durability.
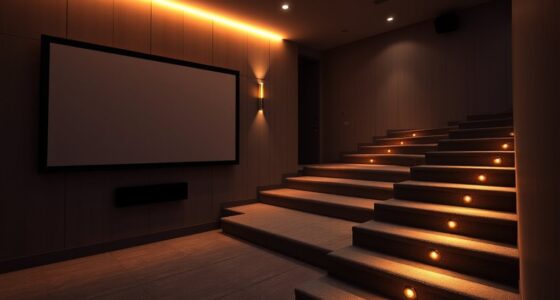
DIY projector shelf brackets
As an affiliate, we earn on qualifying purchases.
As an affiliate, we earn on qualifying purchases.
Planning Your Projector Shelf Design

Before you begin building your projector shelf, it’s essential to plan its design carefully. Start by choosing a color scheme that complements your room’s decor, guaranteeing the shelf blends seamlessly with your space. Consider neutral tones for a minimalist look or bold colors for an eye-catching feature. Safety precautions are equally important; make sure the design supports your projector’s weight securely and allows for proper ventilation. Think about the shelf’s height and placement to prevent accidental bumps or falls. Measure your projector and other devices to ensure the shelf will fit comfortably without overcrowding. Planning ahead helps you create a functional, safe, and visually appealing projector shelf that enhances your entertainment area. Vetted
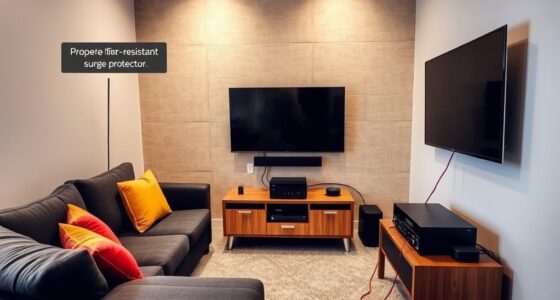
wall mount projector shelf
As an affiliate, we earn on qualifying purchases.
As an affiliate, we earn on qualifying purchases.
Gathering Necessary Tools and Materials

To start building your projector shelf, gather all the tools and materials you’ll need. You’ll want a saw, drill, screwdriver, measuring tape, and level for assembly. Also, pick up the right type of wood or sturdy materials that match your aesthetic decoration goals. Make certain you have electrical wiring supplies if you plan to add built-in lighting or power sources for your projector. Don’t forget hooks, brackets, or screws for secure mounting. Double-check your design to confirm all components are compatible. Having everything on hand streamlines the process and prevents interruptions. Remember, the goal is a functional yet visually appealing shelf that complements your space. Ensuring proper color accuracy in your setup can enhance the visual quality of your projected images. With your tools and materials ready, you’re set to move on to the next steps confidently.
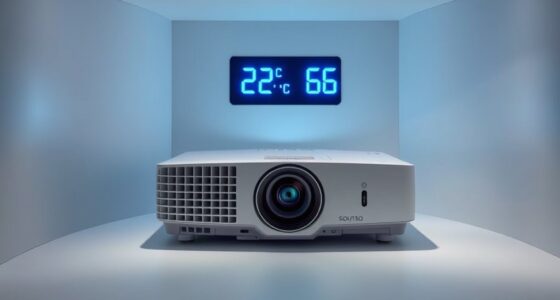
projector shelf with lighting
As an affiliate, we earn on qualifying purchases.
As an affiliate, we earn on qualifying purchases.
Measuring and Marking Your Space
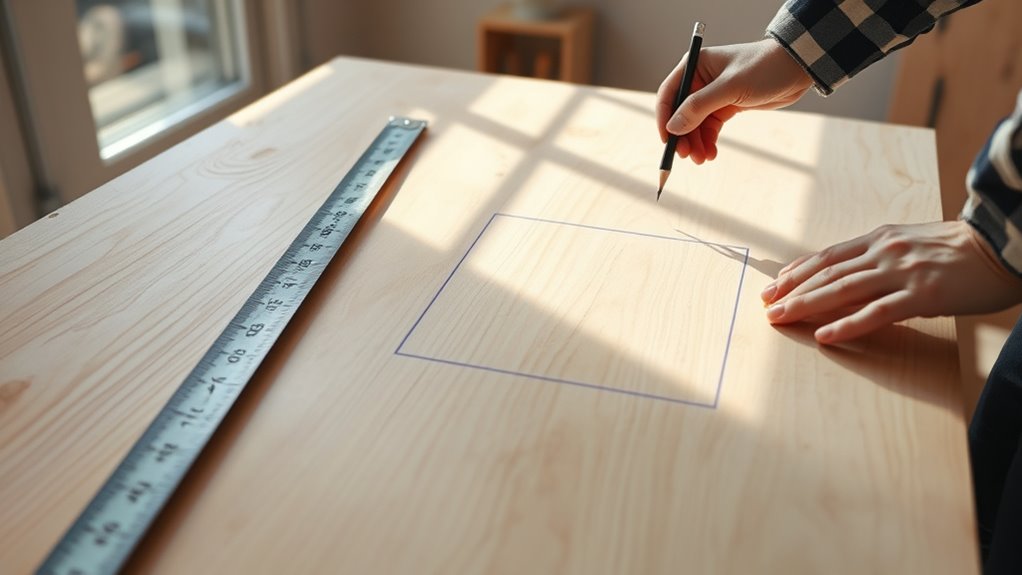
Accurately measuring and marking your space guarantees your projector shelf fits perfectly and remains stable. Use a tape measure and level to mark the exact spots for wall anchors, ensuring they align with your shelf brackets. Consider your wall’s paint finish—smooth surfaces hold anchors better, while textured walls may need special fasteners. To avoid mistakes, double-check measurements before drilling. Use a pencil to lightly mark where each anchor goes, maintaining precision. Remember, improper marking can cause instability or damage your wall. Here’s a quick tip:
| Wall Type | Anchor Type | Best Practice |
|---|---|---|
| Smooth finish | Plastic anchors | Use for lightweight shelves |
| Textured wall | Toggle bolts | Use for heavier loads |
| Painted surface | Adhesive strips | For minimal weight, no drilling |
Accurate measurement saves time and prevents errors. Incorporating automation technologies in your planning process can help ensure precision and efficiency in your setup.
sturdy wall anchors for shelves
As an affiliate, we earn on qualifying purchases.
As an affiliate, we earn on qualifying purchases.
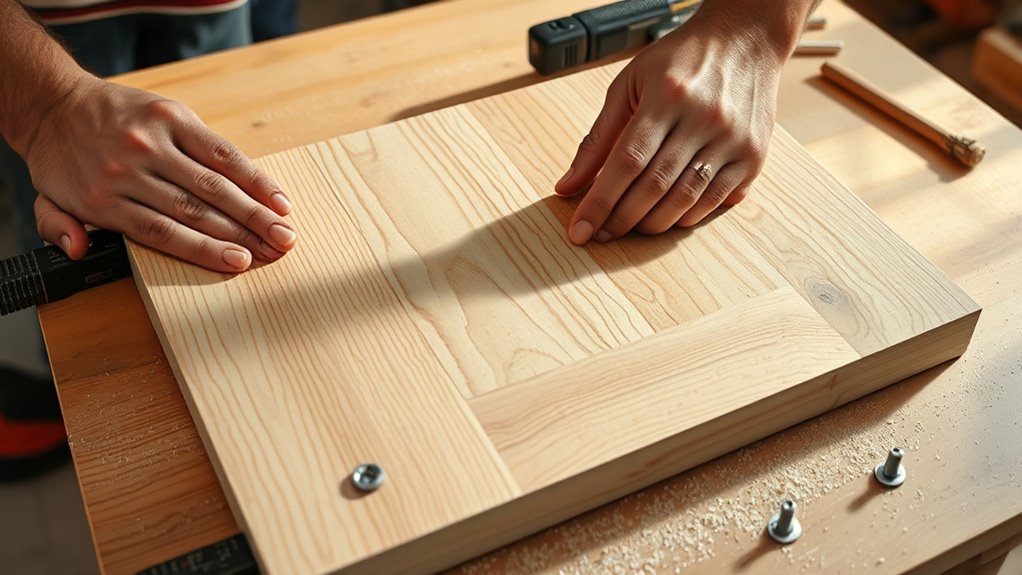
Cutting and Preparing Shelf Components
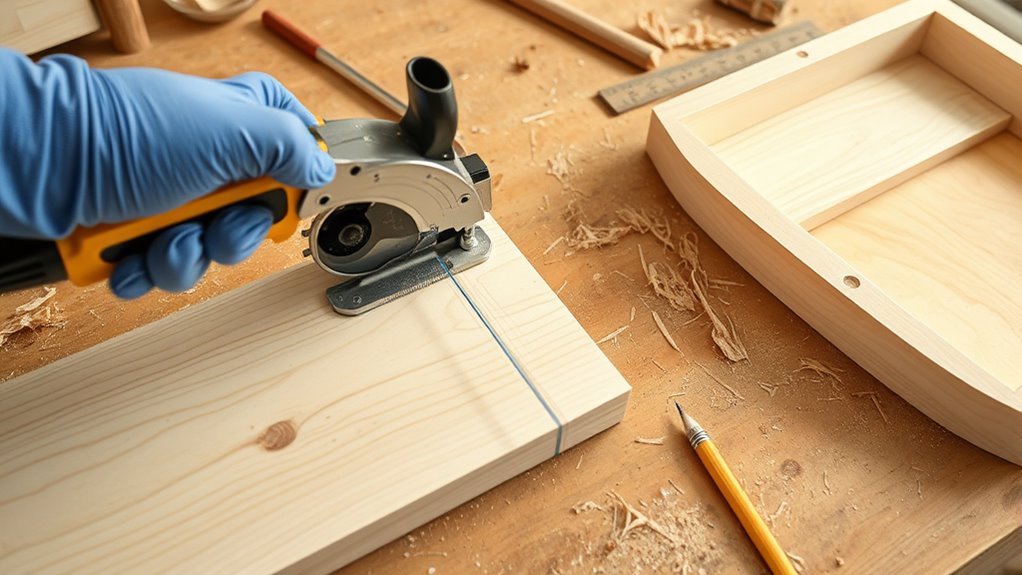
Once you’ve marked your spots for the wall anchors, it’s time to cut and prepare the shelf components. Measure carefully and use a saw suited for your material, whether wood or MDF. Smooth the edges with sandpaper to prevent splinters and ensure a clean finish. Consider your lighting options—if you plan to add LED strips or spotlights, cut space or channels into the shelf to hide wiring. This improves cable management, keeping cords organized and out of sight. Drill holes for cables to pass through, making your setup look tidy and professional. Double-check your measurements before cutting. Proper preparation guarantees your shelf is sturdy, functional, and ready for installation, with optimized lighting and cable organization that enhances your projector setup. Fetal movements typically begin to be felt around 18-20 weeks, indicating healthy fetal development.
Assembling the Shelf Structure
Start by choosing a sturdy material for your shelf frame that suits your space and style. Then, measure and cut all the parts accurately to guarantee a perfect fit. Finally, assemble the frame pieces securely, following your measurements carefully to create a solid structure. To ensure your projector operates smoothly over time, consider regular maintenance such as cleaning filters and monitoring bulb lifespan.
Selecting the Frame Material
Choosing the right frame material is essential for building a sturdy and durable projector shelf. Vintage wood offers a rustic, aesthetic appeal and is easy to work with, making it ideal if you want a classic look. It’s lightweight yet strong enough to support your projector and accessories. Metal piping, on the other hand, provides a modern, industrial vibe and exceptional strength. It’s highly durable and can handle heavier loads without bending or warping. Both materials are versatile and customizable; vintage wood can be stained or painted, while metal piping can be manipulated into various shapes. Your choice depends on your style preference and the weight capacity you need. Consider the environment where the shelf will sit and your comfort level with working with each material. Self Watering Plant Pots are an example of durable, functional materials that can inspire your project design choices.
Measuring and Cutting Parts
To guarantee your projector shelf is both sturdy and level, accurate measuring and precise cutting of parts are essential. Before starting, choose a color selection that matches your space, keeping aesthetics in mind. Always follow safety precautions: wear safety glasses and use a sharp saw. When measuring, ensure your dimensions are exact, noting the length, width, and height for each piece. Focus on these steps:
- Mark your measurements clearly with a pencil on the material.
- Double-check measurements before cutting to prevent mistakes.
- Cut carefully along the marked lines, maintaining control and safety.
- Ensuring proper measurement accuracy is crucial for a stable and professional-looking shelf.
Proper measurement and cutting set a solid foundation for your shelf. Precise work minimizes errors, guarantees stability, and results in a polished finish.
Assembling the Frame Pieces
Once you have all the frame pieces cut to size, assembling the shelf structure becomes straightforward. Start by laying out the pieces to ensure proper fit and alignment. Use your chosen material, whether wood or metal, to maintain frame stability; select sturdy, durable materials for long-lasting support. Begin connecting the side and bottom pieces using appropriate fasteners like screws or brackets, making sure joints are tight and secure. For added stability, reinforce corners with corner braces if needed. Keep your workspace steady, and double-check measurements as you go. Proper material selection guarantees the frame remains solid under weight, preventing wobbling or shifting. Once assembled, tighten all connections, and confirm the frame is square before moving on.
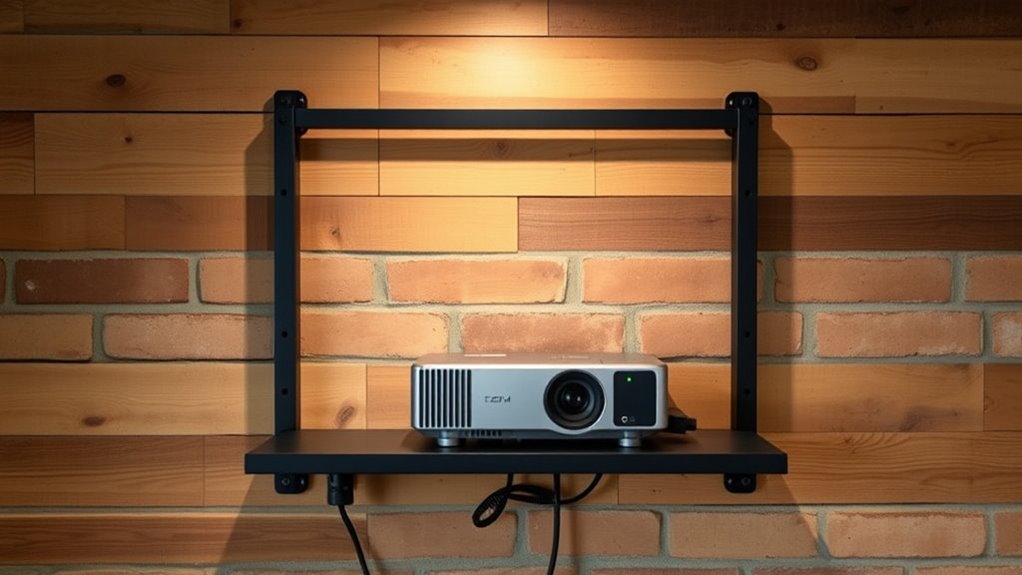
Securing the Shelf Mounting and Projector Placement

To guarantee your projector stays secure and functions properly, you need to use the right mounting hardware. Finding the ideal projector position helps prevent shadows and ensures a clear image. Carefully securing both the mount and the projector will give you a safe, clutter-free setup. Incorporating vertical storage solutions for your projector accessories can also help maintain an organized and efficient space.
Secure Mounting Hardware
Securely attaching your shelf and projector is essential for safety and stability. To do this effectively, choose the right mounting brackets and hardware anchors. First, select sturdy mounting brackets that support the weight of your shelf and projector. Second, install hardware anchors into the wall to guarantee a secure hold, especially if anchoring into drywall. Third, use appropriate screws that fit both the brackets and anchors tightly, tightening them securely. Proper placement of brackets and anchors prevents wobbling or falling. Always double-check that all components are tight and level. Additionally, ensuring that your wall material is suitable for mounting hardware will help maintain the stability of your setup. This approach guarantees your shelf stays stable and your projector remains safely mounted, giving you peace of mind during use.
Ideal Projector Position
Have you considered the ideal height and angle for your projector to make sure a clear, centered image? Proper projector calibration is essential for sharp focus and proper keystone correction. Position your projector so it’s level with or slightly below the center of your screen, avoiding unnecessary tilt. Keep ambient lighting in mind; dimming lights or using blackout curtains helps improve image clarity. Adjust the projector’s lens to achieve the perfect focus and alignment, ensuring the image is square and undistorted. Test different positions before permanently mounting the projector, paying attention to projection size and keystone effects. The right placement minimizes the need for frequent adjustments and enhances your viewing experience, making your DIY projector setup both functional and efficient. Additionally, considering projector mounting options can help maintain the ideal position over time.
Finishing Touches and Final Adjustments

Once you’ve assembled the shelf and made sure it’s sturdy, it’s time to focus on the finishing touches and final adjustments. Start by adding decorative accents to personalize your space and enhance visual appeal. Consider painting or staining the shelf for a polished look. Next, evaluate your lighting options: install LED strips or small spotlights to improve visibility and create ambiance. To guarantee ideal projector function, check for proper alignment and secure all components tightly. Finally, test your setup by projecting a few images or videos, making minor adjustments as needed. Here are the key steps:
- Incorporate decorative accents that match your decor.
- Install appropriate lighting options to highlight the shelf.
- Make final adjustments to projector alignment for the best image quality.
Frequently Asked Questions
What Weight Capacity Should My DIY Projector Shelf Have?
Your DIY projector shelf should support at least 10-15 pounds, depending on your projector’s weight. Make certain the shelf’s durability by choosing sturdy materials like solid wood or metal, and use strong brackets or anchors. Always consider the projector’s weight and any additional equipment to prevent sagging or damage. When in doubt, opt for a higher weight capacity to keep your projector secure and your shelf reliable over time.
How Do I Prevent the Shelf From Wobbling or Tilting?
To keep your shelf steady as a lighthouse, anchor it firmly with wall anchors and reinforcement brackets. First, drill into sturdy wall studs, then insert wall anchors for extra support. Attach reinforcement brackets at critical points to distribute weight evenly. Tighten all screws securely, and periodically check for looseness. These steps transform wobbling into unwavering stability, ensuring your projector stays perfectly aligned, like a star in a clear night sky.
Can I Customize the Shelf for Different Projector Sizes?
Yes, you can customize your projector shelf for different sizes by using adjustable dimensions and a modular design. Incorporate adjustable brackets or sliding supports to easily resize the shelf, ensuring it fits various projectors securely. A modular design allows you to add or remove sections as needed. This flexibility helps you create a versatile, personalized shelf that accommodates different projector models comfortably and securely.
What Safety Precautions Should I Take During Assembly?
Think of yourself as a cautious captain steering treacherous waters. To stay safe, always wear safety goggles and gloves, and double-check your tools before use. Keep electrical safety in mind by unplugging devices when working on wiring, and avoid overloading circuits. Use proper ventilation and work in a well-lit area to prevent accidents. By following these precautions, you steer clear of hazards and guarantee a smooth, safe assembly.
How Do I Maintain or Clean the Shelf Over Time?
To maintain your projector shelf, regularly dust it with a soft cloth or use a gentle vacuum attachment. For cleaning, avoid harsh chemicals; instead, use a damp cloth with mild soap for any smudges or dirt. Check for loose screws or wobbling parts and tighten them as needed. Consistent maintenance tips like these will keep your shelf clean, stable, and looking great while protecting your projector and other equipment.
Conclusion
Now that you’ve built your DIY projector shelf, enjoy the ease of installation, the convenience of accessibility, and the satisfaction of customization. With your design, your tools, and your effort, you’ve created a functional, stylish, and personalized space for your projector. Keep it clean, check its stability regularly, and make adjustments as needed. With every movie night, you’ll appreciate the simplicity, the comfort, and the craftsmanship you brought to life.