To build a DIY projector screen wall, start by selecting a smooth, matte surface like specialized fabric, painted wall with high-quality projection paint, or DIY screen paint for vibrant images. Prepare a sturdy, unobstructed wall, measure accurately, and use level tools for even placement. Mount your material tightly, ensuring it’s wrinkle-free and secure. Proper installation enhances durability and image quality. Keep going to discover more tips for creating a professional-looking home theater setup.
Key Takeaways
- Select a suitable projection surface, such as specialized fabric, wall paint, or DIY screen paint, for optimal image quality.
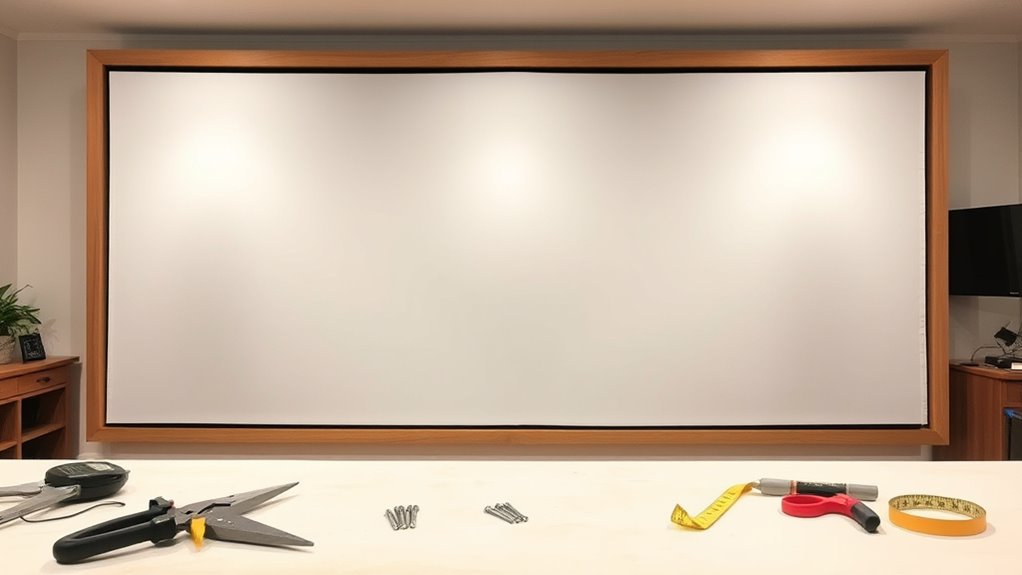
- Prepare a smooth, sturdy wall and accurately measure and mark the desired screen size before mounting.
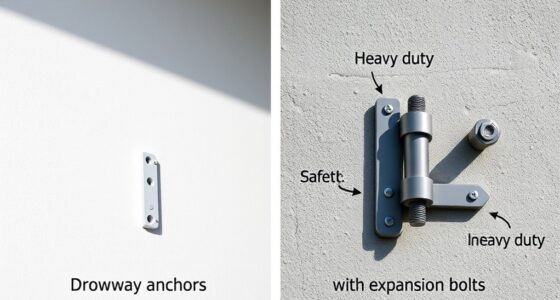
- Use appropriate mounting hardware and techniques to securely attach and keep the surface taut and wrinkle-free.
- Ensure the projection surface is level and smooth post-mounting, making adjustments as needed for the best image clarity.
- Consider room lighting and wall color to enhance contrast and image vibrancy of your DIY projector screen wall.
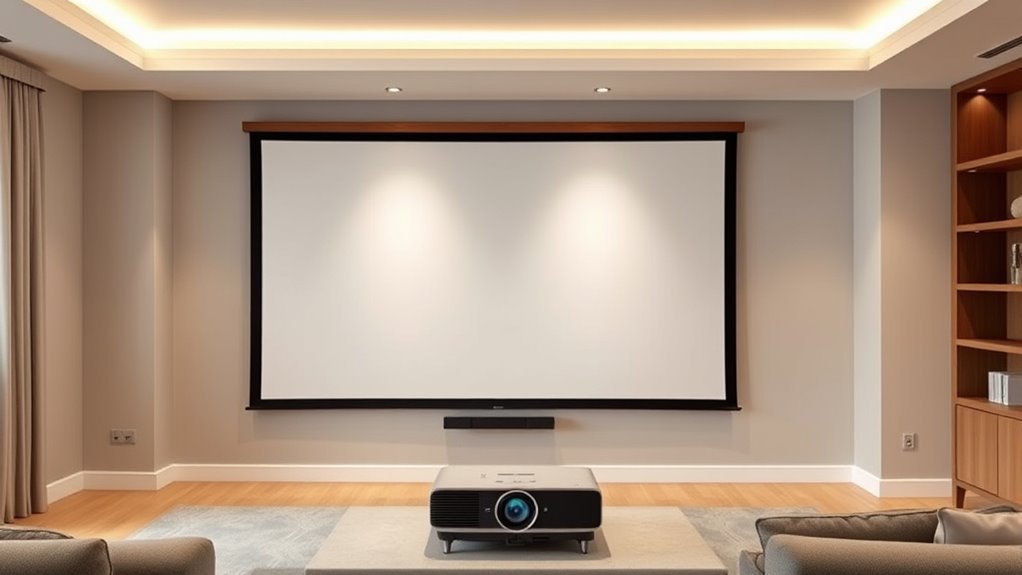
Creating your own projector screen wall is a cost-effective way to enjoy a larger, high-quality viewing experience at home. Instead of investing in expensive commercial screens, you can craft a custom setup that fits your space and budget. The key to a great DIY projector wall lies in choosing the right projection materials and ensuring proper wall mounting. These elements considerably impact picture quality and durability, so taking the time to select and install them carefully pays off.
Start by selecting projection materials that suit your environment and budget. You have options like specialized projector screen fabrics, painted wall surfaces, or even DIY screen paints designed for high reflectivity. If you prefer a fabric, look for materials labeled for projection, which tend to offer smooth, matte finishes that reduce glare and improve contrast. For painted surfaces, use a high-quality, matte white or grey paint formulated specifically for projection. These materials maximize light reflection and ensure vibrant images. When choosing projection materials, consider room lighting and wall color, as darker shades or matte finishes will help your image pop and prevent washout. Choosing the right surface is essential for achieving optimal image quality and longevity of your DIY screen.
Choose projection fabrics or high-quality matte paints suited to your space and lighting conditions for optimal image clarity.
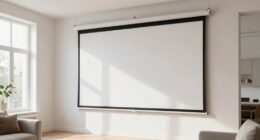
Wall mounting your DIY projector screen is the next critical step. Proper mounting ensures a flat, taut surface free of wrinkles or distortions, which can ruin the viewing experience. Begin by selecting a smooth, sturdy wall that’s free of obstructions. Measure and mark the desired screen size, then use a level and measuring tape to ensure straight, even placement. If you’re mounting a fabric or painted surface directly onto the wall, secure the edges with adhesive or mounting strips designed for your chosen material. For fabric screens, you might frame the fabric with lightweight or wooden frames, then mount the frame securely to the wall. This approach keeps the screen taut and prevents sagging over time. When attaching to the wall, use appropriate hardware such as anchors or screws that can support the weight of your projection surface. Be sure to check that your mounting method maintains a flat, wrinkle-free surface, as imperfections can cause image distortions.
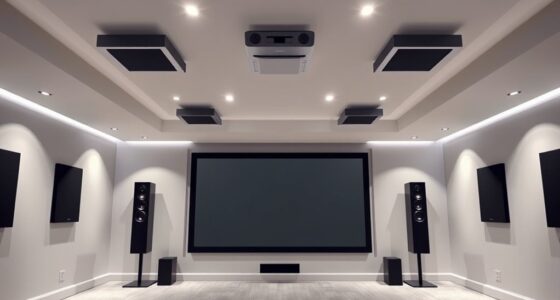
Once mounted, double-check that your screen is level and smooth. If needed, make minor adjustments to eliminate any wrinkles or uneven areas. Remember, the better your projection surface is mounted, the clearer and more immersive your viewing experience will be. Proper wall mounting combined with high-quality projection materials creates a professional-looking, durable DIY projector wall that transforms your space into a home theater. By paying attention to these details, you’ll ensure your homemade screen provides sharp, vibrant images for years to come, all without breaking the bank.

Official Licensed Google TV Smart Projector, HAPPRUN 4K UHD Home Theater with Dolby Sound, Wi-Fi & Bluetooth, Built-in Streaming Apps, Compatible with Games Consoles & Smartphone, Indoor & Outdoor Use
[ Built-in Official Licensed Google TV ] - Without additional equipment, the smart projector can directly access Netflix,...
As an affiliate, we earn on qualifying purchases.
Frequently Asked Questions
What Are the Best Materials for a Portable Projector Screen Wall?
For a portable projector screen wall, you should choose lightweight, durable materials like weatherproof fabric or vinyl. These materials are easy to transport and withstand weather elements, making them ideal for outdoor use. Consider using a sturdy frame paired with weatherproof options to ensure longevity and ease of setup. Properly securing your screen with portable materials guarantees a clear, high-quality viewing experience wherever you go.
How Can I Improve Sound Quality With My DIY Projector Wall?
To improve sound quality with your DIY projector wall, focus on soundproofing techniques and strategic speaker placement. Use acoustic panels or foam to absorb excess sound and reduce echoes. Position your speakers directly in front of your seating area, at ear level, to guarantee clear audio. Avoid placing speakers near walls to minimize sound reflections. These steps will create a more immersive, high-quality audio experience for your movie nights.
What Safety Precautions Should I Consider During Installation?
You should prioritize electrical safety by turning off power before wiring or installing any electrical components. Make certain the frame and wall are structurally stable to prevent accidents or collapses. Use proper tools and wear safety gear, like goggles and gloves, throughout the installation. Double-check all connections, secure mounting points, and avoid overloading circuits. Taking these precautions keeps you safe and ensures your DIY projector wall stays secure.
How Do I Maintain and Clean My DIY Projector Screen Wall?
Think of your DIY projector screen wall as a treasured canvas that needs gentle care. To keep it pristine, regularly dust with a soft cloth and use gentle cleaning techniques like a damp microfiber cloth for smudges. Avoid harsh chemicals that can damage the surface. Maintenance tips include checking for tears or sagging and keeping the area around it clean and dust-free, ensuring your screen stays vibrant and ready for movie night.
Can I Customize the Size and Aspect Ratio Easily?
Yes, you can customize the size and aspect ratio easily with an adjustable frame. By building a frame with adjustable brackets or sliding panels, you can change the dimensions to fit your space or desired aspect ratio. This flexibility makes it simple to tailor your DIY projector screen wall, guaranteeing ideal viewing experience. Just ensure your frame can securely hold the screen fabric at different sizes for a seamless setup.
![Projector-4K with WiFi and Bluetooth:[3500 ANSI/60W Dolby Audio/Official Licensed Apps], Outdoor-Projector with Smart OS 2.0 & AI Auto Focus,ONOAYO ONO5Pro 2.0 Smart Movie Projector for Indoor/Outdoor](https://m.media-amazon.com/images/I/41fylkjOTIL._SL500_.jpg)
Projector-4K with WiFi and Bluetooth:[3500 ANSI/60W Dolby Audio/Official Licensed Apps], Outdoor-Projector with Smart OS 2.0 & AI Auto Focus,ONOAYO ONO5Pro 2.0 Smart Movie Projector for Indoor/Outdoor
[Hear the Difference–Hollywood-Grade Dual 60W Dolby Audio] Why spend $500 on a TV + soundbar or settle for...
As an affiliate, we earn on qualifying purchases.
Conclusion
Now that you know how to build your perfect projector screen wall, you’re all set to create a mesmerizing cinema space. With a little patience and proper planning, your DIY design will deliver dazzling displays and delightful movie nights. So, start stacking, securing, and styling your screen wall today — turning your vision into a vibrant, victorious viewing venue. Get ready to enjoy endless entertainment in your personalized, picture-perfect projector paradise!

HAPPRUN 2500 ANSI Lumens Outdoor Projector with Built-in Streaming Apps, 4K Decoding Resolution, Dolby Audio, WiFi 6 and Bluetooth 5.2 for Indoor and Outdoor Home Theater
[ Built-in Streaming System ] – No extra equipment needed. This smart projector gives you direct access to...
As an affiliate, we earn on qualifying purchases.

ViewSonic PX749-4K UHD 4K Gaming Projector Designed for Xbox with 4.2ms Response Time, 4000 ANSI Lumens, H/V Keystone, 1.3x Optical Zoom, and USB C for Home Theater
4K Home Theater Projector: UHD (3840x2160p) 4K resolution with a 1.1-1.5 throw ratio and 4,000 ANSI lumens perfect...
As an affiliate, we earn on qualifying purchases.