
To sharpen your projector image, start by adjusting the focus ring or dial until the image is crisp and clear. Make small tweaks while ensuring the projector is correctly positioned at the right distance from the screen. Keep the lens clean and minimize ambient light by dimming or closing curtains. Additionally, update your projector’s firmware for better stability. If you continue exploring, you’ll discover more tips to transform blurry visuals into stunning clarity.
Key Takeaways
- Use the focus ring or dial to make small adjustments until the image appears crisp.
- Properly position the projector at the optimal distance for maximum sharpness.
- Minimize ambient light by dimming or closing blinds to enhance image clarity.
- Regularly clean the lens with a soft, lint-free cloth to prevent dust and smudges from blurring the image.
- Keep projector firmware updated to improve focus stability and overall image quality.
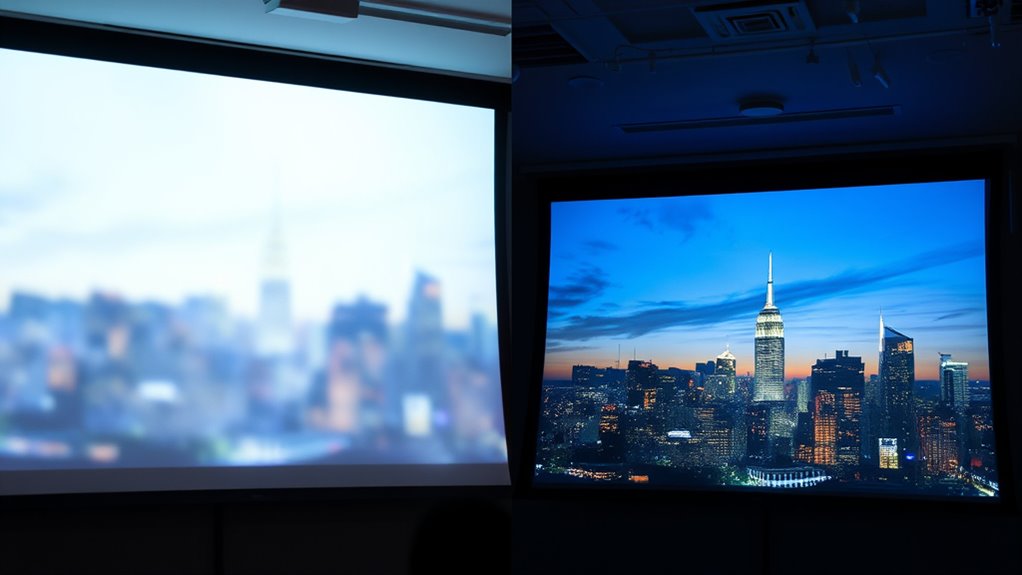
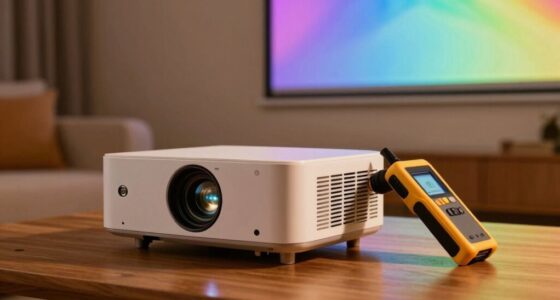
Ever noticed how a blurry projector image can ruin your movie night or presentation? It’s frustrating to settle in, only to be met with fuzzy visuals that make it hard to enjoy or understand what’s happening. Luckily, achieving a sharp, clear image isn’t complicated once you understand a few simple steps. The first thing to check is your lens adjustment. Most projectors have a focus ring or a dedicated focus dial—spend a moment turning or tweaking it until the image becomes crisp. Sometimes, it’s a tiny turn that makes all the difference. Ensure the projector is positioned at the right distance from the screen; being too close or too far can cause blurriness, regardless of the focus setting. Moving the projector closer or farther away can considerably improve clarity, especially when combined with fine-tuning the lens adjustment. Cultural understanding of your environment can also help you choose the optimal setup for your projector placement.
Adjust your projector’s focus and position for a sharp, clear image every time.
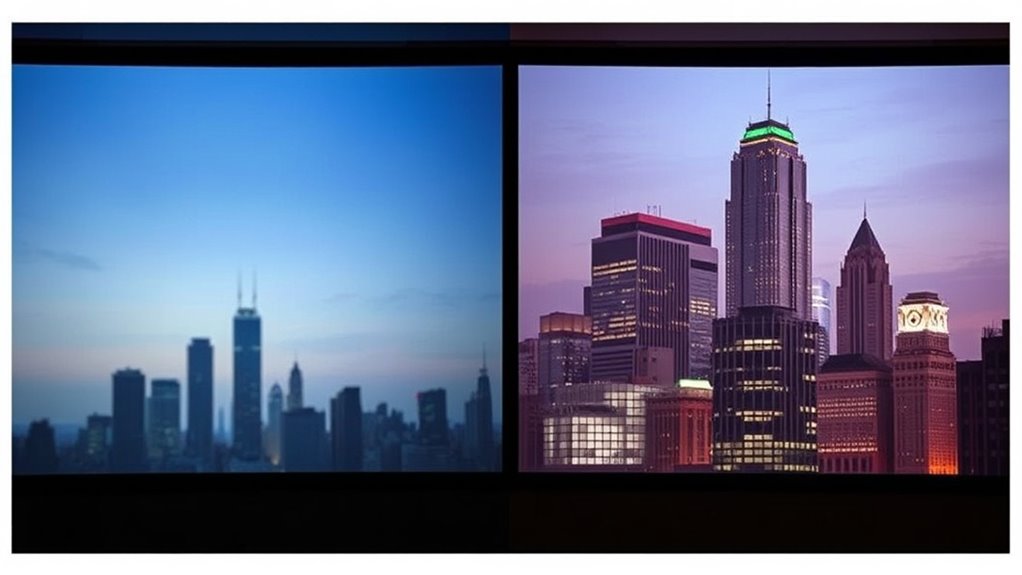
Ambient light plays a surprisingly big role in how sharp your projected image appears. If your room isn’t dark enough, even a well-focused projector can look washed out or fuzzy, as excess light diminishes contrast and detail. To sharpen your image, dim the room lights or close blinds and curtains to minimize ambient light. This allows the projector’s image to stand out more vividly, making details sharper and colors more vibrant. If you’re unable to darken the room sufficiently, consider using a projector with higher lumens output, which can handle ambient light better and still produce a clear image.
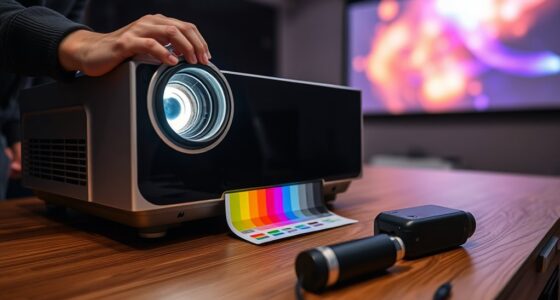
Another key tip involves ensuring your projector’s lens is clean. Dust, fingerprints, or smudges can distort the image, making it appear blurry even when properly focused. Gently clean the lens with a soft, lint-free cloth designed for optics. Avoid harsh chemicals that could damage the lens coating. Also, check the projector’s settings; some models have digital sharpness controls. Increasing the sharpness setting can enhance details, but avoid overdoing it, as too much can introduce unwanted grain or noise.
Lastly, make sure your projector’s firmware or software is up to date. Sometimes, manufacturers release updates that improve image processing and focus stability. If you follow these steps—adjust the lens properly, reduce ambient light, keep the lens clean, and update your device—you’ll notice your blurry images transform into bright, crisp visuals. This way, every movie night or presentation becomes more engaging and professional, all thanks to a little attention to focus and environment.
SmallRig Seamless Focus Gear Ring (72mm to 74mm) – 3293
【STANDARD 0.8 MOD】SmallRig Seamless Focus Gear Ring 3293 is designed to fit lenses for precise and stable focal…
As an affiliate, we earn on qualifying purchases.
As an affiliate, we earn on qualifying purchases.
Frequently Asked Questions
How Often Should I Calibrate My Projector for Optimal Focus?
You should calibrate your projector for peak focus every 3 to 6 months, especially if you notice image blurriness or after moving it to a new location. Regular focus adjustments help maintain sharpness and image clarity. Keep an eye on the picture quality, and if you see any deterioration, perform a focus adjustment promptly. Regular calibration frequency ensures your projector delivers the best viewing experience consistently.
Can Ambient Light Affect Projector Image Sharpness?
Yes, ambient light can affect your projector’s image clarity. Excessive light washes out the image, making it appear less sharp and vibrant. To improve focus and clarity, try to control ambient lighting by dimming or turning off lights in the room. Using blackout curtains or positioning the projector away from light sources also helps, ensuring your projected image remains crisp and easy to see, even in less-than-ideal lighting conditions.
What Are the Signs of a Failing Projector Lens?
Like a foggy window, a failing projector lens shows signs of lens degradation. You might notice blurry or distorted images, even after focus adjustments. If images don’t sharpen or remain hazy despite focus tweaks, the lens could be deteriorating. Colors may appear washed out, or you might see visible scratches or smudges. These signs indicate it’s time to check the focus and consider replacing or repairing the lens to restore clarity.
Does Screen Type Influence Image Focus Quality?
Yes, screen type influences image focus quality. You’ll notice that different screen materials, like matte or glass, affect how sharply the image appears, especially depending on your projector’s display resolution. Higher resolution projectors benefit from smooth, reflective surfaces that minimize blurriness. Choosing the right screen guarantees your projector’s focus aligns perfectly, giving you a crisp, clear image. Adjust your projector settings accordingly for ideal sharpness and clarity.
Are There Recommended Maintenance Routines for Long-Term Focus Stability?
Think of maintaining your projector’s focus like tuning a fine instrument. Regularly clean the lens to prevent dust buildup that can blur the image. After each use, check and adjust the focus to keep the sharpness crystal clear. Periodic focus adjustments and gentle lens cleaning routines help guarantee long-term stability, so your projector stays performance-ready. Consistent care keeps your visuals crisp, just like a perfectly tuned instrument.

K&F CONCEPT 4-in-1 Camera Lens Cleaning Kit with Lens Cleaning Pen, Camera Air Blower, Microfiber Cleaning Cloth, Lens Cleaner Kit for Canon Nikon Pentax Sony DSLR Camera Lens Filter Cell Phones
【PROFESSIONAL LENS CLEANING KIT】:Dslr cleaning kit includes Camera Dust Blower*1, Lens Cleaning Pen*1, Microfiber Lens Cleaning Cloths*2. Safe…
As an affiliate, we earn on qualifying purchases.
As an affiliate, we earn on qualifying purchases.
Conclusion
Now that you’ve fine-tuned your projector, your image shines like a star breaking through the night sky. Just as a painter sharpens their brushstrokes to reveal vibrant colors, you’ve sharpened your focus to bring clarity and brilliance to your viewing experience. Remember, a clear picture isn’t just about equipment—it’s about your attention to detail. Keep adjusting, keep perfecting, and watch your entertainment world transform from blurry shadows into a stunning masterpiece.

ViewSonic LS740HD 5500 Lumens 1080p Laser Projector, High Brightness for Auditoriums, 1.3x Optical Zoom, H/V Keystone, and 360-Degree Projection for Flexible Setup, HDR Support, and HDMI Inputs
High Brightness FHD Laser Projector: Full HD (1920x1080p) resolution with a 1.1-1.5 throw ratio and 5,500 ANSI lumens…
As an affiliate, we earn on qualifying purchases.
As an affiliate, we earn on qualifying purchases.

Kaisi Professional Electronics Opening Pry Tool Repair Kit with Metal Spudger Non-Abrasive Nylon Spudgers and Anti-Static Tweezers for Cellphone iPhone Laptops Tablets and More, 20 Piece
Kaisi 20 pcs opening pry tools kit for smart phone,laptop,computer tablet,electronics, apple watch, iPad, iPod, Macbook, computer, LCD…
As an affiliate, we earn on qualifying purchases.
As an affiliate, we earn on qualifying purchases.