To optimize your projector’s image, start with low to medium noise reduction settings to keep details sharp. Increase it gradually if you notice noise, but avoid aggressive levels that cause blurring or soft images. Adjust contrast and sharpness alongside noise reduction for a balanced picture. Remember, the right settings depend on your environment and content type. If you continue exploring, you’ll discover how to fine-tune your projector for the clearest, most natural image possible.
Key Takeaways
- Start with low or medium noise reduction to preserve image detail before increasing as needed.
- Adjust contrast and sharpness settings alongside noise reduction to enhance image clarity and mask graininess.
- Excessive noise reduction can blur fine details; balance settings based on content and environment.
- Use advanced features like edge smoothing and detail enhancement for better noise control without loss of detail.
- Proper calibration of colors and projection settings minimizes noise, reducing the need for aggressive noise reduction.
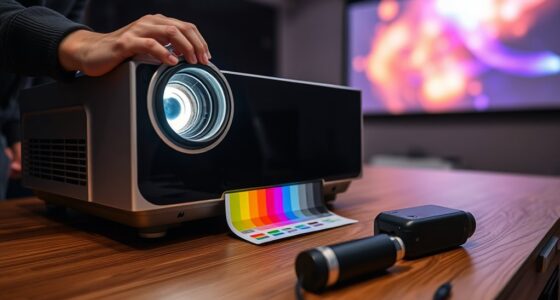
When dealing with grainy or noisy images from your projector, adjusting the noise reduction settings can markedly improve picture quality. Noise can obscure details and diminish your viewing experience, but tweaking these settings helps clarify the image. One of the first things to take into account is color calibration. Proper color calibration ensures that your projector displays colors accurately, which can minimize the appearance of noise caused by color inconsistencies. When your colors are calibrated correctly, the image appears more natural and balanced, reducing the need for heavy noise reduction that can sometimes blur fine details. Additionally, focusing on contrast enhancement can make a significant difference. Increasing contrast can help differentiate between various elements in the picture, making details pop and reducing the perception of graininess. By emphasizing contrast, you improve the overall sharpness and depth of the image, which can mask some of the noise and make the picture look cleaner.
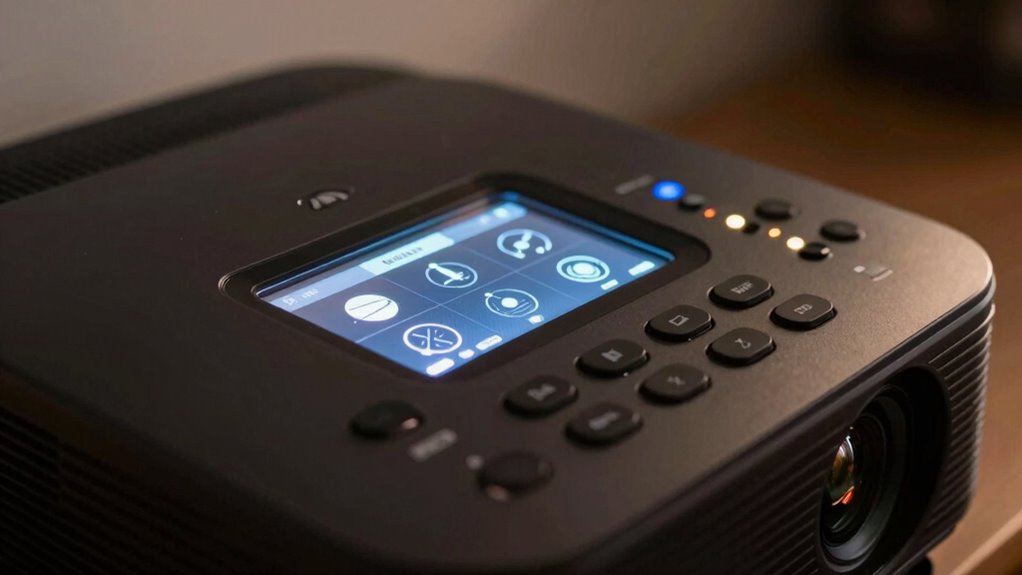
Most projectors come with adjustable noise reduction settings that can be fine-tuned based on your viewing environment and content type. Start by setting the noise reduction to a low or medium level to preserve details, then gradually increase it if the noise persists. Be cautious, though, because excessive noise reduction can lead to a soft, smudged look, diminishing sharpness and making the image appear overly smooth. Striking the right balance is key. When adjusting these settings, pay attention to how they interact with color calibration and contrast enhancement. For example, increasing contrast can sometimes make noise more noticeable if not paired with appropriate noise reduction levels. Conversely, proper color calibration can help your projector produce cleaner images, reducing the need for aggressive noise reduction. Recognizing the importance of image quality factors can guide you toward better calibration and adjustment practices. Additionally, understanding how different projection technologies impact noise levels can help you choose the right settings for your specific projector model. Fine-tuning these settings in relation to your projector’s noise reduction capabilities can further optimize image clarity and quality.
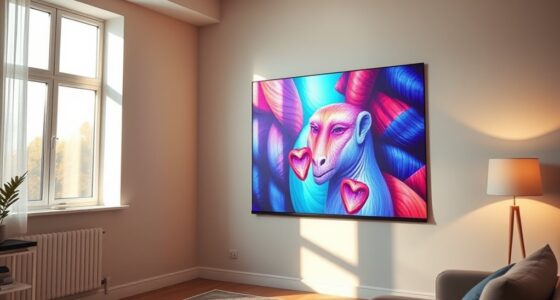
Some projectors also offer advanced settings like edge smoothing or detail enhancement, which can complement noise reduction. Using these in combination allows you to maintain fine details while reducing graininess. Remember that ambient lighting and source content quality play roles too; a well-calibrated projector with optimized contrast and noise reduction will outperform a poorly set-up one. Ultimately, experiment with these settings, viewing different types of content, to find the configuration that offers the clearest, most vibrant picture possible without sacrificing detail. With a little patience and fine-tuning, you’ll enjoy sharper, cleaner images that make your viewing experience much more enjoyable.

Valerion VisionMaster Max 4K Laser Projector, 3500 ISO Lumens, Anti-RBE, Speckle-Reduction, Flagship Black Level, 0.9–1.5:1 Optical Zoom, 300", IMAX Enhanced, HDR10+, 3D, Gigabit 4ms 240Hz
Industry-Defining Blacks. NoirScene Mastery: NoirScene Dark Field Engine starts with the EBL black-level algorithm, enhancing shadow detail and…
As an affiliate, we earn on qualifying purchases.
As an affiliate, we earn on qualifying purchases.
Frequently Asked Questions
How Do Noise Reduction Settings Affect Projector Brightness?
Adjusting noise reduction settings can decrease your projector’s brightness because noise suppression often involves processing that dims the image for improved clarity. When you enable higher noise reduction, it enhances image clarity by reducing grain or speckles, but it also dims the image, making it less bright. To balance image clarity and brightness, start with moderate noise reduction and tweak it until you find the best compromise for your viewing environment.
Can Noise Reduction Settings Be Adjusted During a Presentation?
Like a smartphone from the future, you can adjust noise reduction settings during your presentation. You simply access the projector menu and tweak the settings on the fly. Keep in mind, for maximum results, make sure image stabilization and lens calibration are properly set beforehand. This way, you won’t interrupt your flow, and your image remains clear and sharp, even if you need to fine-tune noise reduction mid-show.
Do Noise Reduction Settings Impact Color Accuracy?
Yes, noise reduction settings can impact color accuracy, affecting color saturation and image sharpness. When you enable noise reduction, it smooths out grainy visuals, which can sometimes dull colors and reduce vibrancy. While it improves image clarity, it might slightly compromise color richness and sharpness. Adjust these settings carefully to balance noise reduction with maintaining accurate, vivid colors and crisp details in your projected images.
Are Noise Reduction Settings Different for 4K Projectors?
Noise reduction settings for 4K projectors aren’t vastly different, but they’re more like fine-tuning a musical instrument. You’ll find options like image sharpening and motion smoothing tailored to handle the higher resolution. These settings help reduce noise without sacrificing detail, ensuring crisp images. While the core principles stay the same, 4K projectors may offer more advanced noise reduction features to match their enhanced clarity, making your viewing experience smoother and more vivid.
How Do Ambient Lighting Conditions Influence Noise Reduction Effectiveness?
Ambient lighting conditions play a vital role in noise reduction effectiveness. Bright, ambient light can cause screen glare, reducing image clarity and making noise more noticeable. In darker rooms, noise reduction works better because ambient contrast is low, allowing details to stand out clearly. To optimize image quality, control ambient lighting, minimize glare, and adjust noise reduction settings accordingly, ensuring your projector delivers a sharp, vibrant picture regardless of lighting conditions.

datacolor SpyderPro Monitor Calibration Tool: Ensures Accurate Color When Viewing and Editing Photos & Videos
ACHIEVE TRUE COLOR – Ensures your monitor displays colors accurately, critical for photography, design, and video editing, with…
As an affiliate, we earn on qualifying purchases.
As an affiliate, we earn on qualifying purchases.
Conclusion
So, next time you marvel at a crystal-clear projector image, remember it’s probably thanks to those noise reduction settings you just tweaked. Ironically, in trying to perfect your picture, you might actually be sacrificing some detail or brightness. But hey, who needs perfect clarity when you can enjoy a smoother, less noisy display? Sometimes, dialing down the noise reduction is the real secret to a surprisingly better viewing experience—just don’t tell your projector I said that.

Calibrite Display 123 Monitor Calibration Colorimeter for Photo Editing and Color Accurate Viewing, Easy 1 2 3 Software Workflow, USB C Connection, and Before and After Check, Supports 2 Displays
SPECIFICATIONS: Monitor calibration colorimeter with Easy 1 2 3 software workflow, USB C connection, compact body approx. 34mm…
As an affiliate, we earn on qualifying purchases.
As an affiliate, we earn on qualifying purchases.
projector image sharpness enhancer
As an affiliate, we earn on qualifying purchases.
As an affiliate, we earn on qualifying purchases.