
To get the best dynamic range with HDR tone mapping on your projector, you should optimize settings like brightness, contrast, and color modes, while controlling ambient light for better contrast and detail preservation. Using projectors with automatic tone mapping can make adjustments seamless. Ensuring proper calibration and environmental control helps maintain color accuracy and highlight detail. Keep in mind that understanding your projector’s capabilities and environment will enhance HDR performance—more tips to improve your setup await if you continue exploring.
Key Takeaways
- Use projectors with automatic or adjustable tone mapping features to optimize HDR content dynamically.
- Minimize ambient light to improve contrast, brightness, and overall HDR performance on the projector.
- Calibrate your projector regularly to ensure accurate color reproduction and proper tone mapping.
- Balance settings like brightness, contrast, and color modes to enhance dynamic range and detail.
- Select HDR content and playback devices compatible with your projector’s capabilities for best results.
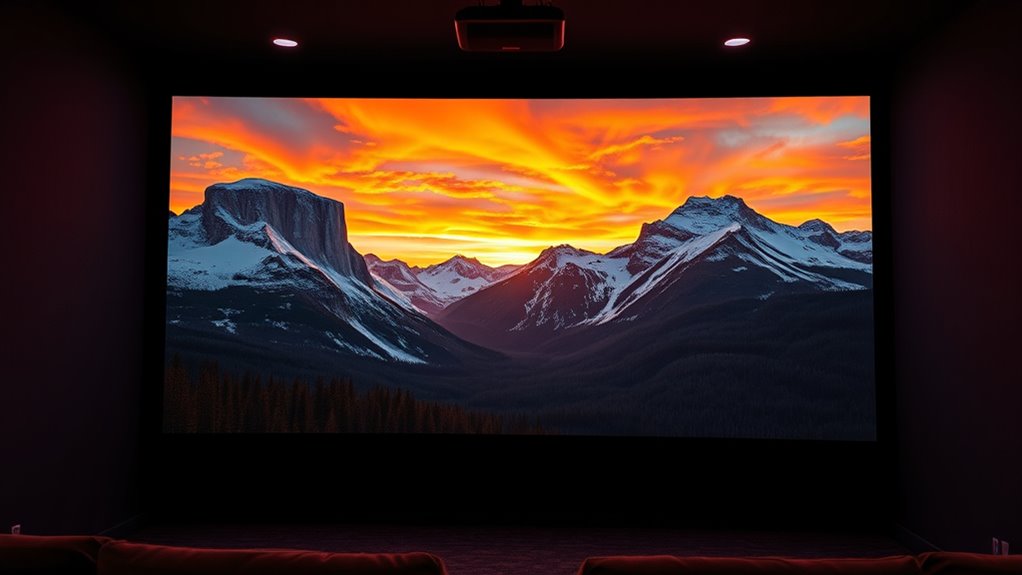
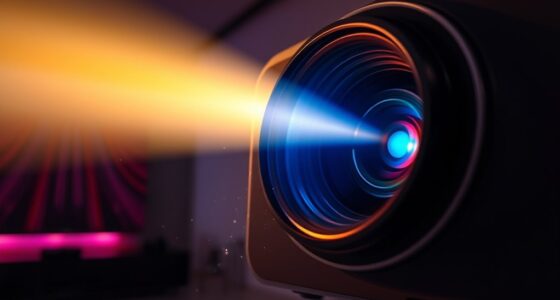
High Dynamic Range (HDR) tone mapping on projectors plays a crucial role in delivering vibrant, detailed images that closely match what you see on HDR-enabled displays. When you’re watching a movie or gaming, the goal is to reproduce a wide range of brightness levels and colors, making the experience more immersive and lifelike. To achieve this, tone mapping algorithms work behind the scenes to compress the wide dynamic range of HDR content into the limited capabilities of a projector’s display. This process ensures that bright highlights remain dazzling without washing out shadow details, and colors stay true to the original scene.
One of the most critical aspects of effective HDR tone mapping is maintaining excellent color accuracy. When your projector processes HDR content, it needs to preserve the richness and vibrancy of colors, especially in scenes with subtle gradations. If the tone mapping isn’t well-optimized, you might notice colors looking overly saturated, dull, or off from what the creators intended. Ensuring precise color reproduction involves calibrating your projector and choosing tone mapping settings that prioritize color fidelity alongside brightness and contrast. This way, you get the full spectrum of hues, making everything from skin tones to landscape greens look natural and true to life.
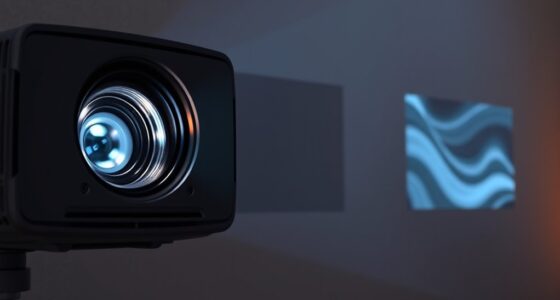
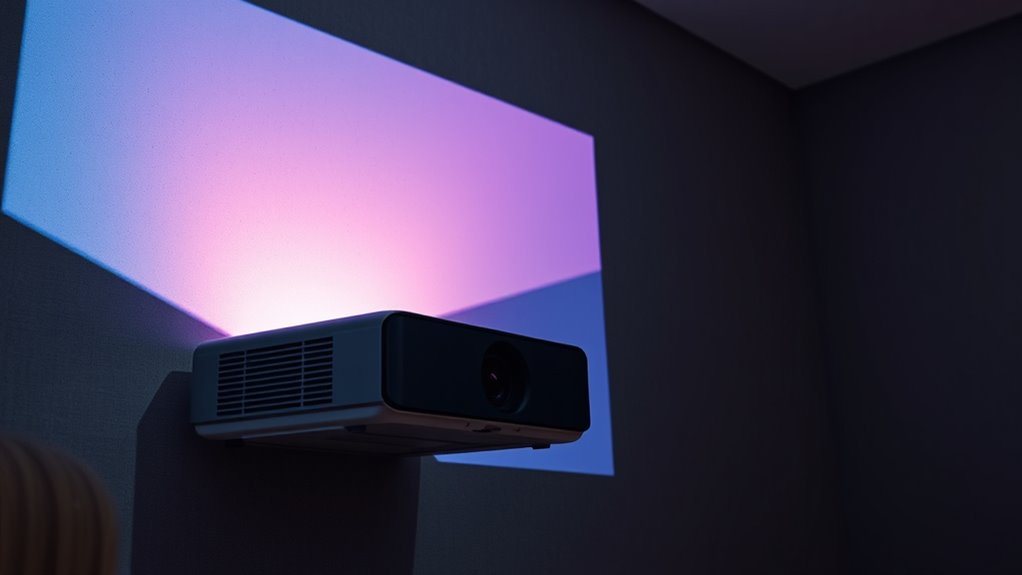
Ambient light plays a significant role in how you perceive HDR images on your projector. Excessive ambient light can diminish contrast and wash out details, undermining the benefits of advanced tone mapping. To get the best dynamic range performance, you need a controlled environment—dimming the lights or using blackout curtains can make a big difference. When ambient light is minimized, the projector’s tone mapping system can effectively manage highlights, shadows, and midtones, delivering richer detail and depth. Conversely, in bright rooms, even the most sophisticated tone mapping may struggle to produce the intended visual impact, leading to reduced perceived contrast and less vibrant colors.
In practical terms, optimizing HDR tone mapping on your projector involves balancing settings such as brightness, contrast, and color modes while controlling ambient light conditions. Some projectors come with automatic tone mapping adjustments that adapt dynamically based on content and environment, which can simplify the process. Additionally, understanding the limitations of your projector’s capabilities can help you set realistic expectations and achieve the best possible image quality. Ultimately, your goal should be to create a viewing environment where the projector’s tone mapping can do its job effectively, ensuring that colors remain accurate and details are preserved across the entire brightness spectrum. When you do this, you’ll experience HDR content as it was meant to be seen—full of depth, clarity, and true-to-life colors.

The Display Calibration Guide – Volume 2 HDR: Calibrate Your TV or Projector with a Sensor and Free Tools
As an affiliate, we earn on qualifying purchases.
As an affiliate, we earn on qualifying purchases.
Frequently Asked Questions
How Does Ambient Lighting Affect HDR Tone Mapping Performance?
Ambient light substantially impacts HDR tone mapping performance by reducing contrast and detail in your projected image. When there’s too much ambient light, glare management becomes essential to prevent washed-out visuals, making it harder to appreciate the full dynamic range. To optimize HDR performance, control ambient light levels, use blackout curtains, and consider projector settings that enhance contrast. These steps guarantee your HDR images stay vibrant and detailed, even in bright environments.
Can Different Projector Brands Handle HDR Tone Mapping Similarly?
Is a rose still a rose in every garden? Not quite. Different projector brands handle HDR tone mapping uniquely, so compatibility varies. You’ll find that tone mapping algorithms differ, affecting how well each projector manages dynamic range. Some brands excel with higher contrast and color accuracy, while others may struggle. To get the best HDR experience, choose a projector with robust compatibility and advanced tone mapping algorithms aligned with your viewing needs.
Is There a Recommended Calibration Process for Optimal HDR Projection?
You should start with calibration techniques that focus on achieving peak brightness uniformity across the screen. Use a colorimeter or spectrophotometer to fine-tune your projector’s settings, ensuring accurate gamma, contrast, and color balance. Adjust the HDR tone mapping settings to match your projector’s capabilities. Regular calibration helps maintain consistent image quality, enhances dynamic range, and ensures you get the best HDR projection experience.
How Does HDR Tone Mapping Impact Viewing Latency and Responsiveness?
HDR tone mapping can slightly increase input lag, affecting your image responsiveness during fast-paced gaming or action scenes. This processing ensures a wider dynamic range but may introduce minor delays, so you might notice a slight decrease in responsiveness. To minimize this, choose projectors with low input lag settings or turn off HDR tone mapping during gaming sessions. Balancing image quality and responsiveness is key for an ideal viewing experience.
What Are the Energy Consumption Implications of HDR Processing in Projectors?
Think of HDR processing as adding a powerful engine to your projector. It increases power consumption because it requires extra energy to analyze and adjust images for ideal dynamic range. While this may impact energy efficiency slightly, modern projectors optimize power use, balancing performance and consumption. Overall, HDR processing does use more power, but advances in technology help keep energy costs manageable, ensuring vivid visuals without excessive energy drain.

BenQ HT5550 True 4K UHD Home Theater Projector with HDR-PRO | 100% DCI-P3 & 100% Rec. 709 for Best Colors | Frame Interpolation for Fluid Picture, Black
Enhanced Tone Mapping Helps Preserve Dark Details – BenQ Enhanced Tone-Mapping uses Active Iris and Dynamic Black technology…
As an affiliate, we earn on qualifying purchases.
As an affiliate, we earn on qualifying purchases.
Conclusion
By mastering HDR tone mapping on your projector, you unveil a world where every shadow and highlight dances in perfect harmony. Think of it as tuning a fine instrument—when done right, your images sing with vibrant clarity and depth. With patience and the right settings, you’ll transform your viewing experience into a stunning landscape of dynamic range, turning your projector into a window that reveals every detail like a painter unveiling a masterpiece.
Northern Galaxy Light Aurora Projector with 33 Light Effects, LED Star Projector for Bedroom Nebula Lamp, Remote Control, White Noises, Bluetooth Speaker for Parties
🏡【𝐔𝐩𝐠𝐫𝐚𝐝𝐞𝐝 𝟑-𝐢𝐧-𝟏 𝐆𝐚𝐥𝐚𝐱𝐲 𝐏𝐫𝐨𝐣𝐞𝐜𝐭𝐨𝐫】Watch the splendid aurora views without chasing around or hiking far away, turning your home…
As an affiliate, we earn on qualifying purchases.
As an affiliate, we earn on qualifying purchases.

Calibrite Display 123 Monitor Calibration Colorimeter for Photo Editing and Color Accurate Viewing, Easy 1 2 3 Software Workflow, USB C Connection, and Before and After Check, Supports 2 Displays
SPECIFICATIONS: Monitor calibration colorimeter with Easy 1 2 3 software workflow, USB C connection, compact body approx. 34mm…
As an affiliate, we earn on qualifying purchases.
As an affiliate, we earn on qualifying purchases.