To become confident in calibrating your projector, start by using calibration discs that display test patterns to identify color, contrast, and brightness issues. Adjust your projector’s settings like contrast, gamma, and color temperature based on the patterns and instructions provided. Using tools like colorimeters can give precise measurements for ideal results. With patience and practice, you’ll improve your image quality considerably—continue exploring to master every step of the calibration process.
Key Takeaways
- Begin with basic calibration discs to identify color accuracy, brightness, and contrast issues before fine-tuning settings.
- Follow detailed instructions on calibration discs to adjust white balance, gamma, and saturation accurately.
- Use colorimeters or spectrophotometers with calibration software for precise measurement and profile creation.
- Regularly repeat calibration to maintain image quality, especially after bulb replacements or environmental changes.
- Practice patience and systematic adjustments to build confidence and achieve professional-level projector calibration skills.
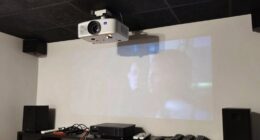
Calibration discs and tools are indispensable for guaranteeing your projector displays images accurately and consistently. When you use them properly, you’ll notice sharper details, more vibrant colors, and an overall improvement in picture quality. This process is especially important if you’re aiming for precise color accuracy, which means your projected images will match the intended hues without unwanted tint or distortion. Achieving good color accuracy allows you to enjoy movies, presentations, or gaming with more realism and immersion. Additionally, calibration tools help improve image uniformity, ensuring that the brightness and contrast are consistent across the entire screen. Without proper calibration, parts of your image might appear dimmer or overly bright, disrupting the viewing experience and making it harder to notice subtle details.
Proper calibration ensures vibrant, accurate images with consistent brightness and contrast across your screen.
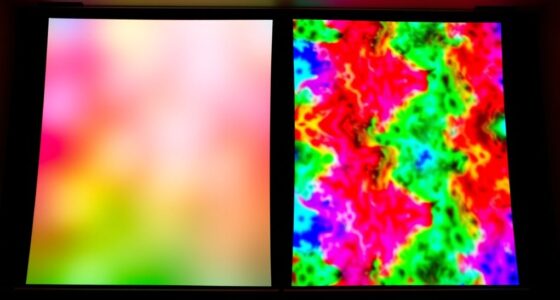
Using calibration discs is straightforward, and they serve as your primary guide to fine-tuning your projector. When you insert a calibration disc, it contains test patterns designed to reveal flaws in color reproduction and uniformity. You’ll see patterns that highlight color shifts, gradients, and brightness inconsistencies. By adjusting your projector’s settings—such as contrast, brightness, color temperature, and gamma—you can correct these issues. The key is to follow the instructions on the disc carefully. For instance, some discs include specific patterns to help you tweak the white balance, ensuring whites appear neutral and not tinted. Others focus on saturation levels, so you can make colors more vivid or subdued, depending on your preference. Regular calibration can help counteract bulb aging, maintaining optimal image quality over time.
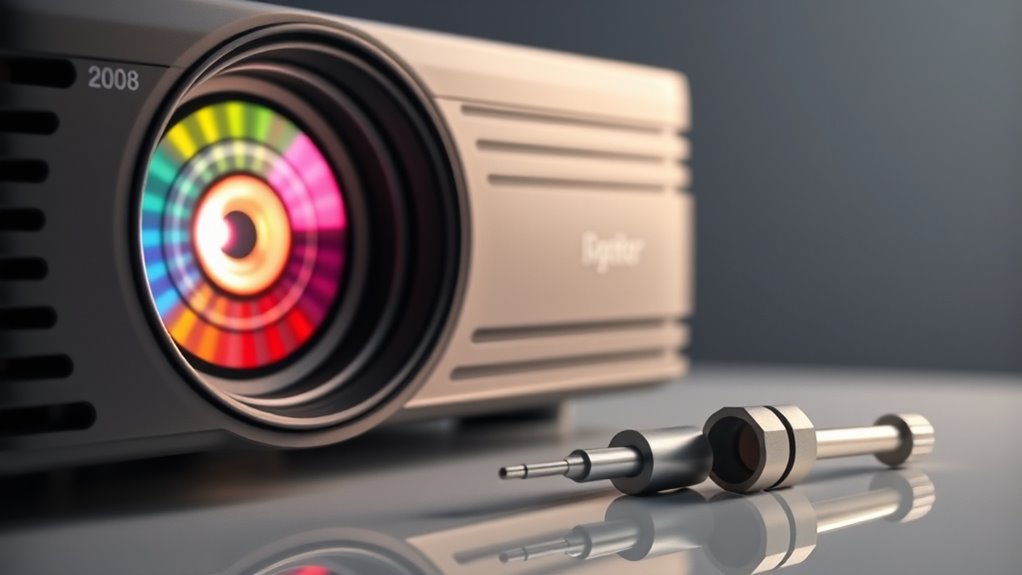
Calibration tools are equally indispensable, especially if you want to go beyond basic adjustments. Devices like colorimeters or spectrophotometers measure the light emitted by your projector, providing precise data on color accuracy and luminance. When paired with calibration software, these tools allow you to create custom profiles that optimize your projector’s output. This step is essential if you’re a professional or a serious enthusiast seeking cinema-quality images. Using these tools, you can fine-tune your projector to produce consistent results over time, compensating for bulb aging or environmental changes.
In essence, investing in calibration discs and tools transforms your viewing experience. They empower you to correct color inaccuracies and achieve uniform brightness across the screen. While it might seem technical at first, the process becomes manageable with patience and attention to detail. Once calibrated, your projector will display images that are true to the source material, making every viewing session more immersive and satisfying. Whether you’re setting up a home theater or preparing a presentation, calibration guarantees you get the most out of your equipment with clarity, precision, and confidence.

Panamax MR4000 MR4000 8-Outlet Home Theater Power Management with Surge Protection and Power Conditioning, Color
Industries best protection - specifically designed and engineered to provide protected and filtered power to home theater systems
As an affiliate, we earn on qualifying purchases.
Frequently Asked Questions
Can Calibration Discs Damage My Projector’s Lens?
Calibration discs won’t damage your projector’s lens if you guarantee proper lens protection and disc compatibility. When handling the disc, avoid touching the lens directly and keep it clean. Use discs designed specifically for projectors, and follow the manufacturer’s instructions carefully. Proper handling and choosing compatible discs help prevent scratches or other damage, so your projector stays in good shape while you improve its performance.
How Often Should I Recalibrate My Projector?
You should recalibrate your projector every 6 to 12 months to maintain ideal picture quality. Regular calibration ensures your projection setup stays accurate, especially if you move the projector or change the environment. Factors like dust, bulb hours, and ambient light can affect performance, so sticking to a consistent calibration frequency helps keep your images sharp and colors true. Make it a routine to enjoy the best viewing experience.
Are There Budget-Friendly Calibration Tools Available?
You might think quality calibration tools cost a fortune, but there are plenty of budget options available. Affordable solutions like basic calibration discs and smartphone apps can markedly improve your projector’s image without breaking the bank. These budget-friendly tools are perfect for casual users or those just starting out, giving you a practical way to achieve better color accuracy and image quality without overspending.
Do Calibration Discs Work for All Projector Brands?
Calibration discs generally work for most projector brands due to their universal applicability, but brand compatibility can vary. You should check the disc’s specifications to confirm it’s compatible with your specific projector model. While many discs are designed to be versatile, some high-end or specialty projectors may require brand-specific calibration tools. Always verify compatibility before purchasing to get accurate calibration results and ideal image quality.
Can Calibration Improve 3D Projector Image Quality?
Yes, calibration can dramatically improve your 3D projector’s image quality, making every frame as sharp and vibrant as a crystal-clear diamond. By fine-tuning color accuracy and geometric alignment, you’ll notice richer colors, better depth, and smoother visuals. Proper calibration removes distortions and color mismatches, ensuring your 3D experience is immersive and flawless. It’s the secret to transforming good into mind-blowingly great, elevating your viewing to a whole new level.

Panamax MR4300 MR4300 9-Outlet Home Theater Power Management with Surge Protection and Power Conditioning
9 protected and filtered outlets featuring exclusive Automatic Voltage Monitoring (AVM), Protect or Disconnect technology and Panamax Level...
As an affiliate, we earn on qualifying purchases.
Conclusion
Now that you’ve got the right calibration discs and tools, your projector will shine brighter than a star on a clear night. Think of these tools as your secret recipe for picture-perfect visuals—turning a blurry mess into a masterpiece. With a little patience and these handy gadgets, you’ll confidently transform your space into a cinematic paradise. Remember, mastering calibration is like tuning an instrument; the better you get at it, the sweeter your picture will sound.
Amazon Product B000SXWGAG
As an affiliate, we earn on qualifying purchases.
Amazon Product B07S2ZR66P
As an affiliate, we earn on qualifying purchases.