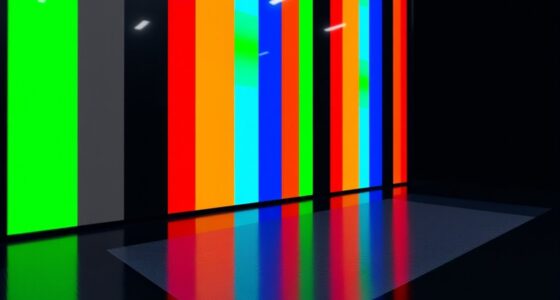
To set up 3D on your projector correctly, start by using the built-in calibration options or test patterns to fine-tune convergence and alignment, ensuring left and right images overlap perfectly. Adjust brightness, contrast, and geometry for ideal clarity and depth perception. Wear compatible 3D glasses and verify they work properly with test content. Regularly revisit your settings and keep equipment clean for consistent results. Keep going to discover more detailed tips for a flawless 3D experience.
Key Takeaways
- Use built-in projector menus or calibration discs to accurately set 3D alignment and convergence.
- Reposition or adjust the projector’s angle to ensure proper left-right image overlap.
- Test with dedicated 3D test patterns to verify alignment, contrast, and depth perception.
- Wear compatible 3D glasses during calibration to accurately assess image quality and ghosting.
- Regularly revisit and fine-tune settings to maintain optimal 3D performance over time.
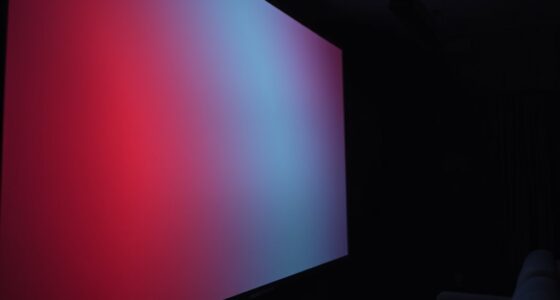
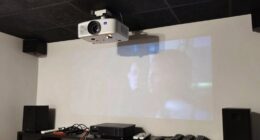
Setting up 3D on your projector can considerably enhance your viewing experience, but it requires careful configuration. To get the best results, you need to understand calibration techniques that guarantee your projector displays 3D content accurately. Proper calibration involves adjusting the projector’s settings such as brightness, contrast, and geometry to maximize the 3D image quality. Many projectors have built-in options or menus specifically designed for 3D setup. Use these features to fine-tune the image, making sure each eye perceives the correct depth without ghosting or double images. Some calibration techniques include adjusting the convergence and alignment of the projector to ensure the left and right images line up perfectly. This step is vital because misalignment can cause discomfort or a poor 3D effect. It’s a good idea to use test patterns or calibration discs that help you verify and refine these settings for the clearest picture. Additionally, understanding the different 3D glasses types compatible with your projector can improve your overall experience. Wear your glasses, play a 3D demo or movie, and observe the depth effect, clarity, and any ghosting or flickering. If issues arise, revisit your calibration techniques—adjust the projector’s settings, reposition the projector if necessary, and ensure your glasses are functioning correctly. Regularly maintaining your calibration will keep the 3D experience consistent and enjoyable. Remember, setting up 3D isn’t a one-and-done task; it’s an ongoing process of fine-tuning for maximum viewing. With the right calibration techniques and glasses, you’ll be able to immerse yourself in 3D content with clarity and comfort, making every viewing session a spectacular experience.

Creality 3.0mm 3D Scanning Markers for 3D Scanner, Accurate Tracking Dots, Reference Point Markers and Diffuse Reflection for Precise Optical Tracking and 3D Scanning (3mm 840Dots)
Size and Quantity: Inner diameter 3.0 mm, outer diameter 6.0 mm, 84 single point markers each sheet, 10…
As an affiliate, we earn on qualifying purchases.
As an affiliate, we earn on qualifying purchases.
Frequently Asked Questions
Can I Use Any 3D Glasses With My Projector?
No, you can’t use any 3D glasses with your projector. Your projector’s 3D compatibility depends on its specific technology and the Glasses types it supports, such as active shutter or passive polarized glasses. Using incompatible glasses won’t work and may even damage the glasses or your projector. Always check your projector’s manual or specifications to find out which glasses types are compatible for the best 3D experience.
How Do I Troubleshoot 3D Image Flickering?
Troubleshooting 3D flickering is like tuning a guitar—small adjustments make a big difference. First, check your source compatibility, ensuring it’s optimized for 3D. Then, fine-tune your color calibration settings for consistent brightness. If flickering persists, try replacing or repositioning your glasses, and update your projector’s firmware. These steps help stabilize the image, giving you a smooth 3D experience without distractions.
Is 3D Setup Different for Short-Throw Projectors?
Yes, 3D setup differs for short-throw projectors. You need to pay close attention to projection alignment to prevent image distortion, especially since short-throw projectors are positioned closer to the screen. Make certain your 3D content sources are compatible and correctly configured. Adjust the projector’s settings for ideal convergence and alignment, and double-check that the 3D glasses work seamlessly with your projector’s output to guarantee a smooth viewing experience.
What’s the Best Distance for Optimal 3D Viewing?
For ideal 3D viewing, keep your projector about 8-12 feet from the screen. Imagine a gaming setup where you sit too close, causing poor depth perception and distorted viewing angles. Staying within this range ensures you maintain the right depth perception and comfortable viewing angles, making the 3D experience immersive and clear. Adjust based on your room size, but this distance generally provides the best 3D effect for most setups.
Do I Need Special Cables for 3D Projection?
You don’t always need special cables for 3D projection, but using the right cable types can improve quality. HDMI cables are typically compatible and support 3D signals, while some projectors might require specific compatible accessories like active shutter glasses or 3D sync cables. Check your projector’s specifications to guarantee you’re using the recommended cables and accessories for superior 3D performance. This way, you get smooth, immersive viewing without hassle.
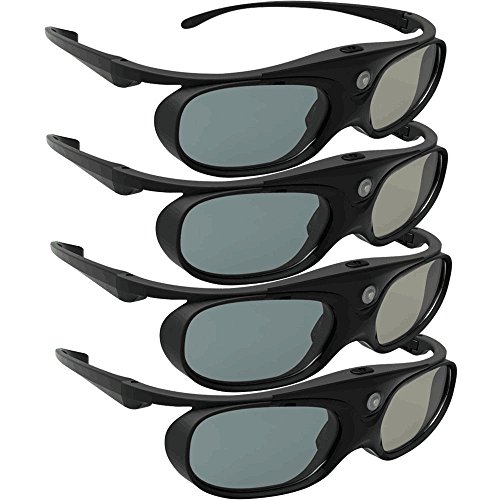
DLP Link 3D Glasses, ELEPHAS 144Hz Rechargeable Active Shutter Eyewear for Most DLP-Link 3D Projectors- Acer, ViewSonic, BenQ Vivitek, Optoma, Panasonic, Dell, Viewsonic (4 Pack)
Next generation super fast 144Hz refresh rate, ahead of other 120Hz or 96Hz product's level.
As an affiliate, we earn on qualifying purchases.
As an affiliate, we earn on qualifying purchases.
Conclusion
Now that you’ve mastered the art of setting up 3D on your projector, you’re ready to step into a world where images leap off the screen like vibrant, living dreams. No more guesswork—just a seamless, immersive experience that transforms your space into a cinematic wonderland. With this setup, you hold the key to accessing stunning visuals, turning your viewing into a magical journey where reality blurs and imagination takes flight.

Philmore Anti-Static Radio TV Alignment Trimmer Tool Set Kit, 10 Pc Kit, 63-910 by Philmore
Philmore high quality 10pc trimmer tool kit
As an affiliate, we earn on qualifying purchases.
As an affiliate, we earn on qualifying purchases.

Realistic Discs – Discs for Ainael Galaxy Projector, 5k Ultra HD Slide for Home Planetarium, 6 Discs Set Without Projector (Nebula 2)
PACKING LIST & WARRANTY: Includes 6 slides: Trifid Nebula M20, Helix Nebula NGC 7293, Crab Nebula M1, Scorpius…
As an affiliate, we earn on qualifying purchases.
As an affiliate, we earn on qualifying purchases.