To sync your motorized screen and projector with trigger systems, start by ensuring your remote controls and trigger setup are correctly configured for automatic detection. Program trigger inputs to coordinate screen movement and projector start-up, using calibration tools to fine-tune image alignment. Test the setup with patterns and make physical adjustments or menu tweaks as needed. With proper configuration, your system will operate smoothly—keep exploring to master seamless synchronization techniques for your home theater.
Key Takeaways
- Program trigger inputs via remote control to synchronize projector startup and motorized screen movement seamlessly.
- Use calibration tools and test patterns to ensure precise image alignment and rectangular display.
- Configure automatic trigger detection for screen raising/lowering to trigger projector activation simultaneously.
- Regularly record calibration and trigger settings to maintain consistent synchronization over time.
- Ensure reliable remote signal transmission and replace batteries to prevent disconnections affecting system timing.

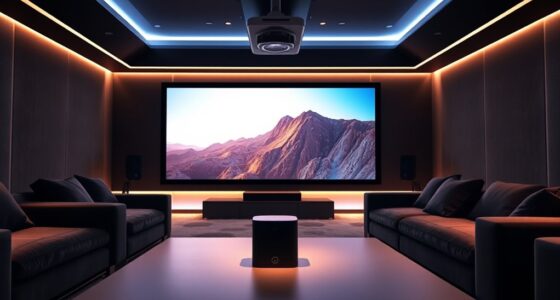
When you want a seamless viewing experience, syncing your motorized screens and projectors is essential. Achieving this level of coordination ensures your media plays smoothly without awkward delays or misalignments. The key to this synchronization lies in understanding how to use your remote control effectively and applying proper calibration techniques. With the right tools and knowledge, you can turn your setup into a professional-grade home theater.
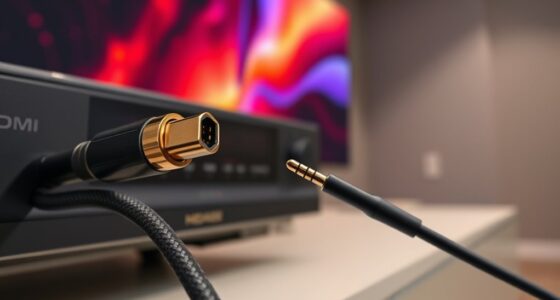
First, familiarize yourself with your remote control’s functions. Most remote controls for motorized screens and projectors have dedicated buttons for power, input selection, and sometimes even for specific calibration settings. Knowing exactly how to navigate these controls allows you to switch between devices effortlessly and initiate synchronization routines. When you press the remote, ensure that signals are reaching each device reliably. Sometimes, replacing batteries or reducing interference can improve signal strength, preventing accidental disconnections during calibration.
Familiarize yourself with your remote’s functions to effortlessly switch devices and initiate calibration routines.
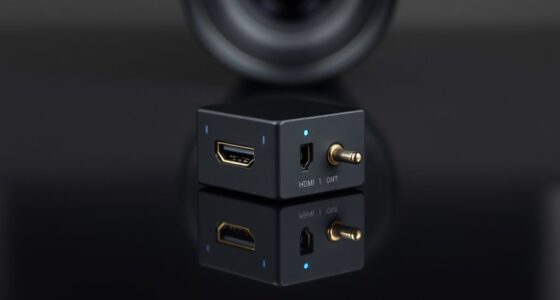
Next, focus on the calibration techniques necessary to align your screen and projector perfectly. Proper calibration involves adjusting settings so that the projected image fits precisely within the boundaries of your motorized screen. Many projectors come with built-in calibration tools—use these to fine-tune keystone correction, focus, and lens shift, which are critical for a clear, undistorted image. Additionally, some projectors and screens support trigger systems that automatically detect when the screen is lowered or raised, allowing for seamless transitions. To enable this, you may need to program specific trigger inputs—these can be wired or wireless—and assign them through your remote control.
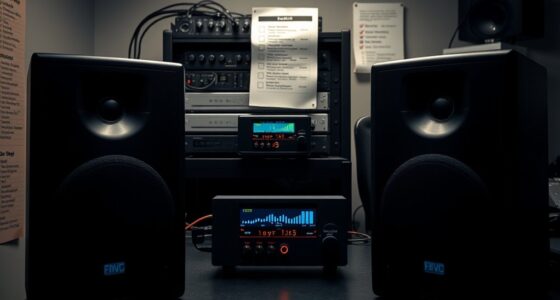
Once you’ve set up the hardware, you should run calibration tests. Use test patterns to check alignment and ensure that the image is centered and rectangular. Adjust the projector’s physical position if necessary, then refine the image using calibration menus. For motorized screens, ensure that the trigger system is correctly configured to synchronize with the projector’s startup and shutdown sequences. This way, when you turn on the projector via the remote, the screen automatically aligns and lowers, creating a smooth, professional look. Properly syncing devices is essential for maintaining a flawless home theater experience.
Finally, document your calibration settings and trigger configurations. This makes troubleshooting easier if you encounter issues later. Consistent use of your remote control and calibration techniques guarantees that your motorized screens and projectors stay perfectly synchronized. Over time, as you become familiar with your equipment, the process will become quicker and more intuitive, providing an uninterrupted viewing experience that feels almost automatic. Proper preparation and understanding of these elements are what transform a basic setup into a seamless, killer home theater system.

Kshioe Motorized Projector Screen with Remote Control, No Wrinkles, Without Dents, HD Screen, for Home Theater Office Classroom TV Usage (92inch 16:9)
Perfect visual enjoyment: 16: 9 Projectorscreen format and diagonal 92" offers 80" x 45" viewing area with optimal...
As an affiliate, we earn on qualifying purchases.
Frequently Asked Questions
Can Trigger Systems Integrate With Smart Home Automation?
Yes, trigger systems can easily integrate with your home automation setup. This allows you to control motorized screens and projectors through remote integration, making your system more seamless. You can automate actions, like lowering your screen and turning on your projector with a single command or schedule. With compatible trigger systems, your smart home becomes more efficient, providing effortless control and a better entertainment experience.
What Are the Common Troubleshooting Steps for Syncing Issues?
To troubleshoot syncing issues, start by checking your timing calibration to make certain the trigger signals align properly. Next, eliminate potential signal interference by moving wireless devices away from the system and ensuring cables are secure. Verify the trigger settings on both the screen and projector, and test the system with different sources. Adjustments to timing calibration and minimizing signal interference often resolve syncing problems quickly and effectively.
Are Wireless Trigger Options Available for Motorized Screens and Projectors?
Yes, wireless trigger options are available for motorized screens and projectors, offering greater convenience and flexibility. You should check the wireless compatibility of your devices, as not all models support it. To guarantee proper operation, perform trigger calibration to synchronize the wireless signals accurately. This setup helps avoid lag or misfiring, providing seamless operation when you activate your screen and projector remotely or via automation systems.
How Does Ambient Light Affect Trigger System Performance?
Like a dial-up connection in a fiber optic world, ambient light can disrupt trigger system performance. Lighting interference from sunlight or bright room lights may cause sensors to misfire. To prevent this, you need to carefully calibrate your sensors, ensuring they ignore ambient light and respond only to the trigger signals. Proper sensor calibration maintains reliable operation, even when the lighting environment changes, keeping your motorized screens and projectors perfectly synced.
What Safety Precautions Should Be Taken During Installation?
During installation, prioritize safety by following proper wiring best practices to avoid electrical hazards. Always disconnect power before working, wear protective gear, and verify secure connections. Use correct tools and double-check wiring diagrams to prevent shorts or damage. Keep the workspace clear of clutter, and follow manufacturer instructions carefully. These installation safety tips help protect you and ensure the trigger system functions reliably, preventing future issues.

DINAH 120 Inch Electric Projector Screen with Remote, Automatic Air Indoor Drop Down, Motorized 4K 3D HD Projection for Movies
Large 120-inch screen: The DINAH electric projector screen is an ideal choice for movie enthusiasts and professionals alike,...
As an affiliate, we earn on qualifying purchases.
Conclusion
Now that you’ve mastered syncing your motorized screens and projectors, you’ve orchestrated a seamless performance, like a maestro guiding a symphony. Every flicker and roll moves in perfect harmony, transforming your space into a cinematic haven. With this trigger system, you’re the conductor of an effortless show, where technology dances to your command. Embrace the rhythm, and watch your home theater come alive with synchronized brilliance—an experience that’s truly a showstopper.

New Replacement Remote Control Compatible with VIVOHOME Motorized Projector Screen, Black
RETROSUN new replacement remote control compatible with VIVOHOME VIVOHOME 100", ZUEDA 100" 110" 120", DINAH 72" 84" 100"...
As an affiliate, we earn on qualifying purchases.

Elite Screens Wireless 5-12 Volt Trigger for Yard Master Electric Outdoor Projection Screen, ZOMS-TR12V
Universal wireless Projector trigger
As an affiliate, we earn on qualifying purchases.