Achieving sharpness without excessive noise involves balancing your ISO, using proper lens settings, and choosing the right equipment. Keep ISO as low as possible for clearer images, and use wider apertures to improve detail without increasing noise. Post-processing can help reduce grain while boosting clarity—just don’t overdo it. Opt for cameras with larger sensors and quality lenses to naturally improve sharpness and control noise. Keep exploring these techniques to perfect your images.
Key Takeaways
- Use the lowest native ISO possible for your camera and lighting to minimize noise without sacrificing sharpness.
- Apply gentle noise reduction in post-processing to smooth grain without losing fine details.
- Opt for lenses with wide apertures and moderate focal lengths to enhance sharpness and reduce noise impact.
- Shoot in RAW format to retain maximum detail, allowing better control over sharpness and noise during editing.
- Balance aperture, ISO, and shutter speed to achieve crisp images with minimal noise, especially in low-light conditions.
How Does ISO Affect Image Sharpness and Noise?

ISO settings directly impact both image sharpness and noise. When you increase ISO, you make your camera sensor more sensitive to light, which can help in low-light situations. However, this ISO impact often introduces more noise into your images, reducing overall clarity. High ISO settings can cause graininess, making details appear softer and less crisp. Conversely, lower ISO values generally produce cleaner, sharper images with less noise. Effective noise management involves balancing ISO with exposure settings to avoid sacrificing too much sharpness. By understanding how ISO affects both noise and sharpness, you can make more informed decisions to optimize image quality in various lighting conditions. Adjusting ISO thoughtfully helps you maintain control over your photo’s clarity and cleanliness.
What Are the Best Techniques for Reducing Noise Without Sacrificing Detail?

To effectively reduce noise without losing important details, you should start by shooting at the lowest native ISO possible for your camera and lighting conditions. This minimizes sensor noise and preserves image quality. Use noise reduction tools in post-processing carefully; applying too much can smooth out fine details and mimic film grain, which is sometimes desirable. Larger sensor sizes naturally produce less noise, offering better detail retention. Consider these techniques:
| Technique | Effect |
|---|---|
| Use aperture priority mode | Maintains sharpness without overexposing |
| Apply selective noise reduction | Protects details in key areas |
| Shoot in RAW format | Retains maximum detail for editing |
| Use proper lighting | Reduces need for high ISO and noise |
Balancing noise reduction with detail preservation relies on understanding sensor size and film grain effects. Additionally, understanding contrast ratio helps optimize image quality by ensuring deep blacks and bright whites, further enhancing details and reducing the appearance of noise.
How Do Different Lens Settings Influence Image Clarity and Grain?
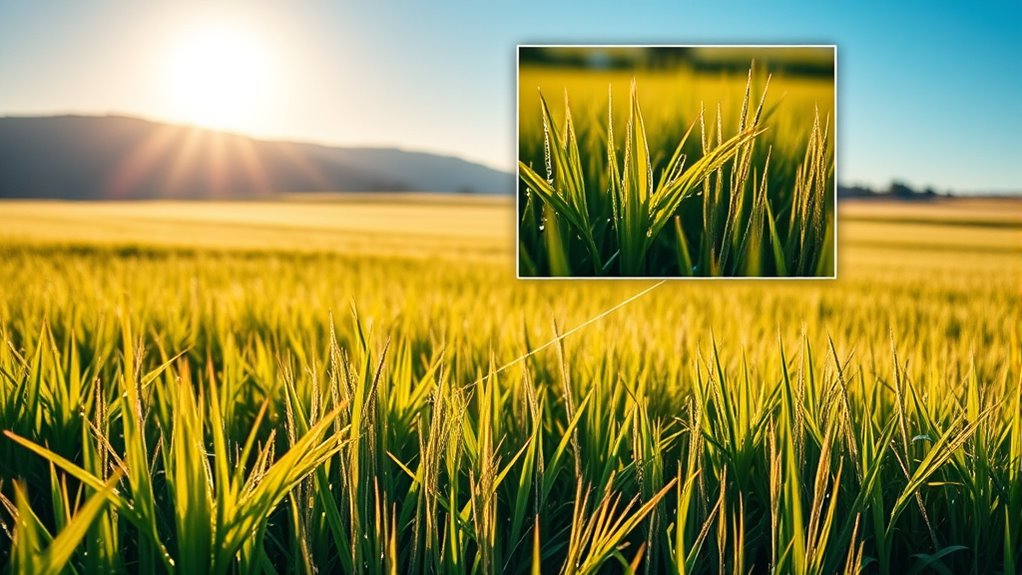
Different lens settings directly impact your image’s clarity and the amount of grain you see. Adjusting the lens aperture influences depth of field and sharpness; a wider aperture (smaller f-number) can create softer backgrounds but may reduce overall sharpness. Focal length affects compression and perspective; longer lenses tend to magnify grain and reduce apparent clarity, especially in low light. To improve image quality:
- Use a smaller aperture (larger f-number) for sharper details.
- Opt for shorter focal lengths when shooting in low light to minimize grain.
- Balance focal length with your distance to avoid distortion.
- Consider stopping down the lens slightly to enhance overall clarity without introducing noise.
- Understanding fandom’s influence can help tailor your shooting techniques to better capture the energy and atmosphere of live events.
These settings work together to control sharpness and grain, giving you more precise results.
When Should I Use Post-Processing to Enhance Sharpness and Reduce Noise?

Post-processing is essential when your images need a quick fix or when in-camera settings can’t fully eliminate noise or boost sharpness. Use post-processing techniques like noise reduction and sharpening algorithms when you notice grain or softness that can’t be fixed in-camera. If your shot is important or if you’re aiming for professional quality, don’t hesitate to enhance details afterward. Applying sharpening algorithms carefully can bring out fine textures, while noise reduction can smooth out distracting grain. Knowing when to post-process depends on the image’s purpose and quality. If the noise is overwhelming or the image looks soft, it’s time to refine it with these techniques. Just remember, overdoing it can lead to unnatural results, so always aim for a balanced, natural look. Additionally, understanding regional legal resources can be helpful if you need professional guidance on complex post-processing techniques or licensing issues.
What Equipment Choices Can Help Balance Crispness and Noise Levels?

Choosing the right camera equipment can considerably influence the balance between sharpness and noise levels in your images. To achieve this, focus on key choices:
- Use a camera with good sensor calibration to reduce noise and improve consistency.
- Select lenses with wide apertures to enhance sharpness without increasing noise.
- Adjust your aperture to a mid-range value, balancing depth of field and sensor performance.
- Invest in cameras with larger sensors, which naturally produce cleaner images at higher ISO settings.
These choices help you control noise while maintaining crispness. Proper sensor calibration ensures your equipment functions at its best, and aperture optimization allows you to fine-tune image quality. Combining these tactics gives you the best shot at clear, noise-free photos.
Frequently Asked Questions
How Does Sensor Size Impact Noise Levels at High ISO?
Your sensor size considerably impacts noise levels at high ISO. Larger sensor dimensions reduce pixel density, allowing each pixel to gather more light, which minimizes noise. Conversely, smaller sensors have higher pixel density, making them more prone to noise in low-light conditions. So, if you want cleaner images at high ISO, opt for cameras with bigger sensors, like full-frame, rather than compact cameras with tiny sensors.
Can Shooting in RAW Format Reduce Noise During Post-Processing?
Shooting in RAW is like having a blank canvas, giving you more control to tame noise during post-processing. It allows you to adjust exposure, contrast, and noise reduction more precisely. Proper sensor calibration and high-quality lens gear your images with cleaner data, making noise reduction smoother. So, yes, RAW format helps reduce noise effectively, but achieving the best results depends on good sensor calibration and using a sharp, quality lens.
What Role Does Image Stabilization Play in Sharpness and Noise Control?
Image stabilization helps improve sharpness by reducing camera shake caused by lens vibration, especially in handheld shots. It allows you to use slower shutter speeds without sacrificing clarity. However, for maximum tripod stability, turn off stabilization to prevent unnecessary lens adjustments. While it can help with noise control indirectly by enabling longer exposures without blur, stabilization mainly enhances sharpness, not noise reduction directly. Always assess your shooting situation for best results.
Are There Specific Brands or Models Known for Better Noise Performance?
You’ll find that brands like Sony, Canon, and Nikon excel in noise performance due to advanced sensor technology and noise reduction features. Sony’s Alpha series, Canon’s EOS line, and Nikon’s Z series are especially known for minimizing noise at high ISO settings. These brands invest heavily in sensor innovations, enabling you to capture clearer images even in low light, with improved noise reduction to maintain sharpness and detail.
How Does Shooting in Different Lighting Conditions Affect Noise and Sharpness?
Imagine capturing a sunset’s warm glow, where low light temp challenges your camera, increasing noise. In bright daylight, sharpness shines, but in low light, noise creeps in, especially if your subject moves. You notice that high ISO settings amplify noise, affecting detail, while fast shutter speeds help freeze motion, preserving sharpness. Adjusting your camera’s settings based on light temp and subject movement guarantees clearer images across varied lighting conditions.
Conclusion
By understanding how ISO, lens settings, and post-processing affect your images, you can strike the perfect balance between sharpness and noise. Choosing the right equipment and techniques helps you capture clearer, more detailed photos without unwanted grain. Remember, isn’t the goal to create stunning images that tell your story perfectly? With these tips, you’re well on your way to mastering sharpness and noise—so go out and shoot with confidence!
