
To avoid common mistakes in advanced gain and viewing angles, guarantee you calibrate gain properly and match settings to your environment. Don’t ignore viewing restrictions or screen uniformity issues that can cause color shifts and image inconsistencies. Be aware of external interference and always test your system under different conditions. Regular maintenance and tracking adjustments prevent larger problems. Keep these tips in mind, and you’ll discover how to optimize your system more effectively.
Key Takeaways
- Regularly calibrate gain and viewing angles to prevent image degradation and maintain system accuracy.
- Properly align antenna polarization and shielding to minimize external interference affecting gain and angles.
- Avoid ignoring display angle limitations to prevent color shifts, signal loss, and reduced viewing experience.
- Adjust brightness and contrast considering ambient lighting for optimal visual quality and comfort.
- Conduct routine maintenance and testing across different conditions to identify and correct calibration and uniformity issues.
professional display calibration tools
As an affiliate, we earn on qualifying purchases.
As an affiliate, we earn on qualifying purchases.
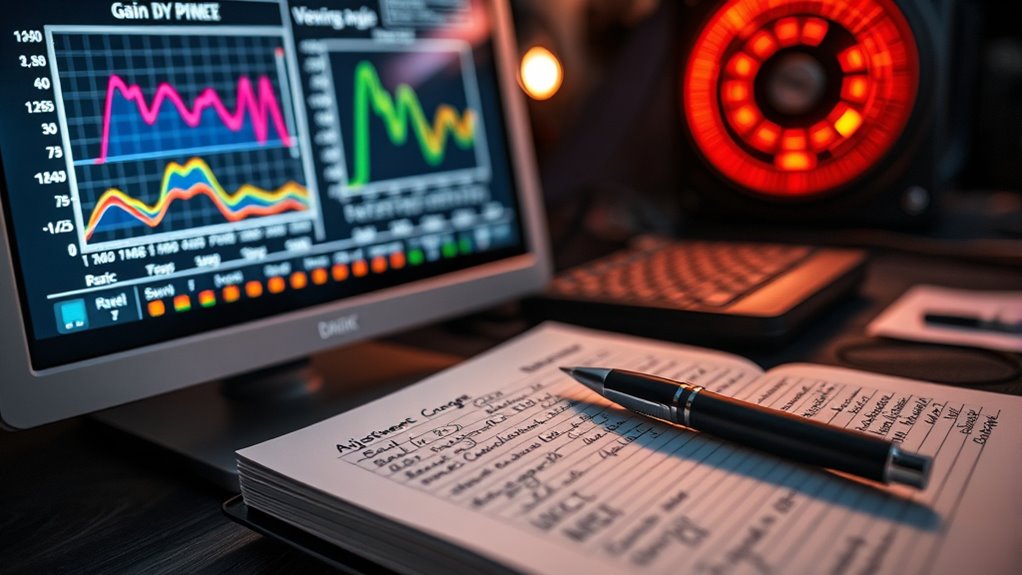
Ignoring the Importance of Proper Gain Calibration
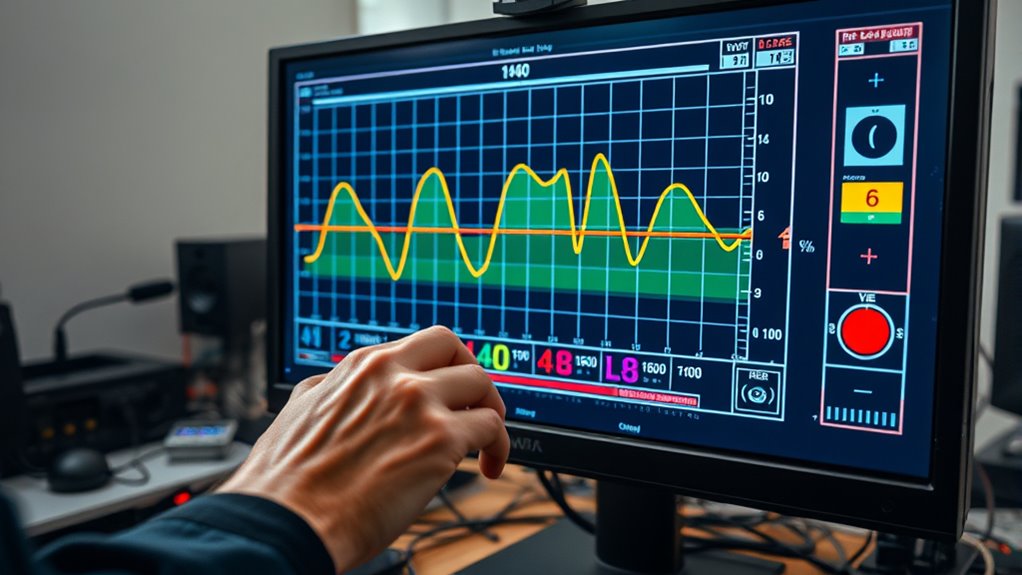
Proper gain calibration is essential for peak viewing performance, yet many overlook its importance. Without accurate calibration, your device’s calibration accuracy suffers, leading to inconsistent image quality. Wavelength stability plays a pivotal role here, as fluctuations can skew gain settings and distort results. If you ignore proper calibration procedures, you risk compromising the entire system’s effectiveness. Regularly checking and adjusting gain ensures your equipment maintains wavelength stability, which directly impacts calibration accuracy. This consistency allows you to trust your readings and optimize performance. Skipping proper calibration not only degrades image clarity but also introduces errors that can be difficult to troubleshoot later. To maximize your system’s potential, prioritize accurate gain calibration, focusing on maintaining wavelength stability at every step. Additionally, understanding the different types of air purification technologies can help you choose the right system for your needs.
antenna polarization alignment kit
As an affiliate, we earn on qualifying purchases.
As an affiliate, we earn on qualifying purchases.
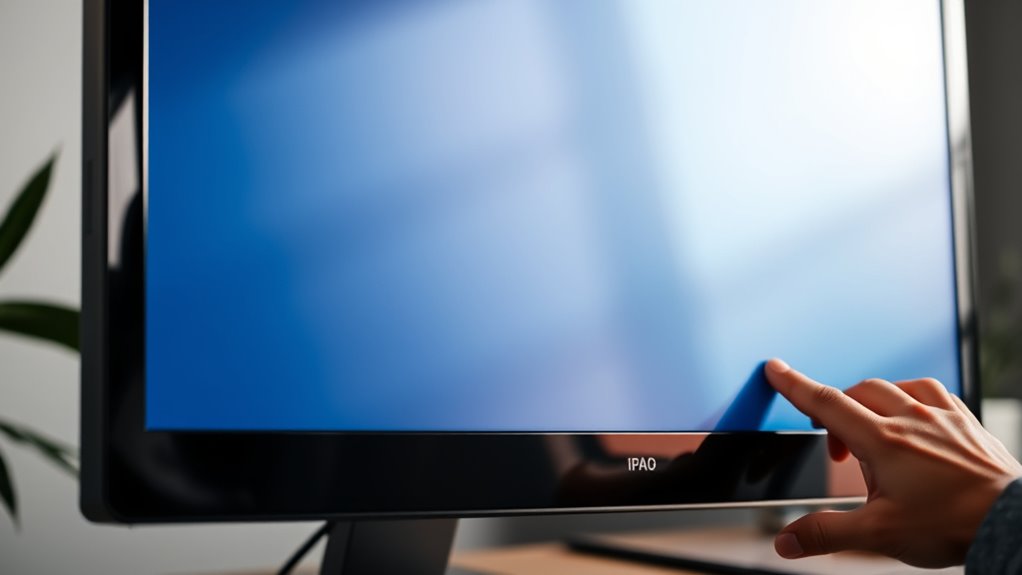
Overlooking the Impact of Viewing Angle Restrictions
If you ignore viewing angle restrictions, you might notice signal loss or color shifts when viewing from certain angles. These limitations can diminish your overall experience and make displays appear inconsistent. Pay attention to these factors to guarantee ideal picture quality from every position. Additionally, understanding how Kia Tuning options can influence vehicle performance ensures you make informed modifications that complement your display setup.
Signal Loss at Angles
Ignoring how viewing angle restrictions affect signal strength can lead to unexpected disruptions in your setup. When signals hit certain angles, polarization effects can weaken or distort the signal, causing loss of clarity or dropped connections. This is especially true if your equipment isn’t aligned properly, as misaligned polarization can increase interference, making interference mitigation more challenging. Signal loss at angles isn’t just about direct line-of-sight; it’s also about how signals interact with surfaces and each other at specific orientations. By understanding these angle-dependent effects, you can adjust your antenna placement and polarization settings to minimize losses. Being aware of how angles influence polarization effects and interference helps ensure a stronger, more reliable signal, avoiding unexpected disruptions in your system. Additionally, discoloration and mold in materials can indicate deterioration that might affect signal surfaces or equipment, emphasizing the importance of proper maintenance.
Color Shift Effects
Viewing angle restrictions not only affect signal strength but also influence how colors appear on your screen. When you view from an angle, you might notice color distortion, where hues shift or fade, leading to hue inconsistency. This happens because certain display technologies, like LCDs or OLEDs, have limited viewing angles that cause the colors to change or become less accurate when you’re off-center. Ignoring these effects can result in a distorted image and misinterpretation of visual details. To avoid this, select screens with wider viewing angles or position your display directly in front of you. Understanding how viewing angles impact color fidelity helps you maintain vibrant, accurate visuals and prevents unexpected color shifts that compromise your viewing experience. Additionally, display technology differences determine how well colors are preserved at various angles.
Limited Viewing Experience
Overlooking the impact of viewing angle restrictions can considerably limit your overall viewing experience. When the screen’s viewing angle is narrow, you may find yourself constantly adjusting your position or experiencing color shifts as you move off-center. This affects your viewing distance, making it harder to enjoy content fully. Additionally, ambient noise can become more distracting if your focus is strained due to poor angles. To avoid these issues, consider the following:
- Choose screens with wide viewing angles for better flexibility
- Position yourself directly in front to minimize color shift and distortion
- Maintain an ideal viewing distance for consistent image quality
- Be mindful of ambient noise that can distract you from the viewing experience
- Opt for Floating on Water-themed displays that often feature better angles and clarity to enhance your viewing enjoyment
These steps ensure a clearer, more immersive experience regardless of your setup.

DoHonest Baby Car Camera HD 1080P – Rear-Facing Car Baby Monitor with Night Vision, Adjustable View Angle, Easy Setup, Anti-Glare Display, Safety for Kids & Infants
IMMEDIATE PEACE OF MIND FOR PARENTS & INFANTS: Keep an eye on your baby in real-time with the…
As an affiliate, we earn on qualifying purchases.
As an affiliate, we earn on qualifying purchases.
Using Incorrect Gain Settings for Different Environments

Choosing the right gain setting is crucial because an incorrect adjustment can substantially impair your device’s performance in different environments. If you don’t tailor your gain adjustment, you risk either amplifying unwanted noise or missing critical signals. For indoor settings with low light, lower gain helps reduce background noise and enhances image clarity. Conversely, outdoor environments or large spaces may require higher gain to capture distant details effectively. Failing to adjust gain accordingly hampers environment enhancement, leading to poor visibility or excessive noise. Always evaluate your surroundings before setting gain levels, and make incremental adjustments to find the balance that maximizes detail without sacrificing image quality. Proper gain management ensures your device adapts seamlessly to any environment, delivering excellent performance every time. Understanding environmental conditions is essential for optimal gain configuration.

Interference Mitigation in Device-to-Device Communications
As an affiliate, we earn on qualifying purchases.
As an affiliate, we earn on qualifying purchases.
Neglecting to Consider Brightness and Contrast Balance
Neglecting to contemplate the balance between brightness and contrast can markedly degrade your image quality. When brightness imbalance occurs, parts of the image may appear washed out or too dark, while contrast issues can flatten details or create harsh distinctions. Failing to adjust these settings properly leads to dull visuals or exaggerated highlights that distract viewers.
Neglecting brightness and contrast balance can ruin your image quality and distract viewers.
- Overly high brightness causes glare and reduces detail in bright areas
- Low contrast makes images appear flat and lifeless
- Ignoring contrast adjustments can hide subtle details
- Brightness imbalance skews color accuracy and overall clarity
Failing to Account for Screen Uniformity Issues
Ignoring screen uniformity issues can lead to uneven brightness and color inconsistencies across the display. You might miss subtle shifts that affect image quality and viewer experience. Addressing these problems guarantees accurate, consistent visuals from every angle. Regular calibration and visual inspection can help detect and correct these discrepancies early.
Inconsistent Brightness Distribution
Inconsistent brightness distribution can markedly impact your viewing experience if you don’t account for screen uniformity issues. When brightness varies across the display, it can cause uneven color consistency and distract from image clarity. To prevent this, consider these factors:
- Check for areas with dimmer or brighter spots to assess brightness uniformity.
- Be aware that screen age or damage can worsen uniformity problems.
- Recognize that poor uniformity affects not just brightness but also color consistency.
- Choose displays with proven uniformity ratings for critical viewing needs.
- Regular calibration and maintenance can help maintain screen uniformity and ensure consistent image quality over time.
Overlooking Color Shifts
Since screen uniformity issues can cause subtle color shifts across the display, it’s important to monitor how colors change from one area to another. Overlooking these shifts can compromise color fidelity and hue stability, making images appear inconsistent or inaccurate. When evaluating a screen, check for variations in color saturation and hue across different zones, especially in dark or bright scenes. Ignoring these issues can lead to misjudging the display’s true color performance. To guarantee accurate color reproduction, account for potential uniformity problems during calibration and testing. Addressing these shifts helps maintain consistent color fidelity, ensuring your display delivers true-to-life images without unexpected hue changes or color inconsistencies. Recognizing and managing screen uniformity issues is key to achieving excellent viewing quality. Additionally, understanding local laws can help in making informed decisions about calibration standards and troubleshooting.
Misjudging the Optimal Positioning of the Display
Many people underestimate how crucial proper display positioning is for an ideal viewing experience. If your display isn’t correctly positioned, factors like display size and screen resolution won’t matter much. You might strain your eyes or miss out on optimal image quality. To avoid this, consider these points:
- Place the screen at eye level to prevent neck strain and ensure comfortable viewing angles.
- Position the display to maximize the benefits of your display size, avoiding overly large or small setups.
- Adjust the distance so you can comfortably see the entire screen without excessive head movement.
- Guarantee ambient lighting doesn’t cause glare or reflections that diminish screen resolution clarity.
- Implementing automation technologies in your setup can help optimize the positioning and environment for better viewing comfort.
Getting the positioning right helps you enjoy the full potential of your display, regardless of its size or resolution.
Relying Solely on Default Settings Without Fine-Tuning
While proper positioning sets the foundation for an ideal viewing experience, relying solely on default display settings can still limit your enjoyment. Default settings are generic and often don’t suit your specific environment or preferences. If you don’t fine-tune them, you risk improper calibration, which can lead to dull images, inaccurate colors, or washed-out contrast. Many people accept default settings as perfect, but they rarely are. Fine-tuning your display allows you to optimize brightness, contrast, and color balance, enhancing clarity and realism. Ignoring this step can cause eye strain and reduce overall satisfaction with your viewing experience. Take the time to adjust your settings beyond the defaults—your eyes and your picture quality will thank you.
Disregarding the Effects of Ambient Lighting Conditions
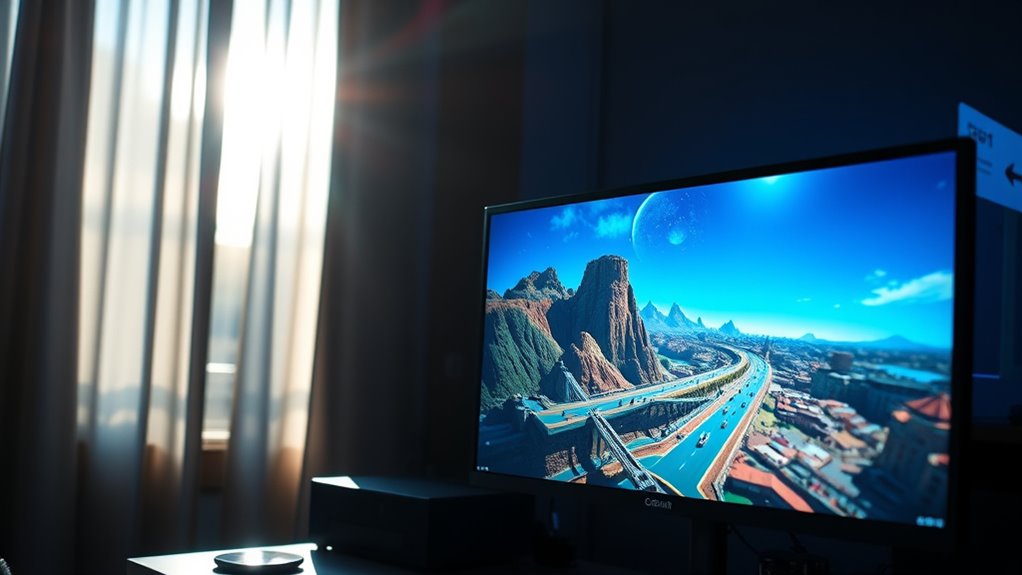
Ignoring ambient lighting conditions can considerably diminish your viewing experience because lighting directly affects how colors and contrast appear on your screen. If you neglect ambient lighting, your display may look washed out or overly dark, and glare can become a major issue. To improve your viewing, consider these factors:
Neglecting ambient lighting can wash out colors and cause glare, reducing your viewing quality.
- Adjust screen brightness based on ambient lighting levels.
- Use curtains or blinds to control natural light.
- Employ glare management techniques, like anti-reflective screens or positioning your display away from windows.
- Optimize room illumination to reduce reflections and enhance contrast.
Ignoring the Compatibility of Gain and Viewing Angle With Content Types

Failing to contemplate how gain settings and viewing angles match different content types can lead to subpar visual experiences. Not considering content compatibility might cause oversaturation or washed-out images, reducing clarity and color accuracy. For example, high gain levels suited for bright scenes can distort darker content, while narrow viewing angles may limit visibility for detailed graphics or text. Proper display optimization requires understanding the content you’re viewing—whether it’s video, text, or detailed graphics—and adjusting gain and angles accordingly. Ignoring these factors can hinder your ability to enjoy content at its best. To maximize visual quality, tailor gain and viewing angle settings to match the specific content type, ensuring ideal, color fidelity, and overall viewing comfort.
Overcompensating With Excessive Gain Adjustments
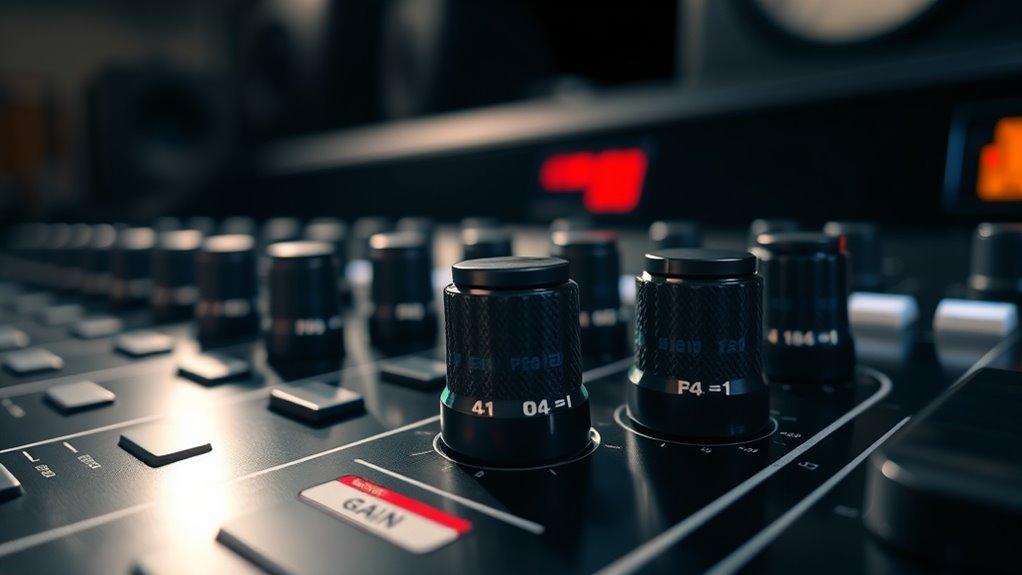
When you overadjust the gain, you risk introducing signal distortion that can make images look unnatural. Excessive gain often reduces overall signal clarity, causing details to become blurry or hard to see. It’s important to find a balance that enhances visibility without sacrificing picture quality.
Signal Distortion Risks
Overcompensating with excessive gain adjustments can lead to signal distortion, which degrades image quality and hampers your viewing experience. When you push gain too high, the signal becomes overloaded, causing unwanted artifacts and noise. This not only affects picture clarity but can also interfere with audio enhancement features, reducing overall sound quality. Additionally, over-amplification wastes power and decreases efficiency, as your system works harder without meaningful gains. To avoid these issues, monitor your gain levels carefully and aim for a balanced setting. Keep in mind that more isn’t always better; excessive gain often results in diminished returns and increased distortion risks. Proper gain management ensures ideal image integrity, better audio performance, and improved power efficiency.
Reduced Signal Clarity
Pushing gain levels too high can directly reduce signal clarity, making images look blurry or grainy. When you overadjust gain, the audio clarity suffers because the signal becomes distorted, leading to muffled or harsh sounds. This excessive gain also impacts content resolution, causing fine details to blur or pixelate. Instead of improving picture quality, overcompensation introduces noise and reduces sharpness. Striking the right balance in gain settings ensures your signal remains clean and clear. Focus on maintaining suitable gain to preserve both audio clarity and the integrity of the visual content. Remember, more gain isn’t always better; it often compromises overall signal quality, making your viewing experience less enjoyable. Proper adjustments help achieve crisp images and authentic sound without sacrificing clarity.
Underestimating the Role of Polarization and Filter Effects

Many enthusiasts overlook how polarization and filter effects can considerably influence gain and viewing angles. These factors are often underestimated but play a vital role in signal strength and clarity. Polarization effects can cause signals to weaken or cancel out if the transmitter and receiver aren’t aligned properly. Filter interactions can also alter the signal, sometimes reducing gain unexpectedly. To optimize performance, you need to take into account:
- Properly aligning antenna polarization to minimize losses
- Recognizing how polarization mismatch impacts gain
- Understanding how filters can attenuate or enhance signals
- Accounting for filter effects when adjusting viewing angles
Ignoring these aspects can lead to false assumptions about your system’s capabilities. Paying attention to polarization effects and filter interactions ensures you maximize gain and achieve accurate, reliable signal transmission.
Ignoring Potential Interference From External Sources

External signals can interfere with your measurements if you don’t account for them. Proper shielding and grounding are essential to minimize this interference. Ignoring these factors can lead to inaccurate results and compromised system performance.
External Signal Interference
When considering gain and viewing angle performance, overlooking potential external signal interference can lead to unexpected disruptions. Electromagnetic interference from nearby devices, power lines, or radio signals can cause signal attenuation, weakening your signal strength and clarity. Ignoring these external sources increases the risk of unpredictable performance issues. To minimize this, be aware of common interference sources and their impact.
- Keep sensitive equipment away from large electrical devices
- Use proper cable routing to reduce electromagnetic interference
- Avoid placing antennas near metal objects or reflective surfaces
- Regularly check for external signals that may cause interference
Addressing external signal interference ensures consistent gain and ideal viewing angles, preventing costly troubleshooting later.
Shielding and Grounding
Shielding and grounding techniques are essential in preventing external signals from disrupting your gain and viewing angle performance. Poor grounding issues can lead to noise, signal degradation, and inconsistent results. To avoid this, ensure your equipment is properly grounded with low-resistance connections. Use effective shielding techniques, like metal enclosures or shielding cables, to block electromagnetic interference from external sources. Proper grounding helps dissipate unwanted currents, reducing interference that can skew your measurements. Always verify that your grounding connections are secure and free of corrosion. Implementing solid shielding techniques minimizes the risk of external signals penetrating your system. By addressing grounding issues and applying proper shielding, you improve signal integrity, enhance accuracy, and maintain reliable gain and viewing angle performance.
Not Testing the System Under Different Viewing Conditions

Failing to test your system under different viewing conditions can lead to unexpected issues once it’s in use. You might find that the image quality or viewing comfort drops at certain angles, affecting user experience. Additionally, overlooking these tests can compromise system durability, as some angles may cause unnecessary strain on components. To prevent these problems, consider:
Testing different viewing angles ensures consistent image quality and system durability.
- Checking image clarity across all typical viewing angles
- Ensuring consistent brightness and contrast in various lighting environments
- Evaluating system performance during prolonged use at different tilt and swivel positions
- Confirming that the system maintains stable viewing comfort over time
Performing these tests helps you identify potential weaknesses early, ensuring your setup remains reliable and provides ideal viewing comfort from all perspectives.
Failing to Document and Track Adjustment Changes
Neglecting to document and track adjustment changes can lead to confusion and inconsistent performance over time. Without proper records, you may forget what settings worked best or how adjustments affected image quality. Maintaining calibration logs helps you keep a detailed adjustment history, making future tweaks more efficient. By tracking every change, you can identify patterns or recurring issues that impact gain and viewing angles. This documentation also saves time during troubleshooting, since you won’t need to redo tests or guess previous settings. Overlooking this step risks losing valuable insights into your system’s behavior, leading to unnecessary adjustments or degraded performance. Consistently recording your adjustment history ensures you have a clear, reliable reference to optimize your setup effectively and maintain consistent image quality.
Neglecting Regular Maintenance and Re-calibration
Regular maintenance and re-calibration are essential to keep your gain and viewing angle settings performing at their best. Without routine inspections and adherence to calibration schedules, small issues can escalate, causing inaccurate adjustments and compromised performance. Skipping these steps risks drifting out of ideal alignment, leading to distorted signals or uneven viewing angles. To avoid these pitfalls, ensure you regularly check your equipment’s calibration status and perform necessary adjustments. Establish a maintenance routine that includes cleaning, inspecting components, and recalibrating as needed. This proactive approach maintains signal integrity and prolongs your equipment’s lifespan. Remember, consistent care isn’t just about fixing problems; it’s about preventing them altogether and keeping your advanced gain and viewing angle setup reliable and precise.
Frequently Asked Questions
How Do I Determine the Ideal Gain Setting for Specific Content Types?
To determine the ideal gain setting for specific content types, start with content calibration to understand its brightness and contrast needs. Adjust the gain gradually while previewing the content, aiming for signal optimization without over-amplifying noise or losing detail. You should find a balance where the picture remains clear and vibrant. Regularly review different content to guarantee your gain setting adapts effectively, enhancing overall viewing quality.
What Are the Best Practices for Adjusting Viewing Angles in Multi-User Setups?
Think of your display as a stage and your audience as actors in perfect harmony. To adjust viewing angles in multi-user setups, prioritize display calibration for even brightness and color. Position your audience so they face the screen directly, avoiding glare and distortion. Use adjustable mounts for flexible angles, ensuring everyone has a clear view. Remember, ideal viewer positioning keeps your content sharp and engaging for all.
How Does Polarization Affect Gain and Viewing Angle Performance?
Polarization effects considerably impact gain and viewing angle performance by influencing signal strength and clarity. When your antenna’s polarization aligns with the transmitter, gain enhancement occurs, resulting in stronger signals and better coverage. Conversely, mismatched polarization reduces gain, causing weak signals and limited viewing angles. To maximize performance, make certain your antenna’s polarization matches that of the signal source, maintaining alignment for ideal gain and broader viewing angles.
What Tools Are Recommended for Measuring and Calibrating Gain Accurately?
Did you know proper calibration improves antenna gain accuracy by up to 15%? To measure and calibrate gain precisely, you should use measurement tools like network analyzers and power meters. These tools help you assess performance accurately. Combine them with calibration techniques such as standard reference antennas and matched loads to guarantee reliable results. Using these methods ensures your gain measurements are consistent and trustworthy, optimizing your antenna’s performance effectively.
How Often Should System Recalibration Be Performed for Optimal Results?
You should perform calibration regularly, ideally every 6 to 12 months, depending on your system’s usage and environment. Establish a clear maintenance schedule to guarantee consistent accuracy and peak performance. Frequent calibration helps prevent drift in gain and viewing angles, reducing errors and maintaining image quality. Keep track of calibration dates and adjust frequency based on system stability and manufacturer recommendations to achieve the best results.
Conclusion
By avoiding these 15 common mistakes, you guarantee your display system performs at its best. Regular calibration and understanding viewing angles truly matter—think of it like tuning a musical instrument; neglecting it can lead to discord. Investing time now in proper setup and maintenance prevents costly errors later, proving that consistent care and attention to detail considerably enhance your viewing experience and system longevity. Don’t underestimate the power of good calibration; it’s the key to ideal performance.

![[Invitation] Galaxy Unpacked July 2026: A New Shape Unfolds](https://4kprojectorguide.com/wp-content/uploads/2026/07/invitation-galaxy-unpacked-july-2026-a-new-shape-unfolds-featured-560x300.jpg)