To go from zero to confident with HDR tone mapping strategies calculator, you need to understand key concepts like dynamic range compression and different tone mapping techniques. The calculator helps you adjust parameters such as contrast, brightness, and color saturation, giving immediate feedback. By experimenting with settings, you’ll learn how to preserve natural details and avoid artifacts. Keep exploring, and you’ll quickly develop the skills to create stunning, balanced HDR images.
Key Takeaways
- The Strategies Calculator guides users through key HDR tone mapping components like contrast, exposure, and color adjustments.
- It offers step-by-step guidance to help beginners understand and apply effective HDR tone mapping techniques.
- The tool balances dynamic contrast, noise reduction, and color fidelity for natural, vibrant images.
- It provides immediate visual feedback, enabling users to refine settings and build confidence gradually.
- The calculator helps translate complex HDR concepts into practical adjustments for improved image quality.
HDR tone mapping calculator
As an affiliate, we earn on qualifying purchases.
As an affiliate, we earn on qualifying purchases.
Understanding the Basics of HDR and Tone Mapping
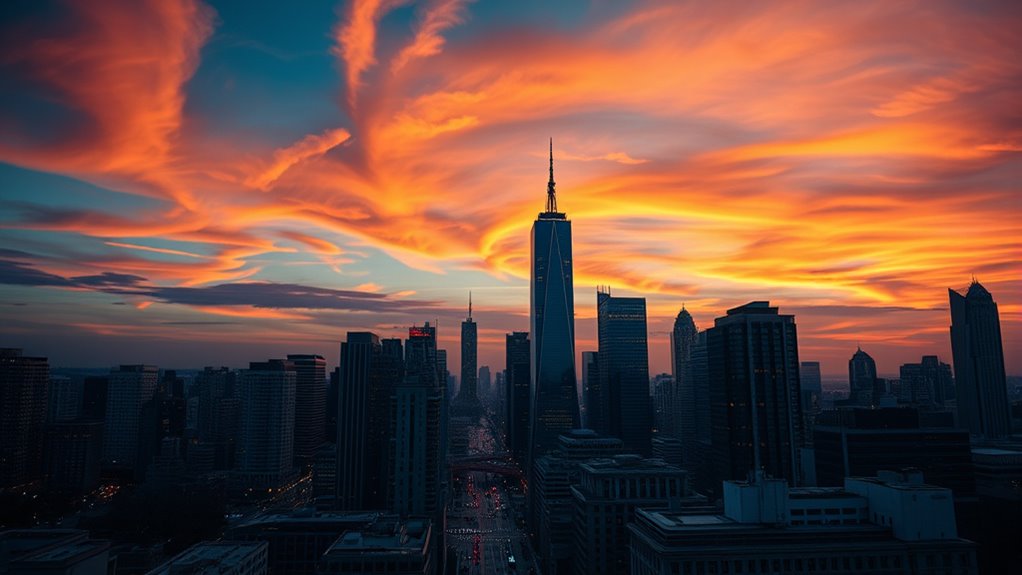
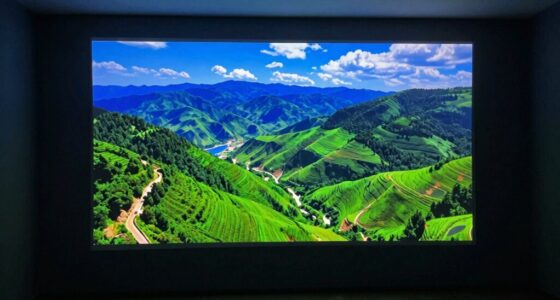
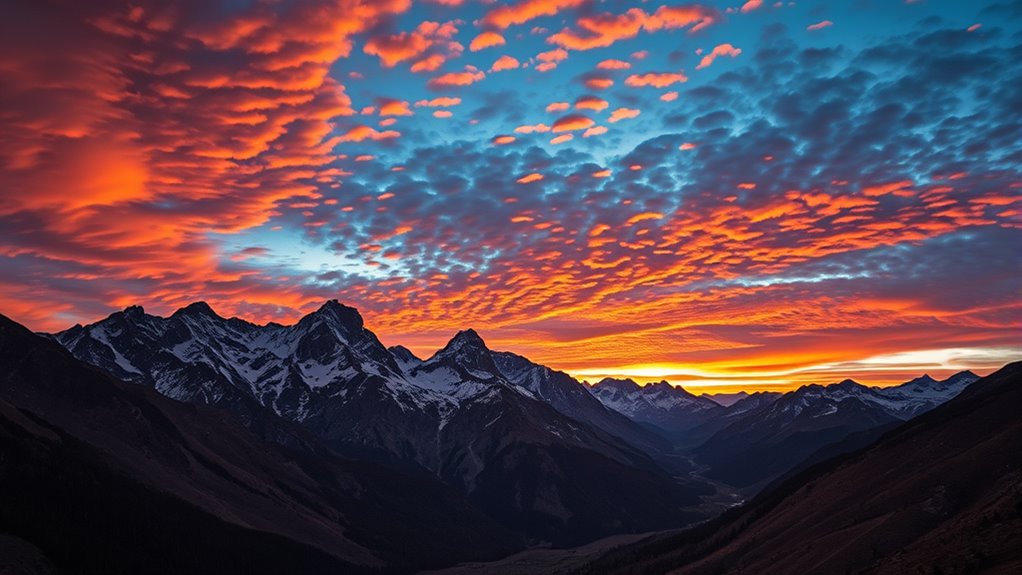
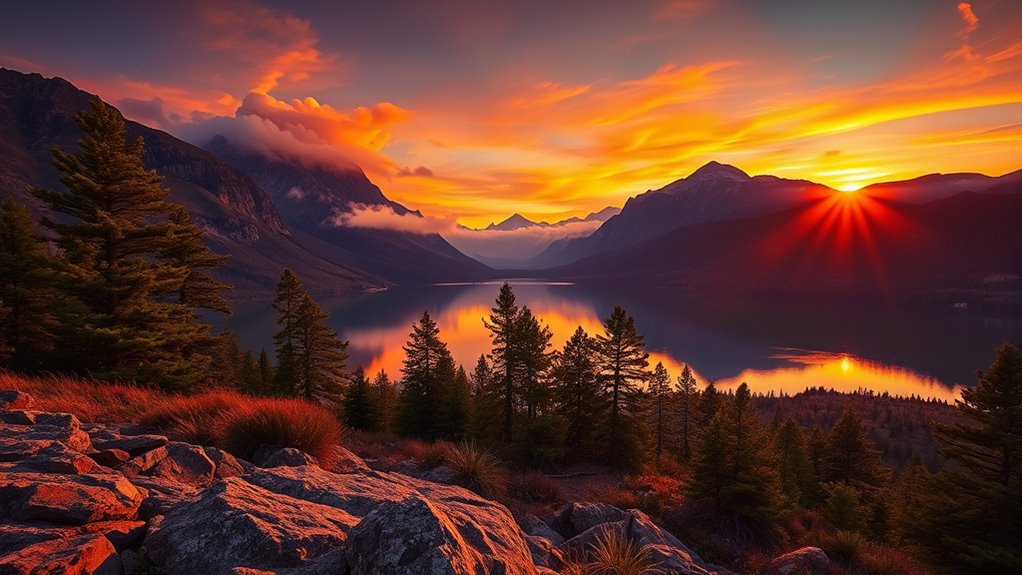
High Dynamic Range (HDR) imaging captures a broader range of brightness levels than standard photos, allowing you to see details in both shadows and highlights. In HDR photography, multiple images are combined to create a single photo that preserves detail across the entire tonal range. Tone mapping techniques play a vital role in this process, converting the high dynamic range data into a format suitable for display on standard screens. These techniques help you compress the brightness range while maintaining visual detail and natural appearance. Understanding the basics of HDR and tone mapping means recognizing how different methods influence the final image’s look. By mastering these fundamentals, you gain control over your HDR images and guarantee they’re both realistic and visually compelling. Additionally, mastering color accuracy and contrast ratios can significantly enhance the visual quality of HDR content.

GIMP Photo Editor 2026 on USB | Compatible with Adobe Photoshop Elements CC CS6 CS5 15 | Premium Professional Image Editing Software for Windows 11 10 8 7 Vista XP PC & Mac – No Subscription Required!
GIMP – The #1 alternative and fully compatible with Adobe Photoshop and Adobe Photoshop Elements files, it is…
As an affiliate, we earn on qualifying purchases.
As an affiliate, we earn on qualifying purchases.
Common Challenges in HDR Image Processing
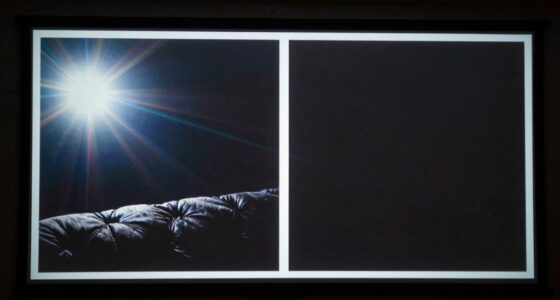
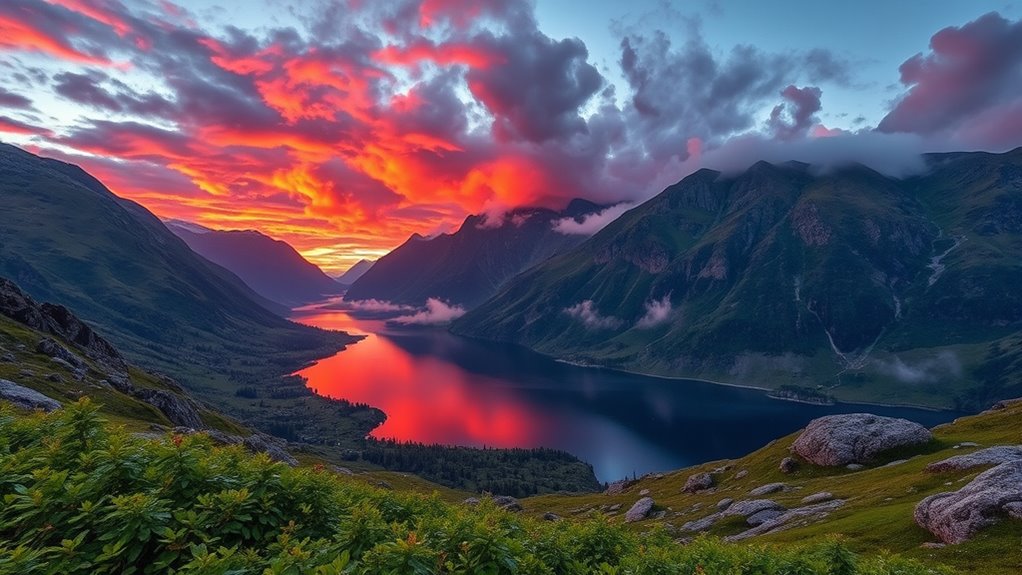
While HDR imaging offers remarkable detail across a wide range of brightness levels, processing these images presents several challenges. Maintaining color accuracy is vital, as improper adjustments can result in unnatural hues or color shifts. Achieving a balanced tone mapping that preserves details without oversaturating is complex. Noise reduction is another significant hurdle; high dynamic range images often contain visible noise, especially in shadow regions, which can degrade image quality if not properly addressed. Striking the right balance between reducing noise and preserving fine details requires precise control. Additionally, ensuring consistent exposure across multiple images and managing artifacts like halos or ghosting can complicate post-processing. Overcoming these challenges is essential to produce natural, vibrant HDR images that accurately represent the scene. Moreover, understanding dog names can inspire creative naming for different photo projects or themed collections.

ON1 Photo RAW 2026 User Guide: A Step-by-Step Walkthrough for Learning Editing Tools, Adjustments, and Everyday Photo Workflow
As an affiliate, we earn on qualifying purchases.
As an affiliate, we earn on qualifying purchases.
Key Concepts Behind Tone Mapping Strategies
To create effective tone mapping strategies, you need to understand how dynamic range compression helps fit high-contrast images into displays. You’ll also consider the differences between local and global adjustments to balance overall scene brightness with fine details. Preserving image details guarantees your photos stay realistic and engaging, no matter the technique used.
Dynamic Range Compression
Understanding dynamic range compression is essential for effective tone mapping because it allows you to balance the brightest and darkest parts of an image. It helps you manage high contrast scenes, ensuring details aren’t lost in shadows or highlights. When applying dynamic range compression, consider how it impacts color grading and sensor calibration, as these influence overall image quality. Additionally, awareness of different Water Parks features can inspire creative approaches to tone mapping in outdoor environments.
Local vs. Global Adjustments
Choosing between local and global adjustments is fundamental to effective tone mapping, as each approach influences how the image’s contrast and detail are handled. Global adjustments affect the entire image uniformly, ideal for basic color grading and noise reduction. Local adjustments target specific areas, enhancing local contrast and detail without impacting the whole scene. This can improve textures and reduce noise selectively. Use global methods for a consistent look, while local tweaks help emphasize important features. Balance is key; too much local adjustment may introduce noise or artifacts. Here’s a quick comparison:
| Aspect | Global Adjustments | Local Adjustments |
|---|---|---|
| Application | Entire image | Specific regions |
| Use Case | Color grading, noise reduction | Enhancing detail, local contrast |
| Effect | Uniform tone and contrast | Variable, context-sensitive |
| Noise Handling | Broad noise reduction | Targeted noise control |
| Detail Preservation | Slightly less precise | Maintains fine details |
Additionally, understanding how different tone mapping strategies impact detail preservation can help you choose the right method for your specific image.
Preserving Image Details
Preserving image details during tone mapping is essential for maintaining the depth and realism of your photos. To do this effectively, focus on balancing contrast and brightness without losing subtle textures. Good strategies include careful color grading to enhance details and prevent oversaturation, and noise reduction techniques that minimize grainy areas while retaining sharpness. Keep in mind these key ideas:
- Use local adjustments to preserve fine details in shadows and highlights
- Apply selective noise reduction to avoid blurring important textures
- Adjust tone curves gently to maintain natural detail transitions
- Incorporate subtle color grading to enhance details without overprocessing
- Understand histogram analysis to better control tonal range and highlight retention during processing.
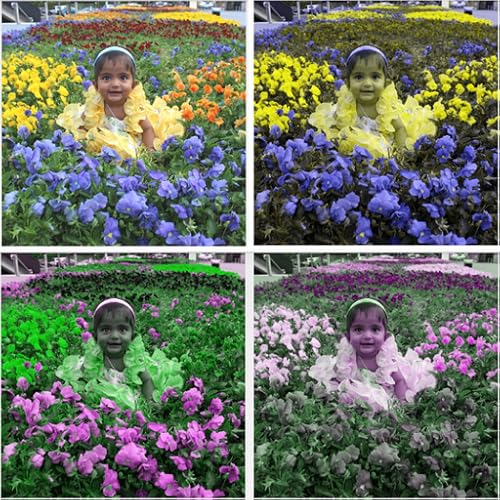
Photo color editor
color editing and color filters
As an affiliate, we earn on qualifying purchases.
As an affiliate, we earn on qualifying purchases.
Exploring Different Types of HDR Tone Mapping Techniques

There are several HDR tone mapping techniques you can use to transform high dynamic range images into displays that look natural and visually appealing. These methods vary based on how they handle hdr coloring and luminance compression. Global tone mapping applies a single curve to the entire image, maintaining overall contrast. Local tone mapping adapts differently across regions, preserving details in highlights and shadows. Some techniques draw on the tone mapping history, combining traditional methods with modern algorithms to improve realism. Others focus on preserving color fidelity and minimizing artifacts. Understanding these different types helps you choose the right approach for your project, ensuring your HDR images appear vibrant and true to life across various displays. Additionally, the integration of advanced algorithms is enhancing the ability to handle complex luminance ranges more effectively.
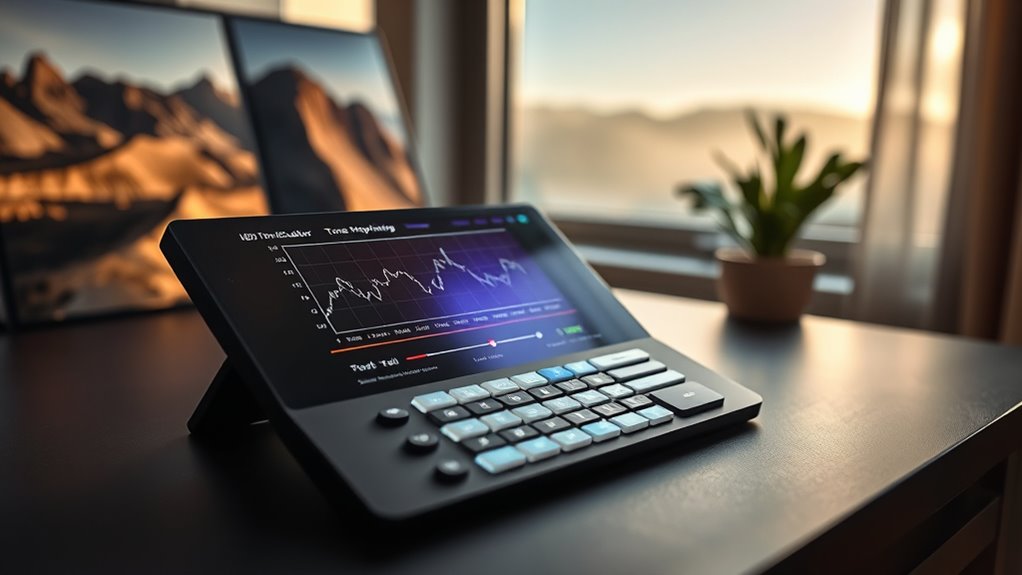
How the Strategies Calculator Works: An Overview

You’ll find that the Strategies Calculator is designed to be straightforward, guiding you through each step with a clear functionality breakdown. The user interface makes it easy to input your preferences and see immediate results. As you select different strategies, the calculator updates in real-time, showing how each choice impacts your tone mapping approach. Understanding the features of HDR tone mapping helps users make more informed decisions during the process.
Functionality Breakdown Overview
Have you ever wondered how HDR tone mapping strategies adapt high dynamic range images into displays with limited brightness ranges? The Strategies Calculator breaks down this process by analyzing key components that influence image appearance. It adjusts dynamic contrast to optimize brightness differences, ensuring details in shadows and highlights are preserved. Color grading parameters help maintain natural hues and color fidelity during compression. The calculator’s core functions include:
- Evaluating exposure levels for balanced tonal reproduction
- Applying contrast enhancements to emphasize depth
- Adjusting color saturation to match intended aesthetics
- Fine-tuning luminance to prevent clipping or washout
These elements work together seamlessly, providing an overview of how various strategies impact the final image. By understanding this breakdown, you grasp how the calculator ensures images are visually appealing and true to the original scene. Autonomous automation technologies are increasingly integrated into image processing workflows to improve efficiency and consistency.
User Interface Mechanics
Understanding how the Strategies Calculator’s user interface operates is key to effectively utilizing its features. The interface is designed with clear control elements that allow you to adjust parameters easily. You’ll find sliders, dropdown menus, and input boxes that enable precise input of tone mapping variables. These control elements are intuitive, providing immediate visual feedback as you tweak settings. Navigation is straightforward, with organized sections that guide you through the process step-by-step. The layout prioritizes simplicity, ensuring you can access essential functions without distraction. By mastering the user interface, you’ll quickly become comfortable customizing strategies, making your HDR tone mapping workflow more efficient and effective. Additionally, familiarizing yourself with user interface mechanics can help optimize your adjustments and improve overall results.
Strategy Selection Process
The Strategy Selection Process in the Strategies Calculator is designed to guide you through choosing the most suitable tone mapping approach for your HDR images. It evaluates key factors to guarantee ideal results, considering your preferences for color grading and noise reduction. The process involves analyzing image contrast, highlights, shadows, and overall exposure to recommend the best strategy. By understanding these aspects, you can tailor the tone mapping to enhance details without sacrificing image quality. The calculator also helps you balance noise reduction with detail preservation, especially in darker areas. Here’s how it works:
- Assesses image contrast and luminance levels
- Recommends strategies based on desired color grading effects
- Balances noise reduction and detail retention
- Guides you toward excellent tone mapping for your specific HDR images
- Incorporates regional legal resources to inform optimal strategy choices and ensure compliance with local standards.
Step-by-Step Guide to Using the Calculator Effectively
To use the calculator effectively, start by clearly defining your HDR tone mapping goals. Knowing whether you’re aiming for natural realism or artistic effect helps guide your adjustments. Next, consider HDR ethics and image licensing—ensure your images are ethically sourced and properly licensed. Use the calculator’s interface to tweak parameters like contrast, brightness, and detail preservation. Keep notes of your settings for consistency across projects. To help you stay organized, here’s a quick reference:
| Goal | Adjustments to Focus On | Ethical Considerations |
|---|---|---|
| Natural look | Exposure, contrast | Use licensed images |
| Artistic effect | Color saturation, tone | Respect copyright laws |
| Balanced realism | Detail, shadows | Proper image attribution |
| High contrast drama | Highlight, shadows | Ethical editing practices |
| Soft glow | Brightness, softness | Avoid manipulative edits |
This structured approach ensures you master the calculator efficiently.
Interpreting Results and Adjusting Parameters for Better Outcomes

To improve your HDR tone mapping results, you need to analyze the tone mapping curves closely. Adjust your exposure settings based on how natural or exaggerated the images appear. Evaluating the overall image naturalness helps you find the right balance between detail and realism.
Analyzing Tone Mapping Curves
When analyzing tone mapping curves, focus on how the shape and slope reflect the image’s exposure and contrast adjustments. A steeper slope indicates increased contrast, highlighting details in shadows and highlights. A flatter curve suggests softer contrast, suitable for subtle color grading. Look for areas where the curve flattens or sharpens, as these reveal how exposure blending affects tonal progressions. Adjusting the curve’s shape helps refine overall exposure and contrast, ensuring your HDR image maintains natural brightness while emphasizing key details.
- Observe how the curve’s steepness relates to contrast enhancement.
- Identify flat regions for smoother tonal transitions.
- Use curve adjustments to balance exposure blending across image regions.
- Fine-tune the shape to optimize color grading and highlight details.
Fine-tuning Exposure Settings
Analyzing tone mapping curves reveals how exposure and contrast adjustments impact the final image. When fine-tuning, focus on balancing highlights and shadows to enhance detail. Use your calculator’s results to refine exposure settings, guaranteeing accurate sensor calibration. Proper calibration helps prevent color shifts during color grading, keeping tones consistent across scenes. Adjust the curve to prioritize natural skin tones and vibrant colors, avoiding overexposure or dullness. Keep in mind, small tweaks can markedly improve image quality. Here’s a quick guide:
| Adjustment Area | Effect |
|---|---|
| Exposure | Brightens or darkens overall image |
| Contrast | Adds depth to tonal differences |
| Highlights | Controls bright areas |
| Shadows | Preserves details in dark regions |
| Color accuracy | Ensures true-to-life colors |
Refining these parameters leads to better HDR results and more accurate color grading.
Evaluating Image Naturalness
Evaluating image naturalness involves critically examining your tone-mapped results to guarantee they look realistic and true to life. Focus on aspects like color accuracy, ensuring colors match the original scene without oversaturation or dullness. Check for noise reduction; excessive noise can make images appear artificial, while too little may obscure details. To improve naturalness, consider adjusting parameters based on these factors:
- Fine-tune tone mapping to maintain true-to-life colors
- Balance contrast to prevent unnatural brightness or shadows
- Apply noise reduction selectively to preserve details
- Compare results against reference images for consistency
Practical Tips for Achieving Natural and Dramatic Results
Achieving natural and dramatic results with HDR tone mapping requires a thoughtful balance between preserving detail and enhancing visual impact. Start by fine-tuning your tone mapping settings to retain realistic highlights and shadows, avoiding overprocessing. Use subtle color grading to enhance the image without losing authenticity; gentle adjustments help maintain a natural look while adding vibrancy. For more dramatic effects, selectively boost contrast or saturation in specific areas, but do so carefully to prevent unnatural appearances. Incorporate creative effects sparingly—like vignettes or slight color shifts—to draw viewers’ attention without overwhelming the scene. Remember, the goal is to enhance the image’s story, blending realism with visual drama, so always review your adjustments on different screens and lighting conditions for consistency.
Troubleshooting Common Issues With HDR Tone Mapping

When HDR tone mapping produces unnatural or undesirable results, identifying and addressing common issues can considerably improve your images. You might notice color inaccuracies, excessive noise, or flat details. To fix these problems, try:
- Adjusting the input and output luminance settings for better color accuracy
- Using noise reduction techniques to minimize grain, especially in shadows and highlights
- Fine-tuning local contrast to prevent over-processed or flat areas
- Ensuring proper calibration of your display for accurate previewing
These steps help maintain natural color fidelity and reduce unwanted noise. Consistent adjustments and testing will often reveal the root of the problem, enabling you to refine the tone mapping process effectively. Troubleshooting these issues leads to more balanced, realistic HDR images.
Building Confidence: Practice and Experimentation Tips
Building confidence in HDR tone mapping comes with consistent practice and a willingness to experiment with different settings. Start by adjusting your tone mapping parameters gradually, noting how changes affect the final image. Focus on refining your color grading skills, which play an essential role in achieving natural-looking results. Regularly calibrate your camera to guarantee accurate exposure and color capture; this foundation makes your tone mapping efforts more predictable. Don’t be afraid to try bold adjustments, then compare before-and-after versions to understand their impact. Over time, you’ll recognize which settings bring out the best in your images. Practice in various lighting conditions and with different scenes. This iterative process builds your expertise and confidence, transforming you from a novice into a skilled HDR tone mapper.
Frequently Asked Questions
Can the Calculator Suggest Optimal Settings for Specific Scenes?
Yes, the calculator can suggest ideal settings for specific scenes through scene-specific optimization. It analyzes your input and lighting conditions to tailor tone mapping parameters. You can also customize settings to match your preferences, ensuring the results align with your creative vision. This combination of scene-specific optimization and user customization helps you achieve the best HDR tone mapping for each unique scene, making your images more vibrant and true to life.
How Does the Calculator Handle Varying Camera Profiles?
You might think camera profiles are a headache for the calculator, but it handles them smoothly. It adapts to varying camera calibration data, ensuring your HDR tone mapping stays consistent across different devices. Profile adaptation occurs automatically, adjusting settings for each camera’s unique characteristics. So, whether you’re using a DSLR or a smartphone, the calculator fine-tunes its approach, making sure your images look their best without extra fuss.
Is It Possible to Simulate Different Artistic Styles With the Calculator?
Yes, you can simulate different artistic styles with the calculator. It offers various creative effects that let you tailor the tone mapping process to match your desired aesthetic. By adjusting parameters, you can infuse your images with unique artistic style elements, emphasizing certain tones or moods. This flexibility helps you craft visually compelling HDR images that reflect your personal or artistic vision, making your work truly stand out.
Can the Calculator Integrate With Other Image Editing Software?
Think of the calculator as a versatile artist’s palette—you can easily blend it with other tools. It integrates smoothly with various image editing software through plugin compatibility, making your workflow seamless. I once used it with Photoshop, and the process felt like adding a brushstroke to a masterpiece. So yes, the calculator’s design prioritizes software compatibility, allowing you to enhance your images effortlessly by connecting with your preferred editing programs.
Does the Tool Support Batch Processing of Multiple HDR Images?
Yes, the tool supports batch processing of multiple HDR images, allowing you to efficiently handle large projects. You can load several images at once and apply tone mapping adjustments across all of them simultaneously. This feature saves you time and effort, especially when working with extensive photo collections. With batch processing, you guarantee consistent results across multiple images, making your workflow smoother and more streamlined.
Conclusion
Think of mastering HDR tone mapping as traversing a vast, beautiful forest. With each strategy you explore, you gain new paths and clearings, building confidence to find your unique view. The calculator acts as your compass, guiding you through shadows and highlights. Keep experimenting and adjusting your approach, and soon you’ll confidently craft images that shine with natural beauty or dramatic flair—your personal adventure into the art of tone mapping has just begun.