If your projector image is blurry, start by adjusting the focus ring until the picture sharpens, and make certain the lens is clean from dust or smudges. Check that the projector is set up at the correct distance from the screen to avoid distortion, and verify your device’s resolution matches the projector’s settings. Also, make sure all cables are secure and the source quality is good. Keep in mind, addressing these common issues can often clear up the blurriness—more tips inside.
Key Takeaways
- Ensure the projector’s focus ring or dial is properly adjusted for a sharp image.
- Clean the lens to remove dust, smudges, or fingerprints that can cause blurriness.
- Verify that the projection distance and size are correctly calibrated to match screen dimensions.
- Match the display resolution and aspect ratio settings with the projector’s native specifications.
- Check all connections and source quality, using high-resolution files and stable cables for clarity.

Cardboard Projector Lens Spacers for Custom Tuning: 61mm OD / 55mm ID
As an affiliate, we earn on qualifying purchases.
As an affiliate, we earn on qualifying purchases.
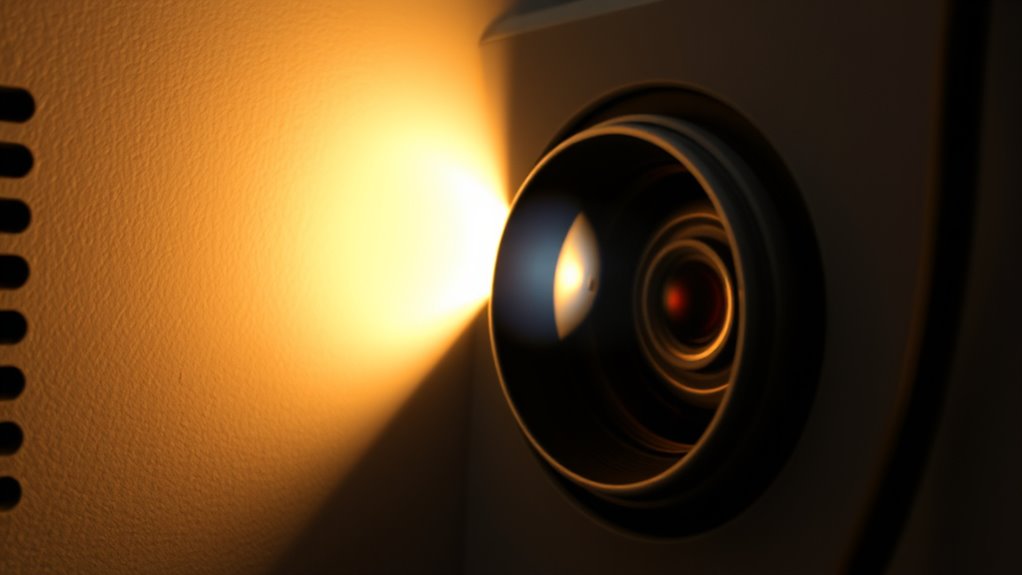
Check the Focus Settings
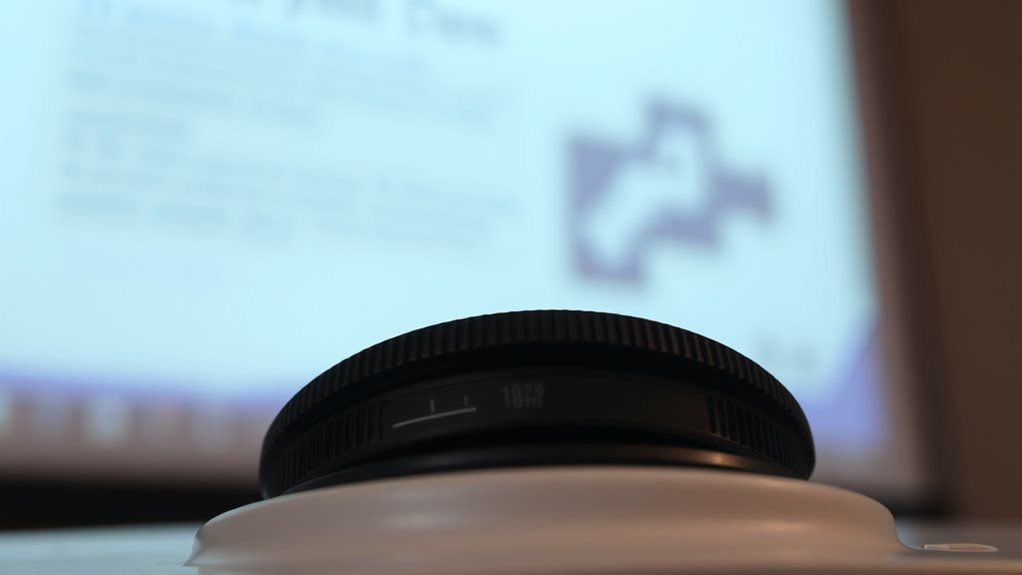
If your projector image is blurry, the first thing to do is check the focus settings. Proper focus calibration guarantees your image is sharp and clear. Adjust the focus ring or dial slowly until the projected image becomes crisp. Sometimes, a blurry picture results from the lens needing cleaning; dust or smudges can interfere with focus. Before making adjustments, inspect the lens for dirt or fingerprints and gently clean it with a soft, lint-free cloth if necessary. Don’t rush the focus calibration process—small tweaks can make a big difference. Ensuring the lens is clean and the focus is calibrated correctly can dramatically improve your image clarity. Additionally, industry transformations such as advancements in projector technology can influence optimal focus settings. Once these steps are complete, recheck the focus to confirm the image is sharp and properly aligned.

Aispour Camera Lens Cleaning Kit, 10-in-1 Camera Cleaning Kit, Camera Lens Cleaner and Camera Accessories, Includes Lens Cleaning Kit/Lens Cleaner/Lens Cleaning Pen/Soft Brush
WHAT YOU CAN GET: 1 camera lens Cleaner 50ml + 1 air blower + 1 two in one…
As an affiliate, we earn on qualifying purchases.
As an affiliate, we earn on qualifying purchases.
Inspect the Lens for Dirt or Damage

After adjusting the focus, take a moment to examine the projector lens for dirt or damage. Dirty lenses can cause blurry images, so guarantee your lens is clean and free of smudges. Also, inspect for any lens damage like cracks or scratches, which can distort the image. Maintaining lens cleanliness is essential for sharp projection, and damaged lenses may need professional repair or replacement. Use a soft, lint-free cloth and a gentle cleaner designed for lenses to clean it carefully. Here’s a quick comparison:
| Aspect | Importance |
|---|---|
| Lens cleanliness | Ensures clear, sharp images |
| Lens damage | Can cause distortion or blurriness |
| Cleaning method | Prevents scratches and preserves quality |
| Damage repair | Necessary for optimal projection |
Regular inspection keeps your projector working at its best, and understanding the lens material can help you choose the right cleaning techniques.

5 Pcs Disassembly Screen Opener Tools,0.1mm Ultra Thin Curved Screen Pry Tool Professional Stainless Steel Metal for Mobile Phone Laptop Disassemble S-creen Repair Tools(Size:5 pcs)
【Product Material】Disassembly Screen Opener Tools Constructed from durable stainless steel that resists bending and maintains shape during repeated…
As an affiliate, we earn on qualifying purchases.
As an affiliate, we earn on qualifying purchases.
Adjust the Projection Distance and Size
To achieve a clear, sharp image, you need to adjust the projection distance and size properly. Proper projection calibration ensures your projector’s image aligns with the screen’s dimensions, preventing blurriness caused by improper scaling. Move the projector closer or further from the screen to match the recommended throw ratio, which will improve image clarity and focus. Adjusting the projection size helps you avoid distortions and pixelation that occur when the image is too large or small for the screen. Keep an eye on the projector’s lens and screen alignment, ensuring the image fits correctly within the frame. Fine-tuning the projection distance and size helps produce a crisp, well-defined picture, eliminating blurriness caused by improper image scaling or misalignment. Additionally, maintaining proper projection parameters is essential for consistent image quality.
Highwings 8K 10K 4K HDMI Cable 48Gbps 6.6FT/2M, Certified Ultra High Speed 2.1 HDMI Cable Braided Cord-4K@120Hz 8K@60Hz, DTS:X, HDCP 2.2 & 2.3, HDR 10 Compatible with DVD Player/PS5/HDTV/Blu-ray
Top Technology–8K@60HZ: This 8K Ultra-High Speed HDMI Cable 2.1 uses the most cutting-edge technology, which is compatible with…
As an affiliate, we earn on qualifying purchases.
As an affiliate, we earn on qualifying purchases.
Verify the Resolution and Display Settings
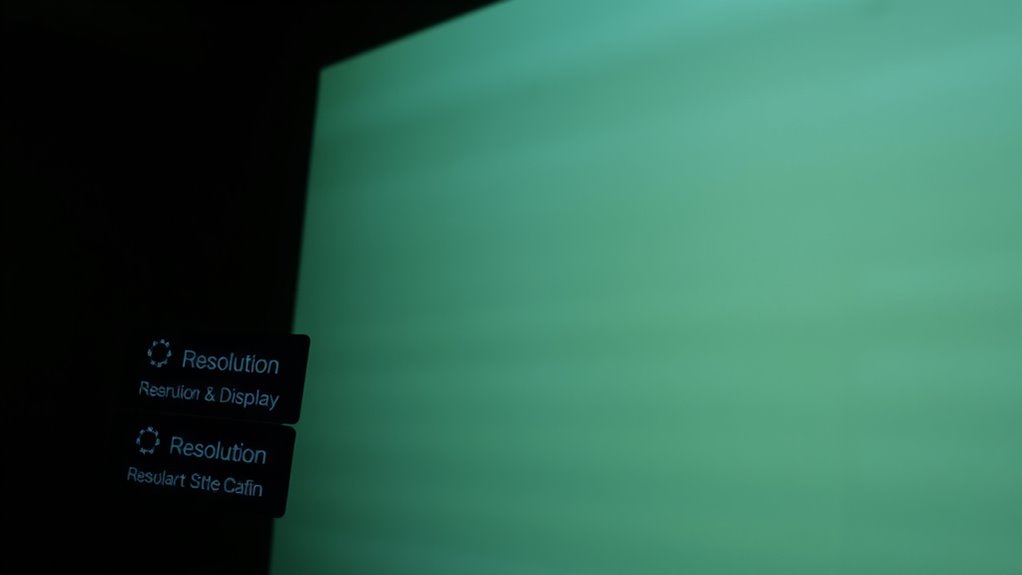
Verifying the resolution and display settings is essential for guaranteeing your projector produces a clear image. Incorrect settings often cause resolution issues, leading to blurry or pixelated images. To fix this, check your device’s display calibration and make sure it matches the projector’s native resolution. Here’s what to do:
Verify your display settings match the projector’s resolution for a sharper image.
- Ensure your source device’s resolution matches the projector’s recommended resolution.
- Adjust display settings on your computer or streaming device for ideal clarity.
- Confirm the aspect ratio is correct and not stretched or compressed.
- Color accuracy also plays a vital role in image clarity, so calibrate your projector to ensure accurate color reproduction.
Examine the Image Source and Connection Quality
Since the image source and connection quality directly affect the clarity of your projected image, it’s important to examine these components first. Start by checking the image source, ensuring it’s high resolution and compatible with your projector’s settings. Low-quality or compressed files can cause blurriness, so opt for a clear, well-defined image. Next, inspect your connection quality—whether you’re using HDMI, VGA, or another cable. Look for loose or damaged connectors, and replace any frayed or faulty cables. A shaky or poor connection can introduce signal issues that blur the image. Also, avoid using overly long or inexpensive adapters, as these can degrade signal quality. Ensuring a strong, stable connection and a high-quality source is vital for sharp, clear projected images. Additionally, understanding signal integrity can help you troubleshoot and improve your setup effectively.
Frequently Asked Questions
Can Ambient Lighting Cause My Projector Image to Appear Blurry?
Yes, ambient lighting can cause your projector image to appear blurry. When there’s too much ambient light, it diminishes the image contrast, making details less sharp and colors less vibrant. This can create a blurry or washed-out look. To improve clarity, dim or turn off ambient lighting, or use a projector with higher brightness. Adjusting your environment helps make sure your image appears crisp and clear.
Does the Projector’s Bulb Age Affect Image Clarity?
Think of your projector bulb as the soul of your display; as it ages, its brightness dims, causing a decline in image clarity and sharpness. When the bulb weakens, image blurriness increases, especially if ambient light is present. Regular software updates and proper projector alignment help maintain image quality, but replacing an old bulb is key to restoring crisp, clear visuals and eliminating that blurry effect.
How Does Temperature Impact Projector Image Sharpness?
Temperature affects your projector’s image sharpness by causing internal components to expand or contract, which can impact focus and clarity. When the device runs too hot or too cold, it may lead to a sharpness impact, making the image blurry or less defined. To maintain ideal image quality, guarantee your projector operates within the recommended temperature range. Proper ventilation and cooling can help prevent temperature-related sharpness issues.
Can Software Updates Improve My Projector’s Image Quality?
Yes, software updates can boost your projector’s image quality. Think of it as fine-tuning a musical instrument, aligning factory calibration and fixing bugs that cause image compression issues. These updates often optimize processing, reduce artifacts, and enhance sharpness. By keeping your projector’s firmware current, you guarantee a clearer, crisper picture, transforming your viewing experience from fuzzy to flawless, with every detail vividly illuminated.
What Role Does Projector Alignment Play in Image Blurriness?
Proper projector alignment is vital for a sharp image. You need to check the lens focus to guarantee clarity and make adjustments if the picture is blurry. Additionally, maintaining mounting stability prevents shifts that cause blurriness or distortion. If your projector isn’t level or stable, the image quality suffers. Regularly verify these aspects to improve focus and stability, resulting in a clearer, sharper picture.
Conclusion
When your projector image blurs, it’s like trying to see a distant star through fog—frustrating and unclear. But with a little patience and these simple steps, you can clear away the haze, revealing a crisp, vibrant picture. Think of it as tuning a fine instrument, where each adjustment brings harmony and brilliance back into your viewing experience. Don’t let blurry images dim your entertainment—bring clarity back into focus and enjoy the view.