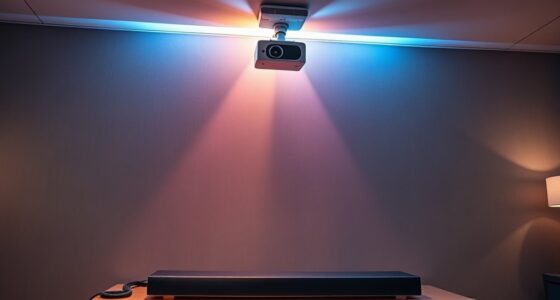
To adjust lip sync delays manually, start by accessing your media player’s settings or playback menu. Look for options like audio delay, lip sync, or synchronization adjustments. Make small, incremental changes—usually within -300 to +300 milliseconds—while previewing to find the perfect match between the audio and mouth movements. You can also use video editing tools for more precise alignment. If you want to learn detailed methods, continue exploring the next steps.
Key Takeaways
- Access your media player’s settings menu and locate options related to lip sync or audio delay adjustments.
- Use small, incremental controls to manually shift audio or subtitles within a range (e.g., -300 to +300 ms).
- Utilize waveform analysis or visual cues to identify precise sync points for manual timing corrections.
- Test adjustments repeatedly, preview the playback, and fine-tune until lip movements match spoken audio accurately.
- Close unnecessary background applications and ensure hardware/software updates to minimize processing lag affecting sync.

AudioControl ACR-1 Dash Remote Level Control with 20-ft Cable for The EPICENTER and Select AudioControl Amplifiers, Line Output Converters, Processors & Legacy Products
𝗖𝗼𝗺𝗽𝗮𝘁𝗶𝗯𝗹𝗲 𝘄𝗶𝘁𝗵 𝗧𝗵𝗲 𝗘𝗣𝗜𝗖𝗘𝗡𝗧𝗘𝗥 𝗖𝗼𝗻𝗰𝗲𝗿𝘁 𝗦𝗲𝗿𝗶𝗲𝘀: Use as a replacement remote for your digital bass restoration processor. Works…
As an affiliate, we earn on qualifying purchases.
As an affiliate, we earn on qualifying purchases.
Understanding Lip Sync Delays and Their Causes
Understanding lip sync delays begins with recognizing that they occur when the audio and video are out of sync, causing the mouth movements not to match the spoken words. Causes of delays can stem from various factors, such as processing lag, network issues, or hardware limitations. These delays lead to different types of synchronization issues, including audio lag or video lag, where one element trails behind the other. Sometimes, the problem is caused by mismatched frame rates or encoding errors. Knowing these causes helps you identify why the lip movements don’t align properly, whether the delay is caused by your media player, streaming service, or device hardware. Additionally, essential oils for technology stress relief might help reduce anxiety during troubleshooting. Recognizing these common causes is the first step toward fixing lip sync problems effectively.

Sescom A/V Lip-Sync Corrector
The SES-A-V-SYNC is a L/R In-Out audio-video synchronization corrector.
As an affiliate, we earn on qualifying purchases.
As an affiliate, we earn on qualifying purchases.
Using Media Player Settings to Adjust Sync Manually
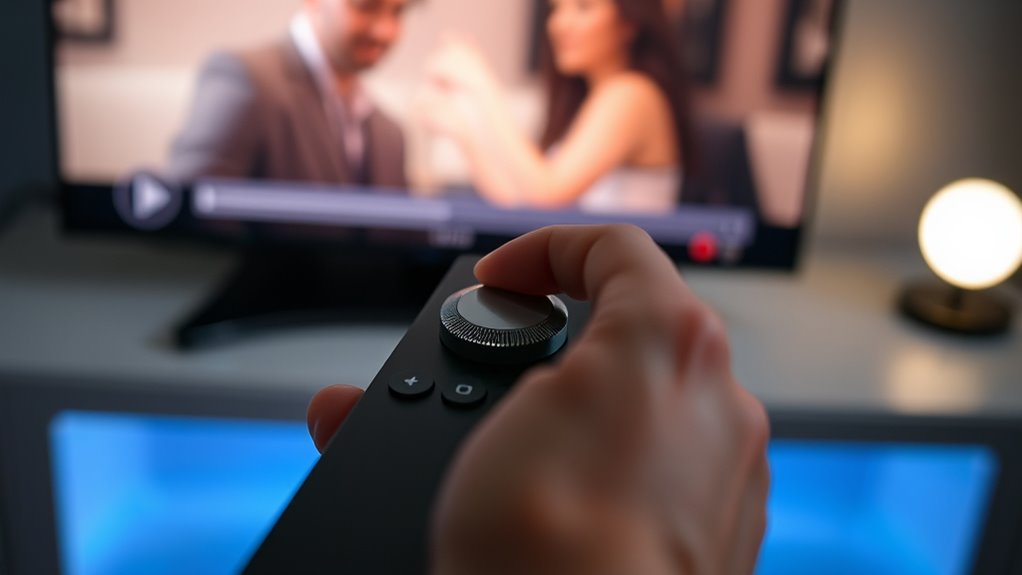
To adjust lip sync manually, you need to access your media player’s settings. Find the option labeled for lip sync or audio delay, then locate the adjustment controls. Use these controls to fine-tune the delay until the audio matches the video perfectly. Be aware that some devices may also offer visual indicators, such as a synchronization feature, to help you achieve optimal alignment.
Access Media Player Settings
Wondering how to fine-tune your lip sync delay? First, access your media player’s settings menu. Usually, you can do this by clicking the gear icon or browsing through the main menu. Once inside, look for options related to video or playback settings. Adjusting these settings allows you to manage video buffering, which can influence sync issues. Some players include dedicated subtitle timing controls—using these can help align subtitles with audio, making lip sync adjustments easier. Be sure to save any changes before exiting. Accessing the media player settings is the essential first step to manually correcting lip sync problems. This process gives you direct control over how video buffering and subtitle timing interact, helping you achieve perfect synchronization. Additionally, understanding how to adjust video buffering can further improve playback quality and sync accuracy.
Locate Lip Sync Adjustment
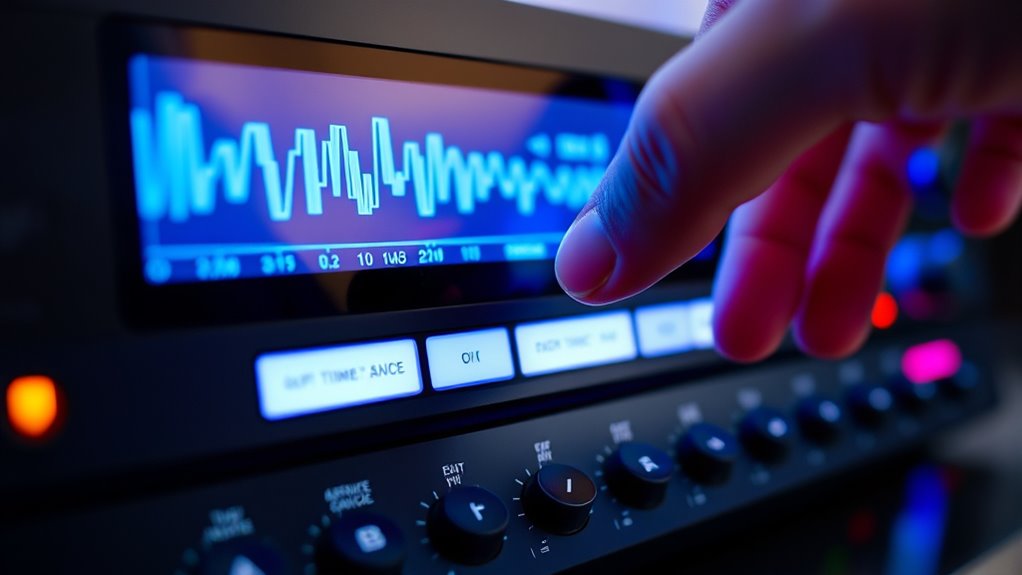
Looking to fine-tune your lip sync manually? First, locate the lip sync adjustment option within your media player’s settings. This feature often appears under subtitle or video settings. Use it to modify subtitle timing and achieve proper frame alignment with audio. To help you identify the adjustment controls, here’s a quick visual:
| Setting Name | Adjustment Type | Typical Range |
|---|---|---|
| Lip Sync Delay | Time shift (ms/sec) | -300 to +300 ms |
| Subtitle Timing | Delay or advance | 0 to 500 ms |
| Frame Alignment | Sync video frames | Manual tuning |
| Audio Offset | Correct audio sync | 0 to 200 ms |
Additionally, ensure your headphones are properly connected and functioning correctly to prevent audio issues that could affect lip sync accuracy.
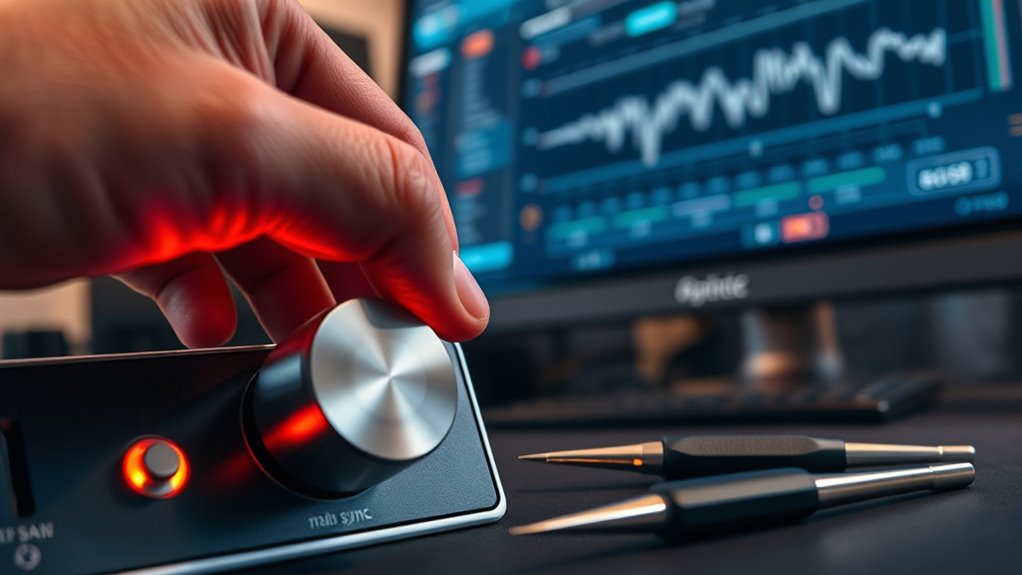
Fine-Tune Delay Manually
Once you’ve identified the lip sync adjustment option in your media player, you can fine-tune the delay manually to achieve perfect synchronization. Use this feature to make small adjustments, especially if voice recognition or hardware synchronization causes slight mismatches. Adjust the delay in small increments, listening carefully to ensure the audio matches the on-screen lip movements. If your media player offers precise controls, utilize them to improve sync without overcorrecting. This manual fine-tuning helps account for variations in hardware synchronization, which can affect audio and video timing. Remember, even minor adjustments can make a big difference in viewing comfort. Take your time, test different settings, and find the perfect balance for seamless lip sync. Passive voice detection tools can also assist in identifying areas where passive constructions may be impacting clarity.

COSOWELL 4K Media Player for USB Drive & MicroSD, Ultra HD Digital Signage Player with HDMI/AV Output, H.265 H.264 MKV MP4 Video, MP3 Music, JPG Photo, Auto Play & Resume, Loop Playback
MAKE YOUR TV SMARTER – Turn any TV into a powerful media hub. Play 4K videos, MP3 music,…
As an affiliate, we earn on qualifying purchases.
As an affiliate, we earn on qualifying purchases.
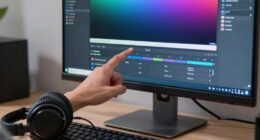
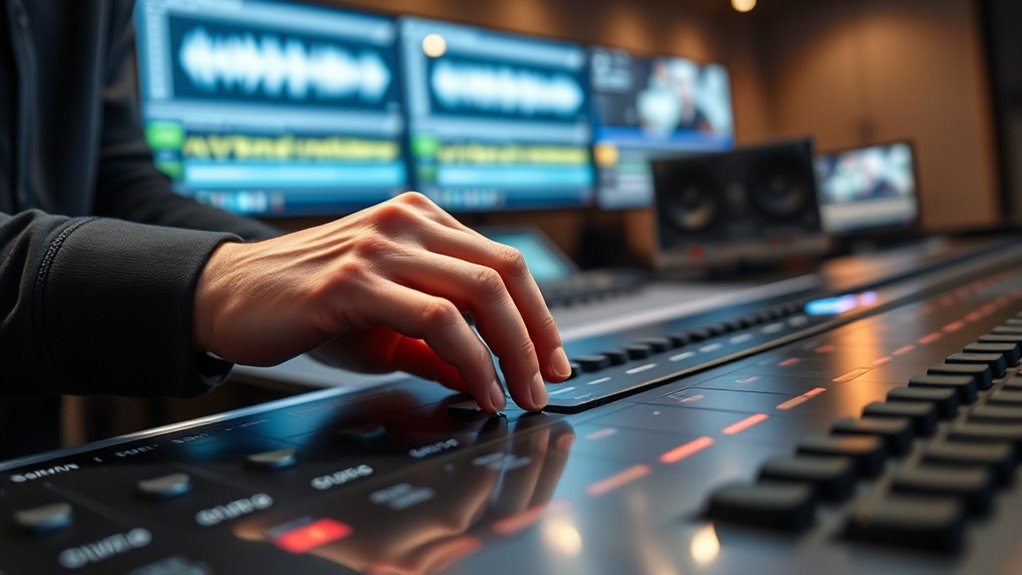
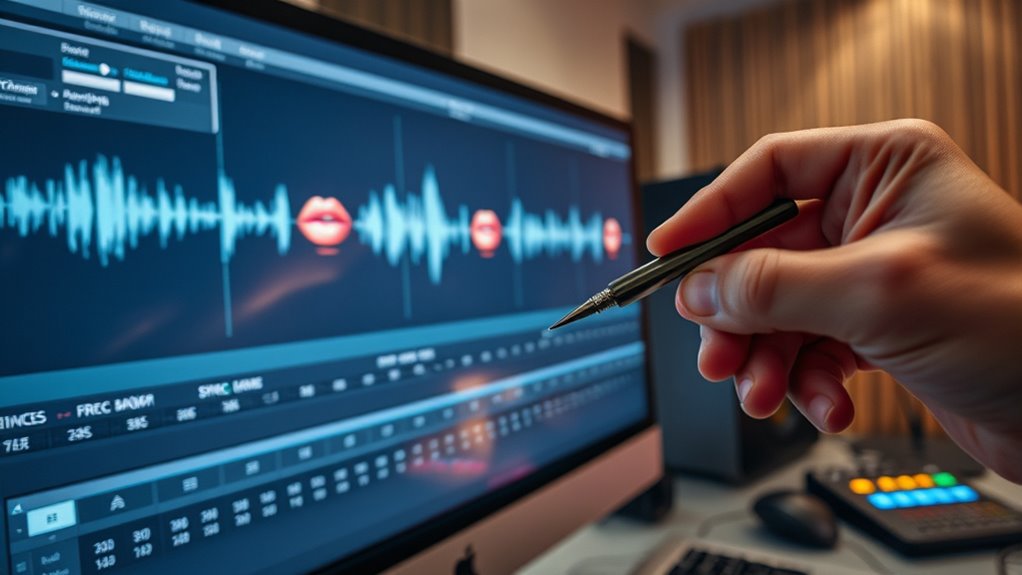
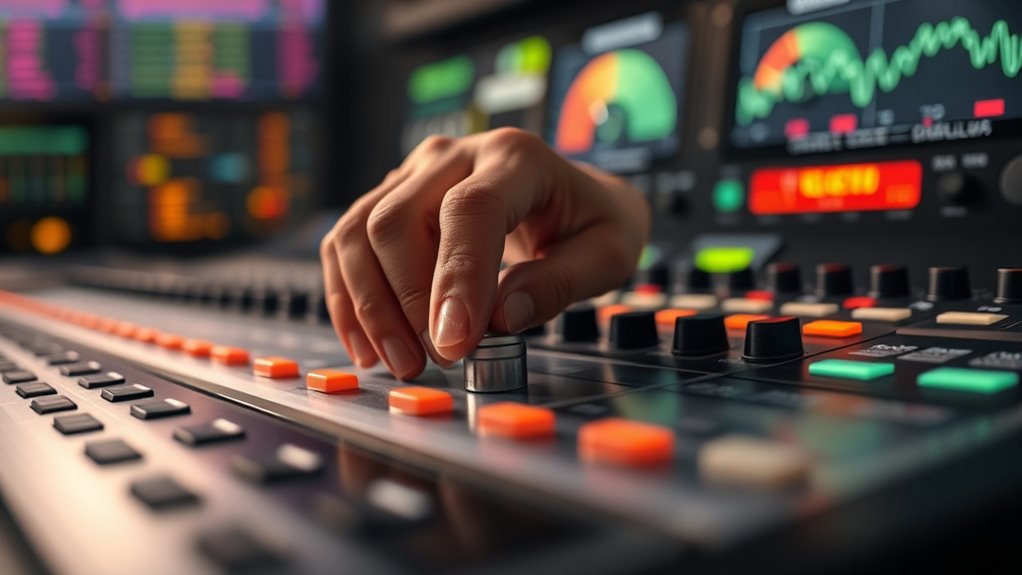
Employing Video Editing Software for Precise Lip Sync Alignment
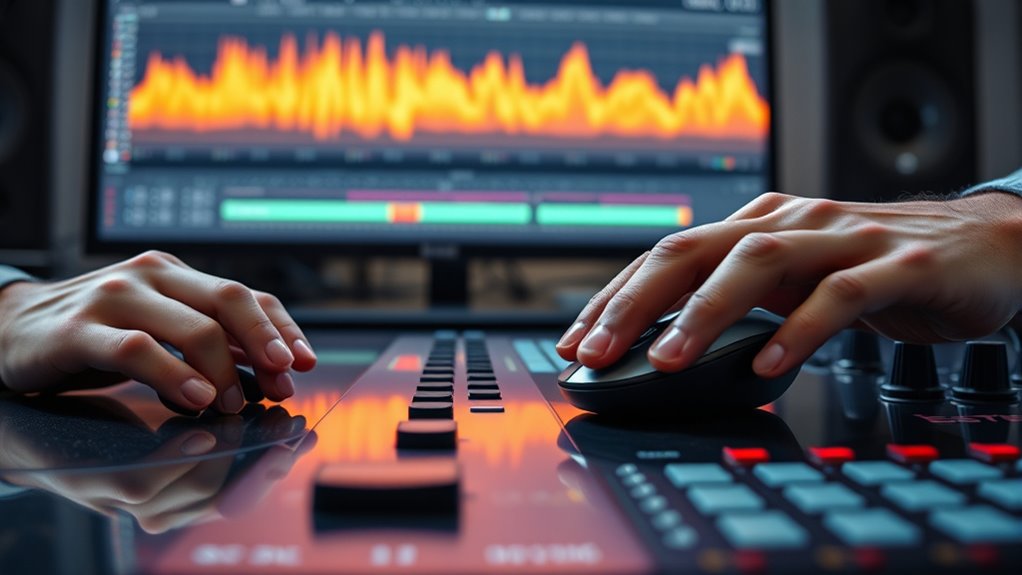
Using video editing software is essential for achieving precise lip sync alignment, especially when dealing with delays or mismatched audio and video tracks. You can manually adjust the timing of clips to fine-tune voice over adjustments and subtitle synchronization. This process allows you to see and correct any discrepancies directly on the timeline, ensuring your audio matches the visual cues flawlessly. Additionally, understanding the importance of contrast ratio can help you evaluate the overall image quality after adjustments, making sure your video appears as clear and vibrant as intended. Here’s a quick overview:
| Step | Action |
|---|---|
| 1 | Import video and audio tracks |
| 2 | Use waveform visuals to identify sync points |
| 3 | Make precise cuts or shifts as needed |

SMALLRIG Universal Folding Tool Multi-Tool for Videographers, Tool Set with Nine Functional Tools Included – TC2713
【9 in 1 MULTI-FUNCTION KIT】SmallRig Universal Folding Tool TC2713 consists of a wide and a narrow flat head…
As an affiliate, we earn on qualifying purchases.
As an affiliate, we earn on qualifying purchases.
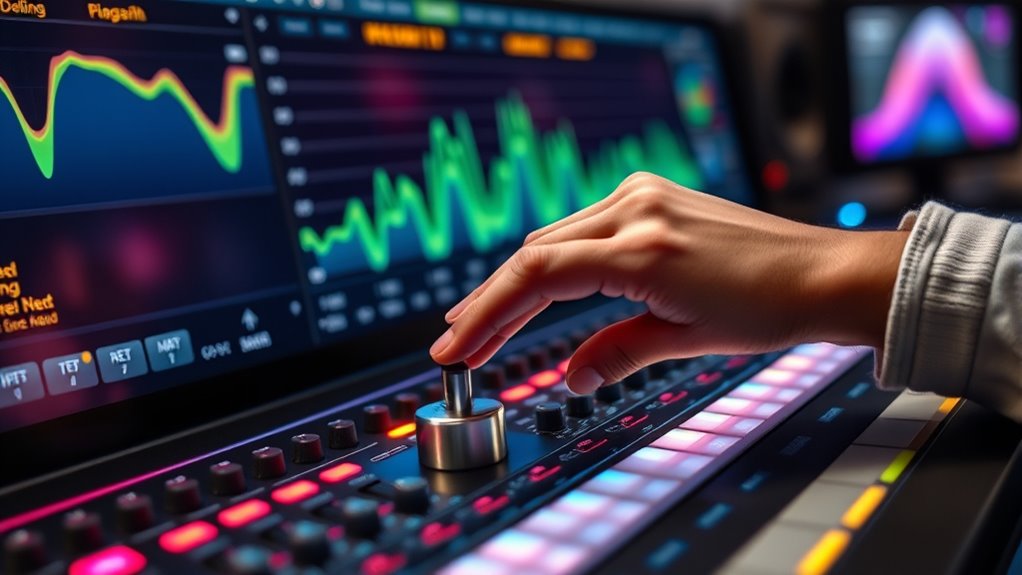
Utilizing Audio-Visual Synchronization Tools and Plugins
To effectively fine-tune lip sync, you should leverage audio-visual synchronization tools and plugins designed for this purpose. These tools help you identify and correct audio delay by analyzing visual cues such as mouth movements and facial expressions. Many plugins automatically detect discrepancies between audio and video, providing real-time feedback. You can adjust synchronization settings precisely, ensuring the audio aligns perfectly with visual cues. Using these tools reduces guesswork and saves time, especially when working with complex footage or multiple clips. They also enable you to monitor sync accuracy easily, making manual adjustments more efficient. Overall, audio-visual synchronization tools streamline the process, helping you achieve seamless lip sync without extensive trial and error.
Tips for Testing and Fine-Tuning Lip Sync Corrections
To guarantee your lip sync adjustments are accurate, test with different audio tracks to catch any inconsistencies. Keep an eye out for clear visual cues, like mouth movements matching speech sounds, to guide your fine-tuning. By combining varied testing methods, you’ll achieve smoother, more natural synchronization. Additionally, consider public perception of O’Reilly’s personal life to understand how audience reactions might influence your editing choices.
Playtest With Varied Audio
Playing back your lip sync adjustments with a variety of audio clips helps guarantee your corrections hold up across different voices and recording qualities. This step is essential in music editing, especially when fine-tuning vocal timing. Testing with diverse audio ensures your lip sync works smoothly whether the voice is high-pitched, low, or spoken loudly. It also helps identify if your adjustments are too specific to one recording or if they generalize well. By trying different speakers, you can catch subtle mismatches and improve overall accuracy. Remember, consistent testing prevents surprises when the final version plays. Take the time to evaluate how your sync feels across various audio styles, voices, and qualities to achieve a polished, natural look in your project. Incorporating good lighting and visual clarity can further enhance the perceived synchronization and overall presentation.
Use Visual Cues
Visual cues are essential tools for fine-tuning lip sync because they provide immediate, observable feedback on how well your animations match speech. By closely watching facial expressions and movements, you can identify mismatched sounds and adjust timing accordingly. Focus on key moments like lip opening, closing, or the movement of the jaw. Use a simple checklist to compare your animation against the audio, noting discrepancies in facial expressions and lip positions. Fine-tuning with visual cues involves iterative testing—adjust, preview, and refine. Remember, facial expressions play a crucial role in conveying emotion and syncing naturally. Here’s a helpful guide: Visual cue analysis can help you systematically identify and correct issues.
| Cue Type | Example Observation | Adjustment Tip |
|---|---|---|
| Lip movements | Mismatch in lip shape | Slightly delay or advance the lip keyframes |
| Facial expressions | Lack of emotion matching | Add or modify facial expressions for realism |
| Jaw movement | Too stiff or exaggerated | Adjust timing for natural motion |
| Eye movements | Distracting or mismatched | Sync eye blinks and gaze to speech |
Troubleshooting Common Lip Sync Issues During Playback
When lip sync issues occur during playback, they can be distracting and difficult to resolve without understanding the root cause. Common problems include audio delay caused by mismatched frame rates or processing lag. To troubleshoot, check these key factors:
- Verify the frame rate of your video matches your playback device’s settings.
- Test for audio delay by listening carefully and adjusting delay settings if available.
- Ensure your playback hardware and software are updated to prevent lag.
- Reduce background processes that might cause processing delays and affect sync.
- Confirm that your audio and video codecs are compatible, as mismatched codecs can also contribute to sync issues.
Best Practices for Maintaining Consistent Synchronization
To maintain consistent lip sync during playback, it’s essential to implement best practices that minimize delays and discrepancies. First, regularly calibrate your audio delay settings to ensure synchronization consistency across devices. Avoid sudden changes in audio or video sources, as these can introduce delays. Keep your hardware updated and use high-quality cables to prevent signal lag. When adjusting lip sync, make small, incremental changes rather than large shifts, which can cause confusion or loss of synchronization. Consistently monitor playback and make adjustments as needed. Using automatic synchronization tools, if available, can help sustain audio delay accuracy over time. By staying attentive to these practices, you’ll reduce lip sync issues and achieve a smoother, more synchronized viewing experience.
Frequently Asked Questions
Can Adjusting Lip Sync Delays Affect Audio Quality?
Adjusting lip sync delays can impact audio quality if not done carefully. If you delay or advance audio too much, it might cause synchronization issues, leading to audio distortion or a mismatch between speech and lip movements. This can make conversations feel unnatural or confusing. To avoid these problems, tweak the sync settings gradually, ensuring voices match visuals perfectly without causing distortion or other audio quality issues.
How Often Should I Recalibrate Lip Sync Settings?
You should recalibrate your lip sync settings whenever you notice audio and video are out of sync. For ideal results, perform calibration at regular intervals, such as monthly or after updates or hardware changes. The best interval depends on your usage and device stability, but staying proactive ensures your viewing experience remains seamless. Frequent checks help maintain synchronization, preventing delays that could disrupt your enjoyment.
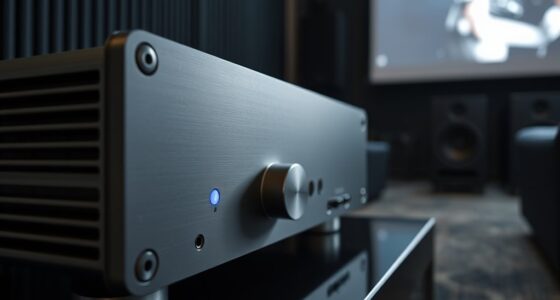
Are There Specific Devices Better Suited for Manual Lip Sync Adjustments?
You should look for devices with broad compatibility and precise calibration tools for manual lip sync adjustments. Some models offer dedicated calibration features that make fine-tuning easier, especially if they’re compatible with various audio and video formats. Devices designed for professional use, like certain AV receivers or specialized software, often provide better control. Choose a device that supports your setup’s compatibility and has accurate calibration tools to guarantee seamless lip sync adjustments.
Can Software Updates Impact Existing Lip Sync Configurations?
Software updates can impact your existing lip sync configurations, especially if they involve firmware compatibility issues. When you update, there’s a risk that settings might reset or become misaligned because of changes in how the device handles audio-video sync. To minimize update risks, always back up your current configurations first, and check compatibility notes before installing updates, ensuring your lip sync adjustments stay intact and functional.
Is There a Recommended Maximum Delay Time for Manual Adjustment?
The recommended maximum delay time for manual lip sync adjustment is typically around 200 milliseconds. If you extend beyond this, your lip movements might look out of sync with speech, causing a noticeable disconnect. To keep the animation natural and believable, aim to stay within this limit. Adjust gradually, test frequently, and verify the delay feels seamless to your audience, avoiding exaggerated or overly delayed lip movements.
Conclusion
Just as a conductor guarantees each note harmonizes perfectly, your patience and adjustments bring your video’s harmony to life. By understanding delays, using the right tools, and fine-tuning diligently, you create a seamless experience that captivates viewers. Remember, every small tweak is like tuning an instrument—necessary for the symphony of a flawless playback. With persistence, you’ll master the art of perfect lip sync, turning technical challenges into a masterpiece of synchronization.