To fix your projector’s cut-off issues from edge masking or overscan, start by adjusting its placement: move it closer or reposition it to face the screen directly. Use built-in lens correction tools like keystone and lens shift to straighten the image and reduce distortion. Also, make certain your input source matches the projector’s resolution and aspect ratio. If these steps aren’t enough, exploring more precise alignment techniques can help you achieve a perfect picture.
Key Takeaways
- Adjust projector’s keystone correction and lens shift to realign the image and minimize cropping at edges.
- Ensure projector placement is centered and perpendicular to the screen for accurate image projection.
- Match input device resolution and aspect ratio to the projector’s native settings to prevent overscan.
- Use software or projector lens correction features carefully to fix distortion without degrading image quality.
- Fine-tune display settings and avoid excessive correction to maintain optimal image clarity and avoid masking issues.

If your projector image is getting cut off on the edges, it can be frustrating and disrupt your viewing experience. Fortunately, many issues causing this problem are fixable with some simple adjustments. One common culprit is lens distortion, which occurs when the projector’s lens warps the image, especially at the edges. This distortion can make your picture appear stretched or skewed, leading to parts of the image being cut off or distorted. To combat this, you should explore the projector’s lens correction features, such as keystone correction, which can help realign the image and reduce distortion.
Keystone correction is a handy tool built into most projectors. It allows you to adjust the shape of the image, making it rectangular instead of trapezoidal. When your projector isn’t perfectly aligned with the screen—say, it’s placed at an angle—keystone correction can compensate for this misalignment. By adjusting the vertical and horizontal keystone settings, you can straighten the image and prevent parts of it from being cut off along the edges. Keep in mind, though, that excessive keystone correction can sometimes reduce image quality, so it’s best to use it sparingly and alongside proper projector placement.
Another key step is ensuring your projector is positioned correctly relative to your screen. If it’s too close or at an odd angle, lens distortion and overscan issues become more pronounced. Moving the projector to a more central spot or adjusting its height can considerably improve the image’s fit. Also, check your projector’s zoom and lens shift options. These features allow you to fine-tune the image size and position without stretching or skewing the picture, minimizing the need for heavy keystone correction.
Sometimes, the problem isn’t just the projector’s settings but also the input source or display settings. Make sure the resolution and aspect ratio match your screen’s specifications. Mismatched settings can cause overscan or cropping, where parts of the image are cut off. Adjust your device’s output settings to match the projector’s native resolution, ensuring a clean, full image. Additionally, understanding lens distortion and how it impacts the projected image can help you better troubleshoot and correct the problem.
In some cases, lens distortion might be too severe for keystone correction alone. If that’s the case, consider using lens correction software if your projector supports it, or upgrading to a model with better optics. Properly aligning your projector with the screen from the start is always the best approach, but when that’s not possible, these correction tools can help you get a crisp, complete image without cutting off the edges.

【Officially-Licensed APP & Native 1080P】Thinnest 1.81" Smart Mini Projector Lens LHD with WiFi and Bluetooth, Auto Focus & Keystone Portable Outdoor Projector, VOPLLS 4K Home Movie Projector Lens
【Compatibe with Netflix, No Extra Devices Needed】This isn’t just a projector—it’s your "Hollywood Digital Pass." Instantly access a…
As an affiliate, we earn on qualifying purchases.
As an affiliate, we earn on qualifying purchases.
Frequently Asked Questions
Can Adjusting the Projector’s Keystone Solve Image Cut-Off Issues?
Adjusting the projector’s keystone correction can help reduce image cut-off issues, but it might not fully fix them if lens distortion or edge masking problems are involved. Keystone correction adjusts the image shape to make it rectangular, but excessive use can introduce distortion and reduce image clarity. To effectively fix cut-off problems, you should also check for lens distortion and properly align your projector, ensuring it’s positioned correctly to minimize the need for heavy correction.
What Are the Signs of Overscan Problems in Projectors?
You’ll notice overscan problems if your screen flickers or shows color distortion along the edges. These signs indicate the projector is displaying more image than the screen can handle, causing parts to be cut off or distorted. Adjust the overscan settings in your projector’s menu to rectify this. Proper calibration ensures the image fits perfectly without flickering or unwanted color shifts, providing a clear, seamless viewing experience.
How Do I Reset My Projector to Factory Settings?
Did you know that 75% of projector issues can be resolved with a simple factory reset? To reset your projector, locate the menu button and navigate to the settings. Select the factory reset option, then confirm your choice. This reset process restores default settings, fixing edge masking and overscan problems. Make sure to save any custom settings first, as a factory reset erases personalized adjustments.
Are There Compatibility Issues With Different HDMI Cables?
You might encounter compatibility issues with different HDMI cables if the cable quality isn’t high or if it doesn’t meet current connection standards. Low-quality cables can cause signal loss or poor image quality, which might lead to your projector cutting off the edges. To avoid this, use certified HDMI cables that support the latest standards, ensuring a stable connection and ideal image performance with your projector.
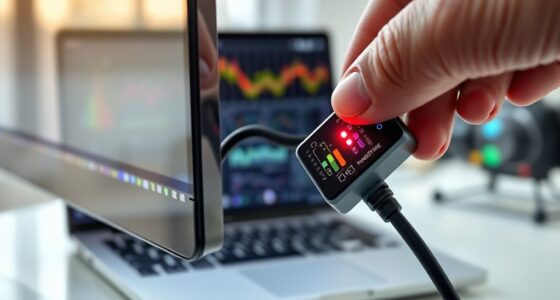
Can External Calibration Tools Improve Image Edge Display?
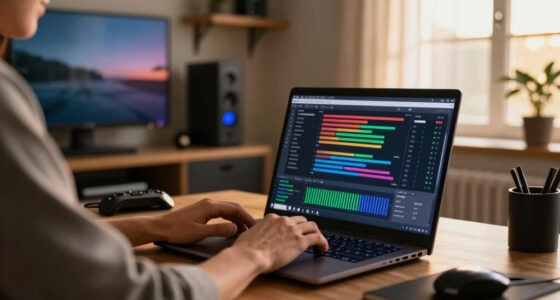
Yes, external calibration tools can markedly improve your image edge display. By using calibration software, you can fine-tune your projector’s settings, reduce edge masking, and correct overscan issues. They allow you to enhance sharpness, clarity, and overall picture quality. With precise calibration, you gain a more immersive experience, ensuring every detail reaches your eyes perfectly. Invest in these tools to elevate your viewing and enjoy crisp, balanced images every time.

Hisense XR10 Triple Laser 4K Projector, 6000 ANSI Lumens, 6000:1 Contrast, IRIS Lens, 0.84-2.0:1 Optical Zoom, Lens Shift,65” – 300”, Dolby Vision, IMAX Enhanced, Vidaa OS, Tuned by Devialet
【TRIPLE LASER】Experience richer, more lifelike color with Pure Triple Laser. With an ultra-wide color range and smooth, accurate…
As an affiliate, we earn on qualifying purchases.
As an affiliate, we earn on qualifying purchases.
Conclusion
Just like a skilled painter finishing a masterpiece, you hold the power to perfect your projector setup. By fixing edge masking and overscan issues, you bring clarity and balance back to your image, transforming your space into a true sanctuary of entertainment. Remember, every detail matters—your effort echoes the timeless pursuit of harmony, much like an artist’s final brushstroke. Now, step back and enjoy the flawless picture you’ve crafted with patience and care.

datacolor SpyderPro Monitor Calibration Tool: Ensures Accurate Color When Viewing and Editing Photos & Videos
ACHIEVE TRUE COLOR – Ensures your monitor displays colors accurately, critical for photography, design, and video editing, with…
As an affiliate, we earn on qualifying purchases.
As an affiliate, we earn on qualifying purchases.

Replacement Projector Air Filter Compatible with PT-VMZ60 PT-VMZ61 PT-CMZ50 PT-VMW50 PT-VMW51 PT-VMW60 PT-VMW61 Repair Parts
Lightweight structure, impact resistant design, suitable for frequent mobile use.
As an affiliate, we earn on qualifying purchases.
As an affiliate, we earn on qualifying purchases.