Setting up a projector in a large hall presents challenges like managing ambient light, proper placement, and image calibration. To guarantee clear, bright visuals, you’ll need to control light sources with blackout curtains, position the projector correctly, and fine-tune settings for brightness, contrast, and focus. Regular maintenance and using quality screens help improve clarity. Mastering these solutions ensures your presentation or event is impactful; keep exploring for detailed tips to perfect your setup.
Key Takeaways
- Proper projector placement and calibration ensure sharp, correctly aligned images suited for large spaces.
- Managing ambient light with blackout curtains or dimming helps prevent washout and enhances image visibility.
- Selecting a high-lumen projector and suitable screen improves brightness and clarity in well-lit environments.
- Regular maintenance of the projector lens and strategic positioning reduce distortion and optimize image quality.
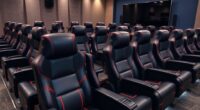
- Balancing calibration, ambient light control, and equipment setup creates an immersive viewing experience in large halls.
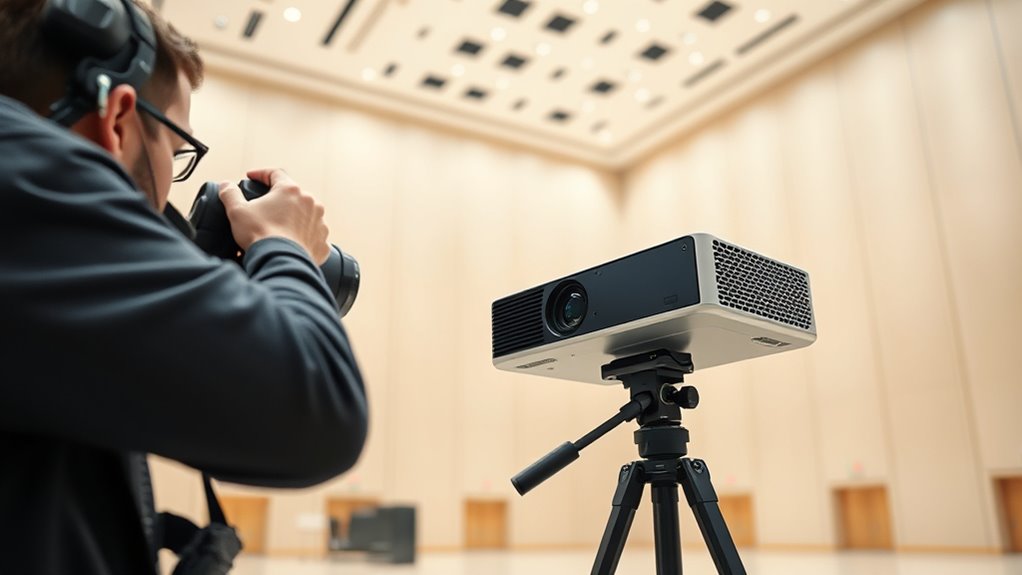
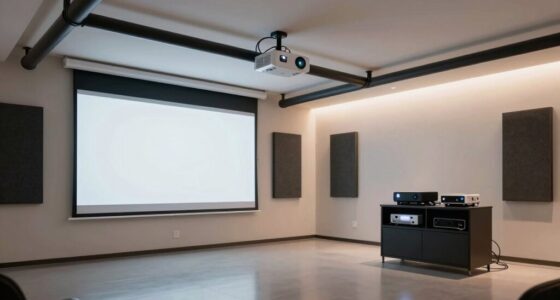
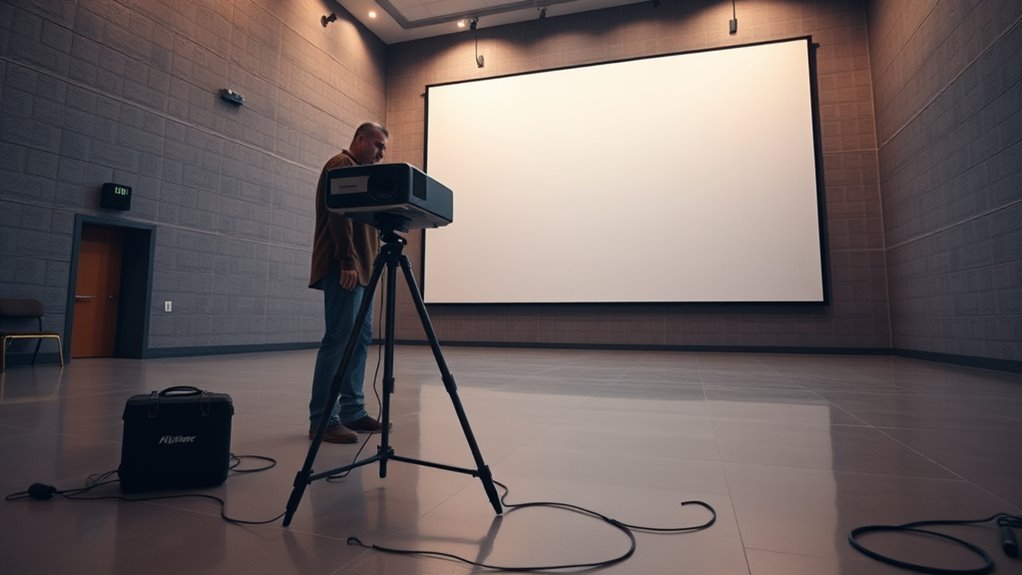
Setting up a projector in a large room or hall requires careful planning to guarantee clear and bright image projection. One of the most critical steps is proper projection calibration. This involves adjusting focus, keystone correction, and image alignment so that the picture appears sharp and proportionate across the entire screen. If you skip this step, you risk having blurry images, distorted shapes, or uneven focus, which can distract your audience and diminish the overall viewing experience. Take the time to fine-tune these settings to guarantee the projected image is crisp and properly aligned. Additionally, understanding the importance of projection calibration can help you systematically approach these adjustments for optimal results.
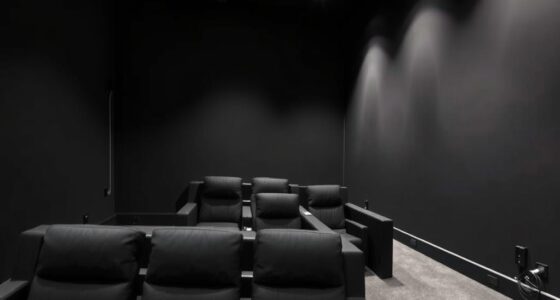
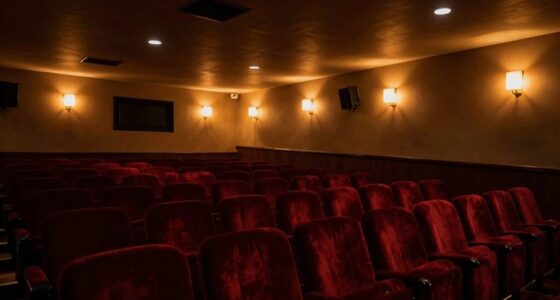
Another essential factor is ambient light control. Large rooms and halls often have varying lighting conditions, and excessive ambient light can wash out the image, making it difficult to see details clearly. To combat this, you should control the room’s lighting as much as possible. Use blackout curtains or shades to block natural light from windows, and turn off or dim any overhead lights that project onto the screen. If complete darkness isn’t feasible, consider investing in a high-lumen projector with increased brightness capabilities. Additionally, placing the projector in a position where it’s less affected by ambient light—like away from windows or bright sources—can greatly improve image visibility.
Proper projection calibration extends beyond just focusing and alignment. You also need to adjust color settings, contrast, and brightness to match the room’s conditions. Calibration tools or built-in projector menus can assist you in setting these parameters accurately. Remember, the goal is to produce a vibrant, balanced image that isn’t overly dark or washed out, regardless of ambient lighting. For large spaces, it’s often helpful to test the projected image at different times of day to see how ambient light impacts visibility, then make adjustments accordingly.
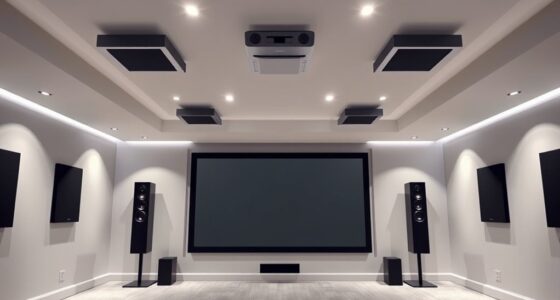
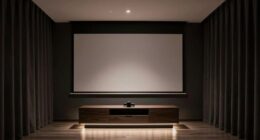
In addition, consider the placement of your projector. Mount it at an ideal height and distance from the screen to maximize image size and quality. Ensure the lens is clean and free of dust, which can diminish clarity. Using high-quality screens designed for large venues can also enhance image reflection and brightness, making calibration and ambient light control even more effective.
Ultimately, setting up a projector in a large room involves balancing projection calibration with ambient light management. When you fine-tune these elements carefully, you create a bright, clear, and immersive viewing experience that can handle the challenges of large spaces. This preparation ensures your audience enjoys sharp visuals without distraction, regardless of the room’s lighting conditions.

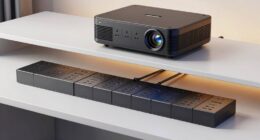
ViewSonic LS740HD 5500 Lumens 1080p Laser Projector, High Brightness for Auditoriums, 1.3x Optical Zoom, H/V Keystone, and 360-Degree Projection for Flexible Setup, HDR Support, and HDMI Inputs
High Brightness FHD Laser Projector: Full HD (1920x1080p) resolution with a 1.1-1.5 throw ratio and 5,500 ANSI lumens…
As an affiliate, we earn on qualifying purchases.
As an affiliate, we earn on qualifying purchases.
Frequently Asked Questions
How Do I Calibrate Projector Colors for Large Spaces?
To calibrate your projector colors for large spaces, start with a color calibration tool or software to adjust color settings accurately. Focus on achieving consistent color reproduction across the entire image, ensuring image uniformity. Use test patterns to identify color discrepancies, and fine-tune the projector’s color balance, brightness, and contrast. Regular calibration helps maintain vibrant visuals and uniformity, making your large space presentations clear and professional.
What Safety Precautions Are Recommended for Ceiling-Mounted Projectors?
You should guarantee proper mounting safety by securely anchoring the projector to ceiling supports designed for its weight. Always check electrical safety by inspecting cords and connections for damage, avoiding overloaded outlets, and using surge protectors. Keep the area clear of obstacles, and follow manufacturer instructions for installation. Regularly maintain and inspect the setup to prevent accidents, and consider consulting a professional if you’re unsure about mounting safety or electrical safety standards.
How Can I Prevent Image Distortion in Large Hall Setups?
To elegantly avoid image distortion in large hall setups, carefully consider lens placement to guarantee the projector sits at an ideal height and distance. Use keystone correction sparingly to fine-tune the image shape, but avoid over-relying on it, as excessive adjustments can reduce image clarity. Position your projector straight-on or at a slight angle to minimize distortion, creating a crisp, professional display that captivates your audience.
What Are the Best Ways to Manage Ambient Light Interference?
To manage ambient light interference, focus on ambient light control by dimming or turning off unnecessary lights during presentations. Use glare reduction techniques like installing window shades, using matte screens, and positioning the projector away from direct light sources. Additionally, consider adding anti-glare filters or screen coverings to enhance visibility. These strategies help guarantee your projected image remains clear, bright, and easy to see despite ambient light challenges.
How Do I Ensure Consistent Projector Performance Over Time?
Did you know that regular projector maintenance can extend its lifespan by up to 30%? To guarantee consistent performance, you should perform routine performance monitoring, such as checking lamp hours and cleaning filters. Keep a maintenance schedule, replace parts as needed, and update firmware when available. These steps help prevent unexpected issues, ensuring your projector delivers reliable, high-quality images for years to come.
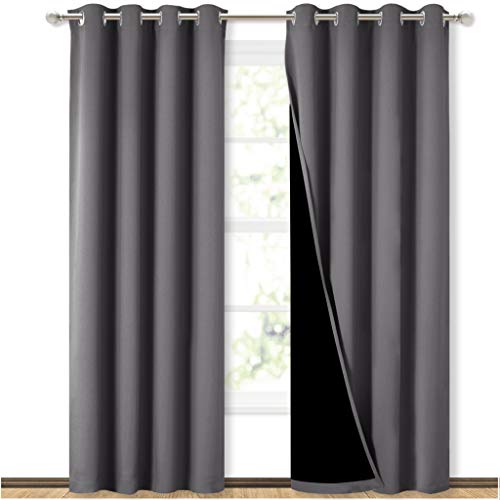
NICETOWN Grey Full Shade Curtain Panels, Pair of Energy Smart & Noise Blocking Out Blackout Drapes for Dining Room Window, Thermal Insulated Guest Room Lined Window Dressing(Gray, 52 x 84 inch)
Complete blackout curtains block light and reduce noise for better sleep – 2 layer construction with blackout lining
As an affiliate, we earn on qualifying purchases.
As an affiliate, we earn on qualifying purchases.
Conclusion
So, after all the planning and troubleshooting, you might find that setting up a projector in a large hall isn’t as simple as it seems. Ironically, the bigger the space, the more you realize how little distance and equipment can sometimes do the trick. But don’t worry—you’ve tackled the challenges head-on. Now, with everything in place, you can sit back, enjoy the show, and marvel at how a little technical know-how made a big room feel just right.

Mdbebbron 120 inch Projector Screen 16:9 Foldable Anti-Crease Portable Projector Movies Screens for Home Theater Outdoor Indoor Support Double Sided Projection
CONVENIENT TO STORAGE AND CARRY : Compact one-piece,lightweight and folding design. You can fold the projector screen in…
As an affiliate, we earn on qualifying purchases.
As an affiliate, we earn on qualifying purchases.

ADAS Calibration Tool Automotive Radar Aiming Corner Reflector Kit Included Plumb Bobs with String Graduated 0-30 cm Scale, Car Calibration Kit Compatible with Kia Honda Toyota Mazda Ford GM Hyundai
【Durable Construction】: Built with billet aluminum stand, the kit is engineered for longevity and stability during calibration processes,…
As an affiliate, we earn on qualifying purchases.
As an affiliate, we earn on qualifying purchases.