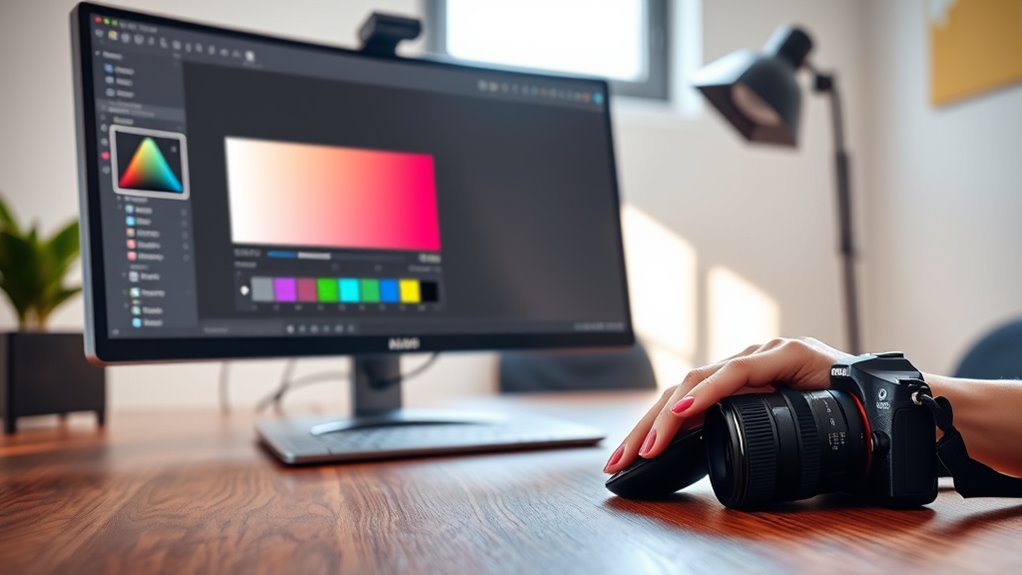
To fix color tints quickly, start by adjusting the white balance or temperature sliders in your editing software—move toward cooler tones if it’s too warm, or warmer if it’s too cold. Fine-tune with saturation and vibrance sliders to balance colors without oversaturating. For uneven tints, use local adjustment brushes to target specific areas. Keep your edits subtle for natural results. Keep practicing these steps to reveal even more tips for perfecting your photos fast.
Key Takeaways
- Use white balance or temperature sliders to quickly correct warm or cool color casts in your photo.
- Adjust saturation and vibrance to improve color balance without overdoing it.
- Target specific problematic hues with hue sliders for precise tint removal.
- Apply local adjustments or brushes to fix uneven tints in different areas of the image.
- Keep edits subtle and focus on basic tools for fast, natural-looking color corrections.
Simple Steps to Fix Color Tint Quickly

If your photos have a dull or unwanted color tint, you don’t need to spend hours fixing them. With just a few quick adjustments, you can dramatically improve the overall look of your images. The key is understanding how to perform effective color correction and tint adjustment to bring back natural colors or create the mood you want. These simple steps are perfect for beginners and can be done in under 15 minutes, giving your photos a fresh, professional appearance without complicated editing tools.
Start by opening your photo in your preferred editing software. Most programs, like Photoshop, Lightroom, or even free apps, offer straightforward tools for color correction. The first step is to identify the unwanted tint. Usually, a yellow or greenish hue indicates a color cast caused by lighting conditions or camera settings. To fix this, locate the white balance or temperature sliders. By adjusting the temperature toward cooler tones, you can counteract warm tints, or shift toward warmer tones if your image feels too cold. This simple tint adjustment often makes an immediate difference, restoring natural skin tones and vibrant colors.
Open your photo in editing software and adjust white balance to correct unwanted color tints quickly.
Next, perform a basic color correction to refine the image further. Focus on the saturation, vibrance, and hue sliders. Slightly decreasing saturation can prevent colors from appearing overly intense, especially if the tint makes the photo look unnatural. Conversely, increasing vibrance enhances muted colors without oversaturating the entire image. If specific colors are off, use hue sliders to target and fine-tune problematic hues. For example, if the greens look too dull or yellowish, adjust the hue to make them more vibrant and true to life. These quick tweaks help balance the overall color palette and eliminate any lingering tint issues.
Sometimes, the tint may be uneven across your photo, especially if the lighting was inconsistent during shooting. In this case, use selective color correction tools or local adjustment brushes. Lightly brush over affected areas to apply targeted tint adjustments, ensuring that only the problem spots are corrected without altering the entire image. This technique is especially useful for correcting color casts in specific objects or backgrounds, making your edits look seamless and natural.
Frequently Asked Questions
Can I Fix Color Tint on All Types of Screens?
You can fix color tint on most screens, but achieving perfect color accuracy requires proper screen calibration. Different devices, like monitors, smartphones, and tablets, have unique settings and technology, so the fix might vary. By adjusting your display’s color settings or using calibration tools, you can improve the tint across all types of screens. Just remember, some screens may need professional calibration for the best color accuracy.
Do I Need Special Tools for Quick Tint Adjustments?
You don’t need special tools for quick tint adjustments; basic screen calibration tools or software often suffice. Focus on adjusting your display’s color settings to improve color accuracy and fix tint issues. Many monitors and devices have built-in calibration options, making it easy for beginners to correct color tints in just a few minutes. With the right approach, you can achieve better color accuracy without investing in expensive equipment.
Will Fixing Tint Affect Overall Display Quality?
Fixing the tint can improve overall display quality, but if done improperly, it might impact color accuracy and visual comfort. When you adjust the tint carefully, you help guarantee colors look natural and your eyes stay comfortable during extended use. Use proper tools and calibration settings to maintain a good balance. Remember, small tweaks often yield big improvements without sacrificing display quality.
How Often Should I Check for Tint Issues?
You should check for tint issues during your regular screen calibration sessions, ideally once a month. Consistent monitoring helps maintain color accuracy and guarantees your display remains true to its intended colors. If you notice any color shifts or tint problems, address them promptly to prevent further impact on your visual experience. Regular checks keep your screen calibrated and your color accuracy intact, making sure your display always looks its best.
Are There Risks of Damaging My Display During Fixes?
Think of your display as a delicate canvas; yes, there’s a risk of damage if you’re careless. During fixes, avoid forcing hardware or tweaking settings wildly. Proper screen calibration and keeping software updates current act like gentle guides, protecting your display from harm. By following safe procedures, you minimize risks, ensuring your screen remains vibrant and intact, like a masterpiece preserved with care.
Conclusion
Now that you’ve got the hang of quick tint fixes, you can easily enhance your photos in just 15 minutes—no need for a time machine! Remember, even a newbie like yourself can master these simple steps and make your images pop. So, go ahead and experiment with different tints to find your perfect look. Before you know it, you’ll be a photo editing wizard, wielding color correction powers like a true Photoshop sorcerer.


