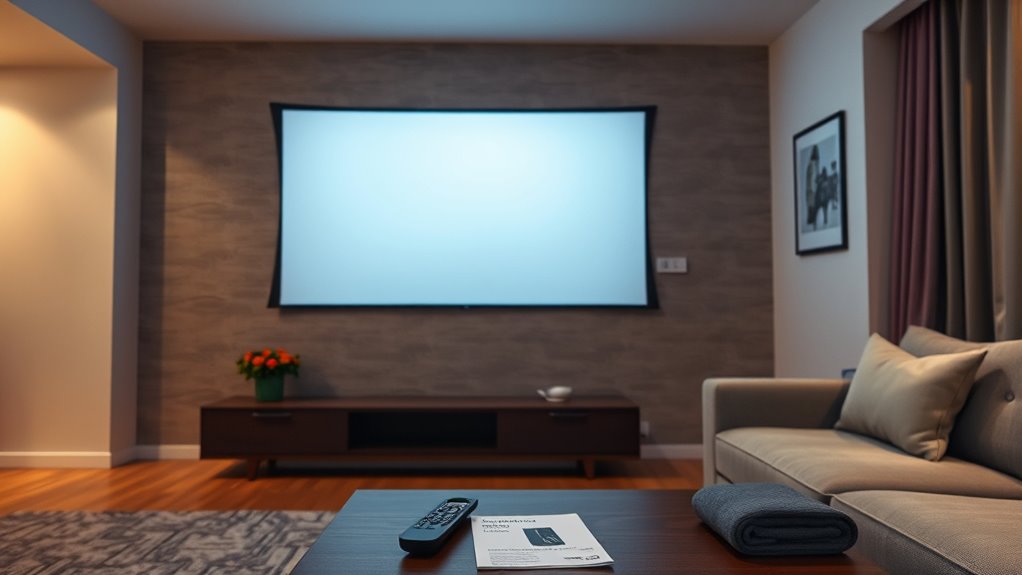

If you’re troubleshooting your short throw projector in an apartment, start by ensuring it’s mounted correctly and positioned to avoid shadows or obstructions. Check that the room lighting isn’t washing out the image, and use keystone correction or lens shift to fix distortion. Keep it cool and quiet by managing airflow and noise, and regularly clean filters and lenses. For more tips on optimizing your setup and resolving common issues, continue exploring the guide.
Key Takeaways
- Measure available space and choose a short throw projector with appropriate distance and size capabilities.
- Use adjustable mounts and keystone correction to address uneven walls and projection distortions.
- Optimize lighting by controlling ambient light and using room-darkening solutions for clear images.
- Ensure proper ventilation and regular cleaning to manage heat and dust, extending projector lifespan.
- Position the projector to minimize noise and vibrations, and incorporate soundproofing for a better viewing experience.
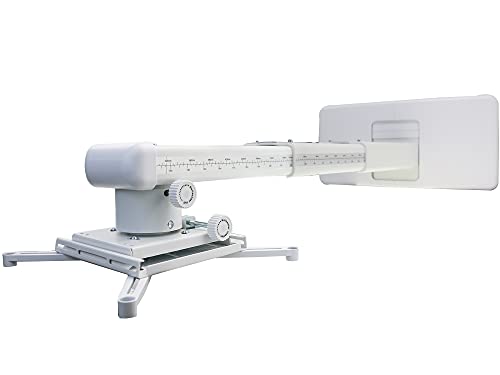
NC Projector Wall Mount with Universal mounting ,Telescopic Bracket Hanger,33lbs Load Capacity,High-Precision Adjustable: (12.8’’-29.13’’),white,(TYYZJ02)
ultra Short Throw Projection,Most sturdy of all, great fine tune knobs, best manual (very very detailed),It has the…
As an affiliate, we earn on qualifying purchases.
As an affiliate, we earn on qualifying purchases.
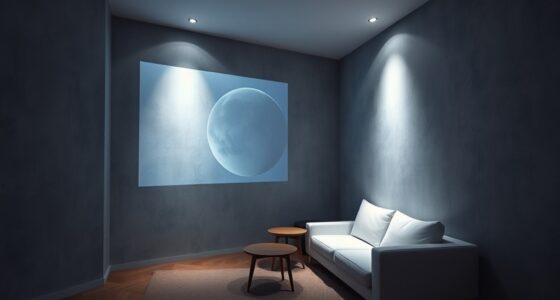
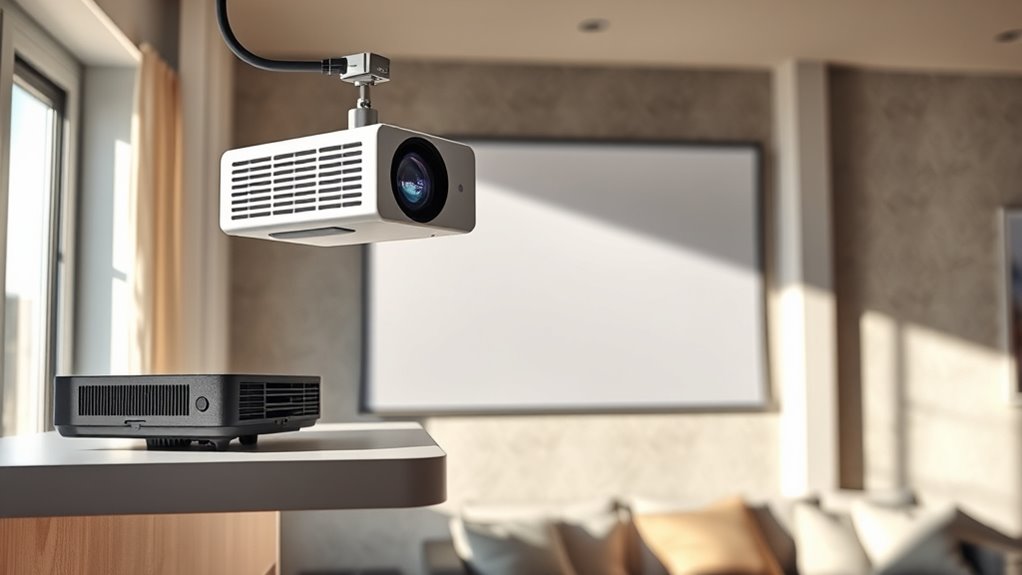
Understanding Short Throw Projectors and Their Benefits for Small Spaces

Short throw projectors are designed to project large images from a short distance, making them ideal for small apartments where space is limited. You can easily set up these projectors with minimal room for projector mounting, saving you valuable space. Their compact size means you don’t need a dedicated media room; instead, you can mount or place them close to your wall or screen. Many models support sound integration, so you can connect speakers directly for a seamless audio-visual experience. This eliminates the need for bulky external speakers and reduces clutter. By choosing a short throw projector, you maximize your living area while enjoying big-screen entertainment, all without sacrificing precious space or complex installation processes. Additionally, selecting a model with high contrast ratio ensures better image quality, especially in dark viewing environments.

Mdbebbron 120 inch Projector Screen 16:9 Foldable Anti-Crease Portable Projector Movies Screens for Home Theater Outdoor Indoor Support Double Sided Projection
CONVENIENT TO STORAGE AND CARRY : Compact one-piece,lightweight and folding design. You can fold the projector screen in…
As an affiliate, we earn on qualifying purchases.
As an affiliate, we earn on qualifying purchases.
Key Features to Consider When Choosing a Short Throw Projector for Apartments
When selecting a short throw projector for your apartment, you need to consider a few key features. Make sure it has the right brightness for your lighting conditions, fits well in your space, and offers clear image resolution. Focusing on these points will help you find a model that meets your needs perfectly. Additionally, understanding the appropriate glycolic acid concentration can be beneficial if you plan to incorporate skincare routines to maintain healthy skin while using your projector.
Brightness Levels Needed
Since apartments often have ambient light from windows or indoor lighting, choosing a projector with adequate brightness is essential to guarantee clear, vibrant images. Look for a model with at least 2,500 lumens to counteract light interference. A higher brightness level ensures your colors remain vivid, especially when color calibration is a concern. Also, consider the projection angle, as it affects how much ambient light hits the screen and impacts brightness perception. If your setup involves a wider projection angle, you’ll need a projector with even more lumens to maintain image clarity. Remember, insufficient brightness can cause washed-out images and poor contrast, making your viewing experience less enjoyable. Prioritize brightness levels that match your room’s lighting conditions for the best results. Additionally, understanding divorce statistics can be useful if you’re navigating complex legal or emotional situations during your setup or living arrangements.
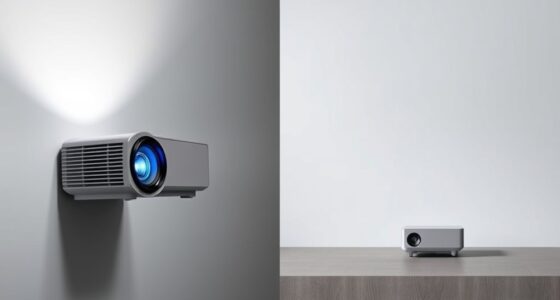
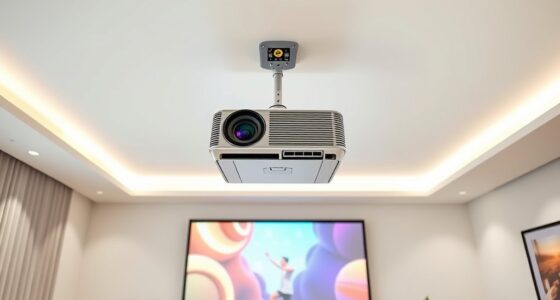
Space Constraints Compatibility
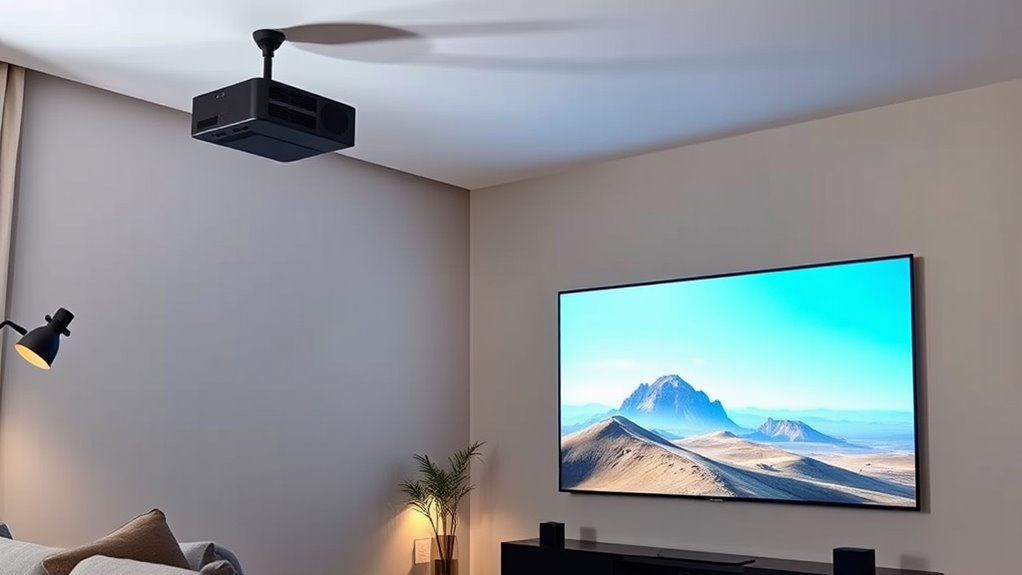
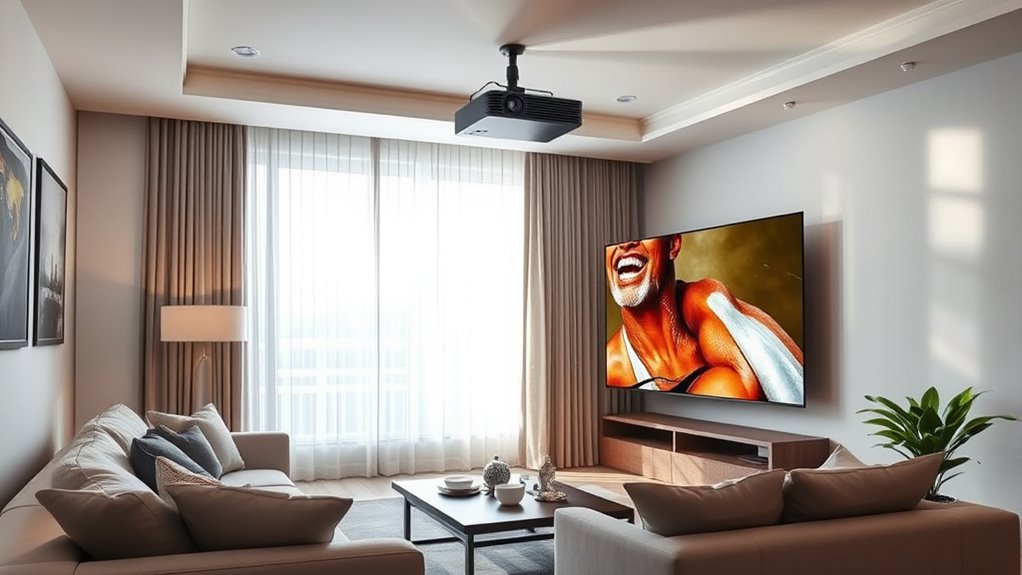
In apartments with limited space, selecting a projector that fits comfortably without clutter is essential. Look for models that support wall mounting or ceiling placement, saving valuable surface area. Wall mounting keeps your setup sleek and unobtrusive, ideal for small rooms. Ceiling placement offers a clean, space-saving solution, freeing up tabletop and floor space. Before choosing, measure your available area to make certain the projector can be securely installed without interfering with furniture or pathways. Consider the throw distance to avoid positioning issues, especially in tight spaces. Compact designs are also beneficial, but make sure they support your preferred mounting options. Ultimately, a projector with flexible mounting capabilities ensures you maximize your limited space without sacrificing functionality or viewing quality.
Image Resolution Quality
Choosing a short throw projector for your apartment isn’t just about size and placement; image resolution plays a vital role in your viewing experience. Higher resolution ensures sharp, clear images, making movies and presentations vibrant and detailed. Low resolution can lead to pixelation, diminishing overall quality. Additionally, consider how audio calibration impacts your setup; poor calibration may cause sound issues that distract from picture quality. If you encounter remote control issues, it may be be related to poor signal transmission or compatibility with the projector’s resolution settings. Opt for a projector with at least 1080p resolution for crisp visuals. This helps you enjoy a better viewing experience without constantly adjusting settings or dealing with connectivity hiccups, guaranteeing your apartment entertainment is hassle-free. Moreover, selecting a model with durable materials ensures your projector withstands regular use and potential movement within your apartment space.

Litance ELPAF32 Replacement Projector Air Filter for Epson V13H134A32 PowerLite Home Cinema 1060 2040 2030 1040 880 VS240 VS230 VS330 660 730HD 2045 VS260 VS220 740HD 760HD EB-S41 V210 640 500 Filter
Litance Replacement Projector Air Filter for Epson: ELPAF32 / V13H134A32
As an affiliate, we earn on qualifying purchases.
As an affiliate, we earn on qualifying purchases.
Common Setup Challenges and How to Overcome Them
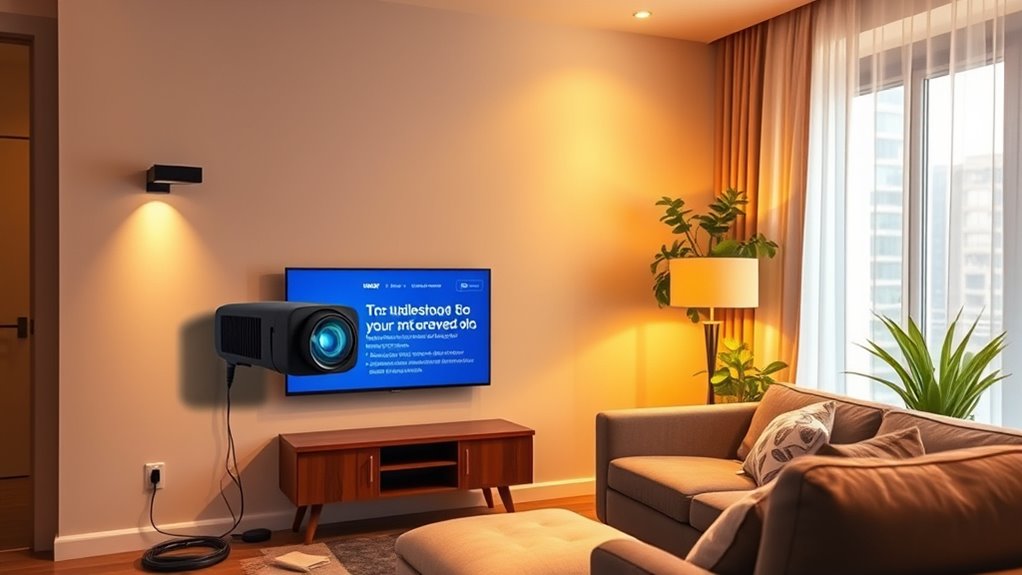
Setting up a short throw projector in an apartment can present several challenges, from limited space to uneven surfaces. Managing cables can become a mess, risking tripping hazards or damage. Choosing the right mounting options is vital to guarantee stability without damaging walls or ceilings. You might face obstacles like:
- Tight corners that restrict projector placement
- Uneven walls complicating mounting stability
- Limited outlet access forcing creative cable routing
- Small shelves or furniture blocking ideal projection paths
- Soft surfaces causing projector tilt or movement
To overcome these issues, plan your setup carefully, use cable organizers to keep cords tidy, and select versatile mounting options like adjustable brackets or ceiling mounts. These solutions help maximize space and secure your projector effectively, guaranteeing a smooth setup process. Additionally, considering bedroom decor elements can help create a comfortable and functional entertainment area.

DYNAVISTA Full Motion Universal Ceiling Projector Mount Bracket with Adjustable Height and Extendable Arms Rotating Swivel Mount for Home and Office Projector (Black)
Universally Compatible: This projector ceiling mount supports most projector brands with distance between the mounting holes on back…
As an affiliate, we earn on qualifying purchases.
As an affiliate, we earn on qualifying purchases.
Troubleshooting Image Quality and Brightness Issues
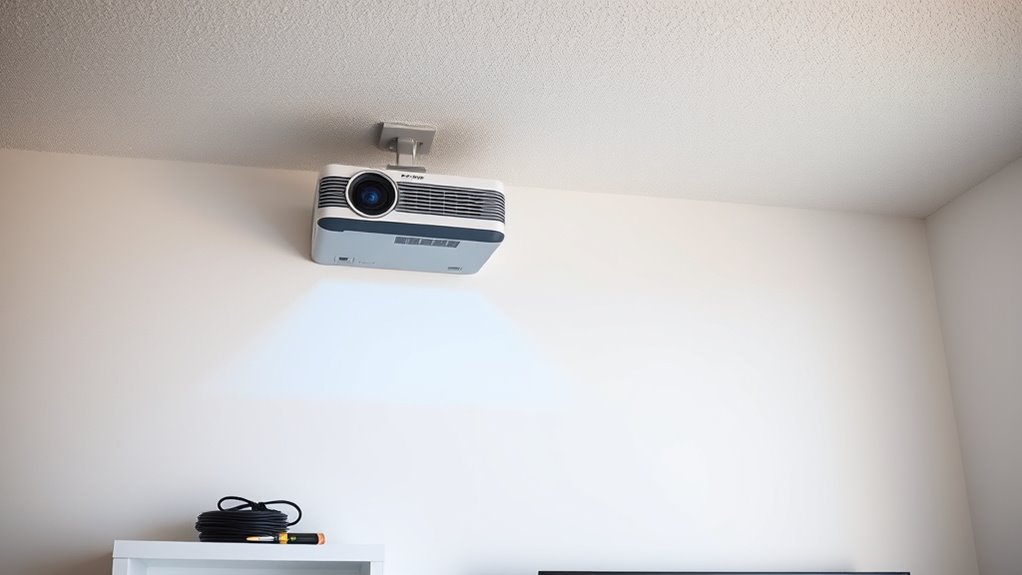
Even with a secure and well-planned setup, image quality and brightness can still pose problems if your projector isn’t properly calibrated or if environmental factors interfere. Start by adjusting the calibration settings to optimize contrast, color, and sharpness. Check if your projector’s lens has any distortion; lens distortion can cause images to appear warped or blurry, reducing overall clarity. If the picture seems stretched or skewed, use the projector’s keystone correction or lens shift features to fix it. Also, consider the ambient lighting and screen placement, as too much light can wash out the image. Regularly recalibrating your projector ensures consistent brightness and image quality, helping you enjoy a clear, vibrant picture despite environmental challenges. Additionally, referencing performance upgrades from Honda tuning can remind you to periodically review your setup for optimal results.
Managing Noise and Heat for a Comfortable Viewing Experience
Managing noise and heat from your projector is essential for creating a comfortable viewing environment, especially in small apartment spaces. To reduce sound, consider soundproofing solutions like acoustic panels, dense curtains, or sealing gaps around vents. For heat management, cooling system upgrades such as additional fans, vent filters, or placing the projector in well-ventilated areas help prevent overheating. Visualize a quiet, cool corner where your projector hums softly, heat dissipates efficiently, and distractions fade away. You might set up:
- Acoustic panels behind the projector
- Vents with improved airflow
- Extra mini fans for cooling
- Soundproof curtains around the setup
- Proper ventilation in the room
These strategies keep noise levels low and heat in check, ensuring a more enjoyable viewing experience. Additionally, research into sound healing science suggests that incorporating calming sounds and frequencies can further enhance the relaxing atmosphere of your space.
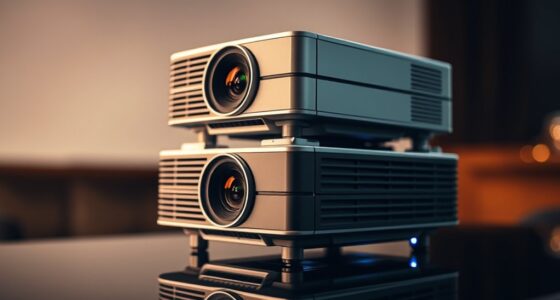
Tips for Maintaining and Extending the Lifespan of Your Short Throw Projector
To keep your short throw projector functioning at its best and prolong its lifespan, regular maintenance is essential. Start with projector cleaning—dust and dirt can cause overheating and reduce image quality. Use a soft, lint-free cloth to wipe the lens and vents gently. Check the air filters regularly and replace them if they’re dirty. Keep an eye on your bulb; replacing it promptly when it dims ensures consistent brightness and prevents damage to the projector. Follow the manufacturer’s guidelines for bulb replacement to avoid mishandling or damage. Additionally, avoid placing your projector in humid or dusty environments. Regular maintenance not only keeps your projector running smoothly but also extends its overall lifespan, saving you money and hassle in the long run. Forsale 100
Frequently Asked Questions
How Do I Connect My Projector to Multiple Devices Simultaneously?
To connect your projector to multiple devices simultaneously, use an HDMI splitter designed for multiple device connections. Plug your main device into the splitter, then connect each device to the splitter’s outputs. Always check HDMI splitter safety by choosing a reputable brand to prevent signal loss or damage. This setup allows seamless switching between devices without disconnecting and guarantees your projector manages multiple inputs safely.
Can I Install a Short Throw Projector Without Professional Help?
Yes, you can install a short throw projector yourself, but keep rental considerations in mind. For DIY installation, follow the manufacturer’s instructions carefully, guaranteeing you have the right mounting tools and a stable surface. Measure the distance accurately to achieve ideal image size. Be cautious with wall damage; use rental-friendly mounts or adhesive options if possible. If unsure, consulting online tutorials or seeking professional advice can help ensure a successful, damage-free setup.
What Should I Do if the Projector’s Keystone Correction Causes Image Distortion?
When keystone correction warps your image like a funhouse mirror, don’t panic. Instead, gently adjust the lens alignment to bring the picture back into shape. Use software calibration to fine-tune the image, ensuring everything looks sharp and natural. Think of it as a dance—each step aligning perfectly. With patience, you’ll straighten out the distortion and enjoy a crystal-clear display, just as it was meant to be.
How Often Should I Clean or Replace the Projector’s Filters?
You should clean or replace your projector’s filters regularly to maintain ideal airflow and prevent overheating. Follow the manufacturer’s air filter maintenance and replacement schedule, typically every 3 to 6 months, depending on usage and environment. Keep an eye out for dust buildup or reduced image brightness. Regular maintenance ensures your projector runs smoothly, extends its lifespan, and maintains clear image quality without interruptions.
Are There Specific Safety Precautions for Installing Projectors in Apartments?
Think of installing your projector as anchoring a ship; safety comes first. You should guarantee proper mounting safety by securely fastening the projector to prevent slips. Pay close attention to electrical precautions—use grounded outlets and avoid overloading circuits. Keep cables organized to prevent tripping hazards. Always read the manufacturer’s instructions and, if unsure, consult a professional. Prioritizing safety keeps your entertainment space both fun and secure.
Conclusion
With a little patience and the right setup, your short throw projector can transform your apartment into a cozy home theater. Remember, “a stitch in time saves nine,” so addressing common issues early keeps your viewing smooth and enjoyable. Keep your projector clean, manage heat, and troubleshoot problems promptly. Soon, you’ll be sitting back, popcorn in hand, basking in a picture as vivid as a dream—proof that good things come to those who troubleshoot wisely.