To calculate your projector’s vertical offset, start by measuring your throw distance and choosing your aspect ratio (like 16:9). Use the projector’s throw ratio to find the projected image width and height, then determine the needed height difference between the lens and the screen. This vertical offset guarantees your image aligns perfectly without keystone distortion. Knowing these steps helps you set up accurately — continue exploring for detailed calculations and setup tips to get your ideal view.
Key Takeaways
- Determine the projector’s throw ratio and desired image size to establish the required distance from the screen.
- Measure the vertical distance between the projector lens and the top or bottom of the screen to assess vertical offset.
- Use the projector’s vertical offset percentage or ratio, along with image height, to calculate precise lens height placement.
- Adjust projector height to align the projected image edges with the screen, accounting for keystone correction if needed.
- Consider room height and screen placement to ensure the projected image fits comfortably without distortion or unwanted cropping.
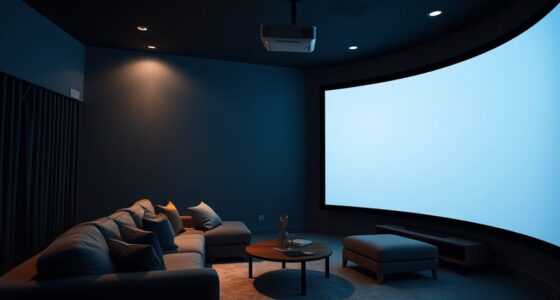
Choosing the right projector screen height and throw distance is vital to guarantee a clear, immersive viewing experience. When setting up your projector, paying attention to the aspect ratio helps guarantee your image fits perfectly on your screen without distortion. The aspect ratio determines the width and height proportions of your projected image, so selecting the correct one for your content—whether 16:9 for widescreen movies or 4:3 for presentations—directly influences your screen placement. A proper aspect ratio ensures that your image isn’t stretched or squished, which can compromise picture quality and viewer comfort. Additionally, understanding screen gain is fundamental because it affects how bright your image appears at different screen heights and distances. Screen gain measures how much light is reflected from the screen; a higher gain means a brighter image but can also lead to hotspots or reduced viewing angles. Balancing aspect ratio and screen gain allows you to enhance your setup for the room’s lighting conditions and viewing preferences.
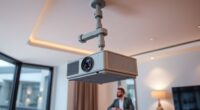
When determining the vertical offset—the height difference between your projector’s lens and the top or bottom of the screen—you need to consider the projector’s throw ratio and placement. The throw ratio indicates how far the projector must be from the screen to produce a specific image size. A short-throw projector allows you to sit closer to the screen, reducing the need for significant vertical offset, while a long-throw projector might require more precise height adjustments. Your goal should be to align the projected image’s top or bottom edge with the screen’s corresponding edge, avoiding keystone distortion. To do this accurately, measure the distance from your projector to the screen and factor in the aspect ratio. A wider aspect ratio, like 16:9, will generally require a different placement than a 4:3 screen because of their differing dimensions. Moreover, considering projector calibration** ensures optimal image alignment and quality. Adjusting for screen gain is equally important, especially in rooms with ambient light. Higher gain screens reflect more light, which can influence ideal projector height to prevent glare spots or uneven brightness. If your room has controlled lighting, you might opt for a lower gain screen for broader viewing angles, meaning your projector’s height might need fine-tuning to maintain uniform image quality. Ultimately, calculating the correct vertical offset involves balancing the projector’s throw ratio, aspect ratio, and screen gain to achieve a level, distortion-free image at the right height. This careful calibration ensures your viewing experience remains immersive, sharp, and comfortable, no matter the room setup**.

Outdoor Projector Screen with Stand 150 inch 16:9, Portable Projector Screen, 1.5 High Gain Fiberglass, Sturdy Backing, Wind-Resistant Movie Screen, Tripod/Wall Mounted, for Home Cinema/Backyard Party
150 INCH PROJECTOR SCREEN. This is a large projector screen, large viewing area with black border, 16:9 format,…
As an affiliate, we earn on qualifying purchases.
As an affiliate, we earn on qualifying purchases.
Frequently Asked Questions
How Does Ambient Light Affect Screen Height Choices?
Ambient light considerably impacts your screen height choices because it affects how well you see the projected image. When there’s more ambient light, you’ll want a higher screen brightness, which often means positioning the screen at a height that minimizes light interference. Adjusting the screen height can reduce glare and improve visibility, ensuring you get the best viewing experience despite the ambient light conditions.
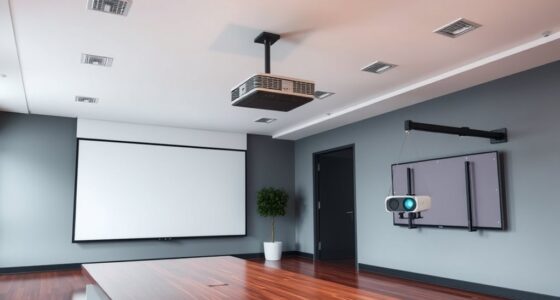
Can Ceiling-Mounted Projectors Adjust for Different Screen Heights?
Think of your ceiling-mounted projector as a chameleon with mounting flexibility. It can adapt to different screen heights by adjusting its lens or using keystone correction, provided there’s enough ceiling clearance. This flexibility allows you to fine-tune the image without compromising the installation. So, yes, ceiling-mounted projectors can adjust for different screen heights, giving you control over your setup even with limited ceiling space.
Does Screen Height Impact Viewing Angle Comfort?
Yes, screen height impacts your viewing angle and ergonomic positioning. If the screen is too high or low, you’ll strain your neck and eyes, leading to discomfort during extended viewing. To guarantee a comfortable viewing angle, position the screen so your eyes are level with the middle of the display. Adjusting the height helps you maintain good posture, reduces fatigue, and enhances your overall viewing experience.
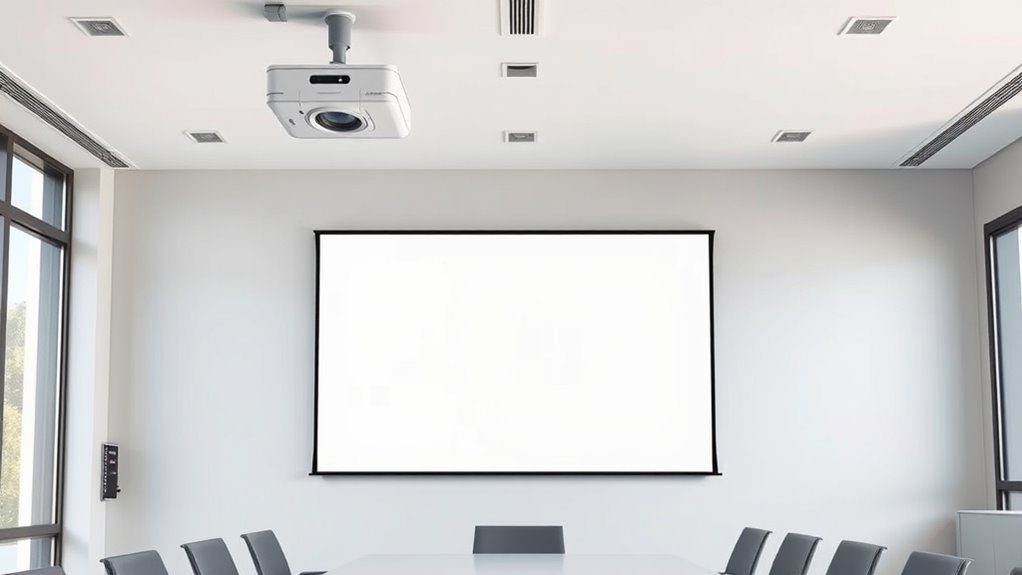
Are There Recommended Heights for Different Room Sizes?
Yes, there are recommended screen heights for different room sizes. For ideal projector placement, position the screen so its bottom edge is about 4-6 inches above eye level when seated, ensuring comfortable viewing angles. In smaller rooms, keep the screen lower, while in larger spaces, you can raise it higher. Adjust your projector’s height accordingly to maintain the correct vertical offset, preventing neck strain and ensuring clear visibility.
How Does Screen Height Influence Sound Quality and Direction?
You might notice that when your screen is too high or low, it affects sound quality and direction. For example, in a home theater, improper screen height can lead to misaligned speaker positioning, causing poor audio clarity. Adjusting your screen height guarantees speakers are ideally positioned, improving sound direction and clarity. This setup helps you enjoy immersive audio, making every scene feel more realistic and engaging.
projector throw ratio calculator
As an affiliate, we earn on qualifying purchases.
As an affiliate, we earn on qualifying purchases.
Conclusion
Now that you’ve grasped how to calculate projector screen height and throw, you’re ready to set up like a pro. Remember, getting the right vertical offset is essential for a perfect picture—don’t be a Luddite about it! With a little math and some patience, you’ll avoid the days of guesswork and enjoy a crisp, theater-quality display. So, go forth and make your setup as legendary as a Shakespearean play—minus the ruffs!

Rapink Speed Keystone Jack Tool for 90 Degree RJ45 Keystone, Ethernet Keystone Punch Down Tool for Time-saver and Effort-saver, Cat 6 Punch Down Tool Finger-hurt-free (Only for Rapink Keystone)
【Only for Rapink Keystone】: Keystone tool is compatible only with Rapink CAT6 90 degree speed termination keystone jacks…
As an affiliate, we earn on qualifying purchases.
As an affiliate, we earn on qualifying purchases.

2-Be-Best Upgraded Projector Mount,14-24 in Extendable Length Projector Ceiling Mount Projectors Wall Mount Adjustable 360° Rotatable Compatible with TMY, HAPPRUN, Yaber, Aurzen and Other Projectors
1. EXTENDABLE LENGTH – The Projector mount pole has an extending length from 14-24 in / 37-62 cm….
As an affiliate, we earn on qualifying purchases.
As an affiliate, we earn on qualifying purchases.