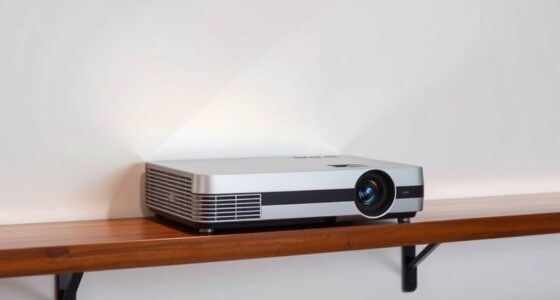

To get a clear, well-aligned image, focus on proper projector offsets and placement. Use lens shift to adjust vertical and horizontal positioning internally, which helps maintain sharpness and avoid digital corrections. Place the projector close to the screen and aim for minimal keystone correction, as excessive adjustments can reduce image quality. Balancing these techniques ensures a professional setup—keep exploring to master the best positioning strategies.
Key Takeaways
- Use lens shift to adjust image position internally before relying on digital keystone correction.
- Position the projector close to the screen to minimize the need for digital adjustments.
- Employ keystone correction sparingly to avoid degrading image quality.
- Start with optimal mounting height and angle to reduce the necessity for offsets.
- Combine proper placement with lens shift for a sharp, well-aligned image with minimal artifacts.
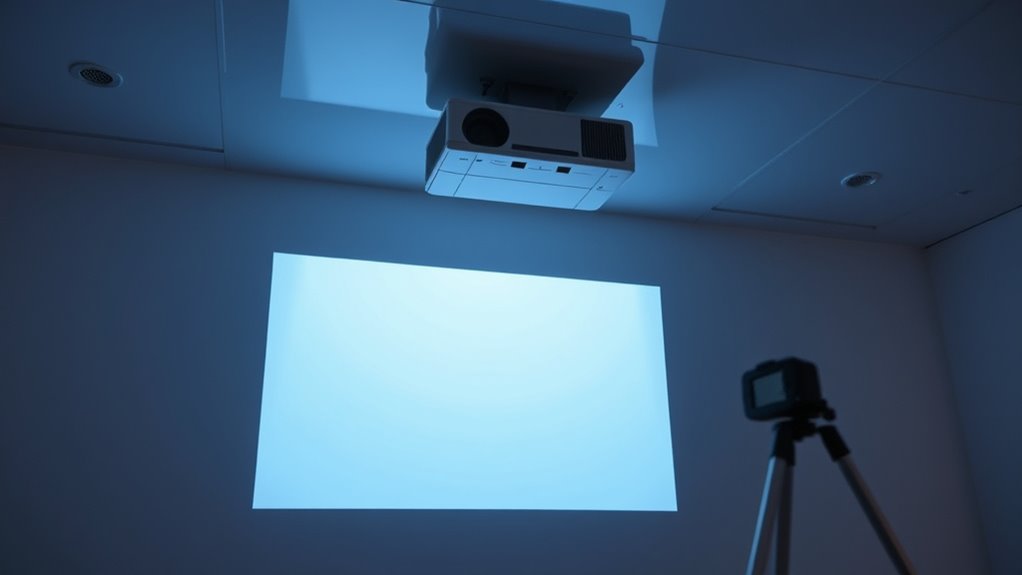
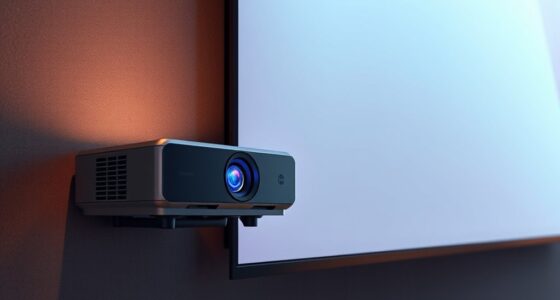
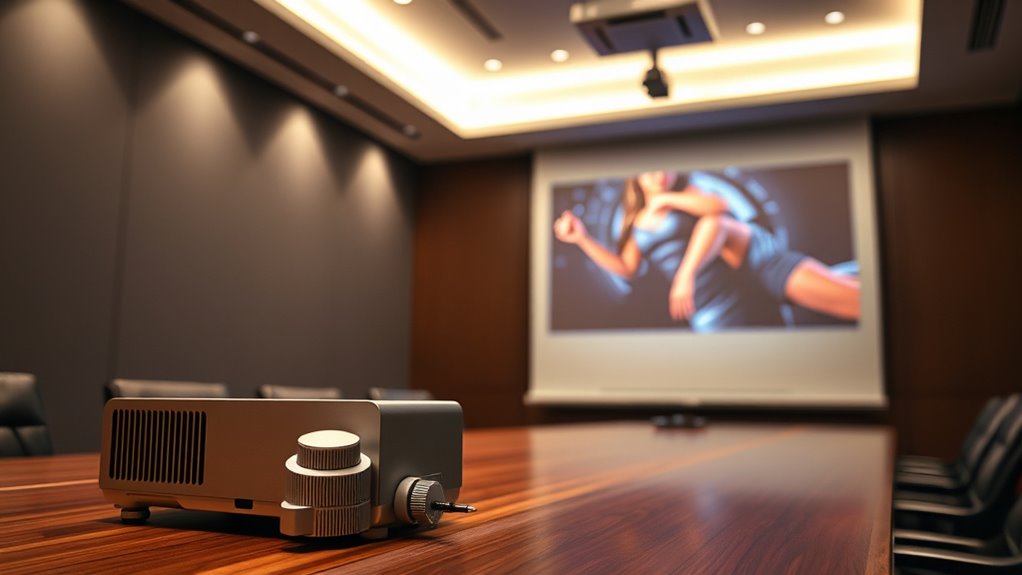
When setting up a projector, understanding offsets and image positioning is vital to achieve a clear, properly aligned display. One of the first things to consider is how the projector’s lens shift feature can help you adjust the image without physically moving the device. Lens shift allows you to move the image vertically or horizontally by shifting the lens internally, giving you greater flexibility in positioning the projector. This feature is especially useful if you’re limited on space or want to avoid blocking the projected image with furniture or other obstacles. Instead of tilting or repositioning the entire projector, lens shift lets you fine-tune the image placement smoothly and precisely, guaranteeing everything lines up perfectly on your screen.
Alongside lens shift, keystone correction plays a vital role in correcting image distortions caused by the projector’s angle. When you project from an off-center position, the image often becomes trapezoidal, with the sides skewed. Keystone correction digitally adjusts the image shape, making it rectangular again. While helpful, it’s best used as a last resort since excessive keystone correction can reduce image quality. For maximum results, aim to position the projector as close to the screen as possible and use lens shift when available to keep the image aligned without relying heavily on digital adjustments.
Use lens shift to minimize keystone correction and maintain optimal image quality.
Understanding how these features interact is key to achieving a professional-looking setup. If you’re able to utilize lens shift, you won’t need to rely on keystone correction as much, preserving the image’s clarity. Position the projector so that the lens shift capabilities are maximized, and then fine-tune the image with keystone correction if necessary. Remember, the goal is to minimize digital manipulation because it can introduce artifacts or reduce sharpness.
Proper placement and the strategic use of lens shift are essential components of a sustainable setup that minimizes the need for digital corrections and optimizes image quality. In practical terms, start by placing your projector roughly in the right position relative to the screen. Use the lens shift to align the image vertically or horizontally. If the image still appears distorted, employ keystone correction carefully—making small adjustments until the picture is rectangular and aligned. Avoid overusing keystone correction, as it can compromise picture quality. Instead, focus on choosing the proper mounting height and angle initially, then leverage lens shift to make minor adjustments. This approach ensures a clearer, more natural image, saving you the hassle of constant digital corrections and improving your overall viewing experience.

Official Licensed Google TV Smart Projector, HAPPRUN 4K UHD Home Theater with Dolby Sound, Wi-Fi & Bluetooth, Built-in Streaming Apps, Compatible with Games Consoles & Smartphone, Indoor & Outdoor Use
[ Built-in Official Licensed Google TV ] - Without additional equipment, the smart projector can directly access Netflix,...
As an affiliate, we earn on qualifying purchases.
Frequently Asked Questions
How Do I Calibrate Multiple Projectors for Seamless Images?
To calibrate multiple projectors for seamless images, start by aligning their edges using edge blending techniques. Adjust lens shift to fine-tune each projector’s position and guarantee consistent image placement. Use a test pattern to check for overlaps and color matching, making incremental adjustments to achieve a seamless changeover. Regularly review and tweak settings to maintain alignment, especially if projectors or environment change.
Can Projector Offsets Be Adjusted Digitally or Only Physically?
You can adjust projector offsets digitally, which makes fine-tuning image alignment easier and more precise. Many modern projectors offer digital adjustment options in their menus, allowing you to tweak keystone, lens shift, and other offsets without physically moving the device. This digital adjustment helps you achieve seamless images across multiple projectors, ensuring perfect image alignment without the need for manual, physical modifications.
What Are Common Mistakes When Setting Projector Height and Angle?
When setting your projector height and angle, you might face alignment issues and calibration errors. Common mistakes include not leveling the projector properly, which causes skewed images, and ignoring the lens shift options, leading to poor alignment. You also might overlook adjusting keystone correction, resulting in distorted images. Always double-check your setup, use a level, and fine-tune the angle carefully to avoid these errors and achieve a crisp, well-aligned projection.
How Does Room Lighting Affect Image Positioning Accuracy?
Room lighting, especially ambient light, can turn your perfect image into a washed-out mess faster than you can say “brightness.” When you ignore this, your projector’s color temperature and image positioning suffer, making everything look off. Bright ambient light reduces contrast, forcing you to crank up brightness and distort colors, which ruins image accuracy. So, dim the lights, and let your projector work its magic—your eyes and image will thank you.
Are There Specific Projector Models Better for Complex Setups?
Yes, some projector models are better for complex setups thanks to advanced features like lens shift technology and superior projector compatibility. Look for models with extensive lens shift ranges to easily adjust your image without repositioning the projector. Compatibility with various mounting options and flexible adjustments make these models ideal for intricate setups, ensuring precise image placement even in challenging room configurations.
![Projector-4K with WiFi and Bluetooth:[3500 ANSI/60W Dolby Audio/Official Licensed Apps], Outdoor-Projector with Smart OS 2.0 & AI Auto Focus,ONOAYO ONO5Pro 2.0 Smart Movie Projector for Indoor/Outdoor](https://m.media-amazon.com/images/I/41fylkjOTIL._SL500_.jpg)
Projector-4K with WiFi and Bluetooth:[3500 ANSI/60W Dolby Audio/Official Licensed Apps], Outdoor-Projector with Smart OS 2.0 & AI Auto Focus,ONOAYO ONO5Pro 2.0 Smart Movie Projector for Indoor/Outdoor
[Hear the Difference–Hollywood-Grade Dual 60W Dolby Audio] Why spend $500 on a TV + soundbar or settle for...
As an affiliate, we earn on qualifying purchases.
Conclusion
mastering projector offsets and image positioning guarantees a perfect setup every time. Did you know that improper alignment can reduce image quality by up to 50%? By understanding and applying these simple adjustments, you’ll save time and enjoy crisp, centered images. Whether you’re setting up for a movie night or a professional presentation, these tips give you confidence and control. Get your projector perfectly aligned, and see the difference in clarity and impact!

HAPPRUN 2500 ANSI Lumens Outdoor Projector with Built-in Streaming Apps, 4K Decoding Resolution, Dolby Audio, WiFi 6 and Bluetooth 5.2 for Indoor and Outdoor Home Theater
[ Built-in Streaming System ] – No extra equipment needed. This smart projector gives you direct access to...
As an affiliate, we earn on qualifying purchases.
ViewSonic PX701-4K UHD 4K Projector with 3200 Lumens, 240Hz, 4.2ms, HDR, Auto Keystone, Dual HDMI for Home Theater
4K Home Theater Projector: UHD (3840x2160p) 4K resolution with a 1.5-1.6 throw ratio and 3,200 ANSI lumens perfect...
As an affiliate, we earn on qualifying purchases.