
To calculate the ideal mount height for projection, start by measuring your room’s ceiling height and the size of your screen. Consider the projector’s throw ratio and the distance needed for a clear, focused image. Align the projector so the image is centered and at a comfortable eye level for viewership. Using these measurements and formulas guarantees sharp, distortion-free visuals. Keep exploring for more tips on achieving the perfect setup.
Key Takeaways
- Measure ceiling height, screen size, and projector distance to establish a reference for mounting height.
- Use projection geometry formulas, considering throw ratio and distance, to calculate optimal projector height.
- Align the projector so the projected image is centered and at eye level for comfortable viewing.
- Account for room features like beams and decor to ensure the mount placement doesn’t cause distortion.
- Regularly verify and adjust the mount for levelness and alignment to maintain optimal projection performance.

WALI Projector Mount Ceiling/Wall - Universal 3-in-1 Bracket with Extension Pole, Height Adjustable Holder for LCD/DLP Projectors, Supports up to 44lbs (PM-003-W), White
Compatibility: Universal Projector Mount Bracket for Both Ceiling and Wall Installation. Applicable to mounting holes distance between 8.9’’to...
As an affiliate, we earn on qualifying purchases.
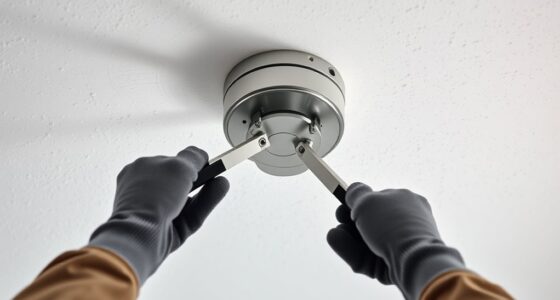
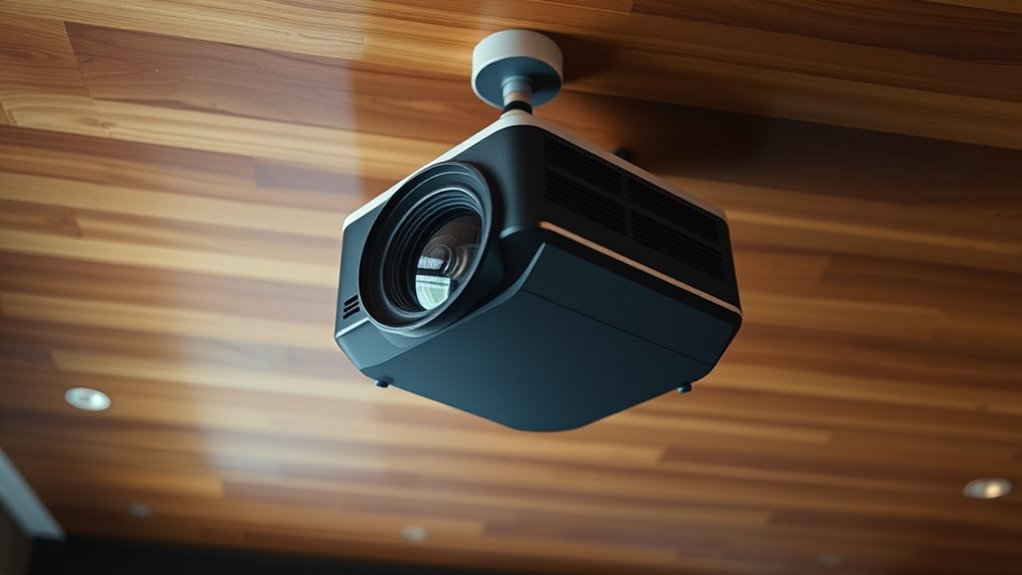
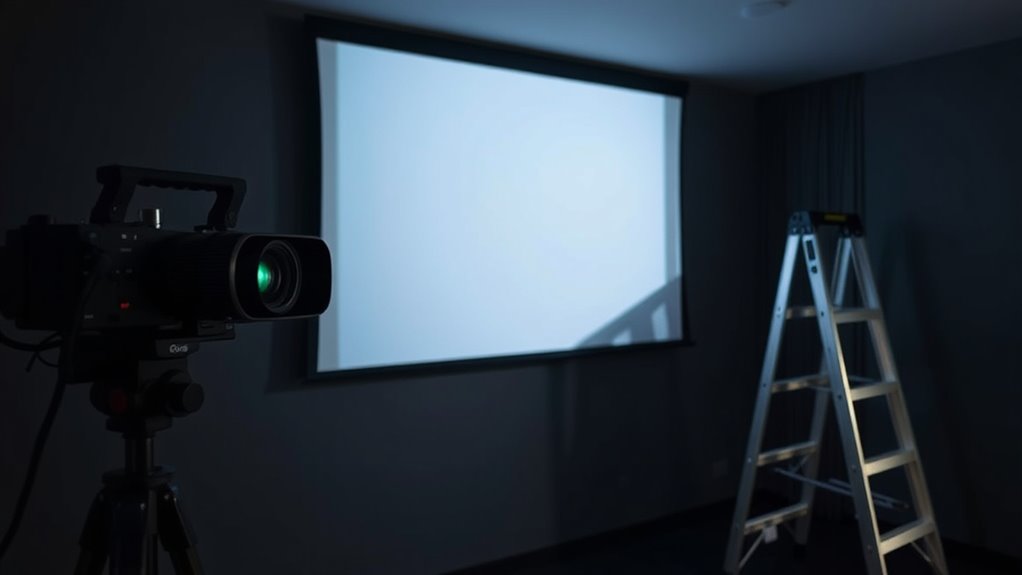
Understanding the Importance of Mount Height
Understanding the importance of mount height is essential because it directly affects the quality and visibility of your projected image. Proper mounting guarantees accurate projector calibration, which is crucial for clear, sharp visuals. If your projector is mounted too high or too low, you may experience distortion or uneven focus, forcing you to spend extra time on calibration adjustments. Additionally, mounting aesthetics play a role—your setup should look seamless and unobtrusive, blending well with your space. By choosing the correct height, you optimize image clarity and create a clean, professional appearance. Taking the time to weigh mount height helps prevent future issues with image alignment, ensuring your projection is both functional and visually appealing. Proper mount height also helps in maintaining the longevity of your equipment by reducing unnecessary strain.

Aurzen Ceiling Projector Mount Bracket, 360° Rotation & 90° Tilt, Adjustable 9"-15" Length, ¼-Inch Screw, Compatible with TMY, HAPPRUN, Yaber, Epson & Most Projectors
Note: Not compatible with Aurzen D1 MAX
As an affiliate, we earn on qualifying purchases.
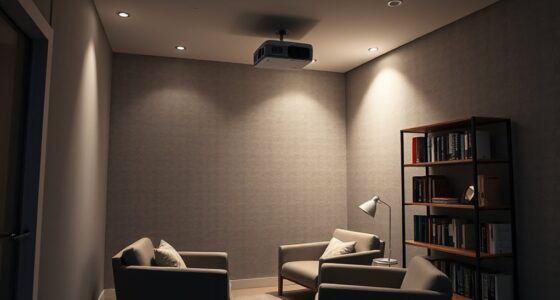
Factors Influencing Projector Mount Placement
Several key factors influence where you should mount your projector to achieve ideal image quality. First, projector brightness plays a significant role; a brighter projector can be mounted higher or farther from the screen without sacrificing clarity, while a dimmer one requires closer placement for visibility. Additionally, the mounting hardware you choose affects placement options—secure, adjustable brackets allow for precise positioning and height adjustments. The room’s layout and ambient light also impact placement decisions, as excessive ambient light can wash out the image. Ensuring the mounting hardware can support your projector’s weight and dimensions is vital for safety and stability. By considering brightness levels and reliable hardware, you can optimize your projector’s placement for the best viewing experience. A proper mount height can also help maximize contrast ratio and color accuracy, further enhancing image quality.

DYNAVISTA Full Motion Universal Ceiling Projector Mount Bracket with Adjustable Height and Extendable Arms Rotating Swivel Mount for Home and Office Projector (Black)
Universally Compatible: This projector ceiling mount supports most projector brands with distance between the mounting holes on back...
As an affiliate, we earn on qualifying purchases.
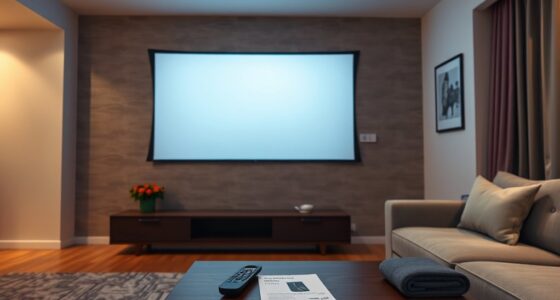
Measuring Screen and Room Dimensions
To accurately determine the ideal projector height, you first need to measure your screen and room dimensions carefully. Start by noting the screen size and its distance from the projector. Next, measure the room’s height, width, and wall color, as wall color influences reflection and brightness. Also, consider speaker placement, since nearby speakers can affect your viewing angle and sound experience. Keep these points in mind:
- Measure ceiling height and wall dimensions precisely.
- Record the distance from the projector to the screen for accurate alignment.
- Note wall color and speaker locations to optimize image clarity and sound quality.
- Understanding the self-watering plant pots concept can remind you of the importance of maintaining optimal conditions, just as ensuring proper measurements can optimize your projection setup.
These measurements ensure you set your projector at the proper height, factoring in room-specific variables for the best viewing experience.

PUTORSEN Adjustable Projector Ceiling Mount,Universal Projector Shelf for Ceiling and Wall, Holds up to 22lbs,No Hole Installation, Hidden Cable Routing, Black
Versatile Application: PUTORSEN projector ceiling mount is compatible with most manual or spectrum projector screens, Also can be...
As an affiliate, we earn on qualifying purchases.
Calculating the Ideal Screen Height
After measuring your room and screen dimensions, the next step is to determine the most suitable height for your projected image. Your goal is to ensure the projection aligns with the room’s ceiling design and maintains the proper projection aspect. Consider the height of your viewers’ line of sight—ideally, the screen’s center should be at or slightly below eye level for comfortable viewing. Take into account ceiling features, such as beams or decorative elements, which might influence where you mount the projector and screen. The ideal screen height balances ideal viewing angles with aesthetic integration into your space. By focusing on your projection aspect ratio and ceiling design, you’ll create a setup that’s both functional and visually appealing. Ensuring the projectors and screens complement the bedroom ambiance can enhance the overall experience.
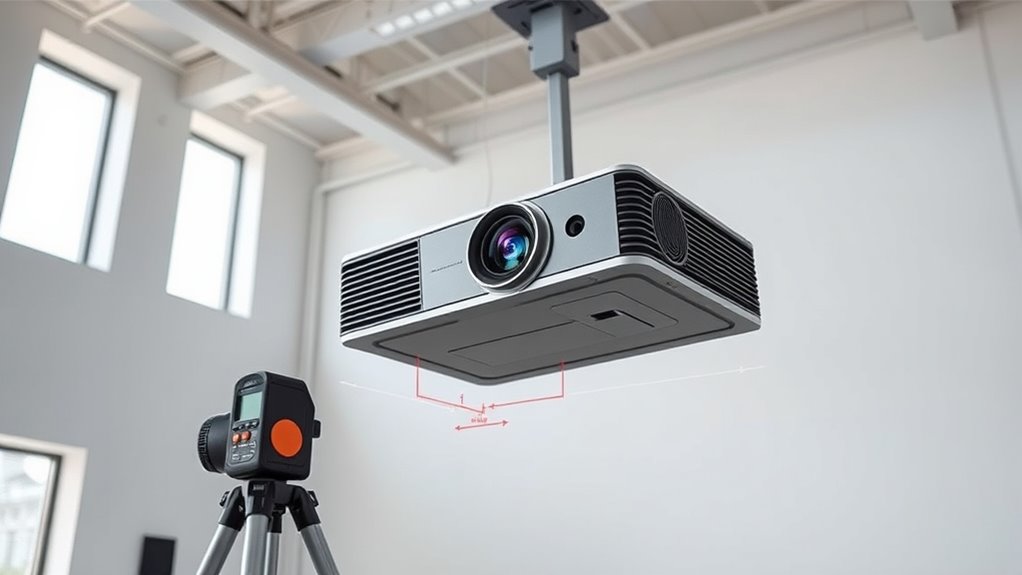
Using Formulas to Determine Optimal Mount Height
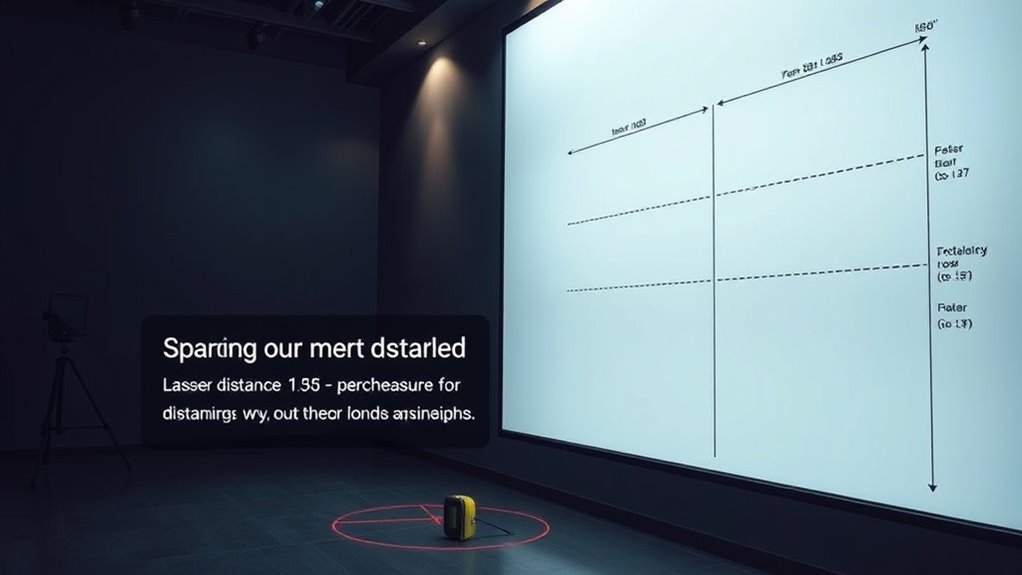
You can accurately find the best mount height by using specific formulas that consider projection geometry. Applying these height formulas helps guarantee your setup provides ideal viewing angles and image quality. Once you understand the calculations, setting up your projector becomes much easier and more precise. Additionally, ensuring proper mount stability is critical for safety and optimal performance.
Calculating Projection Geometry
Have you ever wondered how to determine the best height for mounting a projector to guarantee a perfect image? Calculating projection geometry involves understanding the projection angle and how keystone correction affects the image. To do this effectively:
- Measure the distance from the projector to the screen, which influences the projection angle.
- Use formulas that incorporate the desired image size and throw ratio to find the ideal height.
- Consider keystone correction, as it can adjust the image shape but may impact image quality if overused.
Applying Height Formulas
To determine the most suitable mount height, applying the right formulas is essential. Your goal is to achieve the ideal projection angle, which ensures a clear image without distortion. Consider the ambient lighting in your space, as brighter rooms may require a different setup to maintain visibility and contrast. Use formulas that factor in the desired screen size, throw distance, and projection angle to find the ideal height. These calculations help you position the projector so the image is centered and unobstructed. Adjustments based on ambient lighting conditions will improve image quality and viewer comfort. By applying these height formulas accurately, you ensure your projector is mounted at the perfect height for an ideal viewing experience. Properly considering lighting conditions can significantly enhance the overall viewing quality and comfort.
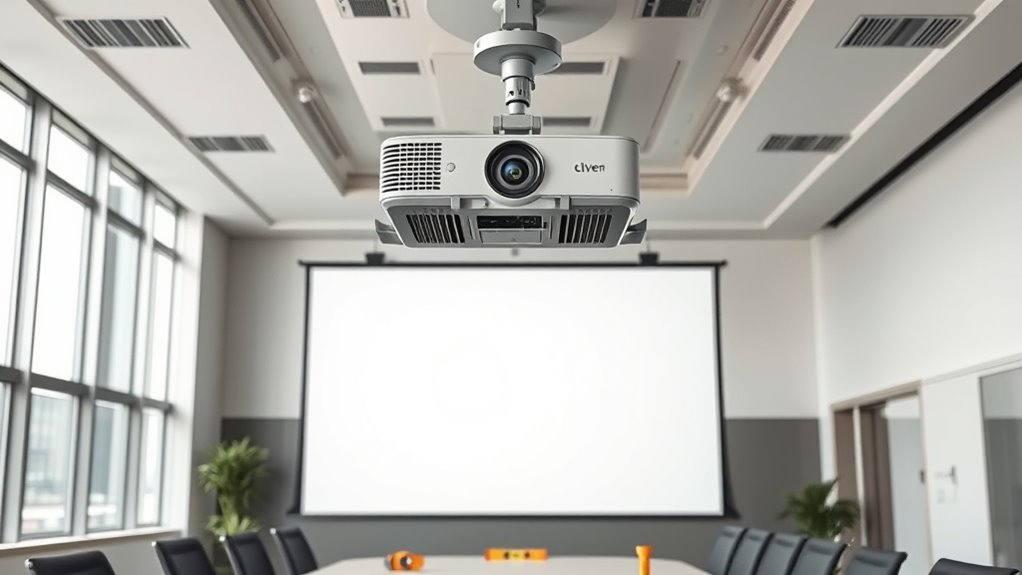
Practical Tips for Adjusting Your Projector Mount

Adjusting your projector mount properly is essential for achieving a clear and aligned image. First, ensure the mount is securely attached, especially if you’ve recently done ceiling repairs. Proper mount alignment prevents distorted images and reduces the need for constant adjustments. Here are some practical tips:
- Check the mount’s levelness with a spirit level before tightening all screws.
- Adjust the tilt and swivel to match your desired projection angle, avoiding keystone distortion.
- Periodically revisit ceiling repairs to confirm the mount hasn’t shifted, which can misalign the image.
- For optimal performance, consider the best anime movies to enjoy while adjusting your setup, as a well-calibrated projector enhances the viewing experience.
Taking these steps helps maintain the correct mount height and alignment, guaranteeing your projector performs at its best and your image stays sharp. Proper adjustments save time and prevent frustrations caused by fluctuating image quality.
Common Mistakes to Avoid When Mounting Your Projector
When mounting your projector, avoid neglecting important factors like screen size, ceiling height, and throw distance. Overlooking these details can lead to poor image quality or inconvenient setup. Paying attention to these points helps ensure a seamless and effective projection experience. Additionally, understanding performance metrics of your projector can help determine the ideal mounting height to optimize image clarity and coverage.
Ignoring Screen Size
Ignoring the size of your screen can lead to a poor viewing experience, even if your projector is perfectly mounted. If you neglect screen dimensions, your image might be too small or too large, disrupting the visual flow. When wall mounting, consider how the screen size affects ceiling aesthetics and overall room harmony. To avoid mistakes, keep these points in mind:
- Measure your screen accurately to ensure the projector’s throw distance matches its size.
- Adjust the mount height to position the image centrally, avoiding extreme angles.
- Ensure the projected image fits well within the wall space, maintaining visual balance.
- Regularly assess and maintain your setup to ensure optimal viewing conditions over time.
Properly factoring in screen size helps create a seamless, engaging viewing setup, enhancing both aesthetics and functionality.
Overlooking Ceiling Height
Have you considered how ceiling height impacts your projector’s mounting position? Overlooking ceiling height can lead to poor ceiling aesthetics and a cluttered appearance. If your ceiling is too high or uneven, securing a decorative mounting might be challenging, making the setup look unbalanced. A mismatch between the projector’s height and the room’s design can distract from the overall decor. Additionally, improper mounting height may cause the projector to cast a distorted or unaligned image, reducing visual quality. To avoid this mistake, measure your ceiling carefully and choose a mounting solution that complements your room’s design. Guarantee the projector is installed at a height that maintains both functional image projection and a clean, cohesive ceiling aesthetic.
Neglecting Throw Distance
Neglecting throw distance can substantially compromise your projector’s image quality and overall viewing experience. If you ignore this factor, your projected image may be blurry, distorted, or improperly sized. Proper screen positioning depends heavily on understanding your projector’s throw ratio and ceiling considerations.
To avoid this mistake, keep these points in mind:
- Measure the distance from the projector to the screen to ensure the image size matches your space.
- Consider ceiling height and placement to maintain suitable throw distance.
- Adjust your mount height accordingly to prevent keystone distortion and ensure a centered projection.
Frequently Asked Questions
How Does Ambient Light Affect Optimal Projector Mount Height?
Ambient light notably impacts your projector’s ideal mount height because too much light can wash out the image. By mounting the projector higher or lower, you can minimize ambient light effects and improve image quality. Adjusting the height helps reduce glare and reflections, ensuring sharper visuals. Keep in mind that controlling ambient light enhances your viewing experience, making it easier to see details and colors clearly, no matter the lighting conditions.
Can Ceiling Type Influence Mounting Height Recommendations?
Your ceiling type definitely influences mounting height recommendations; it can feel like traversing a maze! For example, a concrete ceiling requires sturdy anchors, so you might mount lower for stability, while a drywall ceiling offers more flexibility. Consider your room height too—higher ceilings mean you’ll need a higher mount to guarantee a clear, unobstructed projection. Always tailor your setup based on ceiling material and room dimensions for the best viewing experience.
What Safety Considerations Are Important When Mounting a Projector?
When mounting a projector, safety is key. You should secure it with sturdy mounting hardware and guarantee it’s properly anchored to prevent falls. Good cable management is essential to avoid tripping hazards and protect cables from damage. Regularly check the mount and hardware for stability, especially in high-traffic areas. Proper installation not only keeps everyone safe but also ensures your projector functions reliably over time.
How Does Projector Throw Ratio Impact Mount Height Choices?
Imagine the throw ratio as a guiding hand, helping you set the perfect projector height; a smaller ratio means the projector can sit closer, while a larger ratio needs it higher. Lens shift allows flexibility, letting you fine-tune the image without moving the projector. Together, these factors influence your mount height choices, ensuring your image is sharp, centered, and perfectly aligned without unnecessary adjustments.
Are There Ergonomic Benefits to Specific Projector Mounting Heights?
Yes, there are ergonomic benefits to choosing the right projector mounting height. By optimizing the projection angle, you reduce neck strain and improve viewing comfort. Ensuring sufficient ceiling clearance prevents the projector from being too low or obstructing pathways, making setup easier and safer. Proper mounting height promotes a comfortable viewing experience, minimizes glare, and keeps your space organized, ultimately enhancing both usability and ergonomics.
Conclusion
Remember, a well-placed projector makes all the difference—”measure twice, cut once.” By understanding the factors, accurately measuring your space, and using the right formulas, you’ll find the perfect mount height for your setup. Take your time, follow practical tips, and avoid common mistakes. With patience and precision, you’ll enjoy a flawless viewing experience that transforms your room into a home theater. Happy projecting!