
To master ceiling mounts and safety planning in a weekend, start by gathering all necessary tools and materials, then understand different mount types to pick the right one. Plan your installation carefully, assess the ceiling surface, and map safety zones to prevent hazards. Follow step-by-step installation procedures, implement safety precautions, and test your setup for stability. If you keep exploring, you’ll gain the confidence to execute secure, professional ceiling mounts efficiently.
Key Takeaways
- Study comprehensive guides on ceiling mount types, installation steps, and safety protocols to build foundational knowledge quickly.
- Gather all necessary tools, materials, and safety equipment in advance to streamline the installation process.
- Plan your workspace and mount placement carefully, considering ceiling structure, load capacity, and safety zones.
- Follow a step-by-step installation procedure, checking stability and security at each stage to ensure safety and durability.
- Schedule regular inspections and maintenance to sustain safety standards and prevent future hazards over time.

ZOWZEA 4" Ceiling Light Fixture Mounting Bracket Kit, 4Pcs Universal Lamp Crossbar Hardware Set for Chandelier & Wall Lights, Silver
【Package Includes】: Each package comes with 4 pieces of 4'' zinc-plated steel crossbar mounting brackets, 4pcs 3/8'' (1/8IP)…
As an affiliate, we earn on qualifying purchases.
As an affiliate, we earn on qualifying purchases.
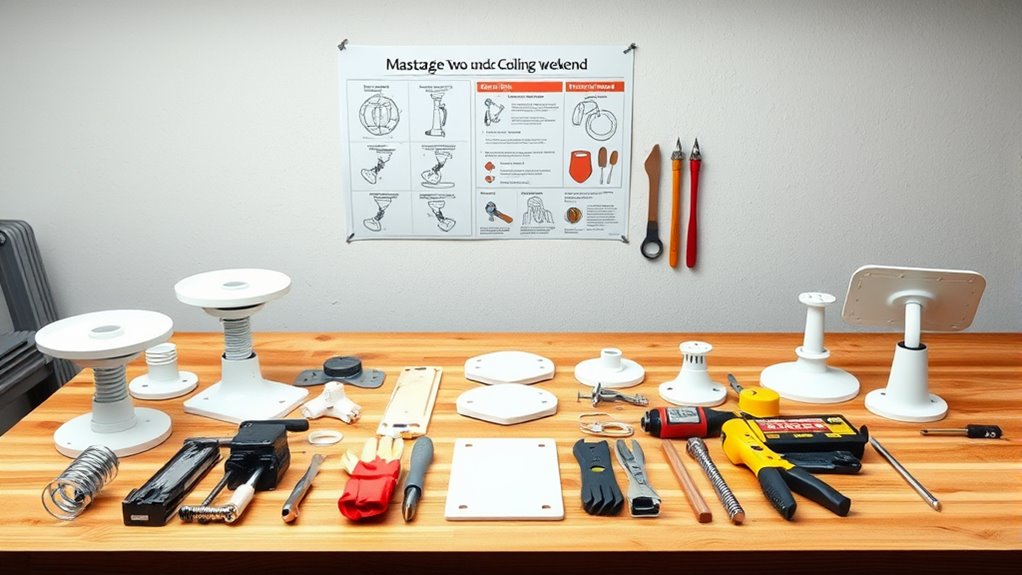
Gathering Essential Tools and Materials
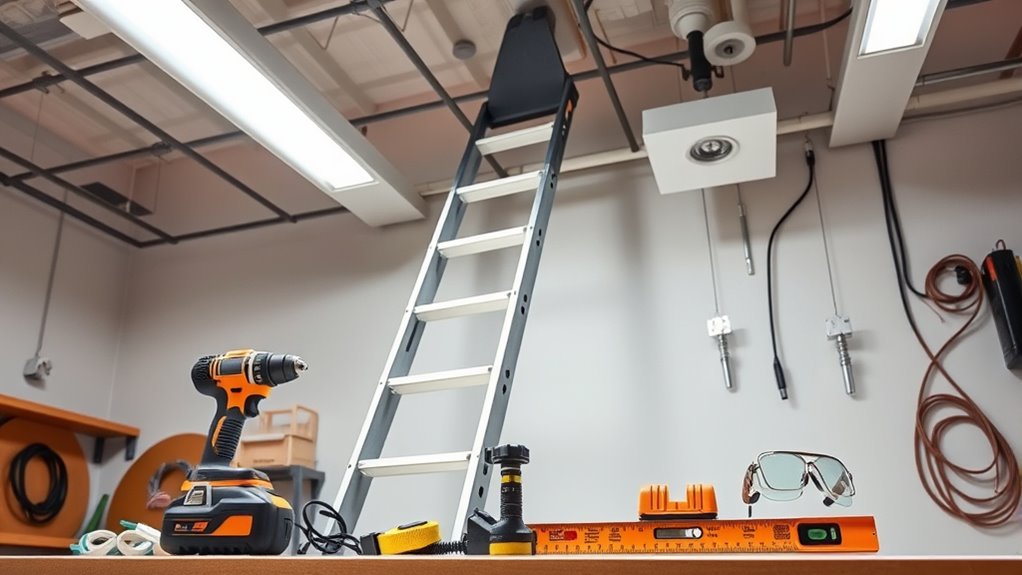
Before you start installing a ceiling mount, it’s crucial to gather all the necessary tools and materials. You’ll need basic tools like a drill, screwdriver, stud finder, level, and measuring tape. Make sure you have the right anchors and screws suitable for your ceiling type. If you’re planning to add decorative fixtures or lighting options, check that your chosen fixtures are compatible with ceiling mounts. Having these items ready guarantees a smooth process and prevents unnecessary trips to the hardware store. Additionally, gather any mounting brackets or plates that might be required. Preparing everything beforehand helps you work efficiently and safely, reducing mistakes and ensuring your ceiling mount holds securely. Being organized from the start sets a solid foundation for a successful installation. Proper planning also involves understanding your ceiling’s structure to ensure your chosen mounting method provides maximum stability.

PREXISO 2-in-1 Stud Finder with Laser Level, Rechargeable Multi Surface Cross Line Laser & Wall Stud Scanners Tool for Hanging Frames & Picture, Wood Ac Wire Metal Studs Joist Pipe Detection
TIPS: 1. Calibration is necessary before using the stud finder function. 2. Laser level is manual-leveling, not self-leveling,…
As an affiliate, we earn on qualifying purchases.
As an affiliate, we earn on qualifying purchases.
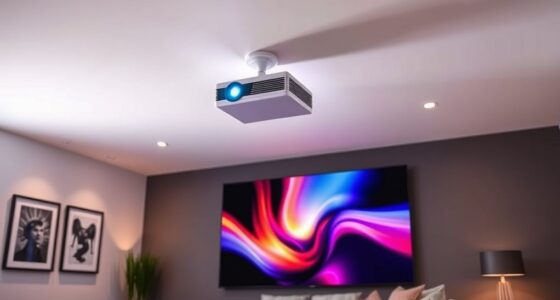
Understanding Different Types of Ceiling Mounts
Choosing the right ceiling mount depends on the specific fixture or device you plan to install. There are various types of mounts and ceiling mounting options, each suited for different situations. Understanding these options helps you select the best fit for your project. Additionally, considering the design style of your space ensures the mount complements your overall aesthetic.

KURUI Heavy Duty Hollow Wall Anchors for Drywall Ceiling, Toggle Bolts and Wing Nut Kit, 28Pcs Metal Drywall Anchors and Screws Assortment Set, 3 Sizes Butterfly Anchors for Hanging 1/8, 3/16, 1/4
MULTIPLE SIZE OPTIONS – This toggle bolt assortment includes 3 sizes (1/8 in, 3/16 in, 1/4 in) to…
As an affiliate, we earn on qualifying purchases.
As an affiliate, we earn on qualifying purchases.
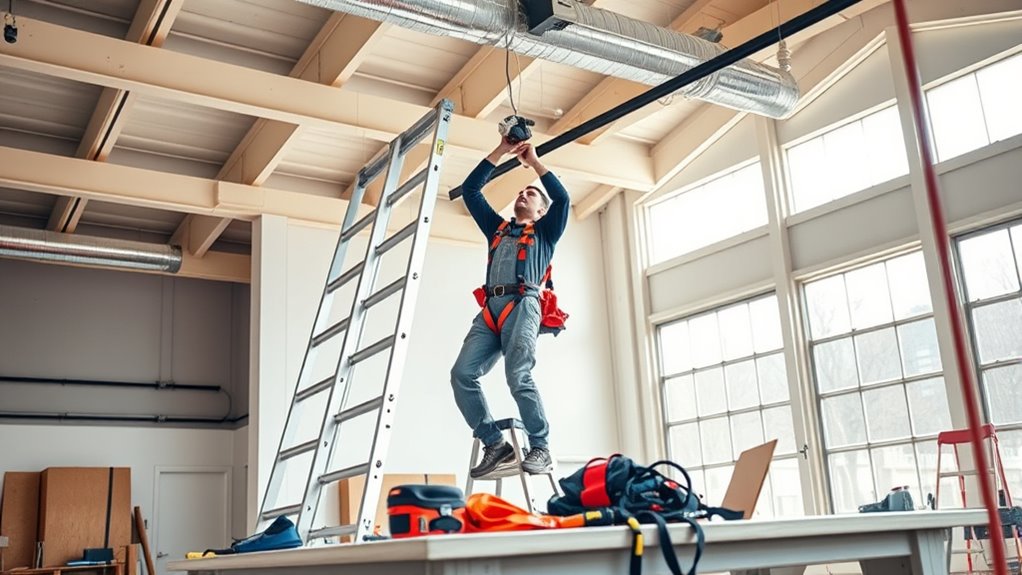
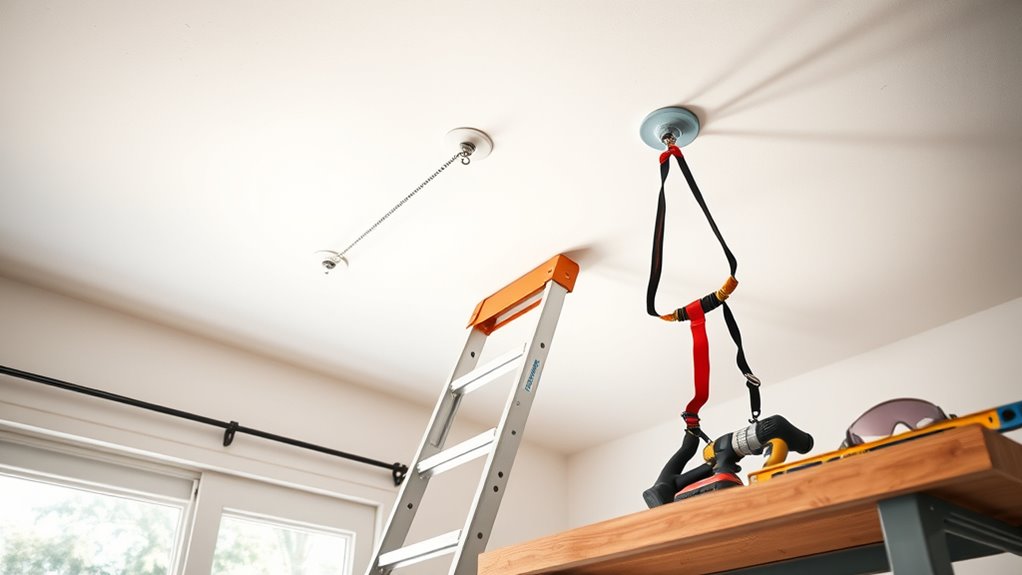
Planning Your Installation and Safety Layout

Before installing your ceiling mount, you need to assess the space and determine your requirements to guarantee a secure setup. Gather all the necessary tools so you’re ready to work efficiently and safely. Finally, map out safety zones to keep yourself and others protected during and after the installation process. Additionally, consider the nutritional advantages of green juice if your project involves incorporating healthy habits into your space planning to promote overall well-being.
Assess Space and Requirements
Have you ever considered how the layout of your space affects your ceiling mount installation? Evaluating your area helps you determine the best placement for your mount, ensuring stability and safety. Think about your lighting options—do you want direct light, ambient glow, or accent lighting? Your choice impacts where you should position the mount. Also, consider aesthetic considerations—how the mount and fixture will look within your room’s design. Measure ceiling height, weight load capacity, and clearance to avoid obstructions. Check for any structural elements that might interfere, like beams or ductwork. By evaluating these factors, you’ll create a safe, functional, and visually appealing setup that meets your needs and enhances your space. Understanding site functionality is crucial for optimizing your installation process and ensuring safety.
Gather Installation Tools
To guarantee a smooth ceiling mount installation, start by gathering all the necessary tools and safety equipment beforehand. Begin with a drill and choose the right drill bit selection based on your ceiling material—masonry bits for concrete, wood bits for wooden beams. Confirm your mounting bracket compatibility with the hardware you have on hand; different brackets require specific screws and anchors. Double-check that your drill is in good condition and that you have a level, measuring tape, and a pencil for marking precise locations. Having these tools ready prevents last-minute trips and mistakes. Also, gather safety gear like goggles and gloves. Preparing your toolkit in advance keeps the process efficient, safe, and on schedule. Additionally, understanding appliance testing and compatibility requirements can help ensure your installation is safe and compliant with electrical standards.
Map Out Safety Zones
Mapping out safety zones is a crucial step to guarantee your installation area is secure and risk-free. Clearly define areas where personnel will work and move, ensuring collision prevention by keeping pathways clear. Identify potential hazards, such as hanging tools or loose cords, and set boundaries to keep them away from the installation zone. Make sure to mark the emergency exit routes prominently, so everyone can evacuate quickly if needed. Pay attention to overhead objects, ensuring they won’t interfere with ceiling mount placement or cause accidents. By planning your safety layout carefully, you reduce the risk of mishaps and create a safer environment during installation. A well-mapped safety zone helps prevent collisions and ensures that emergency exits remain accessible at all times. Additionally, reviewing the safety guidelines for ceiling mounting can further enhance your safety planning and prevent common installation errors.

TOKPLNU Curtain Rod Brackets, Ceiling Heavy Duty Holders, Black 4 Pack Hooks Hangers for 1 1/4-Inch Drape Poles
!!!PLEASE CHECK SIZE BEFORE PURCHASE!!! — Ceiling curtain rod bracket: 3.54in (90mm) long, 1.8in (46mm) base diameter, 1.96in…
As an affiliate, we earn on qualifying purchases.
As an affiliate, we earn on qualifying purchases.
Preparing the Ceiling Surface for Mounting

Before mounting, you need to ascertain the ceiling surface is clean and free of dust or grease. Use the right cleaning techniques to get a smooth, debris-free area that guarantees a secure attachment. Don’t forget to check that your mounting materials are compatible with the ceiling’s surface to avoid any mishaps. Additionally, consider evaluating the ceiling load capacity to ensure it can support the weight of the projector and mount securely.
Surface Cleaning Techniques
Making certain the ceiling surface is clean and free of debris is a crucial step before mounting. Proper cleaning guarantees a secure attachment and prevents future issues. Start by removing dust with a microfiber cloth or vacuum with a brush attachment to verify dust removal. Next, address any stains or spots by gently using a mild cleaner or damp cloth, avoiding harsh chemicals that could damage the surface. Finally, inspect the area for loose debris or cobwebs and clear them away. To add depth, consider these steps:
- Use a soft-bristled brush for detailed dust removal in crevices.
- Test stain removal methods on a small area first to prevent damage.
- Allow the surface to dry completely before proceeding.
- Ensuring the surface is free of loose debris helps maintain a secure mount and prolongs the lifespan of your installation.
Material Compatibility Checks
Evaluating material compatibility is an essential step to guarantee the ceiling surface can support your mounting hardware safely. You need to perform thorough material testing to determine if the ceiling material can handle the weight and stress of your mount. A compatibility assessment helps identify potential issues such as weak spots, brittle surfaces, or incompatible materials like drywall or plaster. Use a drill or screwdriver to check the strength of the ceiling surface and look for signs of cracking or crumbling. If you’re unsure about the material, consult manufacturer guidelines or seek professional advice. Ensuring your ceiling’s compatibility with your hardware prevents accidents and damage. Additionally, understanding the importance of indoor air quality can help in choosing appropriate materials that do not emit harmful VOCs or off-gassing fumes during installation. Taking these steps before mounting saves you time, effort, and potential safety hazards down the line.
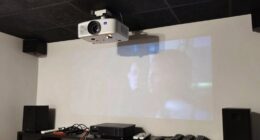
Step-by-Step Guide to Installing Ceiling Mounts
Installing a ceiling mount might seem intimidating, but breaking it down into clear steps makes the process straightforward. First, choose the right drill bit based on your ceiling material to ensure clean, accurate holes. Next, verify the mount’s weight capacity matches your needs; exceeding it could be dangerous. Finally, follow these steps:
- Mark the mounting points and drill pilot holes, selecting the correct drill bit for your ceiling type.
- Insert anchors if needed, then secure the mount with appropriate screws.
- Check stability by gently tugging on the mount to confirm it’s firmly attached.
- Incorporating knowledge about sound vibrations and their influence can help you understand how to optimize the placement for stability and safety.
Implementing Safety Measures and Precautions

To prevent accidents and make certain your ceiling mount holds securely, it’s vital to implement proper safety measures throughout the installation process. Begin with a thorough risk assessment, identifying potential hazards like unstable ceiling surfaces or electrical wiring. Make sure you have the necessary safety gear, such as goggles and gloves, to protect yourself. Keep a clear workspace to avoid tripping or mishandling tools. Additionally, plan for emergency preparedness by having a first aid kit nearby and knowing how to quickly shut off power if needed. Double-check all mounts and anchors before finalizing the installation. These precautions reduce risks and ensure your ceiling mount remains secure, protecting both your project and your safety throughout the process.
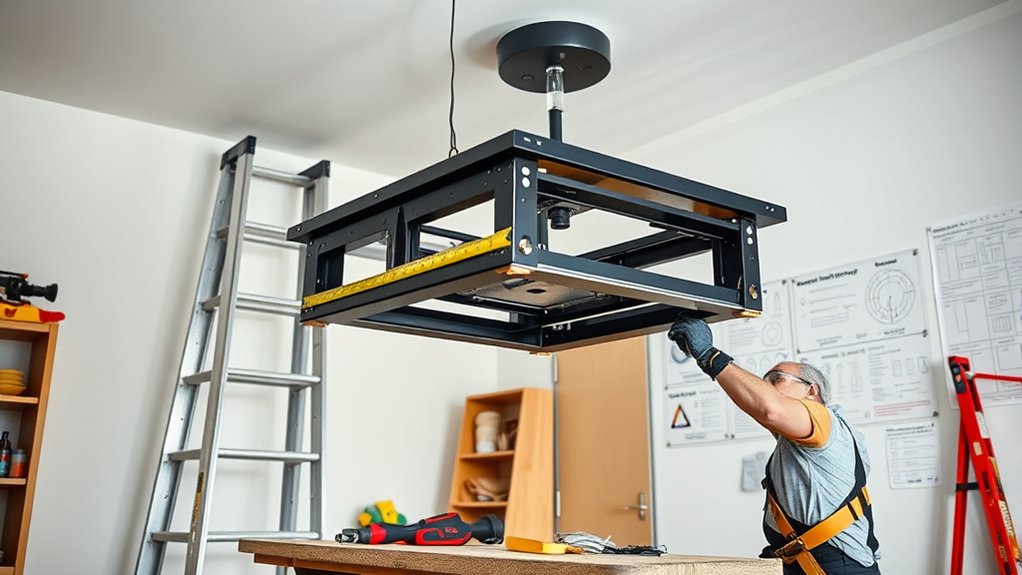
Testing and Securing Your Installation

Once the mounting hardware is in place, it’s time to test your installation to guarantee everything is secure. Start by gently applying pressure to ensure the mount holds firm, especially if you’re installing decorative lighting or acoustic treatments. Next, check all bolts and anchors for tightness, tightening any that feel loose. Finally, test the stability by gently swinging or applying slight vibrations to confirm the ceiling mount can support the weight without shifting. Pay special attention to how the mount interacts with decorative lighting fixtures or acoustic treatments—make sure they hang securely and won’t fall. Regularly inspecting these components helps prevent accidents and ensures your ceiling setup remains safe and functional over time.
Creating a Long-Term Safety Maintenance Plan
Establishing a long-term safety maintenance plan is vital to guarantee your ceiling mounts remain secure and reliable over time. Regular equipment maintenance helps identify wear and tear before it becomes a hazard, ensuring your mounts stay in top condition. Schedule routine inspections to check for loose fittings, corrosion, or damage, and address issues promptly. Additionally, integrate emergency preparedness into your plan by keeping safety tools, backup equipment, and clear procedures readily accessible. Educate yourself and others on proper response actions if a mount shows signs of failure. A proactive approach not only extends the lifespan of your ceiling mounts but also minimizes risks during emergencies. Consistent maintenance and preparedness are key to maintaining a safe environment long-term.
Frequently Asked Questions
What Are Common Mistakes to Avoid During Ceiling Mount Installation?
To avoid common mistakes during ceiling mount installation, you should carefully choose the right mounting techniques and material selection. Don’t rush the process or skip reading manufacturer instructions. Make certain your ceiling can support the weight, and double-check measurements before drilling. Avoid using incompatible hardware or over-tightening screws, which can damage the mount or ceiling. Proper planning and attention to detail help ensure a safe, secure, and durable ceiling mount setup.
How Do I Choose the Right Safety Gear for Installation?
Think of your safety gear as your armor on a battlefield. You choose the right safety harnesses that fit snugly, preventing slips, and protective helmets that shield your head from falling debris. Opt for high-quality, certified gear designed for ceiling installation. Make sure your harnesses have secure lanyards, and helmets fit comfortably without compromising movement. Proper gear keeps you safe, confident, and ready to conquer the ceiling mount challenge.
Can I Install Ceiling Mounts on Uneven or Damaged Ceilings?
You shouldn’t install ceiling mounts on uneven or damaged ceilings. A compromised mounting surface can lead to instability and safety hazards. First, assess the ceiling’s condition; if it’s uneven or has damage, consider repairing it before installation. Ceiling repair guarantees the surface is secure and stable, providing a solid foundation for your mounts. Avoid rushing this step to prevent accidents and ensure long-lasting, safe installation.
What Signs Indicate My Ceiling Mount Needs Immediate Inspection?
You should immediately inspect your ceiling mount if you notice sagging, cracks, or loose fixtures, as these signs threaten the mount’s weight capacity and mounting surface integrity. Any unusual creaking or shifting indicates potential failure. Also, check for rust or corrosion. These issues suggest the mount is compromised, risking damage or injury, so prompt inspection guarantees safety before mounting or using heavy equipment.
How Often Should Safety Checks Be Performed After Installation?
You should perform safety checks regularly, ideally following a consistent inspection frequency such as monthly or quarterly, depending on your ceiling mount’s usage and environment. Incorporate these checks into your maintenance schedule to catch any issues early. Regular inspections guarantee your mount stays secure and safe, preventing accidents. Make it a habit to visually inspect for wear, loose fittings, or damage, and promptly address any concerns you find.
Conclusion
By following these steps, you’ll transform your space into a secure haven, where every detail is thoughtfully addressed. With patience and care, your ceiling mount setup will blend seamlessly into your environment, providing peace of mind. Remember, the journey of mastering safety isn’t just about the task at hand but about creating a gentle, sturdy foundation that supports your vision and future adventures. Trust yourself—you’re building something truly enduring.