To set up a 2.35:1 CinemaScope screen at home, start by positioning your projector carefully to guarantee it’s aligned with the screen center. Use a tripod or ceiling mount for stability and adjust height and angle before applying keystone correction, which should be minimal. Fine-tune focus and test with calibration images for perfect clarity. Mask the sides to eliminate black bars, creating a true cinematic experience. Keep reading to discover essential tips for flawless alignment and masking.
Key Takeaways
- Position the projector physically to align the image with the screen, minimizing keystone correction.
- Use test patterns to verify proper alignment and ensure a distortion-free 2.35:1 aspect ratio.
- Employ manual or automated masking to eliminate black bars and maintain cinematic immersion.
- Focus on stable mounting and precise height adjustment for consistent, professional image projection.
- Regularly recalibrate the setup to sustain optimal picture quality and correct any alignment shifts.
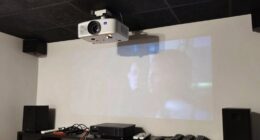
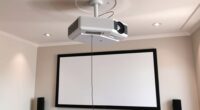
Creating a home theater experience with a CinemaScope screen can transform your viewing space into a cinematic haven. When setting up a 2.35:1 aspect ratio screen, one of the most critical steps is guaranteeing proper projector alignment. Accurate projector alignment guarantees a crisp, undistorted image and prevents black bars or image cropping. Before diving into screen masking, you should first focus on positioning your projector correctly. Use a tripod or ceiling mount to secure your projector, then adjust its height and angle so that the projected image fits perfectly within the designated screen area. Pay close attention to the keystone correction settings; though useful, they can sometimes distort the image if overused, so aim for minimal correction by adjusting the projector’s physical position instead.
Proper projector alignment ensures a clear, undistorted CinemaScope image with minimal keystone correction.
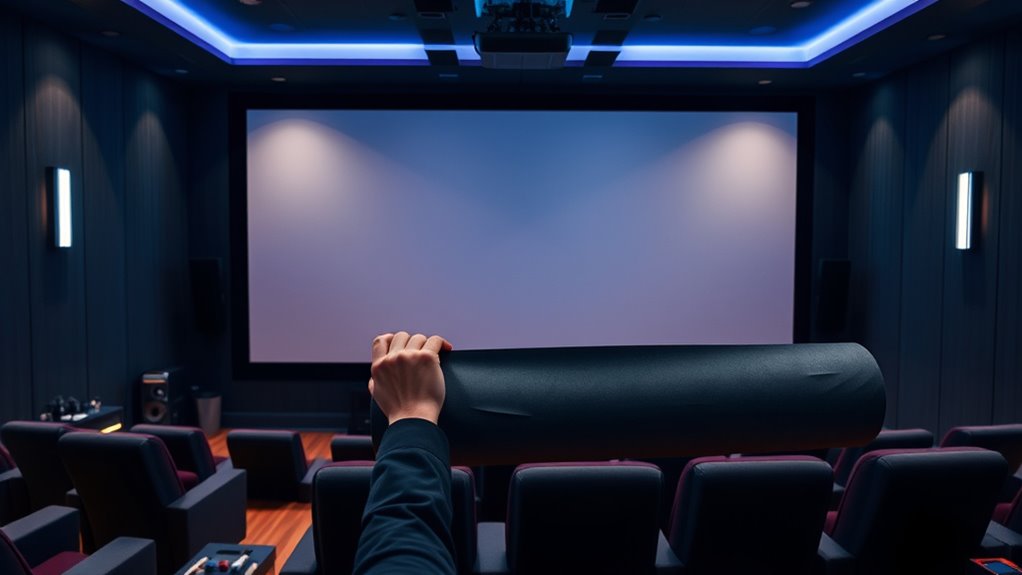
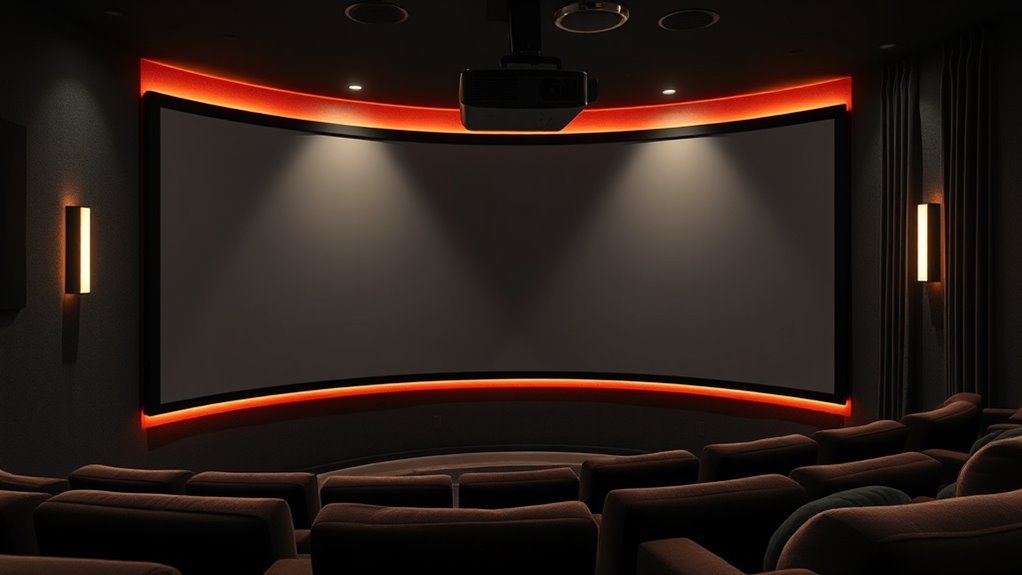
Once your projector is aligned, you can address screen masking to enhance the cinematic effect. Screen masking involves covering parts of the screen to create a true 2.35:1 aspect ratio, eliminating unwanted black bars and providing a more immersive experience. You can opt for manual masking panels or automated masking systems, depending on your budget and setup preferences. Manual masking is straightforward: you place black fabric or masking strips on the sides of the screen, which you can easily remove or adjust as needed. Automated systems, while more costly, offer seamless adjustments at the push of a button, making it effortless to switch between different aspect ratios or content types.
Proper projector alignment not only improves picture quality but also ensures that the masking remains effective. When your projector is aligned correctly, the image will fill the screen uniformly, and the masked areas will stay in the right position, maintaining a consistent cinematic look. Check your setup from different viewing angles and make small adjustments to the projector’s position and lens focus. Use test patterns or calibration images to verify that the image is aligned horizontally and vertically. This process might require patience, but it’ll considerably enhance the overall viewing experience. Additionally, understanding automation in business can help you explore smarter equipment options, such as automated masking systems, that improve convenience and precision.
Incorporating effective screen masking after perfecting your projector alignment results in a stunning, true-to-form CinemaScope presentation. It’s a combination of precise technical setup and aesthetic adjustments that creates a professional-quality home theater. Remember to regularly check and recalibrate your projector’s alignment as needed, especially if you move the projector or change the screen setup. With attention to detail, you’ll enjoy a seamless, immersive cinematic experience in the comfort of your own home, enjoying movies the way they were meant to be seen.
YiePhiot Mini Ceiling Wall Projector Mount Stand Compatible with QKK, DR.J, DBPOWER, Anker, VANKYO, AAXA, Jinhoo, PVO, TMY, AuKing and Most Other Mini Projector (175mm, Black)
Universal Mount: The Universal Projector Mount is compatible with most mini projectors, including CLOKOWE, HAPPRUN, ELEPHAS, NICPOW and…
As an affiliate, we earn on qualifying purchases.
As an affiliate, we earn on qualifying purchases.
Frequently Asked Questions
What Is the Ideal Room Size for a 2.35:1 Screen?
You should aim for a room that’s at least 12 feet wide and 20 feet long for ideal 2.35:1 screen placement. This size allows comfortable seating at a distance of about 1.5 to 2.5 times the screen width, ensuring immersive viewing without distortion. Keep in mind, room size impacts sound quality too, so choose a space that accommodates your seating and equipment comfortably for the best home cinema experience.
How Does Ambient Light Affect Cinemascope Viewing Quality?
Ambient light considerably impacts your CinemaScope viewing quality by reducing viewing contrast and washing out colors. When there’s too much ambient light, your screen’s details become less sharp, and the overall image loses depth. To improve your experience, control ambient light with blackout curtains or dimmable lighting. This helps maintain high contrast, making your movies look vibrant and immersive, even in a larger 2.35:1 aspect ratio setup.
Can I Retrofit an Existing Projector for Cinemascope Aspect Ratio?
Yes, you can retrofit your existing projector for a CinemaScope aspect ratio. First, check lens compatibility, ensuring your current lens can support the wider projection. You might need a specialized anamorphic lens or an adjustable zoom lens. Be mindful of the projection angle, adjusting it to properly fill your screen without distortion. This upgrade transforms your setup from ordinary to cinematic, offering a more immersive viewing experience.
What Are the Best Sound Options for a Home Cinemascope Setup?
For a home CinemaScope setup, surround sound is essential for immersion. You should prioritize speaker placement by positioning the front left, center, and right speakers at ear level, with surround speakers slightly behind and to the sides of your seating area. Consider a Dolby Atmos system for height effects, and make sure your speakers are appropriately calibrated. This setup creates a dynamic, cinematic experience that complements your widescreen display perfectly.
How Do I Calibrate My Projector for Optimal Cinemascope Image?
Imagine the perfect film scene coming to life on your screen. To achieve this, start by adjusting your projector’s lens shift and focus for a crisp, centered image. Then, delve into color calibration, fine-tuning contrast, brightness, and color temperature until your whites are pure and shadows deep. These steps ensure your CinemaScope image is vibrant, accurate, and immersive, transforming your space into a true cinematic experience.
manual projector masking panels
As an affiliate, we earn on qualifying purchases.
As an affiliate, we earn on qualifying purchases.
Conclusion
Now that you’ve set up your 2.35:1 Cinemascope screen, you’re ready to enjoy epic movie nights right at home. With perfect framing and immersive visuals, every film feels grand—like stepping into a vintage drive-in, but without the smoky air and neon glow. Remember, great cinema isn’t just about fancy tech; it’s about creating memories. So, pop some popcorn, press play, and let your living room become your personal theater—no DeLorean required.

Elite Screens Sable Frame StarBright 9, 156-inch Diag. 2.40:1 Cinemascope, 4K/8K Ultra HD Ceiling Ambient Light Rejecting (CLR/ALR) Fixed Frame Projector Screen Movie Home Theater, ER156C-SB9
[DIMENSION SIZE] : 156" Diag. 59.8" H x 143.6" W Viewing Size, 2.40:1 Cinemascope Aspect Ratio, Overall Assembled…
As an affiliate, we earn on qualifying purchases.
As an affiliate, we earn on qualifying purchases.

Elite Screens CineTension 3 WraithVeil Dual Projector Screen, 120-inch 16:9, Indoor Electric Motorized Tab Tension Automatic Movie Home Theater Front Rear Projection Screen, TE120HR3-DUAL, Black Case
【120” MOTORIZED FRONT & REAR PROJECTION SCREEN 120 inch Diag. 16:9 Aspect Ratio. View Size: 58.9 inch H…
As an affiliate, we earn on qualifying purchases.
As an affiliate, we earn on qualifying purchases.