
To find the ideal projector placement for different room sizes, consider the room’s dimensions and the projector’s throw ratio. In small rooms, mount the projector close to the wall or ceiling to save space, ensuring it’s not too close to avoid distortion. For medium rooms, position the projector centered at the appropriate distance to fill the screen comfortably. Large or open spaces may need ceiling mounts and careful alignment to prevent shadows. Keep exploring for more tips to perfect your setup.
Key Takeaways
- Use room dimensions and projector throw ratio to determine optimal distance for clear, properly sized images.
- Mount projectors high on walls or ceilings to minimize shadows and maximize space efficiency.
- In small rooms, position projectors close to the screen to reduce distortion and keystone issues.
- Ensure the projector is centered and aligned with the screen for even image projection in medium to large rooms.
- Manage ambient light with blackout curtains and wall colors to enhance image quality regardless of room size.
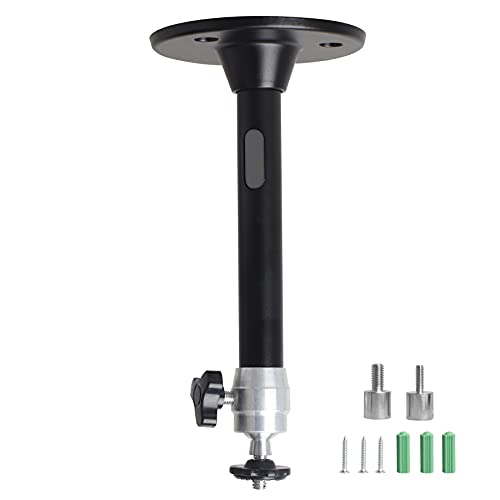
YiePhiot Mini Ceiling Wall Projector Mount Stand Compatible with QKK, DR.J, DBPOWER, Anker, VANKYO, AAXA, Jinhoo, PVO, TMY, AuKing and Most Other Mini Projector (175mm, Black)
Universal Mount: The Universal Projector Mount is compatible with most mini projectors, including CLOKOWE, HAPPRUN, ELEPHAS, NICPOW and…
As an affiliate, we earn on qualifying purchases.
As an affiliate, we earn on qualifying purchases.
Understanding Projector Throw Ratios and Room Dimensions
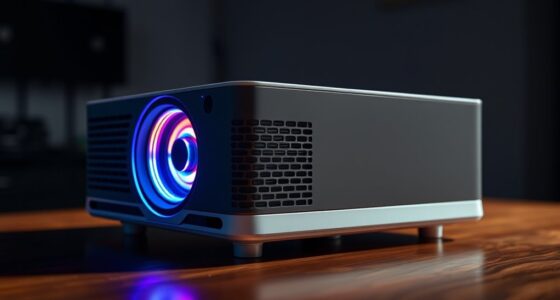
Understanding projector throw ratios and room dimensions is essential to achieving the perfect projected image. Your choice of projector lens types impacts how far the projector needs to be from the screen, which is determined by throw ratio calculations. The throw ratio is a simple formula: divide the distance from the projector to the screen by the width of the image you want. For example, a projector with a 1.5:1 throw ratio needs to be 1.5 feet away for every foot of image width. Knowing your room’s dimensions helps you select the right projector and lens type, ensuring the image fits perfectly without distortion. Accurately calculating throw ratios prevents you from placing the projector too close or too far, resulting in a clear, properly sized image. Additionally, understanding the family background can influence your choice of equipment and setup to better suit your environment.

Philoent【Google TV Included】Smart Mini Projector, Ultra Short Throw for Big Screen in Small Room, Auto Keystone Portable Proyector with WiFi Bluetooth, Support 4K Movie – Home Theater Bedroom Outdoor
🥇【Instant Full Google TV Access – No Setup Needed】 Experience the complete Google TV ecosystem directly, with no…
As an affiliate, we earn on qualifying purchases.
As an affiliate, we earn on qualifying purchases.
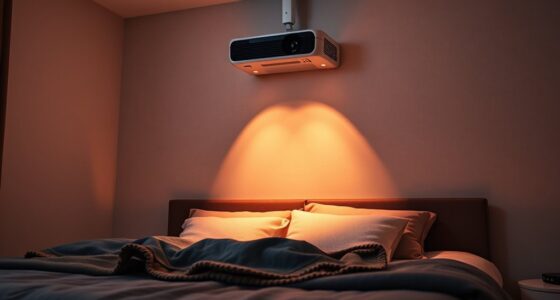
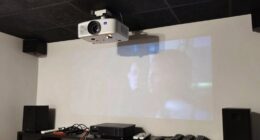
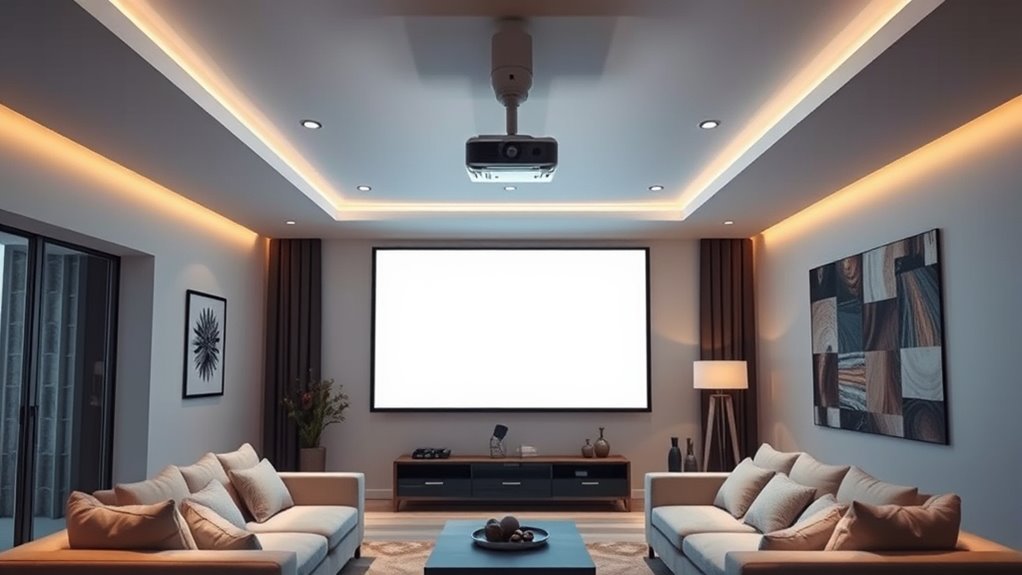
Optimal Placement in Small Rooms
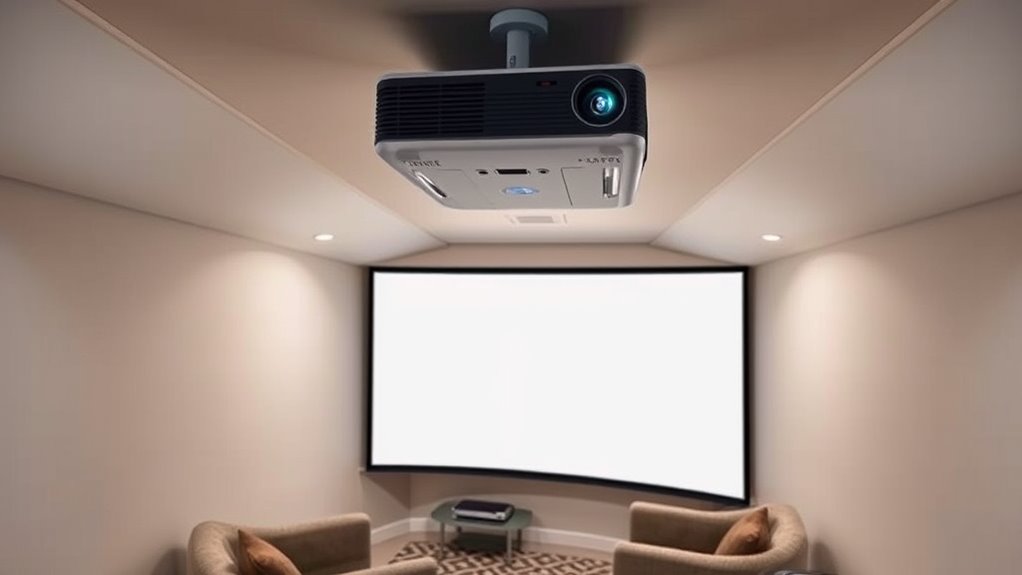
In small rooms, placing your projector requires careful consideration to maximize image quality without crowding the space. To achieve this, choose a projector screen that fits comfortably and enhances image clarity. Wall mount options are ideal, as they free up surface area and provide stable positioning. Mounting your projector near the ceiling or high on a wall minimizes shadows and glare, ensuring a crisp picture. Keep the projector close enough to the screen to avoid image distortion, but not so close that it dominates the room. Consider adjustable mounts for flexibility in positioning. Proper placement helps optimize projection angles, reduces keystone distortion, and maintains a clean, spacious look. Additionally, selecting sustainable sourcing practices for your equipment and accessories can minimize your environmental impact. With these strategies, you’ll enjoy a high-quality viewing experience without sacrificing room comfort.
projector screen for home theater
As an affiliate, we earn on qualifying purchases.
As an affiliate, we earn on qualifying purchases.
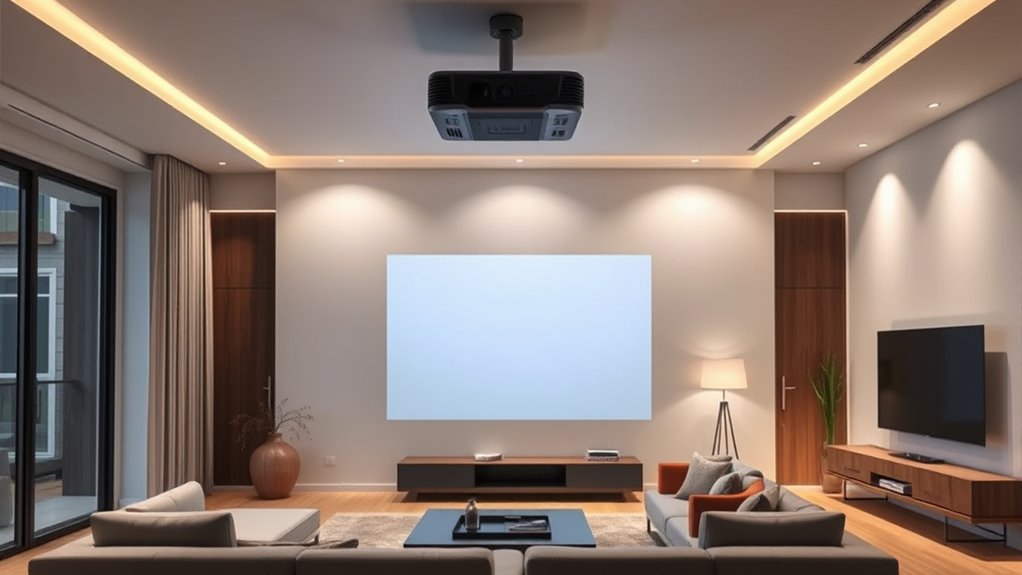
Best Strategies for Medium-Sized Spaces

When setting up a projector in a medium-sized space, you want to find the right distance from the screen to guarantee a clear image without distortion. Position the projector so it’s centered to avoid skewed images, and consider the room’s dimensions to optimize placement. Adjusting these factors helps create a sharp, well-projected picture that fills the space effectively. Additionally, selecting the appropriate projection distance based on your projector’s specifications ensures optimal image quality and size.
Optimal Distance From Screen
Finding the ideal distance between your projector and screen is essential for achieving a clear, bright image without distortion. In medium-sized spaces, aim for a distance that allows for proper screen calibration, ensuring the projected image aligns perfectly with your screen’s dimensions. Typically, this distance ranges between 8 to 12 feet, but check your projector’s specifications for exact recommendations. Positioning within this range helps optimize focus and brightness. Additionally, maintaining the correct distance supports seamless audio synchronization, preventing lag between sound and visuals. Avoid placing the projector too close or too far, as either can compromise image clarity or cause keystone distortion. Regularly adjust and test your setup to find the sweet spot that balances image quality and audio-visual harmony. Incorporating space organization techniques can help streamline your setup and make adjustments easier.
Centered Projection Position
To achieve a centered projection in medium-sized spaces, you should position your projector directly in line with the screen’s midpoint. This placement ensures the image is symmetrical and reduces the need for extensive adjustments. Proper projector calibration is essential here; it helps fine-tune image alignment and keystone correction, maintaining a centered display. Additionally, consider sound synchronization by placing audio sources near the projector if possible, so visuals and audio stay in sync. Regular calibration checks ensure the projection remains centered over time, especially if the projector or room setup changes. Keep in mind that a well-centered projector minimizes distortion and provides a balanced viewing experience, making your medium-sized space ideal for immersive entertainment or presentations. Paying attention to projector placement considerations can further optimize your setup for the best viewing experience.
Adjusting for Room Dimensions
Adjusting for room dimensions is essential to optimize your projector’s image quality in medium-sized spaces. To achieve this, focus on precise projector calibration, ensuring the image aligns perfectly with your screen or wall. Proper calibration minimizes distortions and enhances clarity, making your viewing experience more immersive. Additionally, consider audiovisual integration by aligning speakers and other equipment to complement the projector’s placement. Measure your room carefully to determine the ideal distance and angle, preventing image loss or pixelation. Use adjustable mounts or stands to fine-tune positioning as needed. Remember, small adjustments can considerably improve picture sharpness and color accuracy. By tailoring your setup to your room’s dimensions, you’ll ensure consistent, high-quality projection throughout your space. Regularly checking and maintaining your equipment can also prevent issues caused by storage conditions that may affect performance.

2-Be-Best Upgraded Projector Mount,14-24 in Extendable Length Projector Ceiling Mount Projectors Wall Mount Adjustable 360° Rotatable Compatible with TMY, HAPPRUN, Yaber, Aurzen and Other Projectors
1. EXTENDABLE LENGTH – The Projector mount pole has an extending length from 14-24 in / 37-62 cm….
As an affiliate, we earn on qualifying purchases.
As an affiliate, we earn on qualifying purchases.
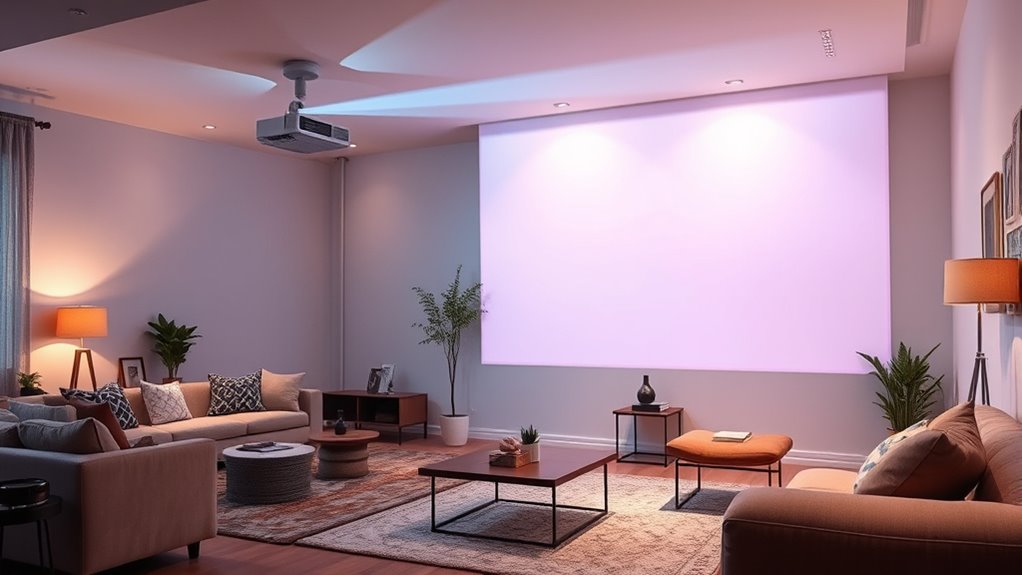
Positioning Tips for Large and Open-Plan Areas
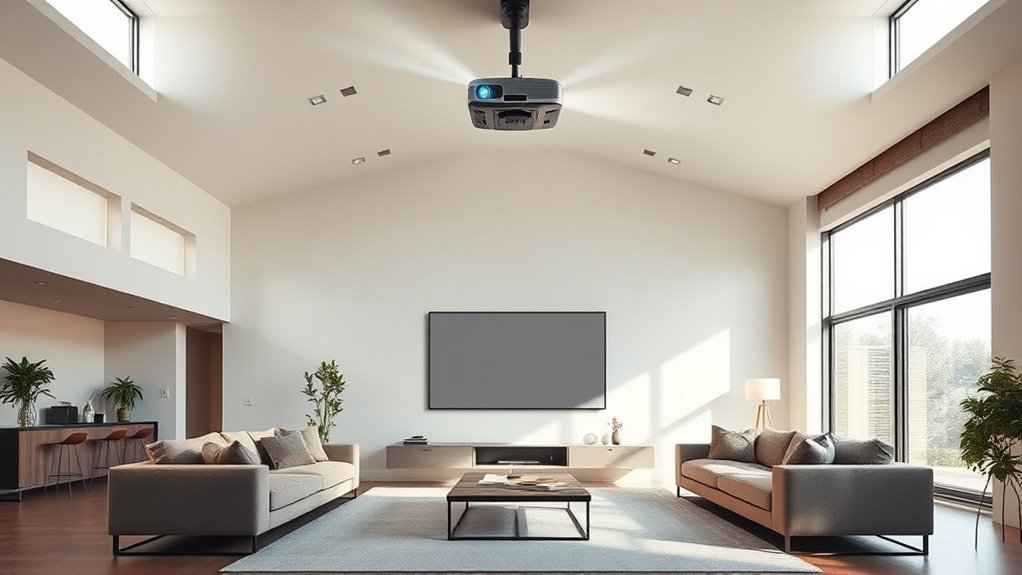
When setting up a projector in large or open-plan spaces, you need to find the right mounting height to make certain a clear, even image. Make sure to position the projector where it won’t be blocked by furniture or people, as obstructions can ruin the viewing experience. Proper placement helps maximize image quality and keeps your setup neat and effective. Additionally, understanding spatial awareness can assist in choosing the optimal location to enhance the overall experience.
Optimal Mounting Height
Finding the right mounting height for your projector is essential, especially in large or open-plan spaces where visibility and image quality can be challenging. You want your projector lens alignment to be precise, ensuring the image projects correctly onto your screen or wall. Typically, mounting the projector too high or too low can distort the image or cause keystone issues. Ceiling mount options provide flexibility for ideal height, allowing you to position the projector at the perfect level for clear, unobstructed viewing. Consider the projector’s throw distance and lens shift features to determine the best height that maintains proper alignment. Passive voice detection tools can help ensure your writing remains clear and engaging. By carefully selecting the mounting height, you’ll enhance image sharpness and ensure a seamless viewing experience across your large or open space.
Avoid Obstructions
In large or open-plan spaces, avoiding obstructions is essential to guarantee a clear, unobstructed projection. Keep decorative accessories, like tall plants or artwork, away from the projector’s line of sight. Arranging furniture to create a dedicated projection zone helps prevent accidental shadows. Use soundproofing techniques that don’t block the projector’s view, such as wall panels that don’t interfere with sightlines. Position the projector on a stable surface or mount it high enough to clear potential obstructions. Regularly check for new decorative elements that might cast shadows or block the lens. Ensuring the path between the projector and screen remains clear guarantees ideal image quality, even amid the open space’s expansive design. Incorporating decorative elements thoughtfully allows you to maintain both aesthetics and functionality in your space.
Adjusting Mounts and Ceiling Placement for Different Sizes
Adjusting mounts and ceiling placement is essential to guarantee your projector fits securely and functions ideally, regardless of its size. Properly positioning your mounting brackets ensures stability and excellent projection angles. For larger projectors, reinforce ceiling fixtures to support extra weight, preventing sagging or detachment. When adjusting, consider the distance from the screen and the tilt angle, ensuring image clarity. Visualize securing your projector with sturdy mounting brackets, aligning it precisely with the room’s dimensions. Think of how the ceiling’s structure supports the weight, allowing for smooth adjustments. Proper placement reduces vibrations and maintains focus. Keep in mind, the right ceiling fixtures and mounting brackets make all the difference in achieving a seamless setup for any room size. Additionally, understanding the Honda Tuning principles can help you optimize your setup for better stability and performance.
Managing Ambient Light and Room Brightness
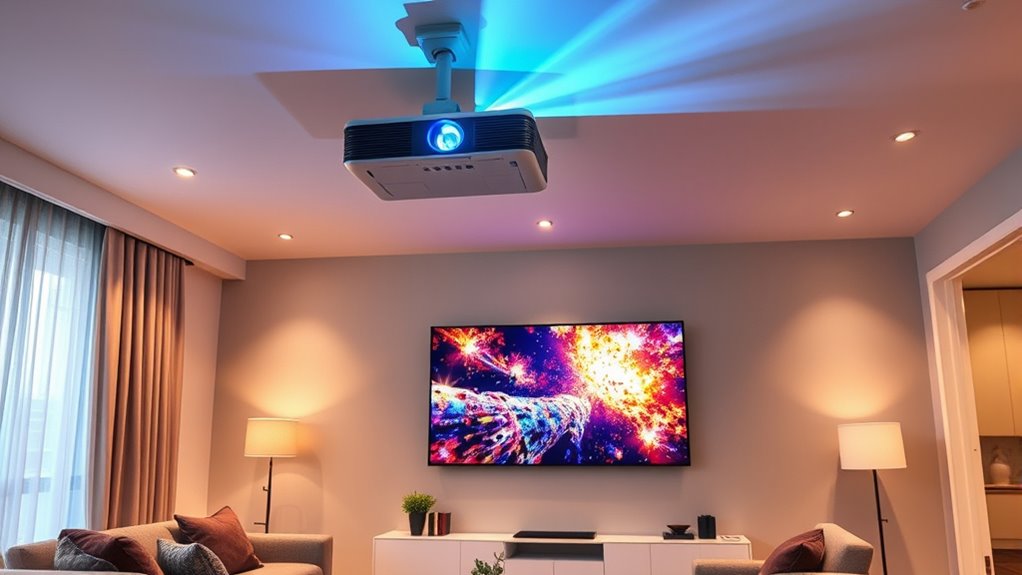
Have you ever noticed how ambient light can wash out your projected image? Managing ambient light is key to maintaining ideal room brightness and image clarity. To reduce unwanted light, consider blackout curtains or blinds that block sunlight during viewing. Use dimmable lights or lamps with shades to control overall room brightness without creating glare. Rearranging furniture away from windows minimizes direct light hitting the screen. If possible, position the projector so it faces away from windows or bright light sources. Adding a neutral-colored wall behind the screen can also help absorb excess light and improve contrast. Keeping ambient light levels low ensures your projector’s image remains sharp, vibrant, and easy to see, regardless of room size. Proper management of ambient light considerably enhances your viewing experience.
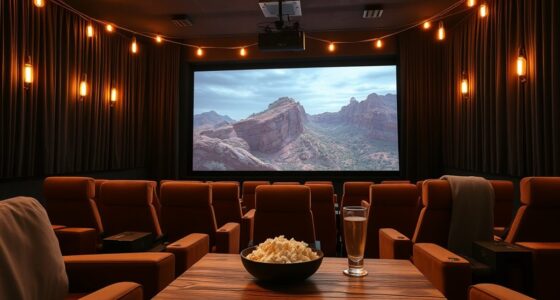
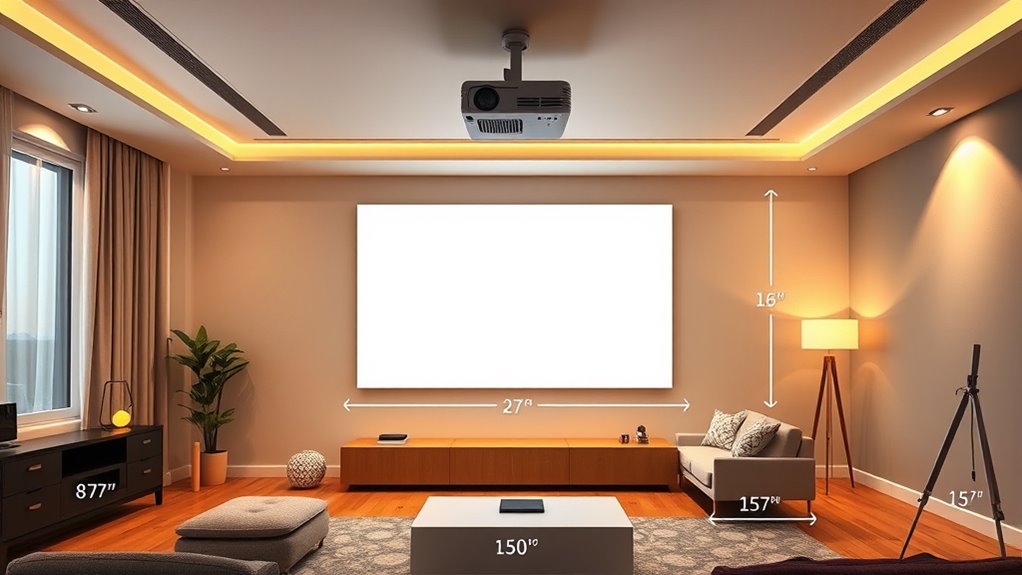
Ensuring Proper Screen Size and Viewing Angles
Once you’ve managed ambient light to optimize image clarity, the next step is to select the right screen size and viewing angles. The ideal screen size depends on your room’s dimensions and seating distance, ensuring everyone can see comfortably without straining their necks or eyes. Proper viewing angles are essential; you want to avoid glare or distorted images, so position your projector to create a wide, consistent viewing zone.
Choose the right screen size and placement to ensure clear, comfortable viewing for everyone.
- Imagine sitting comfortably, eyes level with the screen’s center
- Visualize a large, immersive display without stretching your neck
- Picture everyone in the room having a clear, unobstructed view
- Envision a screen that fills your field of vision without overwhelming it
- Think of smooth, natural viewing angles for a cinematic experience
Troubleshooting Common Placement Issues
Even with careful planning, you may encounter common placement issues that affect your projector’s performance. One challenge is screen calibration; if your image isn’t aligned properly, it can cause distorted visuals or keystone effects. Adjust your projector’s lens and mounting position to fix this, ensuring a clear, rectangular picture. Audio synchronization can also be problematic, especially if your sound lags behind the visuals. Check your projector’s audio settings and connections to resolve this. Sometimes, repositioning the projector slightly or adjusting its angle helps improve both image alignment and sound timing. Regularly test your setup after changes to confirm your picture is sharp and your audio matches perfectly. Troubleshooting these issues ensures a seamless viewing experience tailored to your room’s size and layout.
Frequently Asked Questions
How Does Projector Placement Affect Image Distortion and Keystone Correction?
Your projector’s placement directly impacts image distortion and keystone correction by affecting lens alignment and viewing angle. If you position it off-center or too close, the image may become skewed, requiring more keystone correction. Ensuring proper lens alignment and a straight viewing angle helps produce a clear, undistorted picture. Correct placement minimizes keystone adjustments, resulting in a more natural image and reducing strain on your projector’s correction features.
What Safety Considerations Are Important for Ceiling-Mounted Projectors?
Imagine a sleek projector hanging like a sentinel, ready to cast vivid images. You should prioritize proper mounting height to prevent strain and guarantee a stable view. Check electrical safety by securing cords to avoid tripping hazards or electrical faults. Use sturdy mounts and regularly inspect connections. These precautions protect you and your equipment, making sure your setup remains safe, secure, and ready for immersive viewing experiences.
How Can I Optimize Sound Quality Alongside Projector Placement?
To optimize sound quality alongside your projector placement, focus on speaker placement and acoustic treatments. Position speakers at ear level and equidistant from your seating area for balanced sound. Use acoustic panels or diffusers to reduce echo and improve clarity. Keep speakers away from walls and corners to prevent bass muddiness. Combining strategic speaker placement with proper acoustic treatments guarantees clear, immersive audio that enhances your overall viewing experience.
Are There Specific Projector Types Better Suited for Certain Room Sizes?
Choosing the right projector is like picking the perfect shoe for your foot—size matters. For small rooms, compact projectors with short-throw lenses work best, easing installation challenges and reducing the need for extensive maintenance. In large spaces, opt for high-lumen, ceiling-mounted projectors that handle bigger screens and ambient light. Matching the projector type to room size guarantees maximum performance, minimizes maintenance, and simplifies installation challenges, giving you a seamless viewing experience.
How Does Wall Color Influence Image Brightness and Color Accuracy?
Your wall hue and ambient lighting considerably impact image brightness and color accuracy. Bright or dark wall colors can absorb or reflect projected light, reducing clarity and vibrancy. Light-colored walls, especially whites or neutrals, reflect more light, making images appear brighter and more accurate. Minimize ambient lighting to prevent glare and color washout, ensuring your projector’s image maintains its intended brightness and true colors for the best viewing experience.
Conclusion
By understanding your room’s size and adjusting your projector placement accordingly, you create an immersive viewing experience that’s as timeless as a well-worn tapestry. Think of it like tuning a fine instrument—every detail matters. With patience and the right strategy, you’ll avoid common pitfalls and enjoy crisp images and perfect angles. Remember, even in a world where pixels reign supreme, the right setup guarantees your home theater remains a true masterpiece.