
To get the best projector image in a bright living space, start by controlling ambient light with blackout curtains and soft, indirect lighting. Position your screen away from windows and light sources, and consider using a high-gain or ambient light rejecting screen for better contrast. Adjust your projector’s settings to “bright” mode and tweak contrast and brightness for clarity. Proper placement and setup make a big difference—keep exploring for more tips to optimize your viewing experience.
Key Takeaways
- Use blackout curtains or heavy drapes to block sunlight and reduce ambient light interference.
- Select ambient light rejecting (ALR) screens to improve contrast and image vibrancy.
- Adjust projector settings to “bright” mode and fine-tune contrast and brightness for optimal visibility.
- Position the screen on walls away from windows or light sources to minimize glare and washout.
- Incorporate softer, indirect lighting to enhance viewing comfort without compromising image quality.
Bright rooms can pose a challenge for projector displays, but with the right techniques, you can still enjoy clear, vibrant images. One of the most important factors is managing ambient lighting. Too much light washes out the image, making it dull and difficult to see. To combat this, start by controlling the lighting in your space. Use blackout curtains or heavy drapes to block out sunlight during the day, and turn off or dim ambient lights when watching. If you can’t eliminate ambient lighting completely, opt for softer, indirect lighting that minimizes glare and reflections on your screen.
Controlling ambient light is key to vibrant projector images in bright rooms.
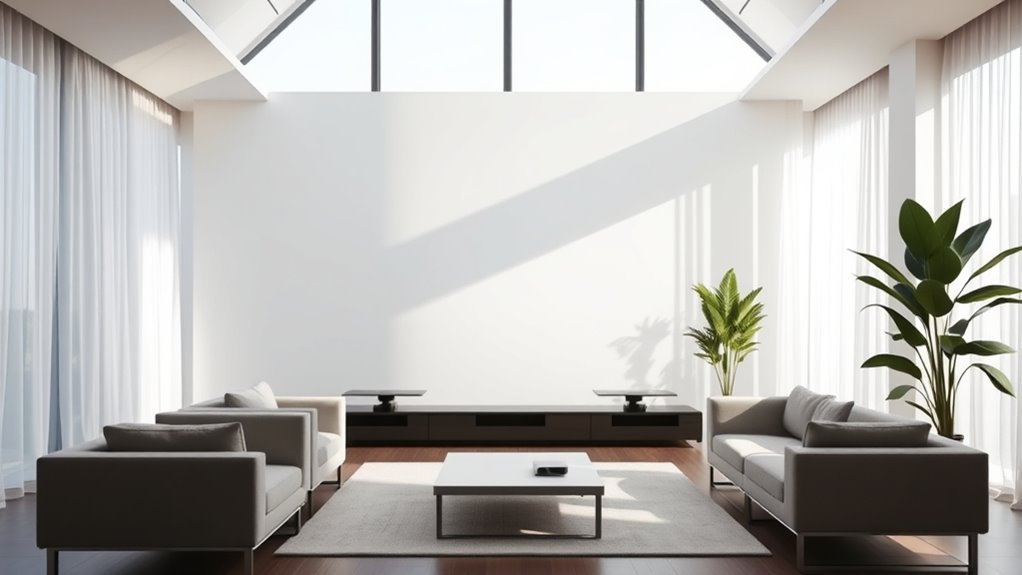
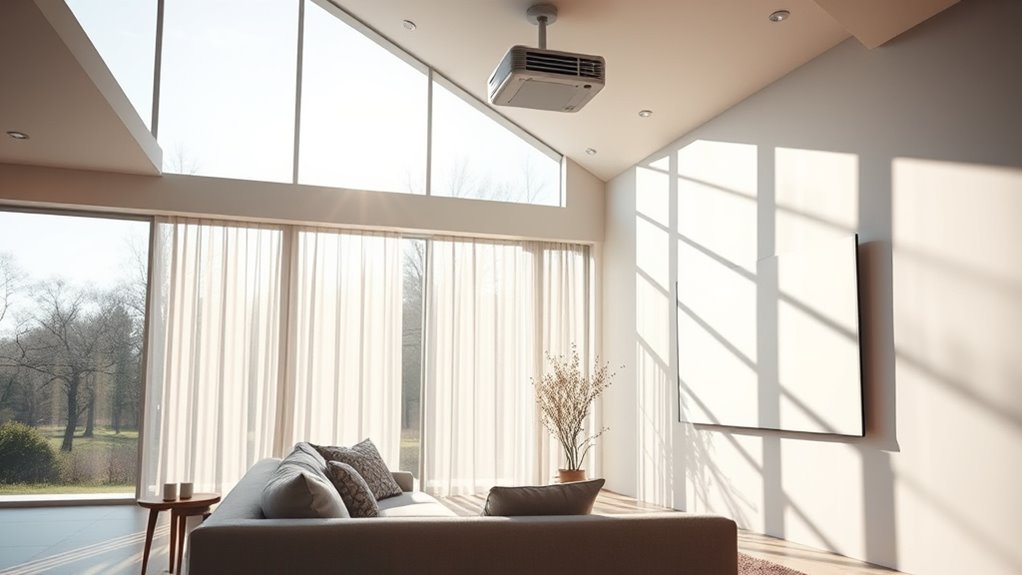
Screen placement plays a critical role in ensuring your projector image remains sharp and visible. Position your screen in a way that minimizes the impact of ambient light. Ideally, place the screen on a wall that isn’t directly opposite windows or light sources. If possible, mount the projector on the ceiling and position the screen on a wall that receives the least amount of natural light. This setup reduces the chances of light spilling onto the screen and washing out the picture. When choosing a location, consider the angle of the projector and the height of the screen to avoid reflections or glare that can distort the image.
Another tip is to use a high-gain or ambient light rejecting (ALR) screen. These special screens are designed to reflect projected light directly back to your eyes while absorbing or redirecting ambient light. This results in a higher contrast ratio and brighter images, even in well-lit rooms. Keep in mind that the screen size and placement should be appropriate for your viewing distance; a too-large screen in a bright room can make image details harder to see.
Adjust your projector’s settings to optimize for brightness and contrast. Many projectors have modes specifically designed for rooms with ambient light. Switching to a “bright” mode can make a big difference, boosting the image’s luminance to counteract room brightness. Also, ensure your projector’s keystone correction and focus are properly set to maintain sharpness and avoid distorted images, especially when the placement isn’t perfectly aligned. Additionally, understanding the importance of contrast ratio is essential, as it directly impacts the depth and clarity of your images in bright environments.

AAJK ALR Projector Screen, 4K Movie Projector Screen 16:9 HD Foldable Anti-Crease Portable Projector, Movies Screen for Home Theater Outdoor Indoor Support (120in Pro)
【Watch What You Want, When You Want!】 Remember when you could only really use your projector at night?…
As an affiliate, we earn on qualifying purchases.
As an affiliate, we earn on qualifying purchases.
Frequently Asked Questions
Can a Projector Be Used Outdoors During Daytime?
Yes, you can use a projector outdoors during daytime, but outdoor brightness affects your viewing experience. To guarantee good daytime viewing, choose a projector with high lumens, ideally over 3,000. Use a shaded area or create a makeshift screen to block direct sunlight. Keep the projector cool and avoid glare, so your image remains clear and vibrant despite outdoor brightness.
Are There Specific Screen Types Best for Bright Rooms?
Surprisingly, matte white screens aren’t your best bet for bright rooms. Instead, opt for high-gain screen material that reflects more light, making images pop even in daylight. Bigger screen sizes can help, but the real trick is choosing a screen designed for ambient light, like those with ambient light-rejecting coatings. So, forget standard screens; your best bet for bright spaces is specialized screens that maximize contrast and brightness.
How Do Ambient Light Sensors Improve Projector Performance?
Ambient light sensors enhance your projector’s performance by automatically adjusting brightness, ensuring clear images even in bright rooms. They help with projector calibration by detecting ambient light levels and optimizing settings like contrast and luminance on the fly. This means you don’t have to manually tweak your projector every time lighting conditions change, resulting in a better viewing experience with consistent image quality regardless of how bright your space gets.
What Maintenance Is Required for Projectors in Bright Spaces?
They say “a stitch in time saves nine,” and the same applies to projector maintenance. To keep your projector bright in a lively space, regularly replace the lamp when it dims and clean dust filters to prevent overheating. Dust cleaning guarantees ideal performance, while lamp replacement maintains brightness. Staying on top of these tasks keeps your projector functioning smoothly, so you can enjoy clear images even in well-lit rooms.
Can a Projector Replace a TV in a Well-Lit Living Room?
Yes, a projector can replace a TV in a well-lit living room if you focus on proper screen calibration and strategic projector placement. You’ll want to position the projector where ambient light is minimized and guarantee the image is bright enough for clear viewing. Adjust the calibration for ideal contrast and colors, and consider using a high-gain screen to enhance picture quality, making your projector a viable alternative to a TV.
blackout curtains for living room
As an affiliate, we earn on qualifying purchases.
As an affiliate, we earn on qualifying purchases.
Conclusion
With these tips, you’ll turn your bright living room into a stunning home theater, making glare and brightness challenges feel like tiny speed bumps instead of mountains. Remember, a little strategic placement, the right screen, and smart lighting can transform your space into a cinematic paradise. So don’t let the brightness boss you around—take control and enjoy a picture so vivid, it’ll blow your mind faster than you can say “box office hit.”

NIERBO 150 inch 16:9 Double Layer Projection Screen, Polyester Material, 1.5 Gain, Front Projection, Portable Indoor/Outdoor Movie Screen with Easy Installation Kit
【Cloth Projection Screen with double layer】 NIERBO newly designed projection screen still uses the traditional polyester cloth material….
As an affiliate, we earn on qualifying purchases.
As an affiliate, we earn on qualifying purchases.
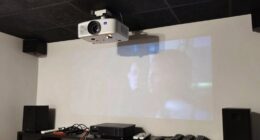
projector brightness mode
As an affiliate, we earn on qualifying purchases.
As an affiliate, we earn on qualifying purchases.