To improve sound in your projector room, DIY acoustic panels are an effective solution. They absorb sound waves to reduce echoes and enhance clarity, making your audio more immersive. You can customize their design and placement to match your decor while saving money compared to commercial options. Properly installed panels on strategic walls will make a noticeable difference in sound quality. Keep exploring to discover step-by-step tips on building and positioning your ideal setup.
Key Takeaways
- Strategically place DIY panels behind the projector and near seating to absorb sound reflections and reduce echoes.
- Use dense materials like mineral wool or acoustic foam within wood frames for effective sound absorption.
- Cover panels with attractive fabrics that match your room decor to enhance aesthetics and conceal sound materials.
- Vary panel sizes and shapes to improve visual interest and optimize sound absorption across different room areas.
- Mount panels securely using brackets or adhesive strips to ensure stability and maximize their acoustic benefits.
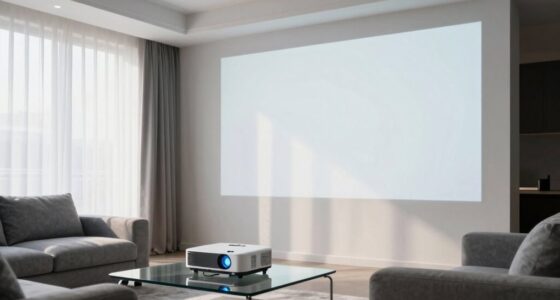
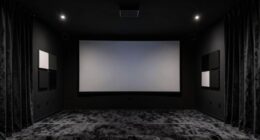
Are you tired of echoey rooms and unwanted noise? If so, creating your own DIY acoustic panels could be just what you need to improve your projector room’s sound quality. Acoustic panels are designed to absorb sound waves, reducing echoes and making your space more comfortable for viewing and listening. The best part? You can craft these panels yourself, customizing them to fit your room’s aesthetic while enhancing sound absorption. This approach not only saves money but also gives you full control over the design, ensuring your space looks great and sounds even better.
Create custom DIY acoustic panels to enhance sound quality and complement your room’s decor.
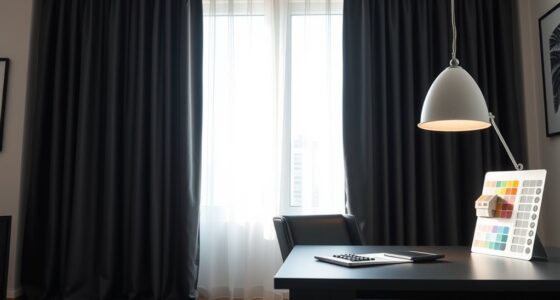
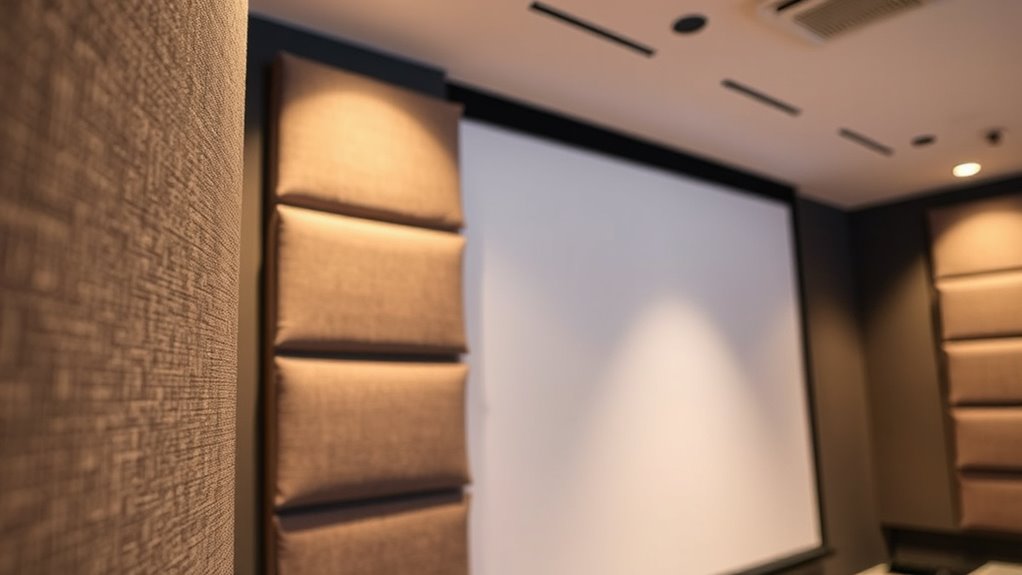
To start, you’ll want to select materials that are effective at sound absorption. Typically, this means using dense materials like mineral wool, fiberglass, or acoustic foam. These materials are excellent at trapping sound waves and preventing them from bouncing around the room. Once you have your core material, you can choose a frame—wood is a popular choice because it’s sturdy and easy to work with. You’ll cut the wood to size, assemble the frame, and insert the sound-absorbing core. Covering the panel with fabric is key; opt for a fabric that complements your room’s decor. Not only does this improve room aesthetics, but it also keeps the acoustic material contained and protected.
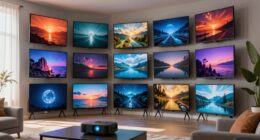
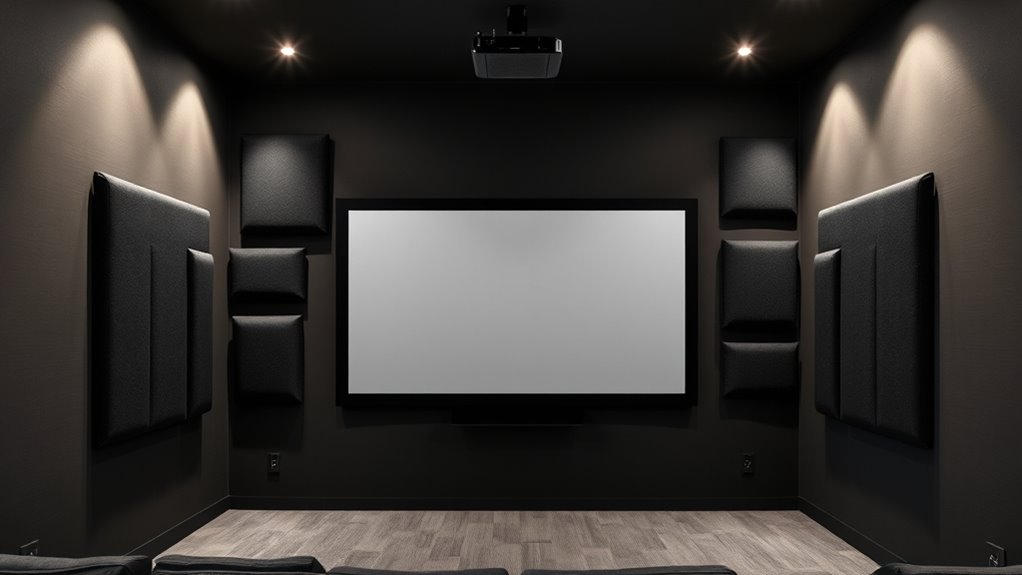
When designing your DIY acoustic panels, think about placement. Position them strategically on the walls where sound reflections are most prominent—behind the projector, near seating areas, or opposite the speakers. This targeted placement maximizes sound absorption and reduces unwanted echoes, creating a clearer, more immersive experience. Additionally, varying the sizes and shapes of your panels can add visual interest and prevent the room from looking too uniform or industrial. You might even incorporate colors or patterns that match your entertainment setup, making your project feel intentional and stylish.
Installation is straightforward. Use mounting brackets or adhesive strips designed for wall use, making sure your panels stay secure without damaging the wall. Once hung, you’ll notice a significant difference in how sound behaves in your space. With less echo and more controlled acoustics, dialogue and sound effects become crisper, and background noise diminishes. The room’s aesthetic also benefits, as your custom panels blend seamlessly into the decor or become eye-catching features, depending on your preferences. Overall, DIY acoustic panels empower you to improve your projector room’s sound environment while maintaining control over its look, making your home theater experience more enjoyable and visually appealing.

24 Pack-12 x 12 x 2 Inches Pyramid Designed Acoustic Foam Panels, Sound Proof Foam Panels Black, High Density and Fire Resistant Acoustic Panels, Sound Panels, Studio Foam for Wall and Ceiling
Exceptional Sound Absorption:These pyramid acoustic panels are engineered to effectively absorb sound waves, reducing echo and reverberation. With…
As an affiliate, we earn on qualifying purchases.
As an affiliate, we earn on qualifying purchases.
Frequently Asked Questions
How Effective Are DIY Acoustic Panels Compared to Professional Ones?
DIY acoustic panels can be quite effective for improving sound absorption if you build them properly, but they typically don’t match the performance of professional ones. While they’re more cost-efficient and customizable, professional panels often offer higher quality materials and precise sound absorption. If you’re on a budget and willing to put in effort, DIY options work well; otherwise, investing in professional panels guarantees better sound control and durability.
What Materials Are Safest for DIY Acoustic Panel Construction?
You should choose fire-resistant materials like mineral wool or fiberglass for your DIY acoustic panels, as they’re safe and effective. Use non-toxic adhesives to avoid harmful fumes during construction. These materials are safe to handle when properly installed, providing good sound absorption without risking fire hazards or health issues. Always guarantee proper ventilation and follow safety guidelines to keep your project safe and effective.
Can DIY Panels Be Painted or Decorated Easily?
Yes, you can paint or decorate your DIY acoustic panels easily. Painting options include using spray paint or brushes with fabric or chalk paint that adhere well. You can explore decorative techniques like stenciling, adding fabric covers, or using wallpaper to match your room’s aesthetic. Just make certain the paint is non-toxic and breathable, so it doesn’t compromise the panel’s acoustic properties while allowing you to customize your space creatively.
How Do I Determine the Right Size and Placement of Panels?
Imagine you’re setting up your projector room and notice echo issues. To determine the right size and placement of panels, start by measuring your room’s reflective surfaces. Place panels at key reflection points—like the walls opposite your speakers and behind your seating area. Use panel placement to target these spots, and adjust panel sizing based on room size; larger rooms may need bigger or more panels for ideal sound absorption.
Are There Eco-Friendly Options for DIY Acoustic Panels?
Yes, you can choose eco-friendly options for your DIY acoustic panels. You might use recycled materials like old denim, foam, or cardboard, which absorb sound effectively and reduce waste. Alternatively, biodegradable options such as natural wool or hemp provide sustainable soundproofing solutions. These materials not only enhance your room’s acoustics but also minimize environmental impact, helping you create a greener, more sustainable space.

Focusound 52 Pack Acoustic Foam Panels 1" x 12" x 12" Sound Proof Foam Panles Soundproofing Noise Cancelling Wedge Panels for Home Office Recoding Studio with 300PCS Double-Side Adhesive
Soundproofing – Acoustic foam panels triangular grooves structure for better noise absorption, helps to reduce and absorb unwanted…
As an affiliate, we earn on qualifying purchases.
As an affiliate, we earn on qualifying purchases.
Conclusion
By building your own acoustic panels, you can transform your projector room into a sound haven. Imagine reducing echo and enhancing audio clarity just like Sarah did in her basement theater—she crafted simple panels from foam and fabric, and the difference was incredible. With a few supplies and some effort, you’ll enjoy richer sound quality and a more immersive experience. Start today, and watch your space become the perfect cinematic escape.
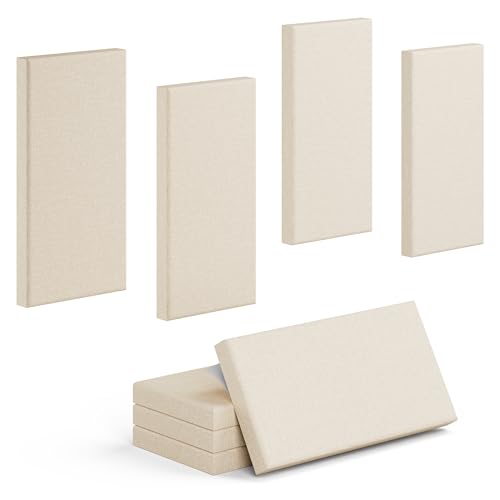
4 Pack High-Density Core with Fabric Cover Acoustic Panels – 24×12×2 in Self-Adhesive Soundproofing and Sound-Absorbing Wall Panels for Echo Reduction in Studio, Theater, or Recording (Cocoa Beige)
🎧 2" Thick for Superior Sound Control — Our panels are 2 inches thick—much denser than typical polyester…
As an affiliate, we earn on qualifying purchases.
As an affiliate, we earn on qualifying purchases.

ATS Acoustics Sound Absorbing Acoustic Panel with Sona Fabric, NRC 1.0, Fire Rated, 24" x 24" x 2" Square Edge (Charcoal)
Panel size is 24" x 24" x 2" and mounts flush to wall
As an affiliate, we earn on qualifying purchases.
As an affiliate, we earn on qualifying purchases.