
To manage cables for ceiling-mounted projectors, start by planning the layout carefully. Measure distances, choose suitable concealment options like raceways or paintable conduits, and consider wireless alternatives to reduce clutter. Secure cables with clips and labels for easy maintenance, and use covers that match your decor for a polished look. Keep safety in mind by avoiding heat sources and sharp edges. If you keep exploring, you’ll uncover more tips for a sleek, lasting setup.
Key Takeaways
- Measure distances accurately and choose appropriate cable lengths to ensure a clean, clutter-free ceiling mount setup.
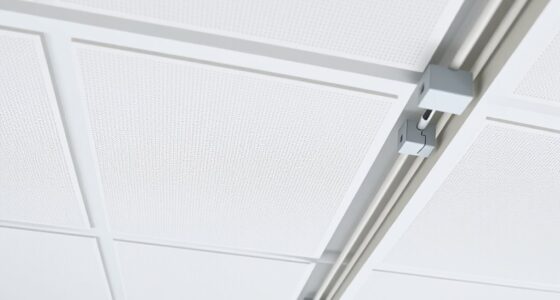
- Use in-wall or ceiling conduit systems for concealed, safe, and accessible cable routing.
- Incorporate cable raceways or concealers that match ceiling colors for a seamless appearance.
- Opt for wireless HDMI and audio solutions to minimize visible cables and simplify installation.
- Regularly inspect and maintain cables and concealment methods to ensure safety and optimal performance.

WALI Projector Mount Ceiling/Wall - Universal 3-in-1 Bracket with Extension Pole, Height Adjustable Holder for LCD/DLP Projectors, Supports up to 44lbs (PM-003-W), White
Compatibility: Universal Projector Mount Bracket for Both Ceiling and Wall Installation. Applicable to mounting holes distance between 8.9’’to...
As an affiliate, we earn on qualifying purchases.
Assessing Your Space and Planning Your Wiring Layout
Before installing your ceiling-mounted projector, it’s essential to assess your space and plan your wiring layout carefully. Start by measuring the distance between your projector and power source, as well as the location of your screen or projection surface. Consider decorative wiring options that keep cables hidden and maintain a clean look. If running cables through walls or ceilings isn’t feasible, explore wireless alternatives to transmit signals without clutter. Evaluate any obstructions or structural elements that might interfere with the wiring or wireless signals. Planning ahead helps you avoid rework later and guarantees a seamless setup. Proper assessment and strategic planning give you a sleek, professional appearance while minimizing hazards and aesthetic disruptions. Additionally, understanding cable management techniques used in custom car tuning, such as routing wires along existing structures, can be adapted to ensure a tidy and efficient wiring setup for your projector.

PUTORSEN Adjustable Projector Ceiling Mount,Universal Projector Shelf for Ceiling and Wall, Holds up to 22lbs,No Hole Installation, Hidden Cable Routing, Black
Versatile Application: PUTORSEN projector ceiling mount is compatible with most manual or spectrum projector screens, Also can be...
As an affiliate, we earn on qualifying purchases.
Choosing the Right Cable Management Solutions
Selecting the right cable management solutions guarantees your projector setup looks professional and functions reliably. To achieve this, consider options that blend practicality with aesthetics. First, explore cable concealers or raceways to hide wires and create a clean appearance. Second, think about wireless alternatives for video and audio connections, reducing clutter and simplifying maintenance. Third, incorporate aesthetic enhancements like decorative covers or cable clips that complement your room’s design. These choices not only improve safety and accessibility but also elevate the overall look of your installation. Additionally, understanding the artistic significance of butter can inspire creative ways to incorporate decorative elements into your cable management, blending function with visual appeal. These choices ensure a seamless, polished setup that minimizes distractions and maximizes reliability. Proper cable management transforms your ceiling-mounted projector into a sleek, professional-featured centerpiece.

DYNAVISTA Full Motion Universal Ceiling Projector Mount Bracket with Adjustable Height and Extendable Arms Rotating Swivel Mount for Home and Office Projector (Black)
Universally Compatible: This projector ceiling mount supports most projector brands with distance between the mounting holes on back...
As an affiliate, we earn on qualifying purchases.
Properly Installing Cables for Safety and Accessibility
Properly installing your projector cables is essential to guarantee safety and easy access. Use secure mounts and clips to keep fiber optic and power cables organized, preventing tripping hazards. When setting up fiber optic cables, avoid tight bends that can damage the fibers and compromise signal quality. For wireless connectivity, ensure that receiver units are positioned for ideal signal strength, reducing the need for extensive cabling. Label cables clearly to facilitate future adjustments and troubleshooting. Keep cables away from heat sources and sharp edges to prevent damage. Use cable ties sparingly to avoid pressure on connectors. Incorporate appropriate cable management techniques to improve overall system reliability and safety. By installing cables thoughtfully, you enhance safety, simplify maintenance, and guarantee reliable projector operation over time. Proper installation is key to a functional and safe ceiling-mounted system.

Aurzen Ceiling Projector Mount Bracket, 360° Rotation & 90° Tilt, Adjustable 9"-15" Length, ¼-Inch Screw, Compatible with TMY, HAPPRUN, Yaber, Epson & Most Projectors
Note: Not compatible with Aurzen D1 MAX
As an affiliate, we earn on qualifying purchases.
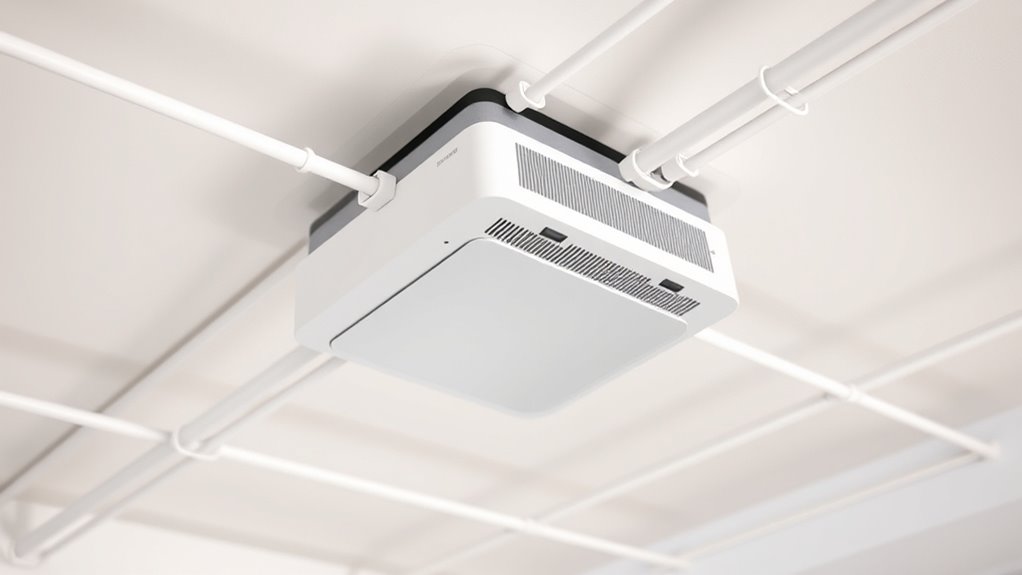
Concealing Cables With Coverings and Conduits
Concealing cables with coverings and conduits not only enhances the appearance of your installation but also protects the cables from damage. Properly hidden cables improve cable aesthetics, making your setup look clean and professional. Consider these options:
- Use paintable conduits that match your ceiling color for a seamless look.
- Install decorative cable covers that blend with your room’s decor.
- Explore wireless alternatives to reduce cable clutter altogether.
These methods help you attain a sleek, organized setup while safeguarding your cables. Coverings and conduits also make maintenance easier and prevent accidental damage. When choosing solutions, prioritize ease of installation and compatibility with your projector’s placement. This approach ensures your ceiling-mounted projector remains functional, attractive, and safe, elevating your overall setup with minimal effort. Additionally, understanding the importance of risk management can help you select the most reliable and secure cable management options.
Maintaining a Clean and Organized Setup
Keeping your projector setup clean and organized starts with effective wiring techniques and using cable covers to hide clutter. Regular maintenance checks help catch any loose or damaged cables before they cause issues. By staying proactive, you guarantee your setup remains neat, safe, and easy to manage. Incorporating mindfulness breathing exercises during setup can also help reduce stress and improve focus, ensuring a more mindful and efficient installation process.
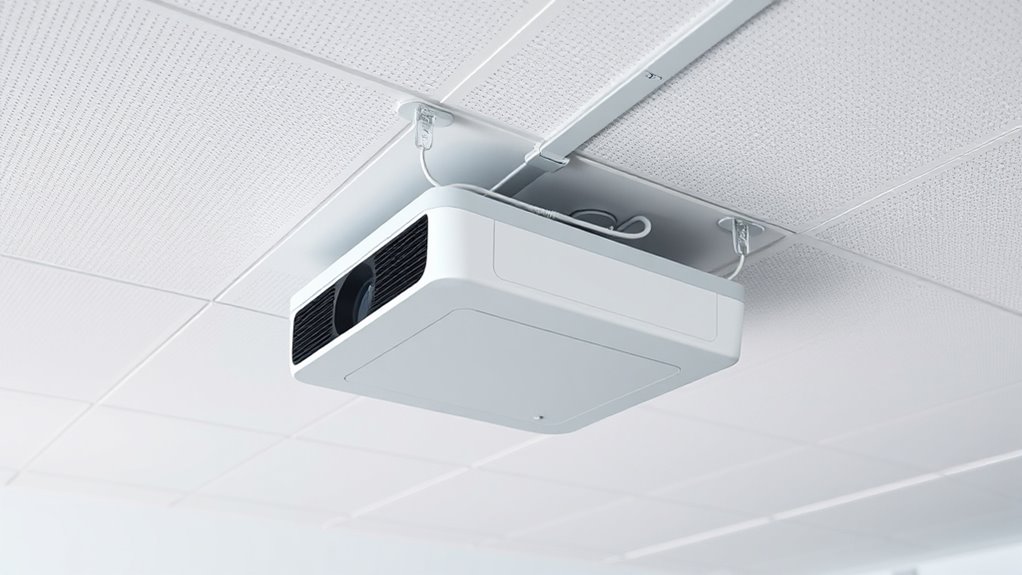
Concealed Wiring Techniques
To achieve a sleek, professional look for your ceiling-mounted projector, concealed wiring techniques are essential. They help maintain a clean setup and enhance aesthetics. First, consider running cables through the ceiling using conduit or raceways, hiding wires from view while allowing easy access. Second, explore wireless alternatives to reduce cable clutter entirely, offering a modern aesthetic enhancement. Lastly, utilize in-wall cable management systems, which conceal wires completely within the ceiling or walls, providing a seamless appearance. These methods not only improve the visual appeal but also minimize tripping hazards and damage risks. By combining concealed wiring techniques with wireless options, you create a tidy, sophisticated setup that maximizes functionality and aesthetic appeal. Additionally, choosing reliable power solutions ensures your setup remains operational during outages, preventing disruptions and safeguarding your equipment.
Use of Cable Covers
Cable covers are an effective solution for maintaining a clean and organized projector setup, especially when cables run across ceilings or walls. They hide unsightly wires and create a seamless look that enhances the overall aesthetic. When choosing cable covers, consider aesthetic considerations to match your room’s decor, opting for low-profile or color-matched options. Using cable covers also allows you to incorporate wireless alternatives where possible, reducing the number of visible cables and further streamlining the setup. This approach not only improves visual appeal but also minimizes tripping hazards and accidental disconnections. Properly installed cable covers help you achieve a professional, tidy appearance while keeping cables secure and out of sight. They’re an essential component of an efficient ceiling-mounted projector installation. Additionally, selecting weather-resistant cable covers can be beneficial if your setup is in a space exposed to humidity or temperature fluctuations.
Regular Maintenance Checks
Regular maintenance checks guarantee your ceiling-mounted projector setup stays tidy and functions smoothly over time. Regularly inspecting cables ensures cable aesthetics remain clean and unobtrusive, preventing clutter from affecting the room’s appearance. Use these checks to verify all connections are secure and free from wear. Consider wireless alternatives to reduce cable clutter, enhancing both aesthetics and ease of use. To stay organized, you should:
- Inspect cables and cable covers for damage or looseness
- Clean dust and debris from the projector and surrounding area
- Test wireless connections to ensure smooth signal transmission
- Adjust color temperature settings to optimize image quality and viewing comfort
Performing these checks helps maintain a professional setup, minimizes potential disruptions, and keeps your projector’s environment both efficient and visually appealing.
Tips for Long-Term Cable Management and Upgrades

To keep your projector setup neat over time, consider effective concealment solutions that hide cables without guaranteeing accessibility. Choosing durable cables secures your system stays reliable long-term, even with regular upgrades. Planning ahead for future upgrades helps you select flexible components and organize cables for easy adjustments down the line.
Concealment Solutions
Long-term cable management for ceiling-mounted projectors requires thoughtful concealment solutions that can adapt to upgrades and changes over time. To keep your setup sleek and flexible, consider these options:
- Use paintable raceways or conduits that blend seamlessly with your ceiling, providing aesthetic enhancements and easy access for future upgrades.
- Incorporate wireless alternatives whenever possible to eliminate visible cables, reducing clutter and simplifying maintenance.
- Install drop ceilings or false panels that hide cables while allowing access for adjustments or upgrades without major disruptions.
- Select cable pathways that accommodate future technology upgrades, ensuring your system remains adaptable as equipment evolves.
These solutions ensure your projector’s wiring remains discreet and adaptable, maintaining a clean look while supporting future technology improvements. Proper concealment enhances both functionality and visual appeal.
Durable Cable Choices
Choosing the right cables is essential for guaranteeing your ceiling-mounted projector remains reliable and easy to upgrade over time. Durable cables, like high-quality HDMI or Ethernet, resist wear and tear, preventing disruptions. Consider wireless alternatives, such as Wi-Fi or wireless HDMI transmitters, to reduce cable clutter and simplify future upgrades. When selecting cables, pay attention to cable length considerations; longer cables can lead to signal degradation, so choose the shortest feasible length to maintain quality. Investing in durable, well-shielded cables ensures longevity and minimizes replacement needs. This approach keeps your setup tidy and reliable, saving you time and effort when upgrades or adjustments are necessary. Prioritizing quality and flexibility now makes future system enhancements smoother and more efficient. Additionally, understanding somatic therapy can offer insights into managing stress and enhancing overall well-being, which may indirectly improve your focus and patience during setup and upgrades.
Upgrade Planning
Planning your cable setup with future upgrades in mind guarantees your ceiling-mounted projector remains efficient and adaptable over time. To guarantee seamless upgrades, consider these key strategies:
- Invest in wireless alternatives to reduce cable clutter and simplify future changes.
- Use flexible conduit or raceways to allow easy access for replacing or adding cables without extensive rewiring.
- Incorporate aesthetic enhancements, like sleek covers or paint-matched conduits, to maintain a clean, professional look as your setup evolves.
Frequently Asked Questions
How Can I Prevent Cable Interference With Projector Ventilation?
To prevent cable interference with your projector’s ventilation airflow, keep cables organized and away from the vents to avoid blocking airflow. Use cable ties or clips to reduce cable clutter and secure them neatly along the ceiling or walls. Make sure cables aren’t tightly packed or bent near the ventilation area, as this can cause overheating. Regularly check and adjust your cable setup to maintain ideal ventilation and prevent overheating issues.
What Are the Best Practices for Future Cable Additions?
To handle future cable additions, you should plan ahead with cable concealment strategies like using raceways or conduits to keep things tidy. Consider wireless alternatives for less clutter and easier upgrades. Always leave extra slack for flexibility, and label cables clearly for quick identification. Regularly inspect your setup to guarantee everything stays organized and accessible, making future additions straightforward and minimizing disruptions to your projector’s performance.
How Do I Handle Cable Management in Irregular Ceiling Structures?
When handling cable management in irregular ceiling structures, you should prioritize cable concealment by using flexible raceways or custom conduit bends to follow the ceiling’s shape. Additionally, label your cables clearly to make future adjustments easier. Secure cables neatly with zip ties or clips, avoiding stress points. This approach keeps your setup clean, safe, and accessible, ensuring your projector’s wiring remains organized despite the irregular ceiling design.
Are There Eco-Friendly Cable Management Options Available?
Did you know that e-waste is expected to reach 74 million tons worldwide by 2030? You can choose eco-friendly alternatives for cable management, like biodegradable cable ties or reusable cable sleeves. These sustainable solutions reduce plastic waste and minimize environmental impact. Opting for these options shows your commitment to sustainability and helps protect the planet while keeping your projector setup organized efficiently.
How Can I Ensure Cable Management Doesn’T Void Warranty?
To guarantee your cable management doesn’t void warranty, focus on warranty compliance by following the manufacturer’s guidelines. Use approved cable concealment methods and avoid invasive modifications that could damage the projector or mounting system. Always check your warranty terms before installing any cable management solutions. If unsure, consult the manufacturer or a professional installer to confirm your approach maintains warranty coverage and keeps your setup safe and compliant.
Conclusion
By carefully planning your wiring, choosing the right solutions, and keeping everything organized, you’ll prevent future headaches. Proper installation and concealment make your setup look professional and safe. Remember, a tidy space isn’t just about looks — it’s about avoiding problems down the line. Keep up with regular checks and upgrades, because a stitch in time saves nine. When it comes to ceiling-mounted projectors, good cable management is the key to a seamless, worry-free experience.