
To stop guessing, start by choosing heavy, tightly woven blackout curtains in dark colors like navy or charcoal for maximum darkness. Measure properly, installing your curtain rods above the window frame for complete coverage. For walls, clean and repair them before painting with a smooth finish in deep, matte shades. Use even strokes and the right tools to achieve a flawless look. Keep your curtains and walls well-maintained—stay tuned to discover how to perfect both for a cozy, dark retreat.
Key Takeaways
- Measure window dimensions accurately and install blackout curtains several inches above the frame for optimal darkness.
- Choose dense, dark fabrics like blackout polyester and coordinate colors with your decor for effective light blocking and aesthetic cohesion.
- Prepare walls thoroughly by cleaning, repairing, and sanding before painting to ensure a smooth, long-lasting finish.
- Use proper painting techniques, including even strokes and appropriate tools, to achieve a flawless, durable wall surface.
- Maintain curtains and painted walls regularly through cleaning and touch-ups to preserve their appearance and functionality over time.
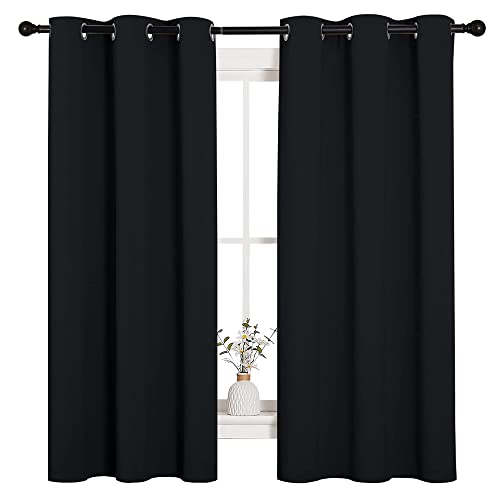
NICETOWN Pitch Black Solid Thermal Insulated Grommet Blackout Curtains/Drapes for Bedroom Window (2 Panels, 42 inches Wide by 63 inches Long, Black)
READY MADE: Package only includes 2 blackout curtain panels, each 42" wide x 63" long when fully spread,…
As an affiliate, we earn on qualifying purchases.
As an affiliate, we earn on qualifying purchases.
Choosing the Perfect Blackout Curtains for Your Space
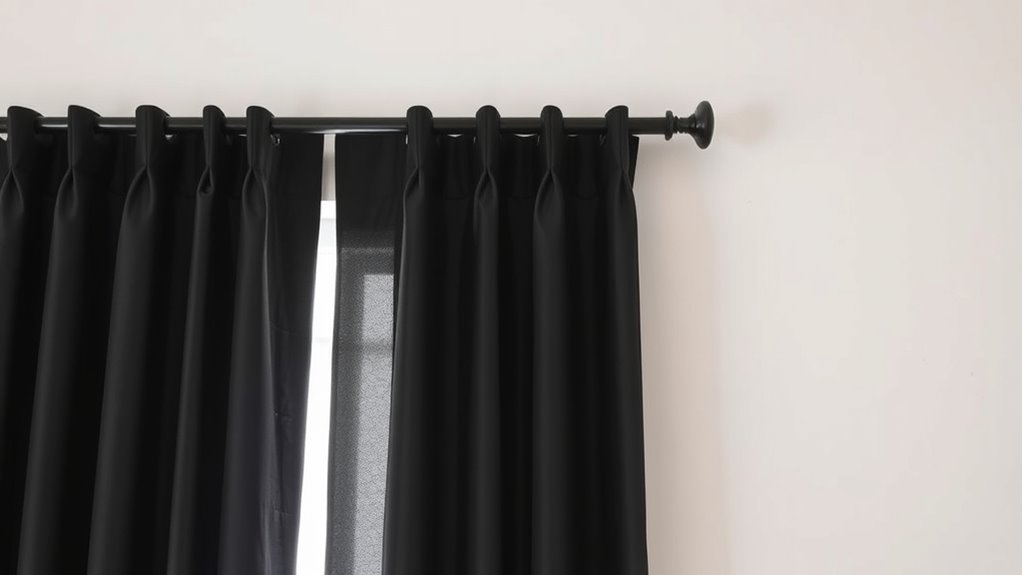
When selecting blackout curtains for your space, it’s essential to contemplate both functionality and style. Your choice of fabric selection impacts not only how well the curtains block light but also their durability and appearance. Opt for heavy, tightly woven fabrics like polyester or blackout-specific materials for maximum darkness. As for curtain styles, consider options like grommet, rod-pocket, or tab-top designs to match your decor and ease of installation. Think about how the fabric drapes and whether it complements your room’s aesthetic. Combining the right fabric selection with a style that fits your space ensures you achieve both effective light control and a polished look. Additionally, choosing the right fabric can also provide protective styling benefits, making your curtains last longer and maintain their appearance over time. Remember, the right blackout curtains can transform your environment into a restful retreat.
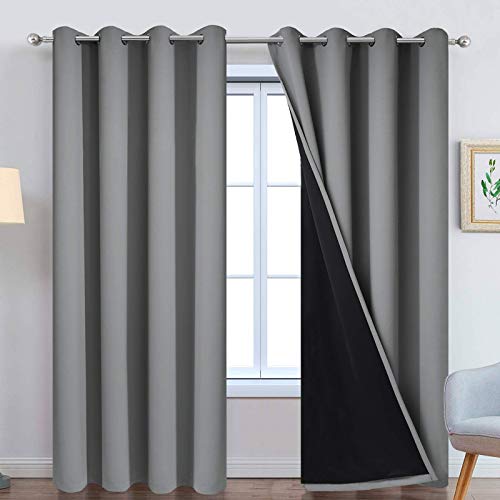
Yakamok 100% Blackout Curtains 84 Inches Long, 2 Thick Layers Heat and Full Light Blocking Soft Thermal Insulated Drapes for Bedroom(52" Wide Each Panel, Grey, 2 Panels)
PACKAGE MADE:2 panels per package. Each Lined Curtain measures 52" wide x 84" long. 8 Silvery Grommets per…
As an affiliate, we earn on qualifying purchases.
As an affiliate, we earn on qualifying purchases.
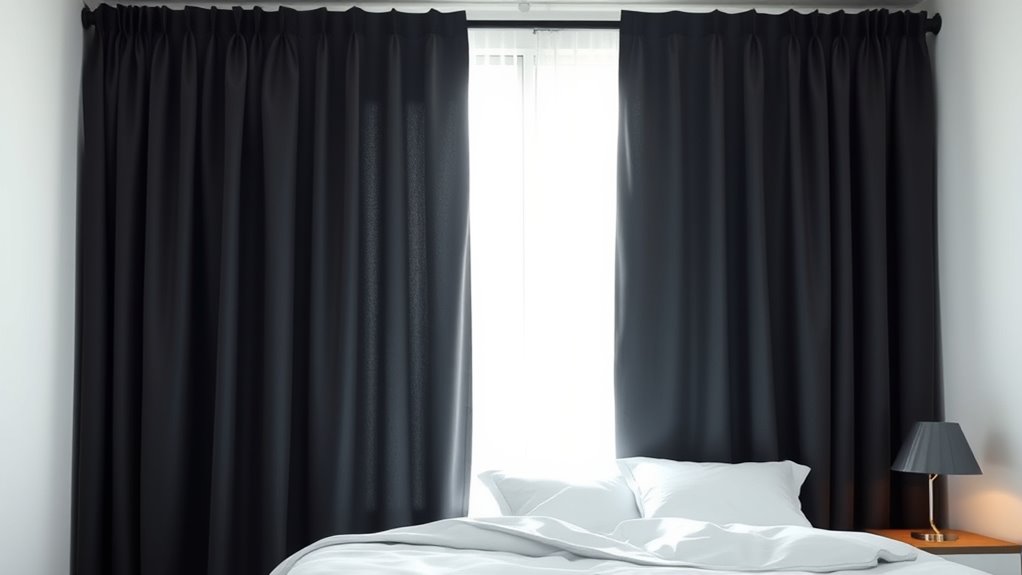
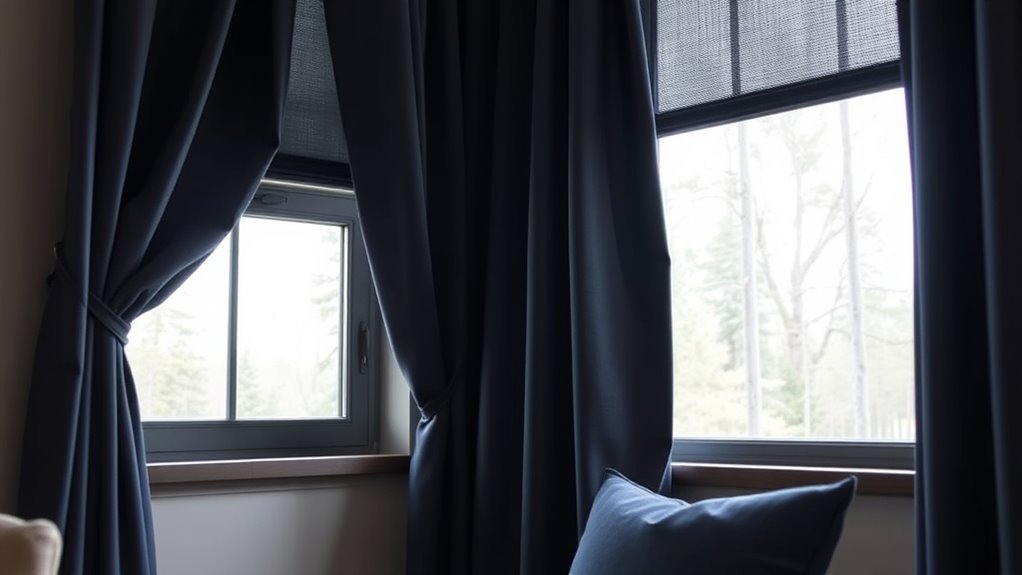
Measuring and Installing Curtains for Maximum Darkness
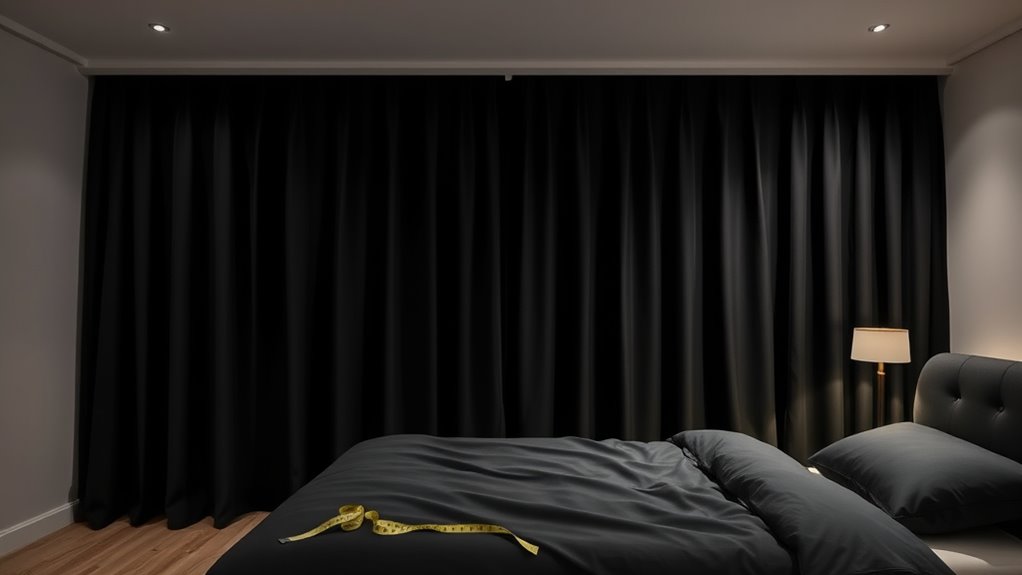
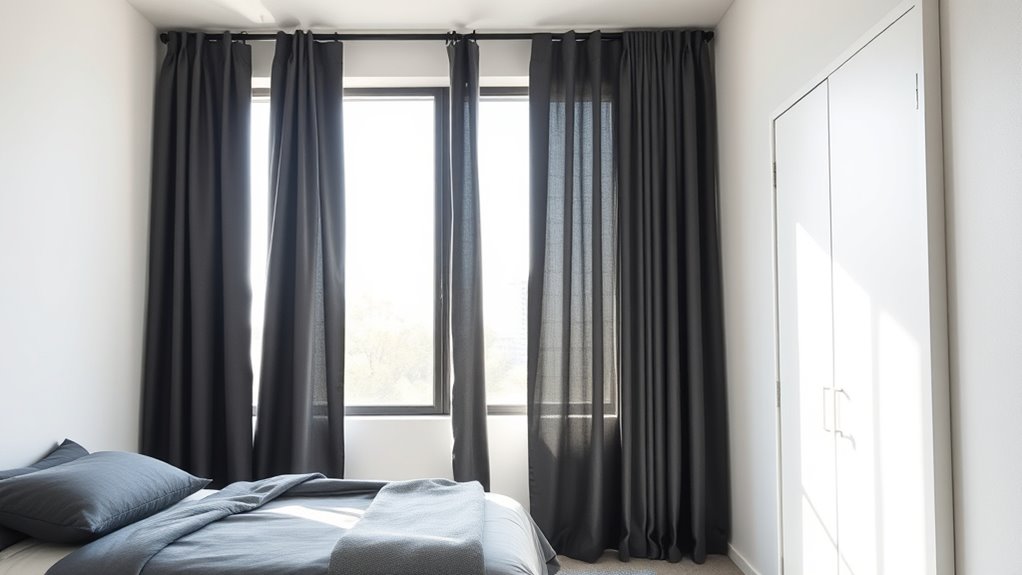
To achieve maximum darkness with your blackout curtains, precise measuring and careful installation are essential. Begin by measuring the curtain length accurately; measure from the curtain rod placement down to just below the window sill or floor, depending on your preference. For *ideal* blackout effect, add a few extra inches to ensure the fabric fully covers the window and blocks light. When installing the curtain rod, place it several inches above the window frame—typically 4 to 6 inches—to prevent light from leaking around the edges. Make sure the rod is level and securely anchored into the wall. Proper curtain length measurements combined with strategic curtain rod placement will ensure your blackout curtains provide the *greatest* darkness you desire. Additionally, considering the natural features of the region can help you choose the best curtain style and placement for optimal light blocking.

ENJOYBASICS Blackout Curtain rod for windows 48 to 84, 5/8 in Wrap Around Curtain Rods for Bedroom, Living Room, Adjustable from 30 to 86 Inches, Matte Black
Easy to Install and Detachable: Just need to put the assembled curtain rod into the base. It is…
As an affiliate, we earn on qualifying purchases.
As an affiliate, we earn on qualifying purchases.
Selecting the Right Fabric and Color for Your Curtains
Choosing the right fabric and color is essential for maximizing your blackout curtains’ effectiveness. Your fabric selection impacts light-blocking, durability, and style, so pick a material that’s dense and tightly woven. When it comes to color coordination, opt for shades that complement your room’s palette while enhancing darkness. Here are three tips to guide you:
Choosing dense, dark fabrics that match your decor boosts blackout curtain effectiveness.
- Select fabrics like polyester or blackout-lined materials for better light absorption.
- Choose darker colors such as navy, charcoal, or deep brown for increased light blocking.
- Coordinate curtain colors with your room decor to create a cohesive look that also minimizes light seepage.
- Consider the materials used in unique and wicked planters when selecting fabric textures, as they can influence the overall aesthetic and functionality of your curtains.

Drywall Repair Kit,2 Pack Wall Mending Agent,Wall Spackle with Scraper, Wall Surface Hole Fill Quick and Easy Solution
The drywall repair kit includes 2x Wall mending agent (100g), 2x Nozzle Extender, 1x Scrapers, and 2x Sandpaper.
As an affiliate, we earn on qualifying purchases.
As an affiliate, we earn on qualifying purchases.
Preparing Your Walls for a Flawless Paint Job
Before you start painting, make sure your walls are clean and free of dust or grease. Fix any holes or cracks quickly to guarantee a smooth finish. Then, sand the surface until it’s even, so your paint applies flawlessly. Incorporating proper surface preparation can further enhance the durability and appearance of your paint job.
Clean Surface Thoroughly
Making sure your walls are clean is a crucial step in achieving a smooth, professional-looking paint job. Dust, grease, and dirt can ruin your finish, so take the time to prep properly. Start by removing any window treatments that might obstruct access. Next, gently wash the walls with a mild detergent solution to eliminate grime and residues that can interfere with paint adhesion. Pay attention to wall textures—rough surfaces may trap more dirt, requiring extra cleaning. Finally, rinse with clean water and let the walls dry completely. This thorough cleaning guarantees a flawless surface, helping paint adhere better and preventing uneven finishes or peeling later. Properly prepped walls set the stage for beautiful, long-lasting results. Using a self-watering cleaning method can also help maintain the cleanliness of your walls over time.
Repair Imperfections Promptly
Once your walls are clean, the next step is to address any imperfections that could mar your paint job. Cracks, holes, or dents can disrupt the smooth surface needed for a flawless finish. Fill these imperfections with spackle or putty, then sand them down once dry to ensure a seamless surface. This step is vital for light blocking, as uneven surfaces can cause shadows and uneven paint application. Additionally, proper curtain maintenance helps prevent wall damage from moisture or pulls, reducing future imperfections. Promptly repairing these flaws ensures your paint adheres well and looks uniform, creating a professional finish. Taking the time now to fix imperfections will save you headaches later and help your blackout curtains and painted walls look their best. Using durable materials suited for kitchen use can also prevent future damage and maintain the integrity of your walls over time.
Sand for Smoothness
Sanding your walls is a essential step in achieving a smooth, professional-looking paint finish. Proper texture sanding removes rough patches, bumps, and old paint drips, ensuring surface smoothing. This creates an ideal base for your new coat. To get the best results, follow these steps:
- Use a fine-grit sandpaper to gently sand the surface, focusing on uneven areas.
- Wipe away dust with a damp cloth to prevent particles from sticking to the paint.
- Inspect the wall for any remaining imperfections and sand again if needed.
- Emphasizing the importance of surface contrast ratio can help you better assess the quality of your paint and lighting setup, ensuring your home cinema looks its best.
This process eliminates surface imperfections and sets the stage for flawless coverage. Remember, surface smoothing through texture sanding is key to avoiding an uneven finish and achieving that sleek, professional look you desire.
Picking the Ideal Paint Finish and Color Palette
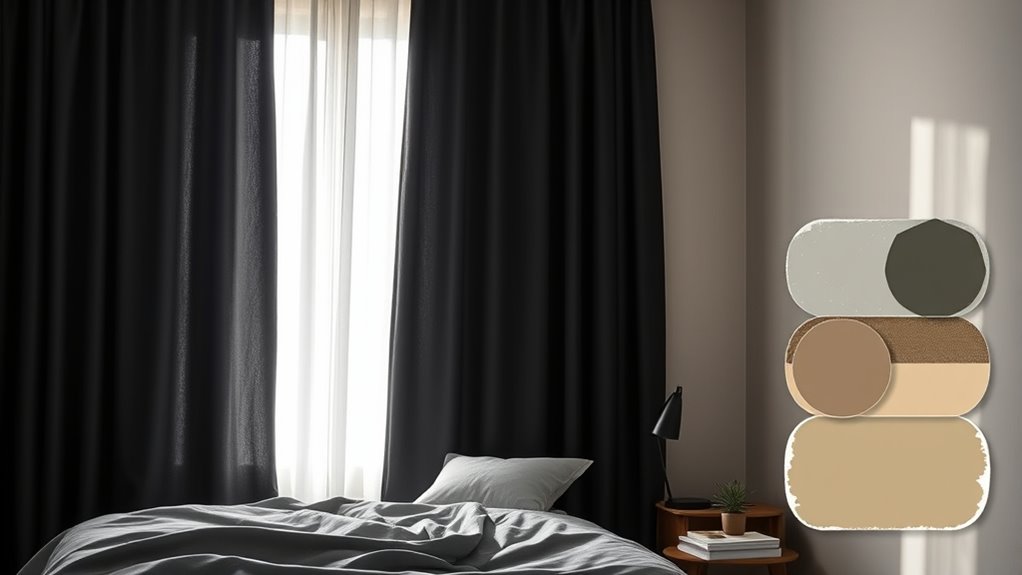
Choosing the right paint finish and color palette is essential for creating a cozy, darkened atmosphere with blackout curtains. A matte or eggshell finish works best, as it minimizes reflections and enhances the room’s depth. When selecting colors, opt for deep, muted tones like navy, charcoal, or warm browns to complement your window treatments. These shades absorb light, reinforcing the blackout effect. Consider wall textures—smooth finishes can make colors appear more uniform, while subtle textures add visual interest without reflecting light. Keep your palette cohesive; darker shades work well with neutral or similar tones, ensuring a seamless, immersive environment. Incorporating rustic decor elements can also enhance the farmhouse ambiance, tying together your color choices with the overall design. The goal is to create a space where your blackout curtains and paint work together to block out light effectively and evoke a sense of calm.
Techniques for Applying Paint Evenly and Smoothly
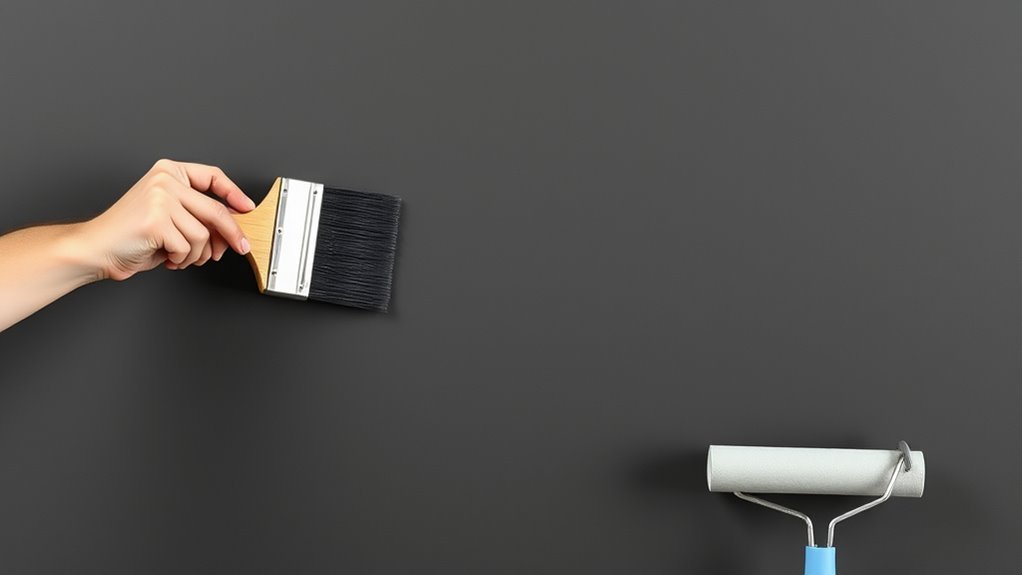
Before you start painting, make sure to prepare the surface properly by cleaning and sanding it. Use consistent brush techniques, such as long, even strokes, to avoid streaks and lap marks. These steps help guarantee your paint goes on smoothly and evenly every time. Additionally, maintaining a clean environment minimizes dust and debris that could interfere with your finish.
Proper Surface Preparation
To guarantee a smooth and even paint application, proper surface preparation is essential. Start by cleaning the surface thoroughly to remove dust and grease, ensuring paint adhesion. Next, sand rough areas to create a uniform texture that promotes better paint grip. Finally, apply a primer suited for your surface type, which enhances fabric durability and helps with color coordination.
Here are key steps:
- Clean the surface completely to eliminate debris.
- Sand rough patches for an even, smooth base.
- Use a primer that matches your desired color palette and improves fabric durability.
Proper preparation minimizes imperfections, ensuring your paint looks flawless and lasts longer. It also helps you choose the right color coordination for the room’s aesthetic.
Consistent Brush Techniques
Once your surface is properly prepared, applying paint evenly becomes much easier. To achieve smooth, consistent results, focus on your brush strokes and paint consistency. Use long, even strokes, moving in one direction to prevent streaks and lap marks. Avoid pressing too hard; let the brush do the work. Maintain a consistent amount of paint on your brush—dipping just enough to cover without overloading. Reload the brush frequently for uniform coverage. Work in manageable sections, blending each stroke seamlessly into the next. Proper brush technique minimizes brush marks and ensures a sleek finish. Remember, patience and steady hands are key. With practice, your application will look professional, saving you time on touch-ups and creating a flawless, smooth surface. Additionally, controlling paint thickness through proper dilution and using the right tools can significantly improve the final appearance.
Tips for Maintaining Your Curtains and Fresh Paint Look
Keeping your blackout curtains and freshly painted walls looking their best requires regular care and attention. To maintain their appearance, follow these tips:
- Choose the right curtain rod styles that suit your curtains and space, ensuring smooth operation and reducing strain on the fabric.
- Use appropriate paintbrush types, like angled brushes for edges, to touch up paint without creating streaks or uneven coverage.
- Regularly dust your curtains with a vacuum or lint roller to prevent buildup, and wash or spot clean as recommended by the manufacturer to keep colors vibrant.
Frequently Asked Questions
Can Blackout Curtains Help Reduce Outside Noise Effectively?
Blackout curtains can help reduce outside noise effectively, especially when you use proper soundproofing techniques. They absorb sound and prevent it from entering your room. To maximize noise reduction, follow curtain installation tips like hanging the curtains close to the ceiling and ensuring they extend beyond the window frame. This creates a better barrier against noise, making your space quieter and more comfortable.
How Often Should I Wash or Replace Blackout Curtains?
Ever wonder how often you should wash or replace your blackout curtains? Typically, you should wash them every 3 to 6 months with proper curtain cleaning to keep them fresh and effective. If they’re stained, torn, or faded, it’s time for curtain replacement. Regular cleaning prolongs their lifespan, but don’t ignore signs of wear—replacing them guarantees your room stays dark and cozy.
What Are the Best Eco-Friendly Paint Options for Walls?
You should choose eco-friendly paint options that feature sustainable pigments and eco-friendly finishes. Look for brands that prioritize low or zero VOC emissions, ensuring healthier indoor air quality. These paints often use natural ingredients and sustainable pigments, reducing environmental impact. By selecting eco-friendly finishes, you’re making a conscious choice to protect the planet while creating a beautiful, safe space. Always check labels for certifications like Green Seal or UL Greenguard.
How Do I Prevent Paint From Peeling Over Time?
To prevent paint from peeling over time, focus on proper wall preparation and paint adhesion. First, clean and repair the surface to remove dirt, grease, or loose paint. Sand rough spots for better adhesion. Apply a high-quality primer suited to your wall type, then use a durable, eco-friendly paint. Ensuring proper application and allowing adequate drying time helps create a strong bond, reducing the risk of peeling later on.
Are There Specific Maintenance Tips for Keeping Curtains Dust-Free?
Did you know that regular curtain cleaning can reduce indoor dust by up to 60%? To keep your curtains dust-free, dust prevention is key. Use a vacuum with a brush attachment weekly, or give them a gentle shake outside. Spot clean with a damp cloth when needed, and avoid harsh chemicals. Proper maintenance not only keeps them looking fresh but also improves your home’s air quality.
Conclusion
Now that you’ve mastered the art of blackout curtains and perfect paint, your space transforms into a sanctuary of serenity. Think of your room as a blank canvas and a cozy cocoon—each detail carefully chosen to craft your ideal retreat. With your new skills, you’ll turn everyday spaces into peaceful escapes, where darkness and color dance in harmony. Embrace this journey, and watch your home become a haven that whispers comfort and style in every corner.